ECHOES · CHAPTER 1
Letter from the Abyss: the carriage dream
Echoes in the Cocoon is a separate story in the collection menu, with detective Riggs. Its chapters also unlock in order. Riggs's desk has a deduction radio: once every clue photo for a topic is found, tap Start Deduction and then Check Result.
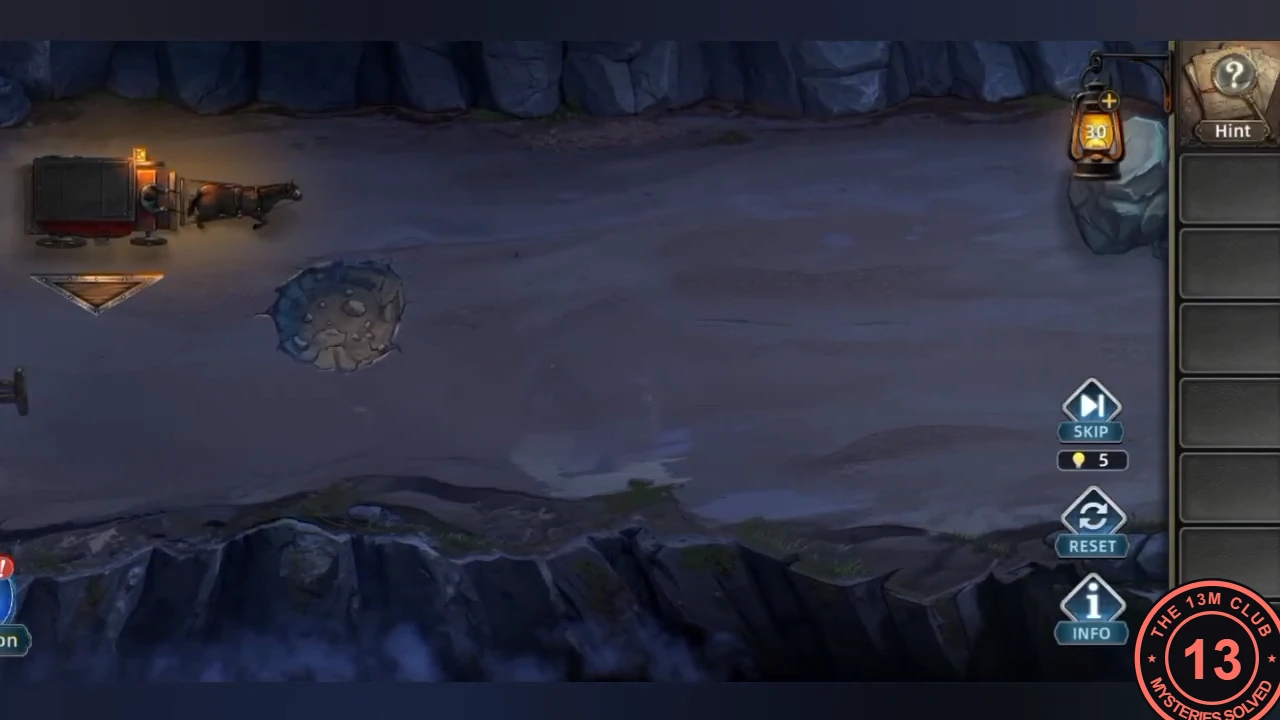
- In the carriage dream, take the Key and open the chest on the table for the Leather Gloves, then go to the front and steer the carriage: move it between lanes to avoid rocks, fences, logs and holes until the scripted crash.
ECHOES · CHAPTER 1
Riggs's desk drawer
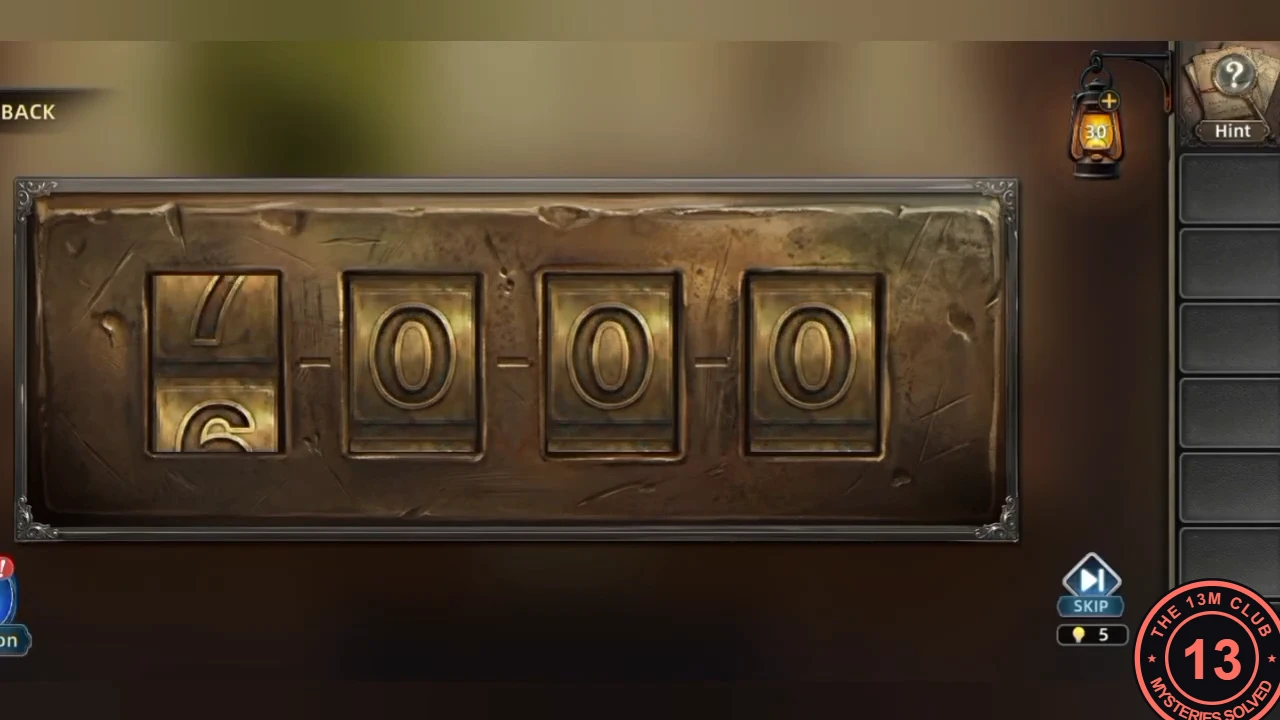
The note on Riggs's desk points to the flowerpot for the drawer code.
- At the desk, read the note about the flowerpot and open the drawer lock with the number carved on the pot: 9432. The drawer holds a burnt Diary: read it. Someone knocks: open the front door, where the Coachman hands you an envelope from Mr. Will, and read Will's Letter. Then pick up two Torn Newspaper Pieces in the living room: one from the wastepaper basket beside the tea table, and one from the sofa between the cushions.CODE9432
ECHOES · CHAPTER 1
The bookshelf lock
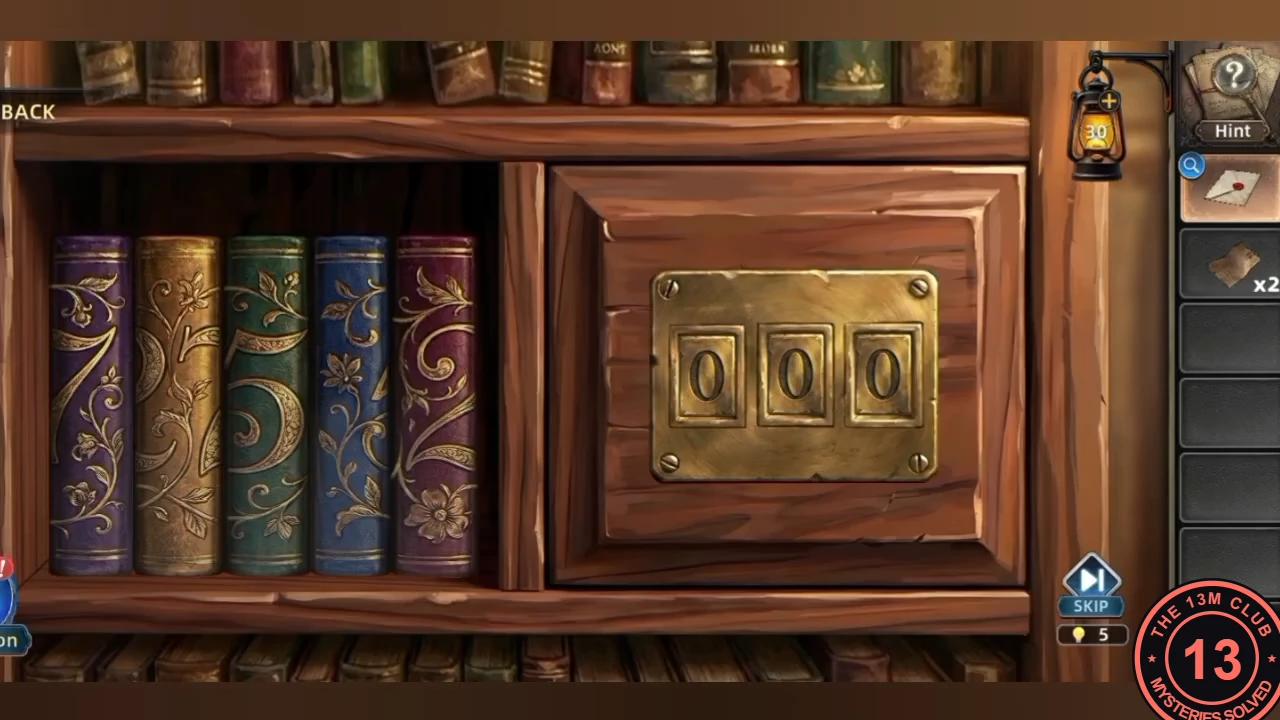
Line up the coloured book spines to read the shelf lock code.
- Arrange the bookshelf spines blue, green, red, gold, purple so the numerals line up, then open the shelf lock with 527 and take the Brooch.CODE527
ECHOES · CHAPTER 1
The painting safe shape lock
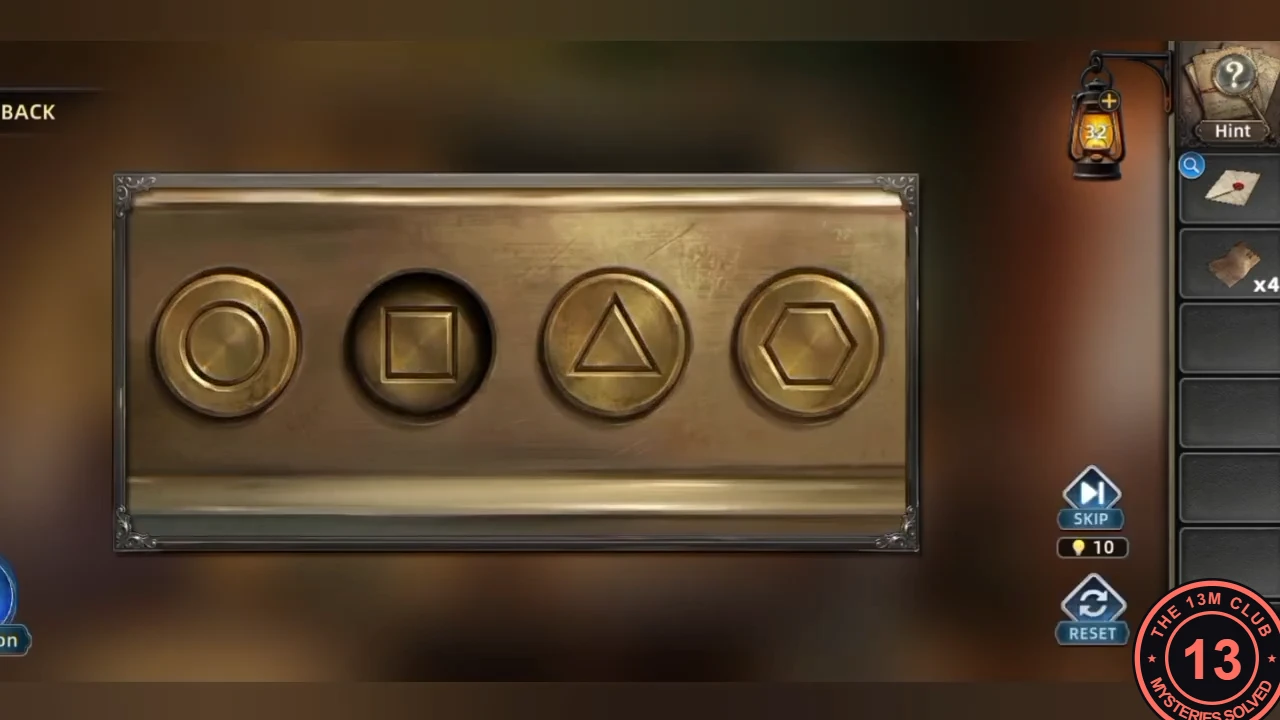
Cut open the bedroom painting; the torn canvas gives the order of the shape buttons.
- In the bedroom, pick up two more Torn Newspaper Pieces: one from the floor at the left end of the chest at the foot of the bed, and one from the floor beside the right-hand bedside table (four pieces now). Fit the Brooch from the bookshelf into the emblem on the chest's front; its drawer slides open. Take the Knife and the Tape from the drawer. Read the note under the tartan blanket on the chest. At the painting above the writing table, use the Tape on the frayed cord of the table lamp (left of its base): the cord is taped and the lamp shines brighter. Cut open the painting above the writing table with the Knife to reveal the safe, then press the shapes from the torn canvas: square, triangle, circle, hexagon. Take the Knob and fit it on the safe.CODESquare, Triangle, Circle, Hexagon
ECHOES · CHAPTER 1
The writing-desk ring lock
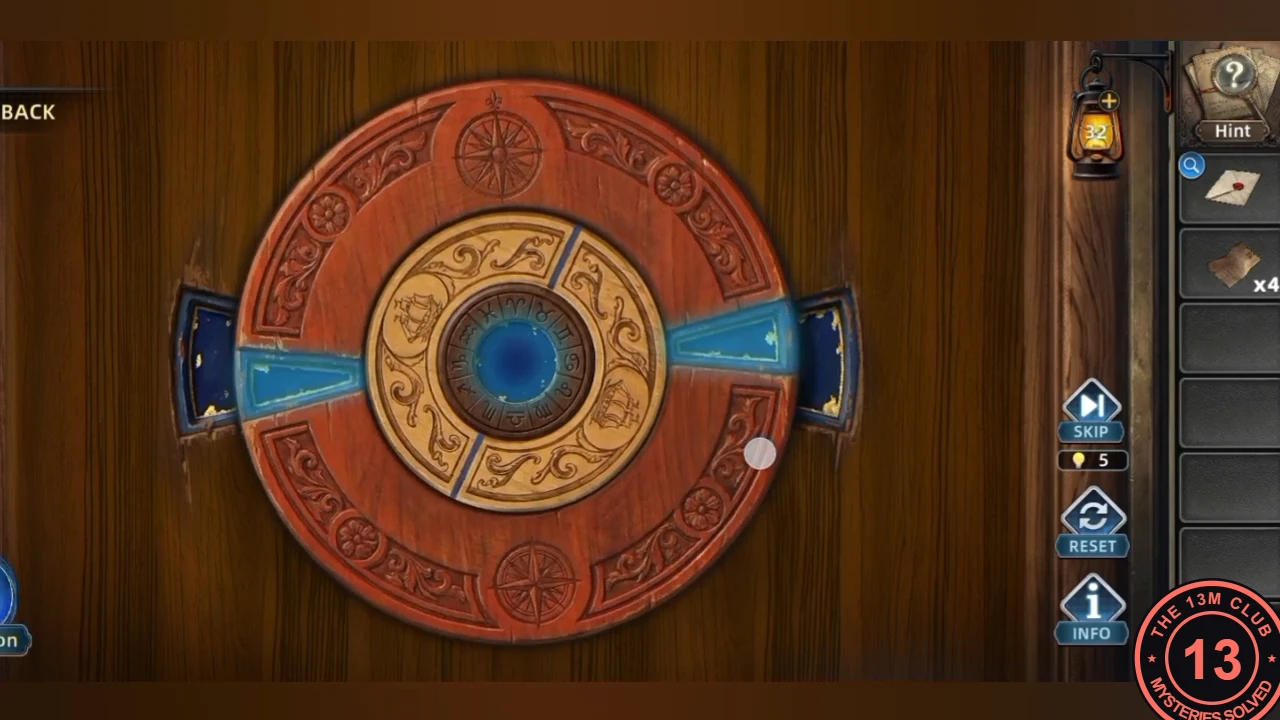
The empty heart recess needs the Necklace from the writing desk's ring lock.
- The chest at the foot of the bed has an empty heart-shaped recess. In the living room, tap the round lock on the lower cupboard door of the writing desk: rotate the rings until the blue channel runs unbroken from the left notch, through the centre, to the right notch. The cupboard opens; take the heart Necklace and the Torn Newspaper Pieces inside.
ECHOES · CHAPTER 1
The bedside chest blocks and the newspaper
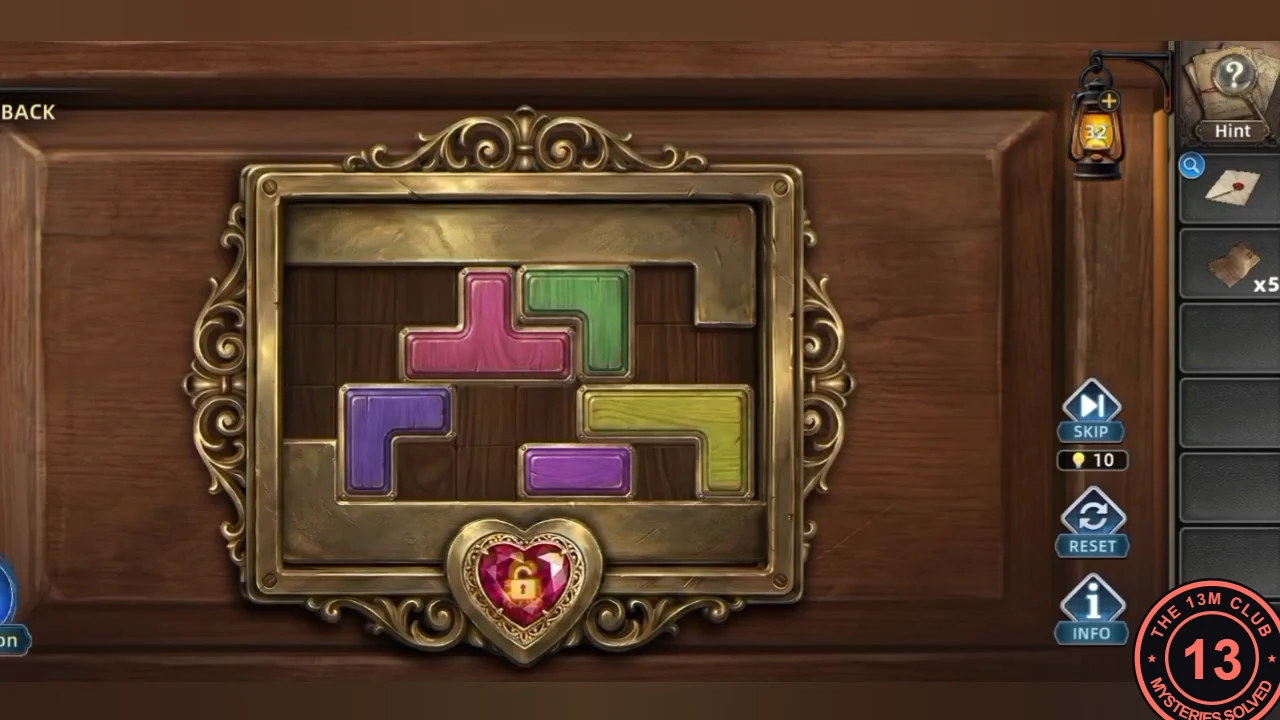
Clear the chest's block tracks for the Key, then piece the newspaper together.
- Place the Necklace in the chest's heart recess to reveal a sliding-block lock. Slide the coloured blocks until the top and bottom tracks are both empty (all blocks packed into the middle rows), then tap the heart gem so the copper strip can pass. Take the Key from the opened drawer. With all five Torn Newspaper Pieces (two from the living room, two from the bedroom floor and one from the desk cupboard), assemble the newspaper on the corkboard in the living room.
ECHOES · CHAPTER 1
The bedroom safe dial
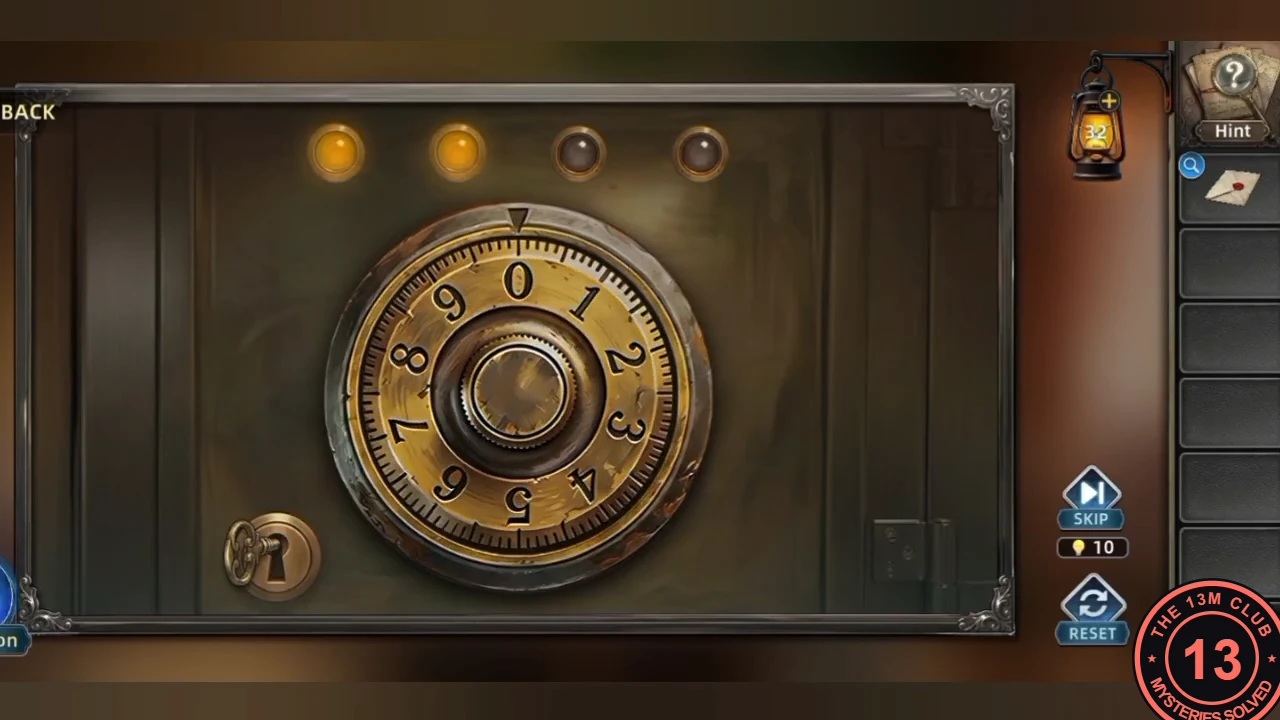
The red dots on the clippings give the safe dial numbers.
- Go back to the safe behind the bedroom painting and use the Key from the chest drawer on the keyhole at its lower left; the dial opens. On the assembled newspaper, the red scribbled dots form four groups. Counted from left to right, they are 4 (below the gate picture, lower left), 7 (over the gate picture), 6 (around the small middle photo) and 2 (at the upper right). Turn the safe dial to each number in turn; each correct number lights one lamp. Take the black stone bracelet.CODE4-7-6-2