Treehouse Memories: dream entry
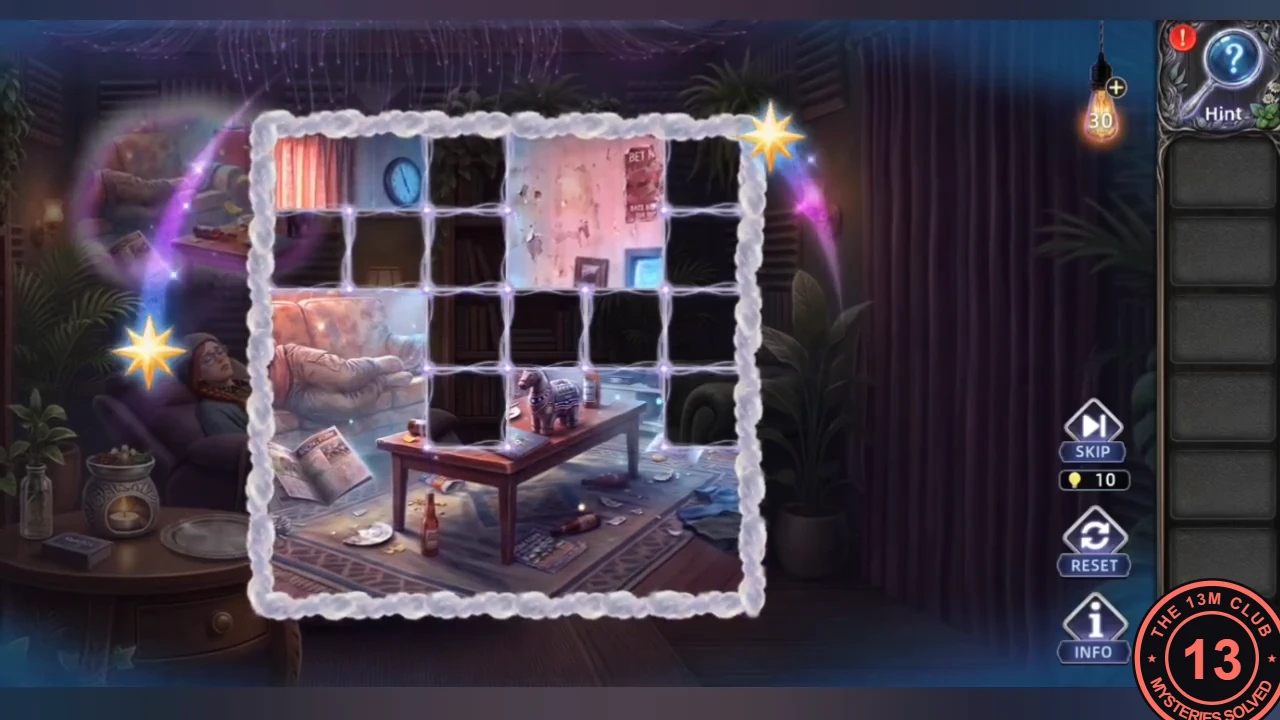
Ruth returns for Chapter 3. Open her dream with a 6 x 6 light grid.
- Start Chapter 3 (Ruth returns) and open the dream as before. Solve the 6 x 6 light grid, using the same rule as in Chapters 1 and 2: a tap on a dark tile lights it and runs along its row and column until it meets a lit tile or the edge. Counting rows from the top and columns from the left, tap row 5 column 1, row 2 column 3, then row 3 column 6.
The apartment TV: waveform sliders
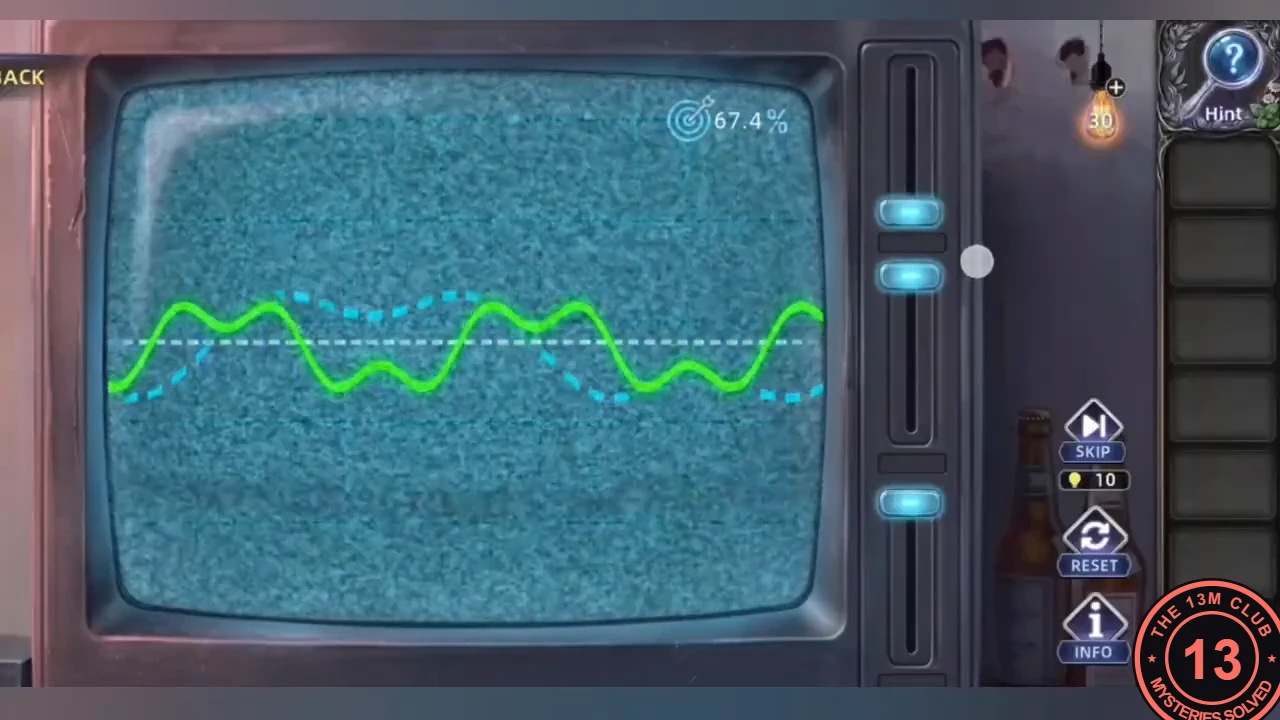
The dream starts in a shabby apartment where a man sleeps in front of an old TV. Tune the TV to see the race results.
- Take the Wire Hanger from the coat rack and use it on the TV. In the waveform screen, move the three sliders until the green wave matches the blue dotted line.
The horse figure lock
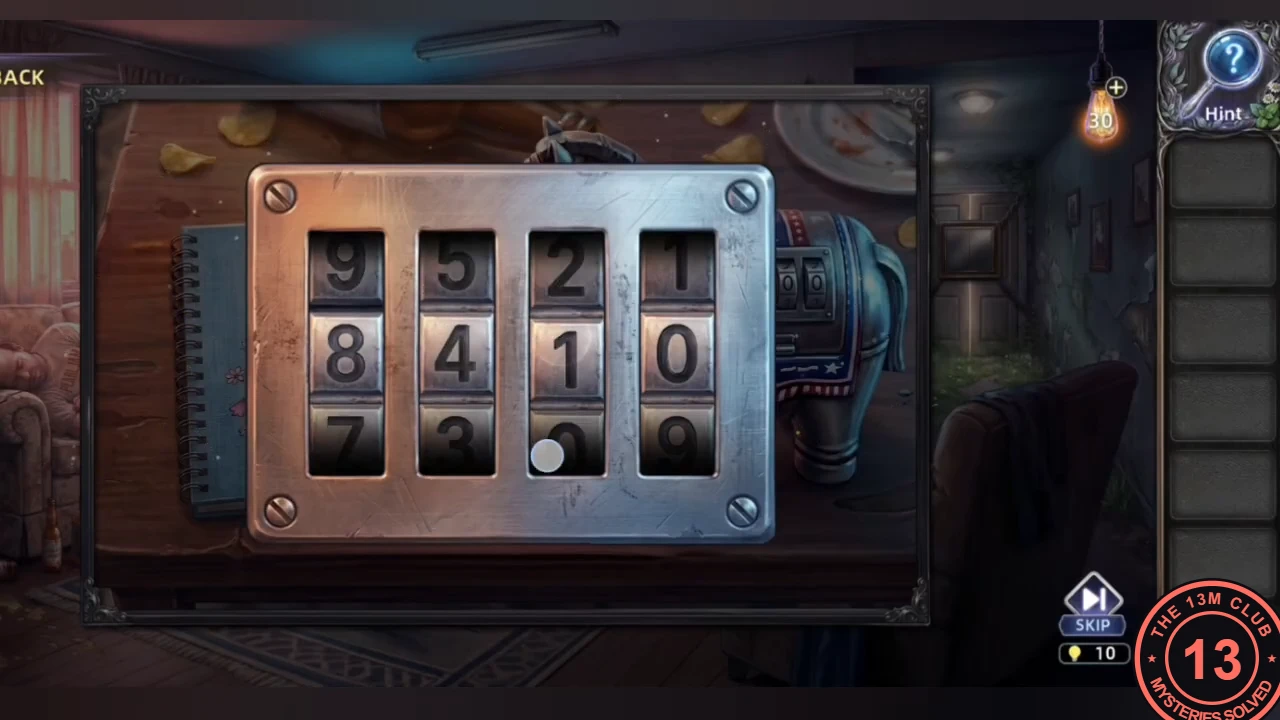
The race results open the horse figure lock on the table.
- Enter 8427 on the horse figure lock and take the Remote Control. Use it to switch off the TV.CODE8427
The red safe: family shapes
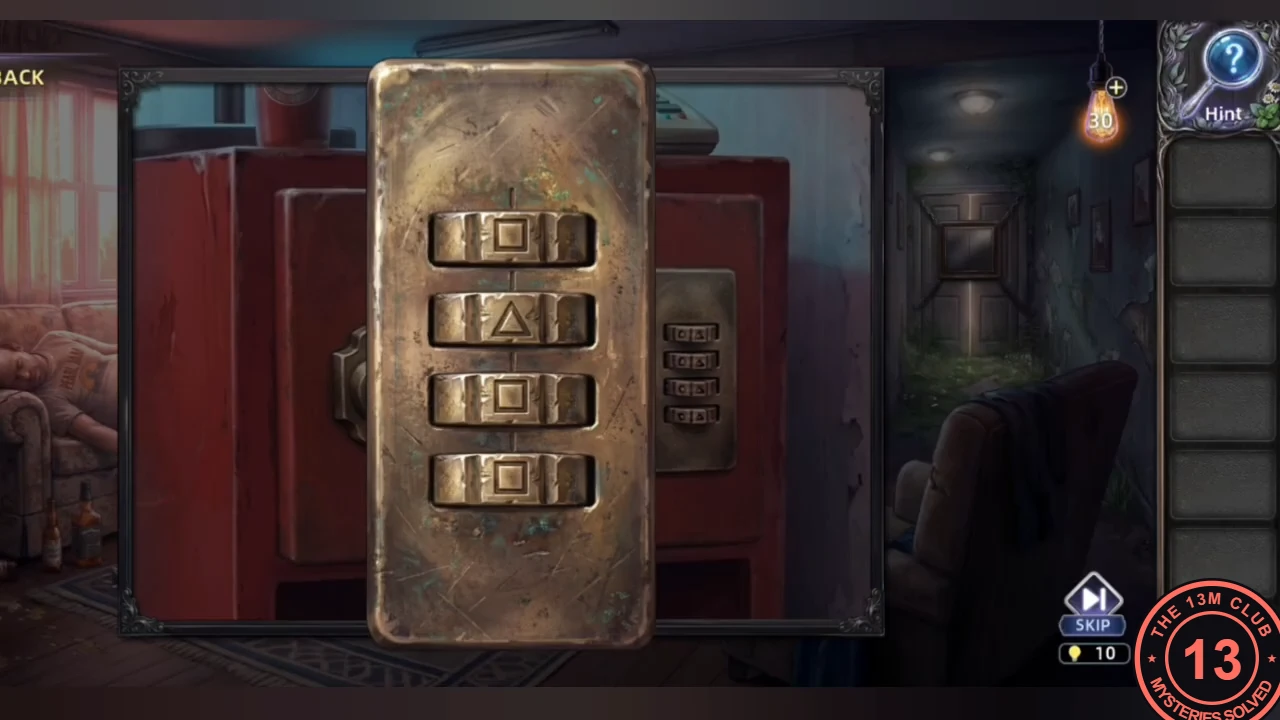
The child's drawing of the family gives the order for the red safe's shape lock.
- Once the TV is off, the crumpled paper falls from the sleeping man's hand: pick up the Crumpled Child's Drawing from the floor in front of the sofa. Order the family shapes tallest to shortest on the red safe: square, triangle, circle, star. Inside the safe, tap the cassette deck of the blue boombox and take the first Family Portrait Fragment.CODESquare, Triangle, Circle, Star
The back-hall door: family portrait jigsaw
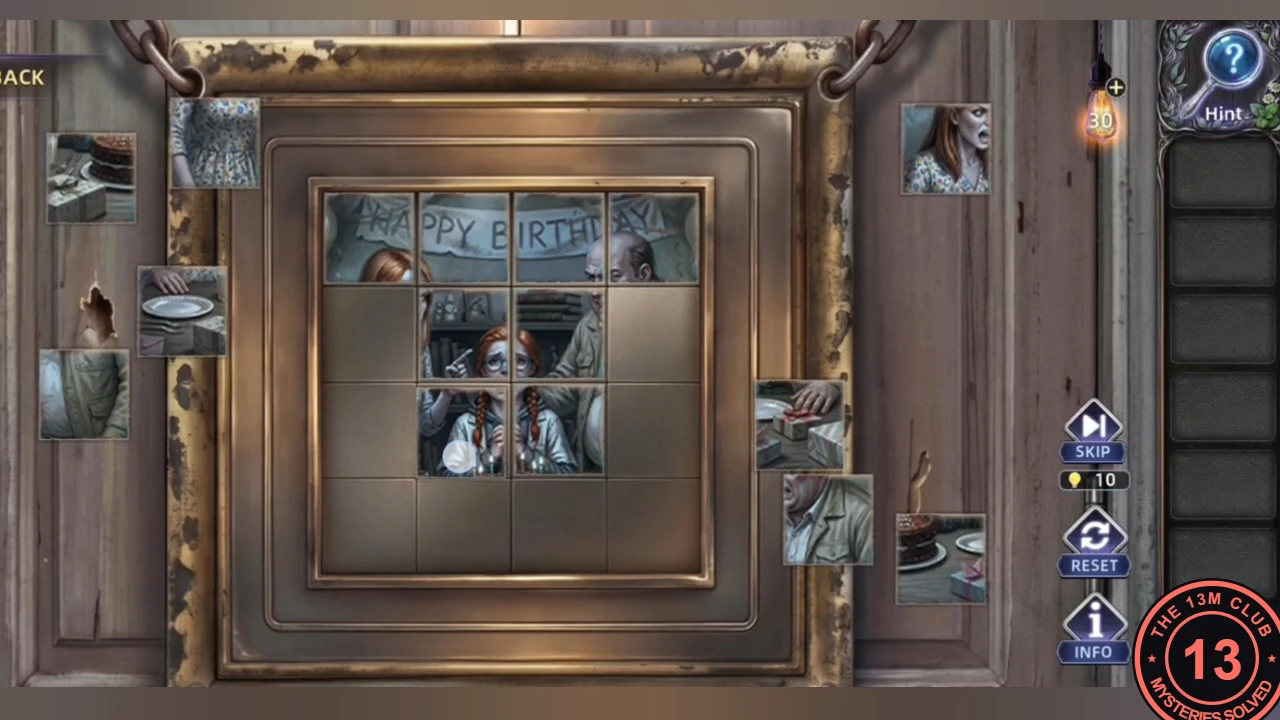
Both portrait fragments go on the chained back-hall door, which opens after a family portrait jigsaw.
- Take the second Family Portrait Fragment from the horse box. Place both on the chained back-hall door frame and finish the Happy Birthday jigsaw (4 columns by 4 rows, 16 pieces).
The meadow: the shoelace knot puzzle
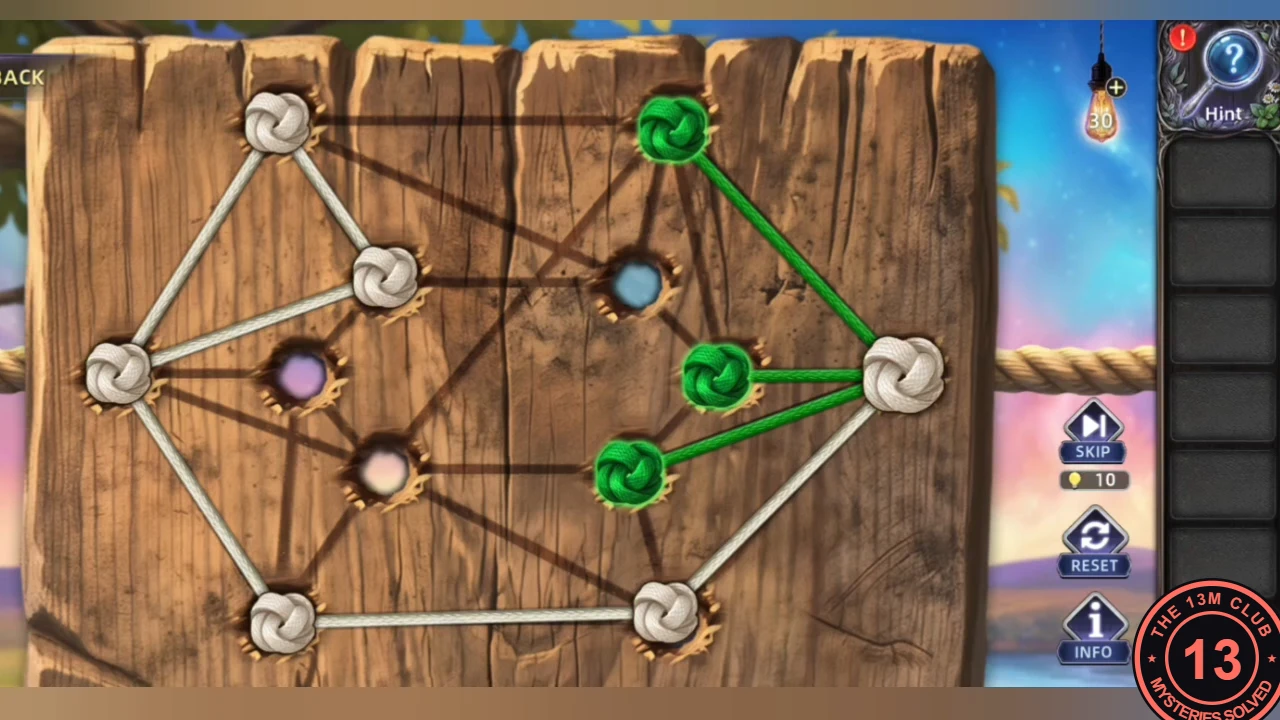
In the sunny meadow, a squirrel and a giant sneaker supply the shoelaces for the broken rope ladder and its knot puzzle.
- Take the Acorn from the picnic blanket and give it to the squirrel in the left tree to get the Muscle Squirrel. Use it on the big tree: a giant sneaker drops; take its Shoelaces.
- Use the Shoelaces on the broken rope ladder to open the knot board. Hold the knot and drag it along a line to a connected hole; each line you pass along turns into white rope. The goal is to trace every line exactly once in one continuous stroke (lines may cross each other on the board; only re-using a line is not allowed). Start at the far-left hole, where five lines meet: a hole with an odd number of lines has to be the start or the end of the stroke. Then keep going, and avoid using a line that would cut off a group of lines you have not traced yet. Green highlights show the holes you can reach next; press RESET if you get stuck.
The picnic box lock
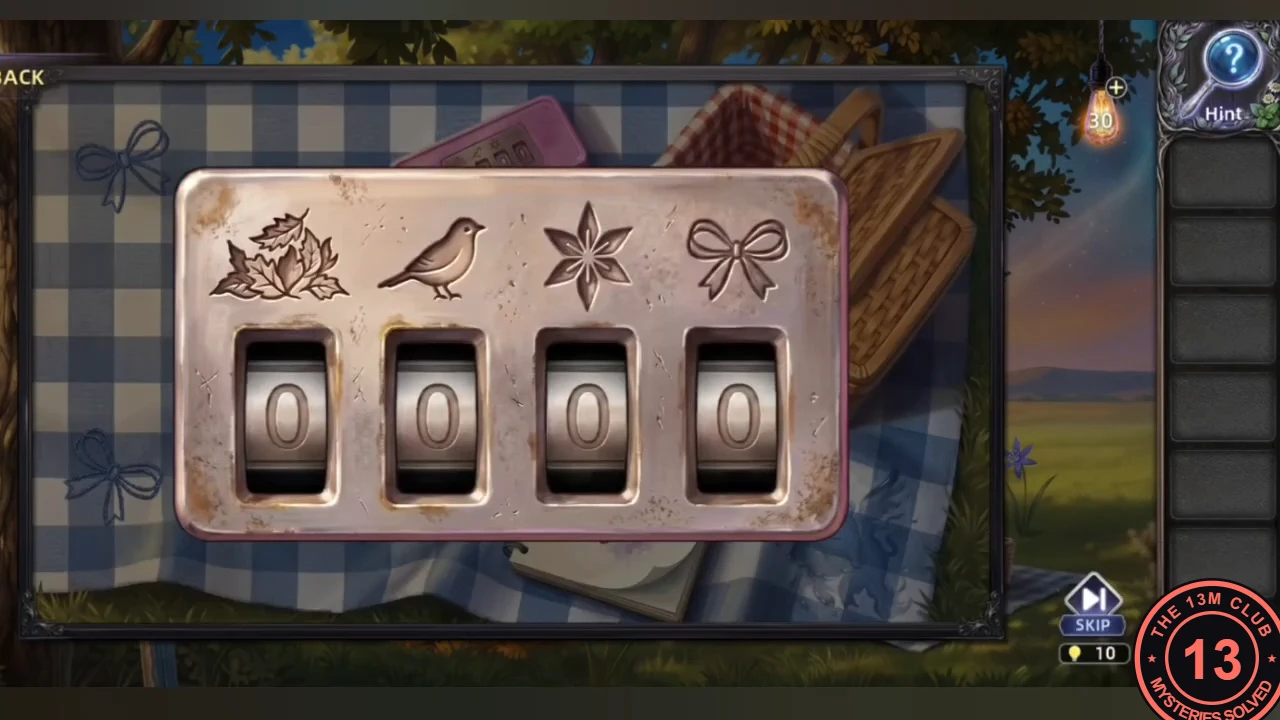
The picnic box lock asks for counts of things in the meadow.
- Count the leaf clusters, birds, star flowers and bows in the meadow and enter them on the picnic box: 4 3 8 6. Take the Paintbrush.CODE4386
The trapdoor password
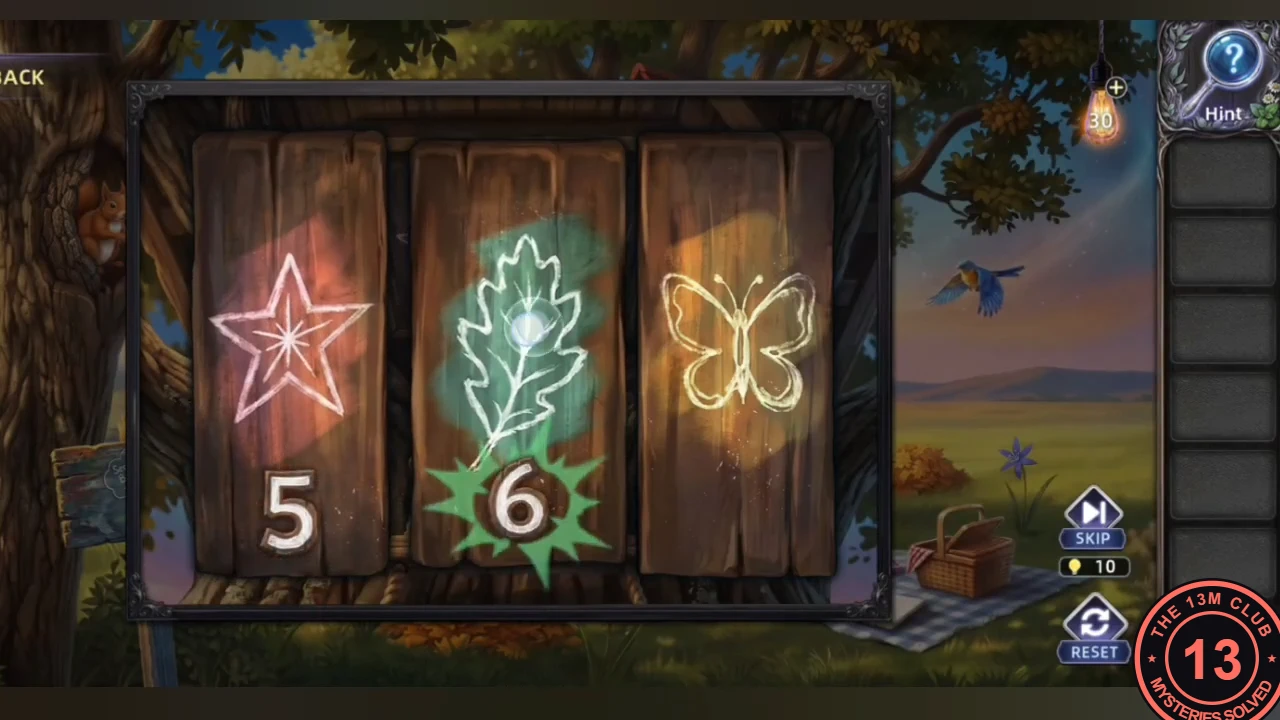
A painted picture gives the password for the trapdoor at the top of the ladder.
- Paint the sketchbook to get another Acorn; feed the squirrel again and use it on the tree to drop a paper airplane. Paint the blank drawing inside.
- At the trapdoor, enter the counts of stars, leaves and butterflies from the painting: 5, 4, 9.CODE5 4 9
The treehouse: pink box arrow lock
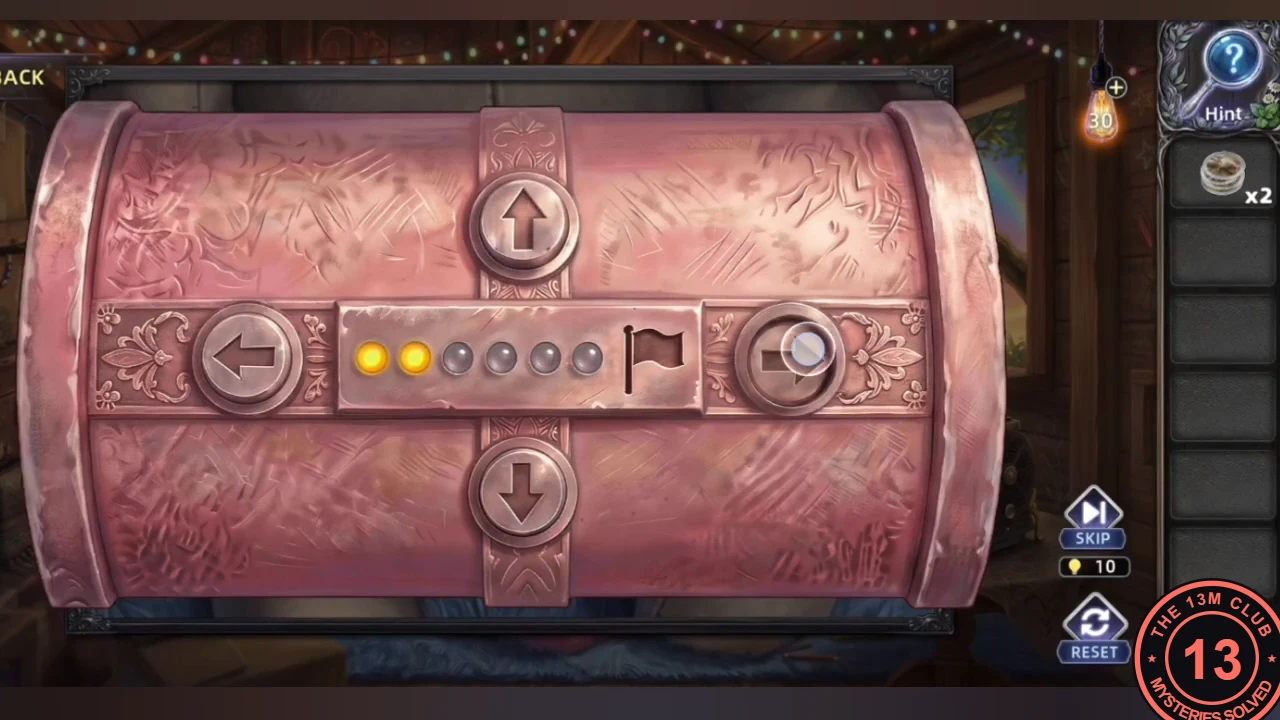
In the treehouse, collect the slides and use the wall map's route on the pink box arrow lock.
- Take the Scissors from the projector table. Use them on the red stitches of the plush rabbit's paw resting on the pink box: the paw opens and a Slide sits in the stuffing; take it. Take the second Slide from the wall map to reveal its red route.
- Enter the map route on the pink box: Right, Up, Right, Up, Left, Down. Take the Light Bulb and third slide and read the note.CODERight, Up, Right, Up, Left, Down
The projector scenes
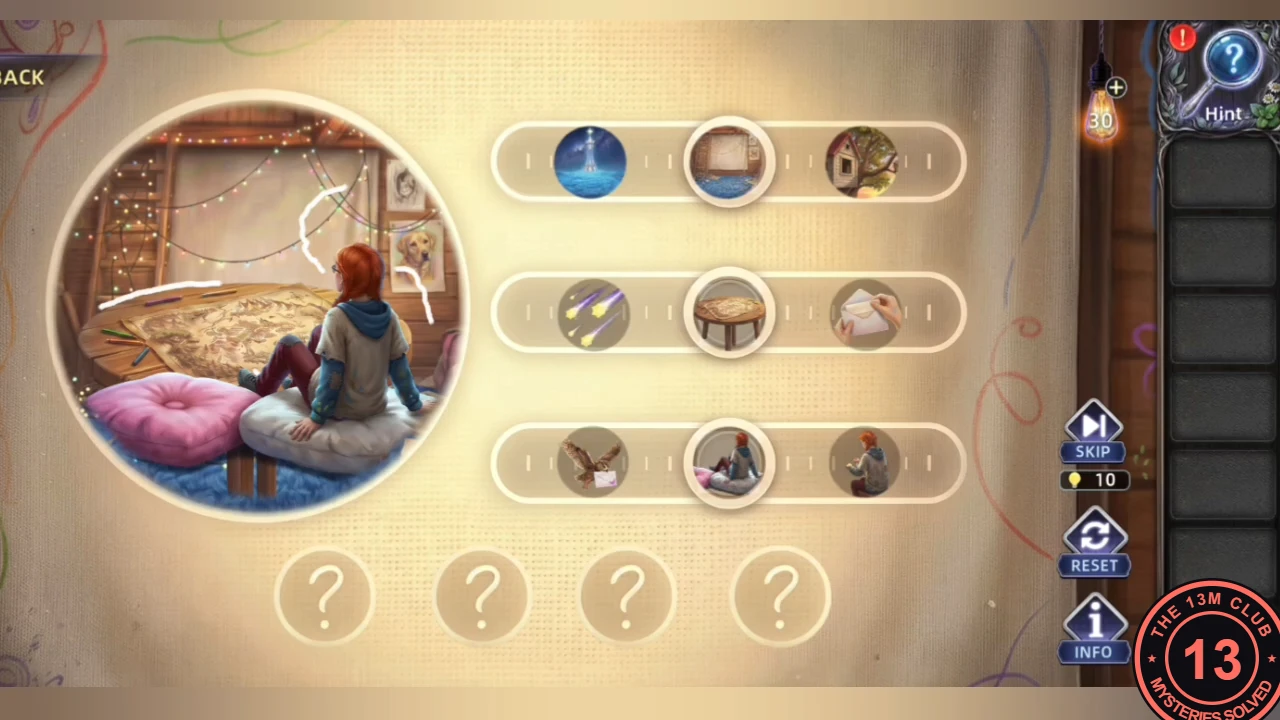
The projector needs all four story scenes rebuilt from three rows of picture dials.
- Put the bulb and slides in the projector. The projector has three rows of picture dials. Turn each row until the picture you want sits in its large centre circle. The preview shows the combined scene, and a finished scene drops into one of the four answer slots by itself. Set these four combinations, in the order the playthrough did them: Girl writing: top, the wall with the pinned board; middle, the round table; bottom, the girl seated at the table, seen from behind. Shooting stars: top, the glowing tower under the starry sky; middle, the shooting stars; bottom, the girl sitting on the cushions. Owl delivering the letter: top, the treehouse; middle, the white swirl of wind; bottom, the owl carrying the letter. Hands with the envelope: top, the room with the window and blue rug; middle, the hands holding the envelope; bottom, the butterfly.
Putting the story in order
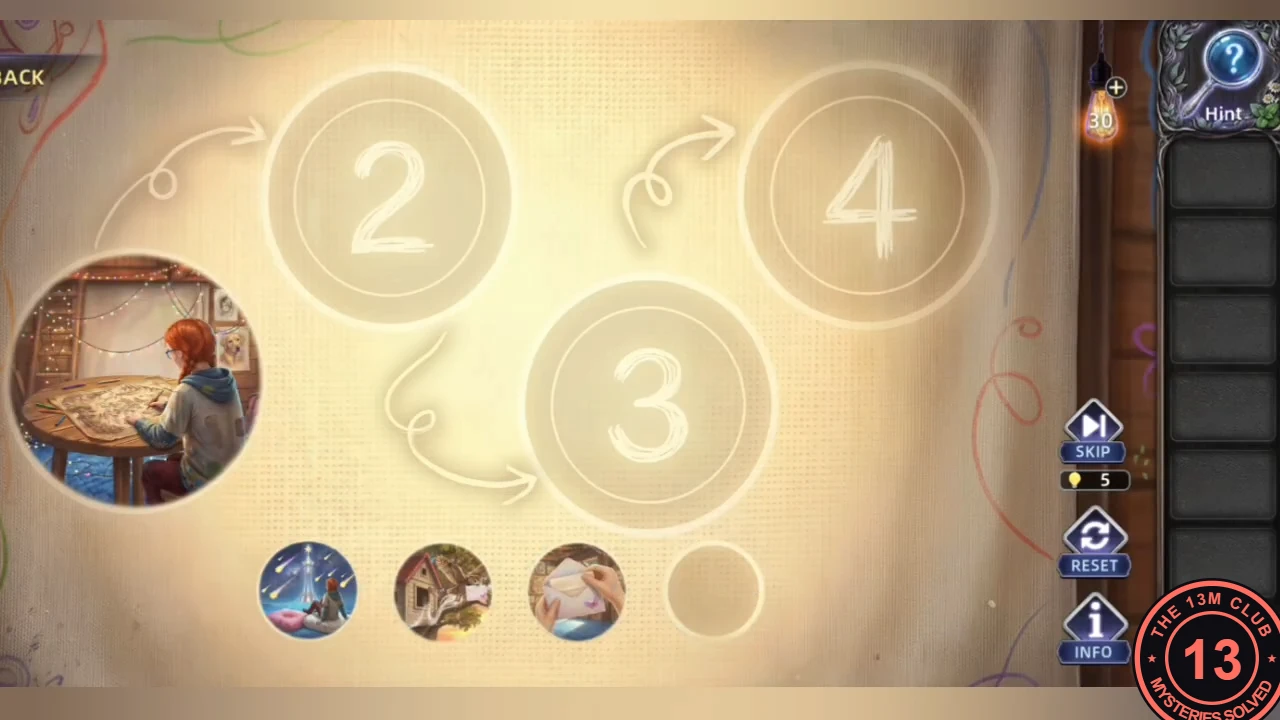
The note from the pink box gives the order of the four scenes.
- Order the scenes by the note: girl writing at the table, hands with the envelope, owl delivering the letter, shooting stars on the cushions. Ruth remembers her friend and the chapter ends.