CHAPTER 4
The Stray Dog and the Navigator
Feed the stray dog for the Wind-Up Monkey and use its key to fix the police car's navigator.
- At the gas station, open the bicycle bag where the stray dog growls and give it the Sandwich. The dog eats and lets you near: take the Wind-Up Monkey and the blue-and-white canister with a red label lying beside it (the game never shows this canister's name).
- Open the Wind-Up Monkey in your inventory and remove the Winding Key from its back with the Keychain Screwdriver.
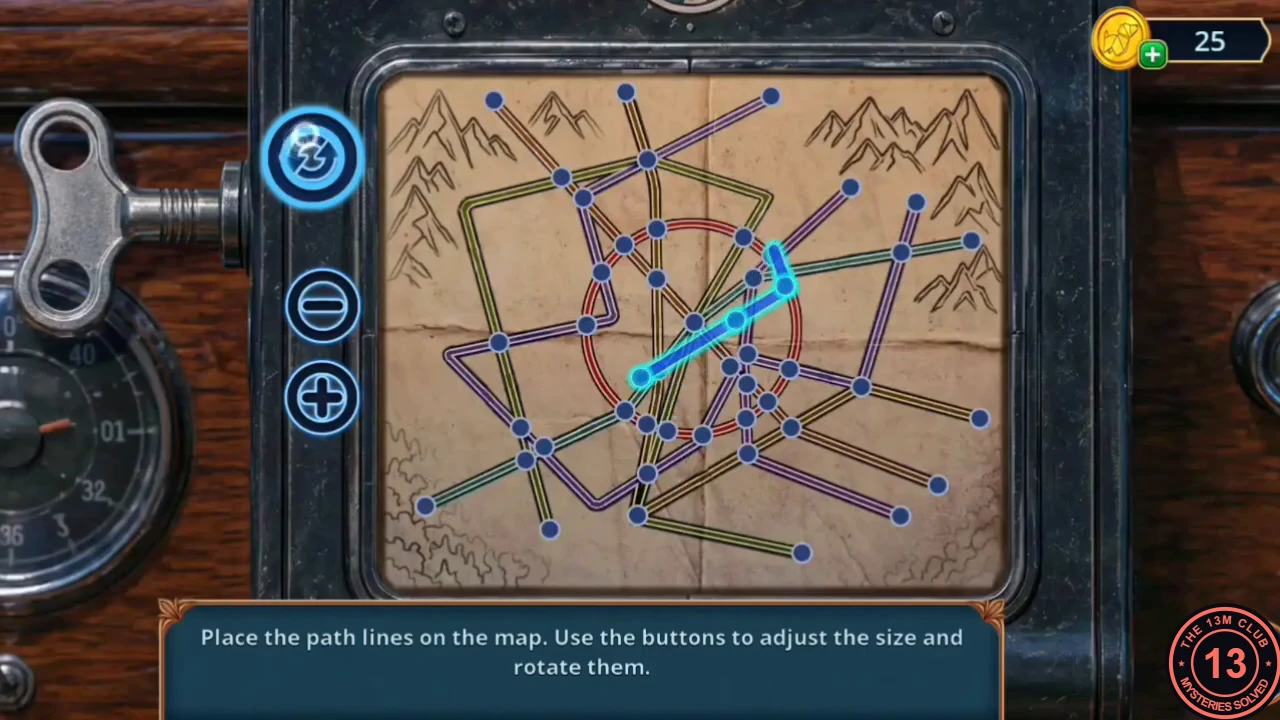
- Travel to the Mountain River camp and open the navigator on the police car's dashboard ('We won't get out of this forest without a navigator.'). Insert the Winding Key; the map puzzle starts.
- The instruction reads: place the path lines on the map, using the buttons to change their size and rotate them. Turn the glowing path with the rotate button, resize it with the minus and plus buttons and drag it into place; repeat until the whole route lies exactly on matching lines of the map and ends at the green point at the upper right. The finished route is shown in this section's screenshot. The task to fix the navigator is complete.
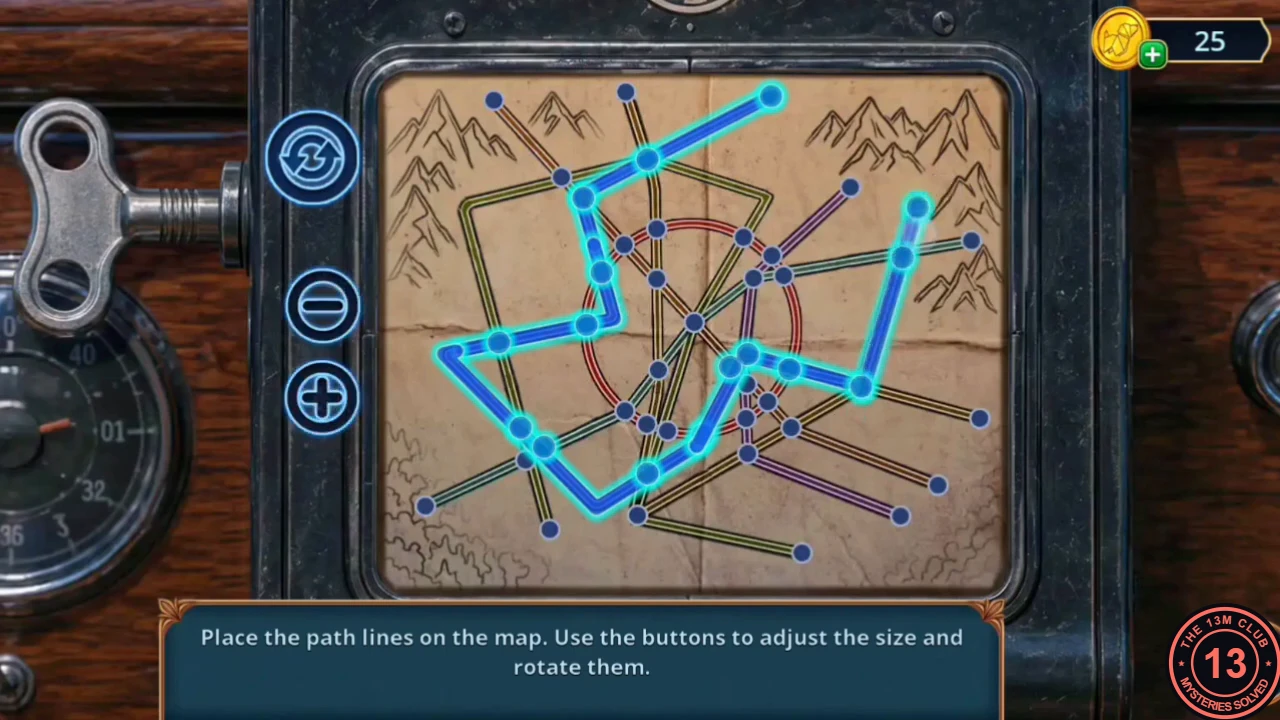
Solved: the complete route on the map.
CHAPTER 4
Serenity Deciphers the Diary
Serenity offers to decipher Zosta's Encrypted Diary through a rune search.
- Go back to Serenity's Crypt and give Zosta's Encrypted Diary to Serenity ('I will help you decipher the text.'). The rune search starts.
HIDDEN OBJECTS
Serenity's Rune Search
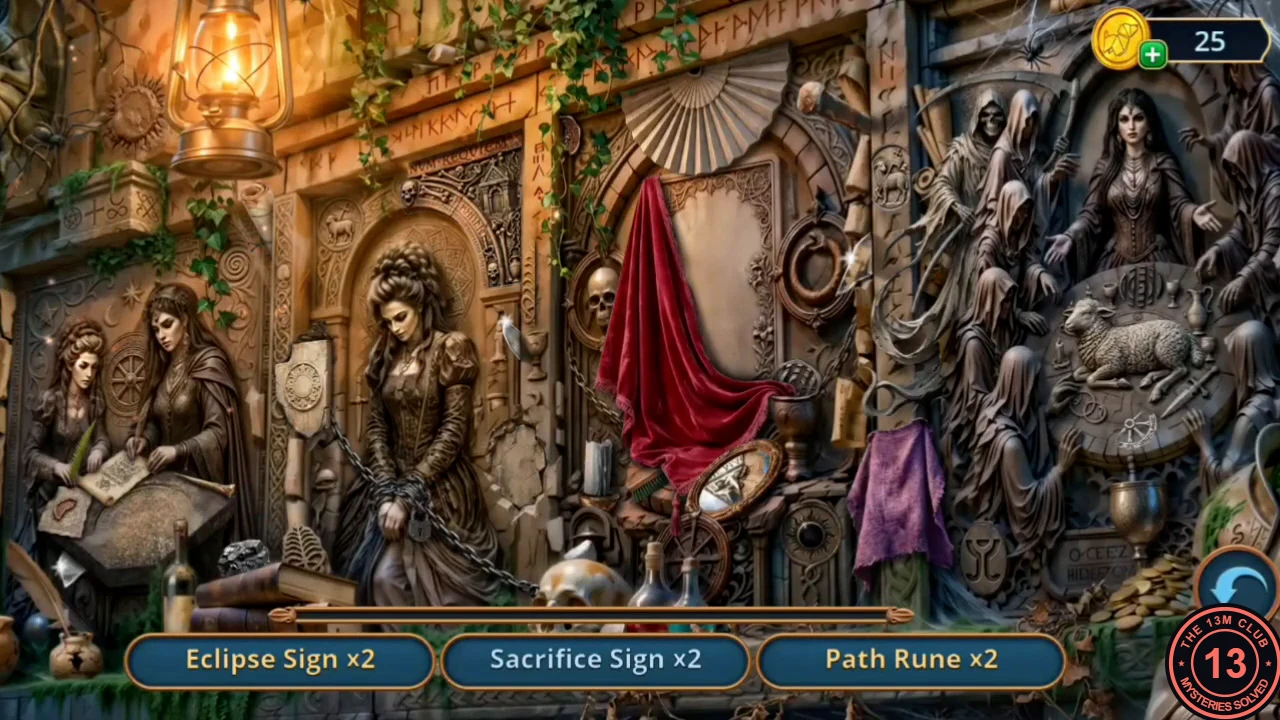
A sets search in Serenity's carved vision: find two of each symbol; new symbols replace finished sets. The reward is the Bag.
- Find two each of the Eclipse Sign, Sacrifice Sign, Path Rune, Fern Rune, Chalice Sigil and Mist Seal. When all are found, take the Bag (an item you can open). Serenity explains: 'To reach the other shore, you must dispel the spell by following the directions of a magical compass - it will show you the right way. The compass is likely hidden somewhere in Zosta's house.' Decision: 'We will free you when it's all over.' costs 60 coins and gives +2 points; 'The main thing is to stop Zosta.' is free and gives 0.