Zosta's Abandoned House
Zosta's Abandoned House. Green hawk moths swarm the chest on the pedestal on the right ('I think these insects are dangerous...'), and a rune barrier blocks the doorway on the right ('A barrier blocks the way, covered in strange markings. If only I had a hint...').
- Open the table under the round window and take the Tarot card. The Recipe Book is bound shut ('The recipe book is bound shut with leather straps. I'll need something sharp enough to cut through them if I want to see what's inside.').
- Open the stained-glass window on the left; some of its pieces are missing. From the sill, take the bundle of dried forest herbs and the third book (Books 3/3). An open book here explains that green pollen hawk moths cannot stand the smoke of dried forest herbs.
- Open the bookshelf in the corner ('This wardrobe feels out of place. Some books are missing from its shelves, too. Hmmm.') and put the three Books on the empty shelf. The shelf swings open into a hidden dressing room.
The Hidden Dressing Room
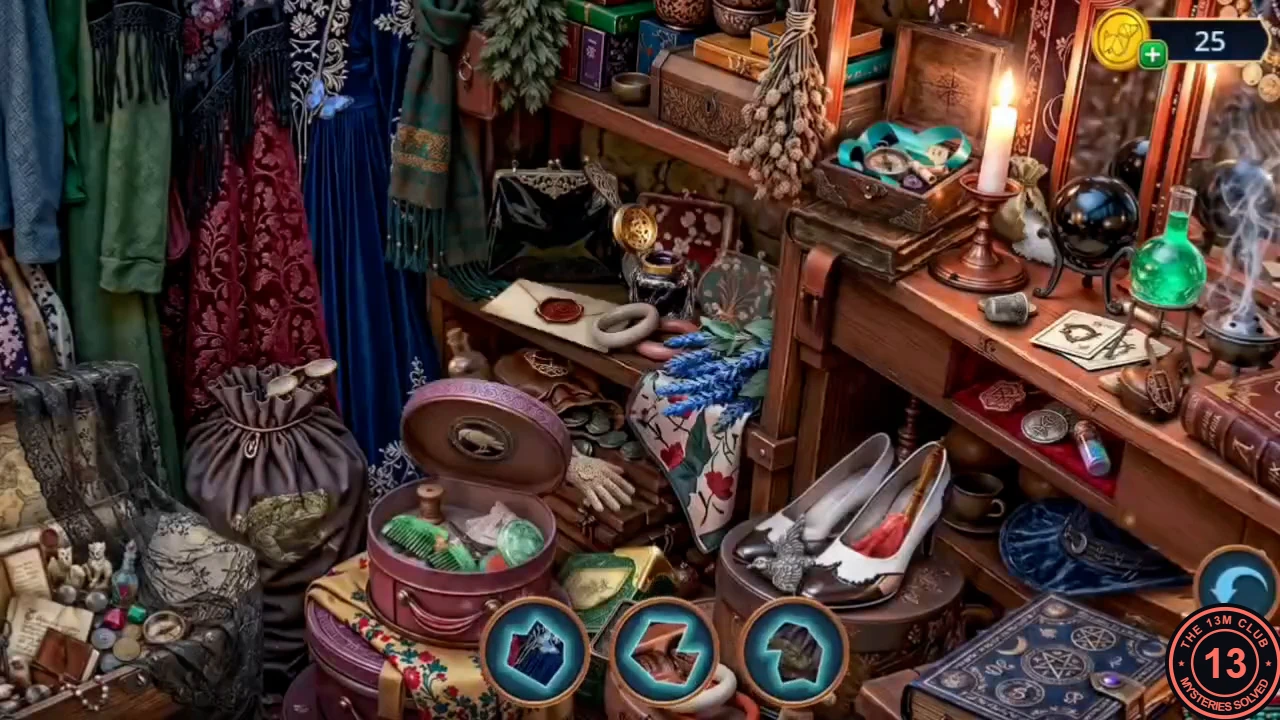
A fragment search: the bottom bar shows three outline pieces at a time, and you find the matching fragments in the room. The reward is the Unusual Axe.
- Look for the fragments among the cloth hangings on the left, on the top shelf, by the hat box and near the shoes. When every fragment is found, they join into the Unusual Axe.
The Smoking Pipe
Open the Recipe Book, make the Herbal Mixture and the Smoking Pipe, and smoke the moths off the chest.
- Cut the Recipe Book's strap with the Unusual Axe. The book opens on an insect protection ritual: grind dried wild herbs into a fine powder, fill a pipe with it and set it alight. Take the Belt. The axe comes back to your inventory as the Hatchet, which you can inspect.
- Fill the three slots beside the Recipe Book with the dried herbs, the Antique Stamp (as a pestle) and the Cracked Bowl (as a mortar). The herbs are ground: take the Herbal Mixture. The Antique Stamp and the Cracked Bowl come back to you.
- Open the Hatchet in your inventory — it is a pipe tomahawk. Put the Herbal Mixture in the bowl slot and light it with the skull Lighter. Take the Smoking Pipe.
- Use the Smoking Pipe on the moth-covered chest on the pedestal. The smoke puzzle starts.
The Hawk Moth Smoke Puzzle
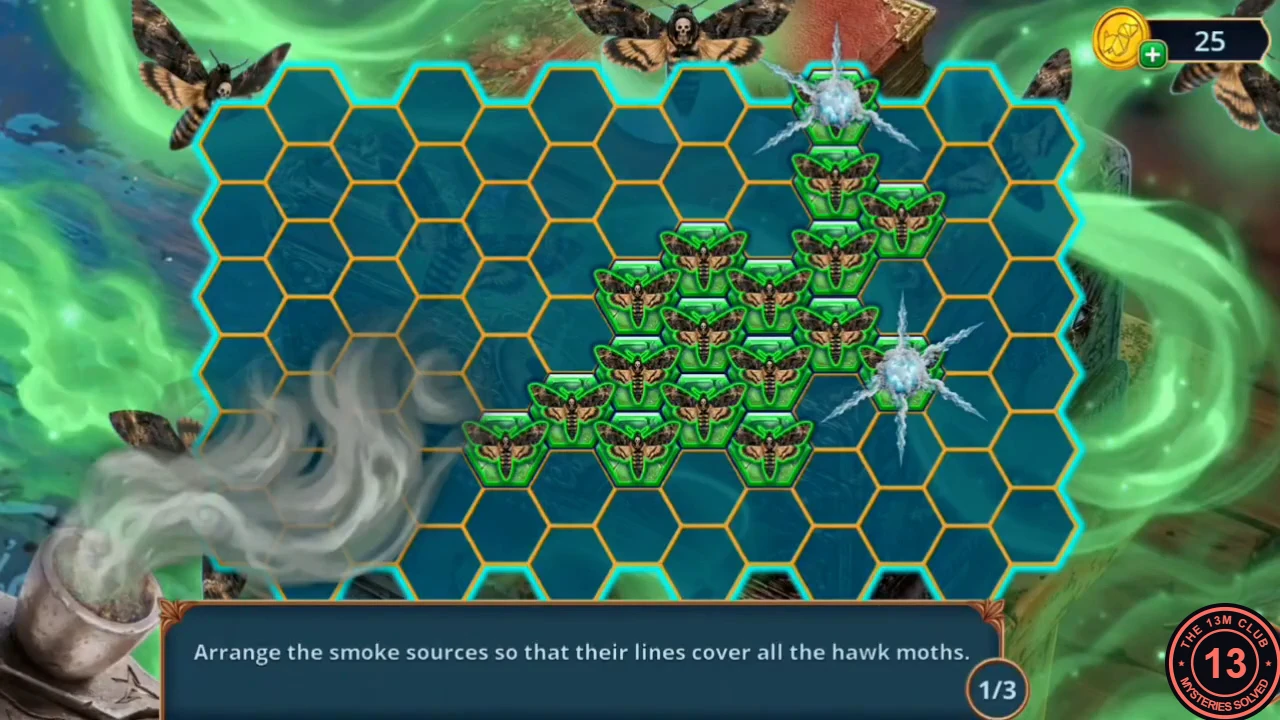
The instruction reads: arrange the smoke sources so that their lines cover all the hawk moths. Each smoke source sends straight lines across the hex grid in its six directions.
- Drag the smoke sources until every moth tile lies on one of their lines. There are three rounds: two sources in round 1, two in round 2 and three in round 3. The solved layouts are shown in this section's screenshots.
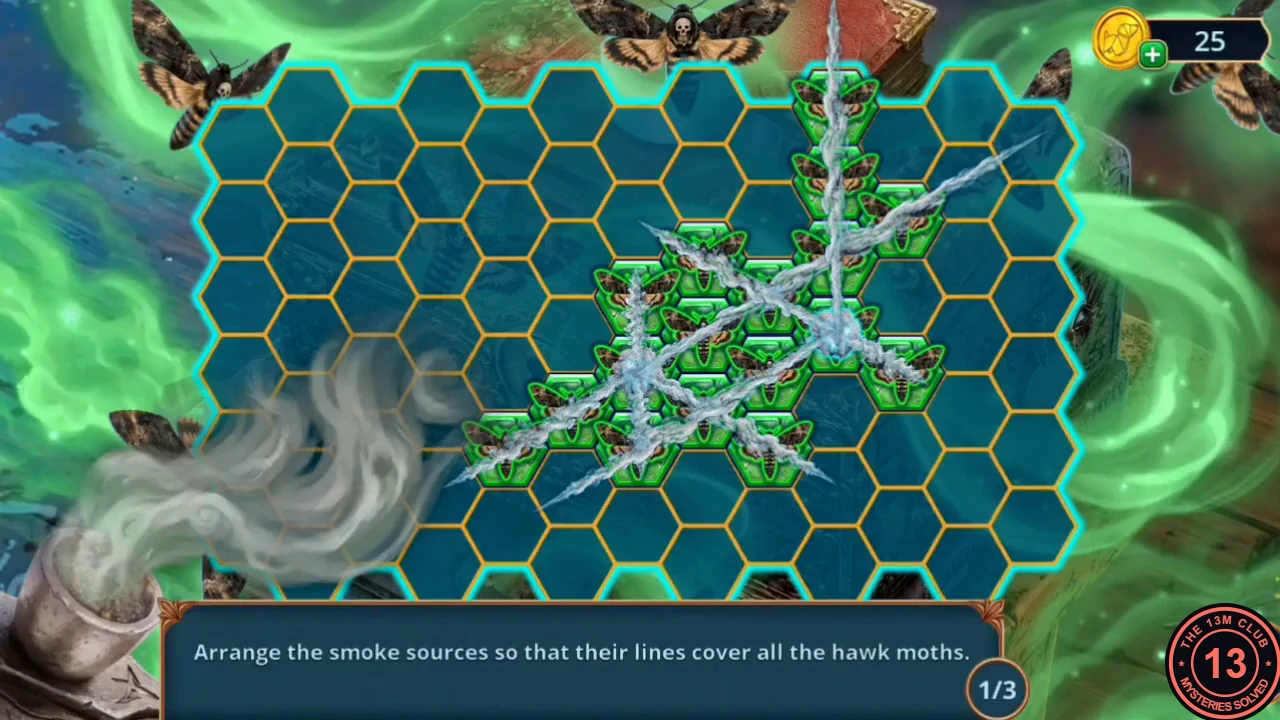
Round 1 solved. 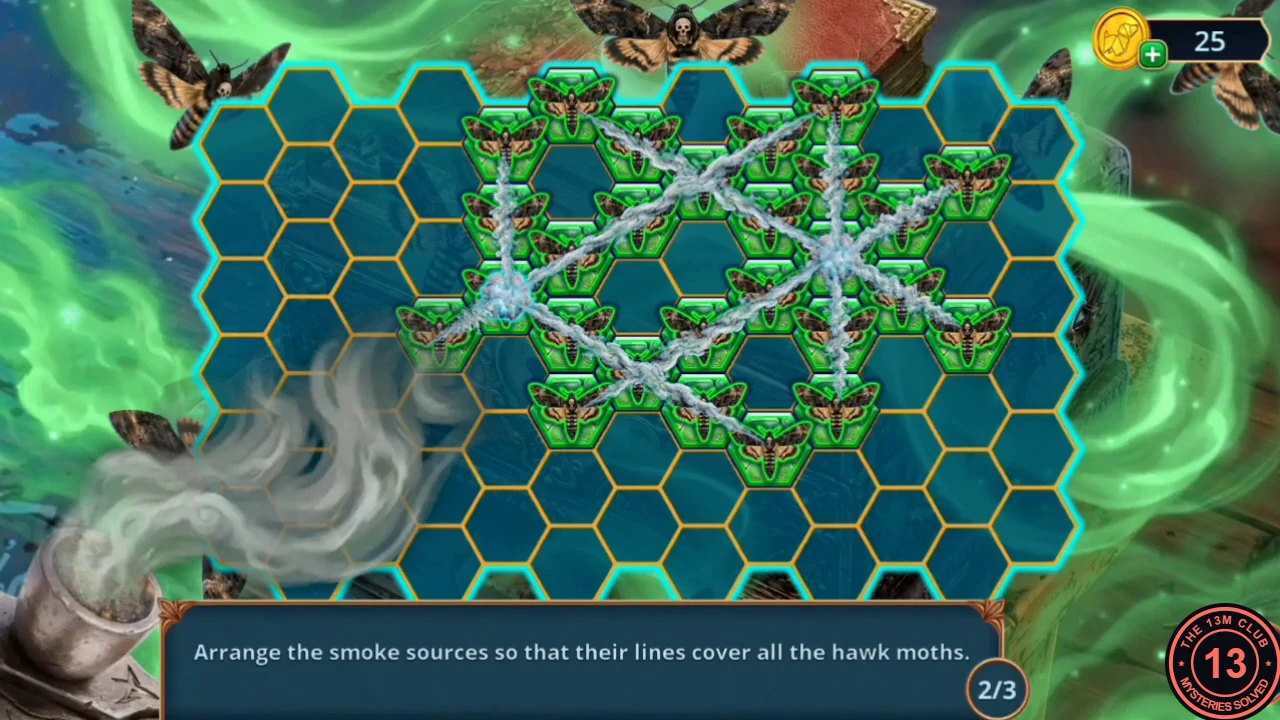
Round 2 solved. 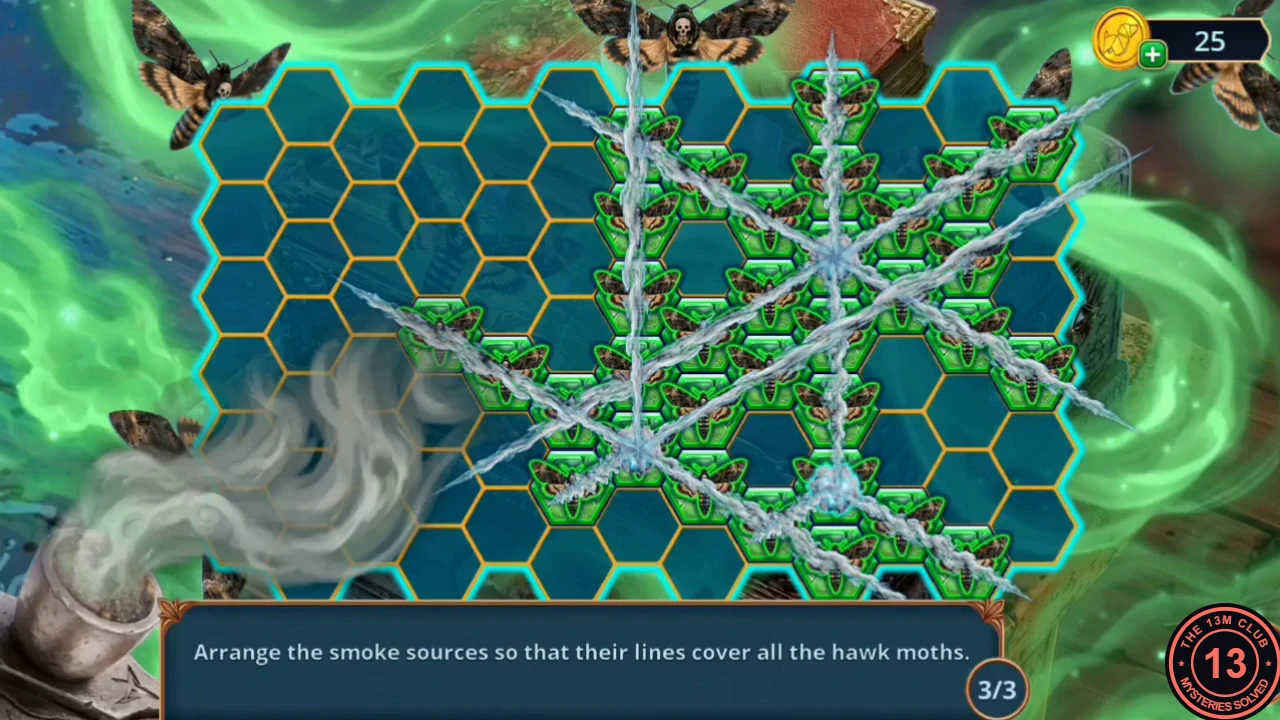
Round 3 solved. - In the opened chest, take Zosta's Encrypted Diary ('The text is clearly encrypted. I need to show this to Serenity. Maybe she can help me read it.') and the Tape. A second lock remains ('It must have a key somewhere.').
- Torn photo pieces lie on the chest lid: stick them together with the Tape. The photo shows a trailer interior, and the back reads: 'Jack, I left a gift for you in the trailer. But you'll have to try hard to find it. Look closely at the photo - it contains a clue to its hiding place.' Take the Trailer Photo.
The Gift in the Trailer
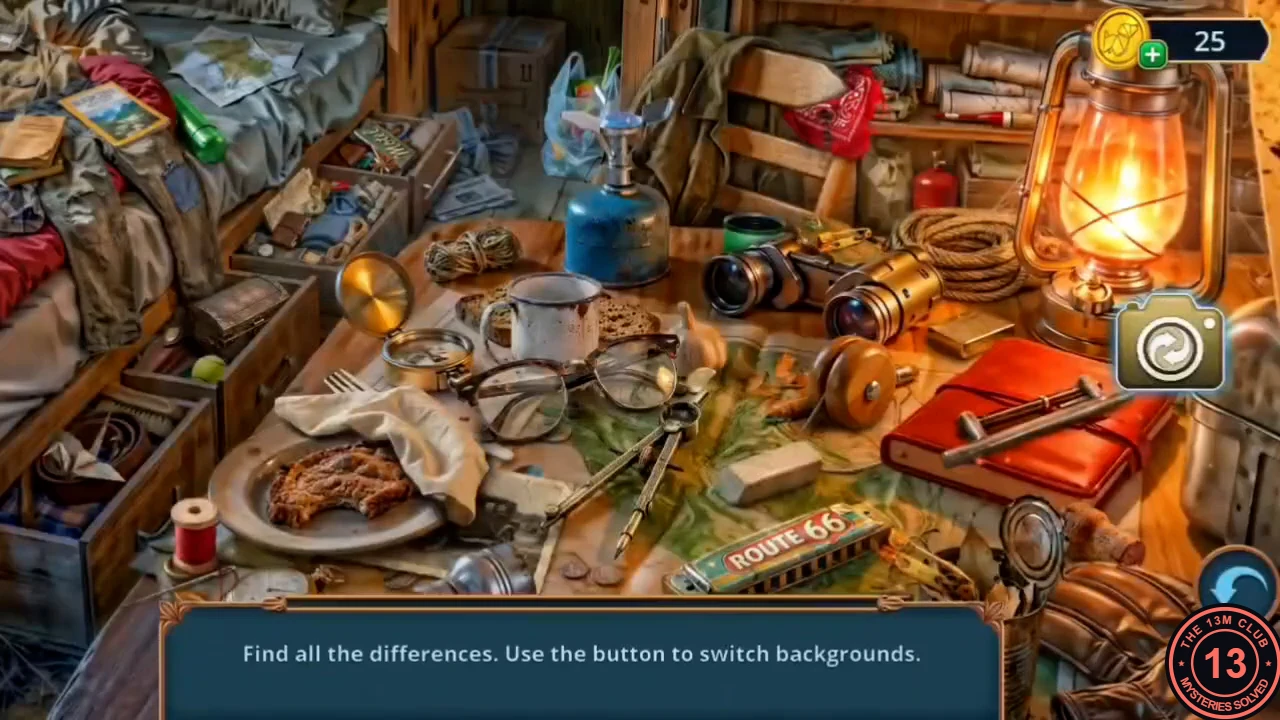
Use the Trailer Photo to find the gift hidden in the trailer, then get the second gear from the nest.
- Travel to the Mountain Road. Open the trailer doorway and place the Trailer Photo. A spot-the-difference scene opens.
- The instruction reads: find all the differences, using the button to switch backgrounds. Switch between the trailer and the photo with the camera button and tap all 11 differences: the map book on the bed, the plastic bag behind the gas stove, the fire extinguisher on the right shelf, the open drawer on the left, the compass, the spot by the cup, the brass box by the lantern, the eraser, under the napkin, the spool of red thread, and the right edge near the harmonica. Then take the Kite that appears in the left drawer.
- Open the tree above the police car and knock the gear out of the nest with the Kite: Gears (2/2).
Repairing the Cable Car
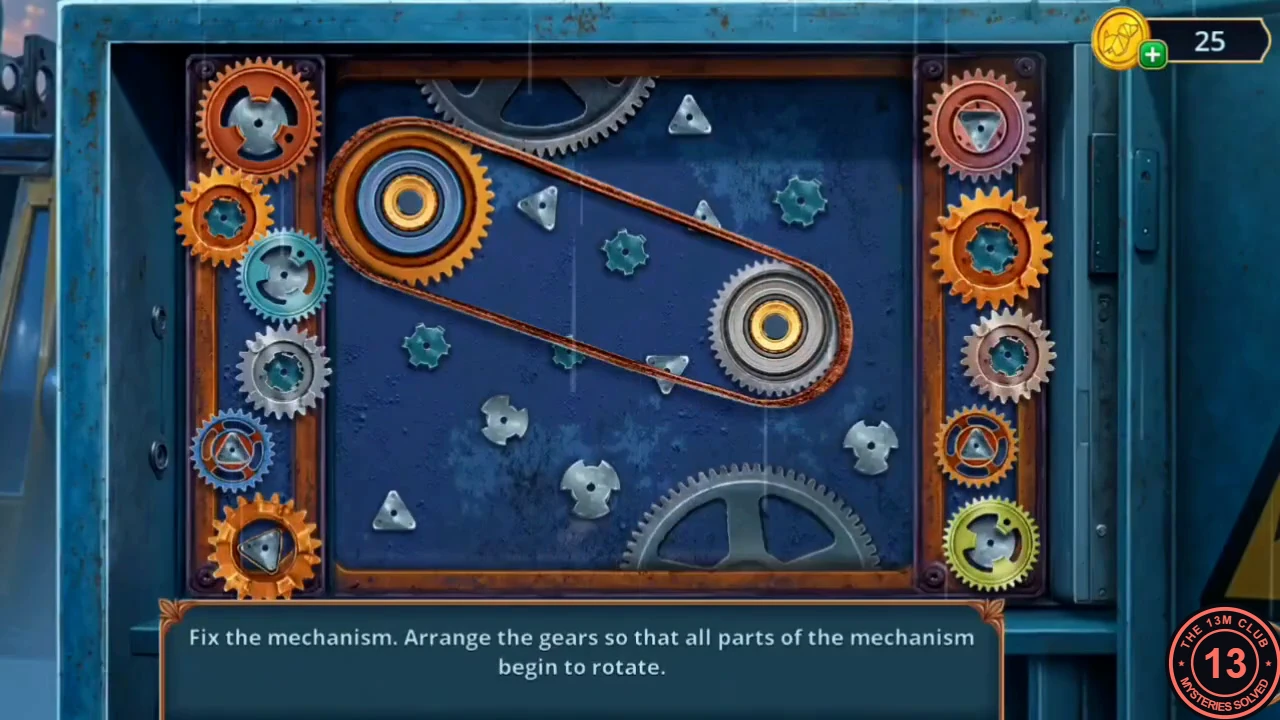
Fit the parts into the cable car's gear box, repair the mechanism and power the generator.
- At the cable car station, open the cable car's gear box. Fill its three slots with the Gears, the Bicycle Pedal and the Belt. The gear puzzle starts.
- The instruction reads: fix the mechanism by arranging the gears so that all its parts start to rotate. Move gears from the side racks onto the pegs whose shape matches each gear's hub (triangle, star or three-prong) until a chain of meshing gears links the two big belt wheels. The solved layout is shown in this section's screenshot.
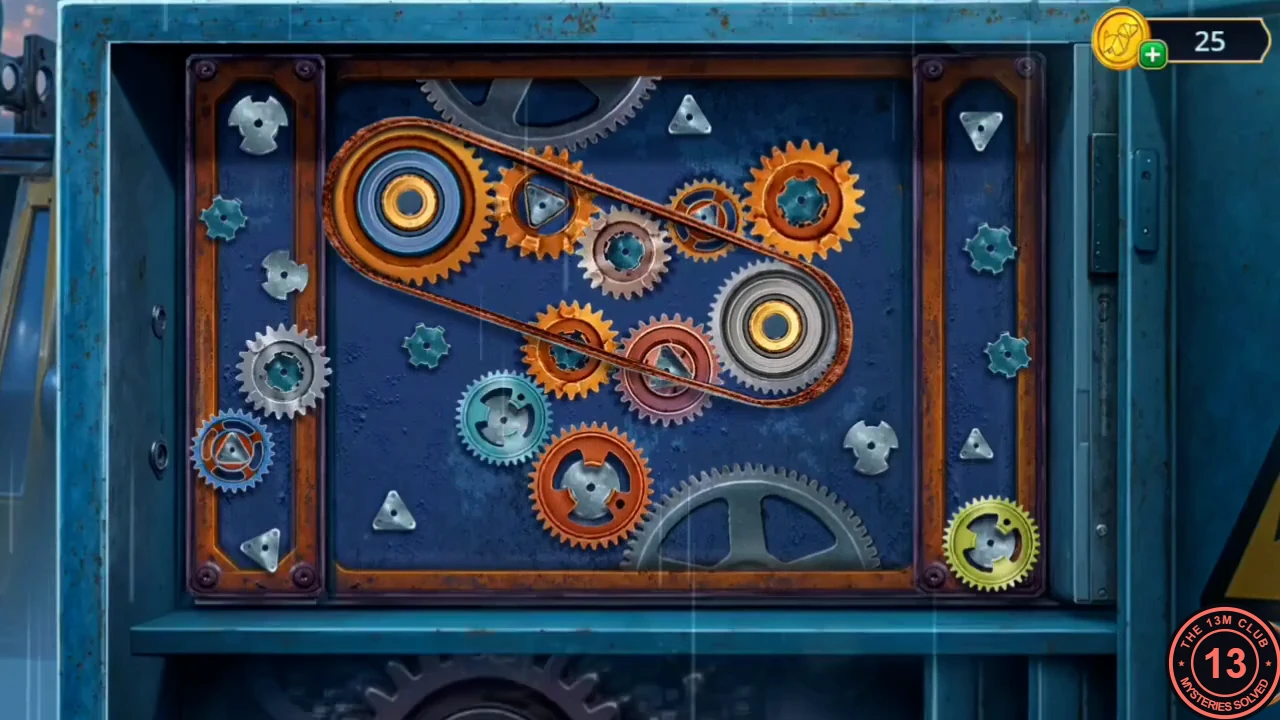
Solved: the working gear chain. - Take the lever from the cable car door: Jack's Handle. Fit it onto the jack under the old rail cart beside the station and crank it; the cart lifts. Read the note from the Salem County mechanic: the lift to the old road is no longer serviced, and mechanics dream of a black-haired woman by a cliff asking to be 'taken to the river'. Take the Paper and the Rubber Glove.
- Back at the Abandoned Gas Station, open the generator and use the Rubber Glove with the Keychain Screwdriver that is already in place. The generator light turns green and the screwdriver comes back to you. Open the kiosk window: a second search starts.
The Kiosk Riddles
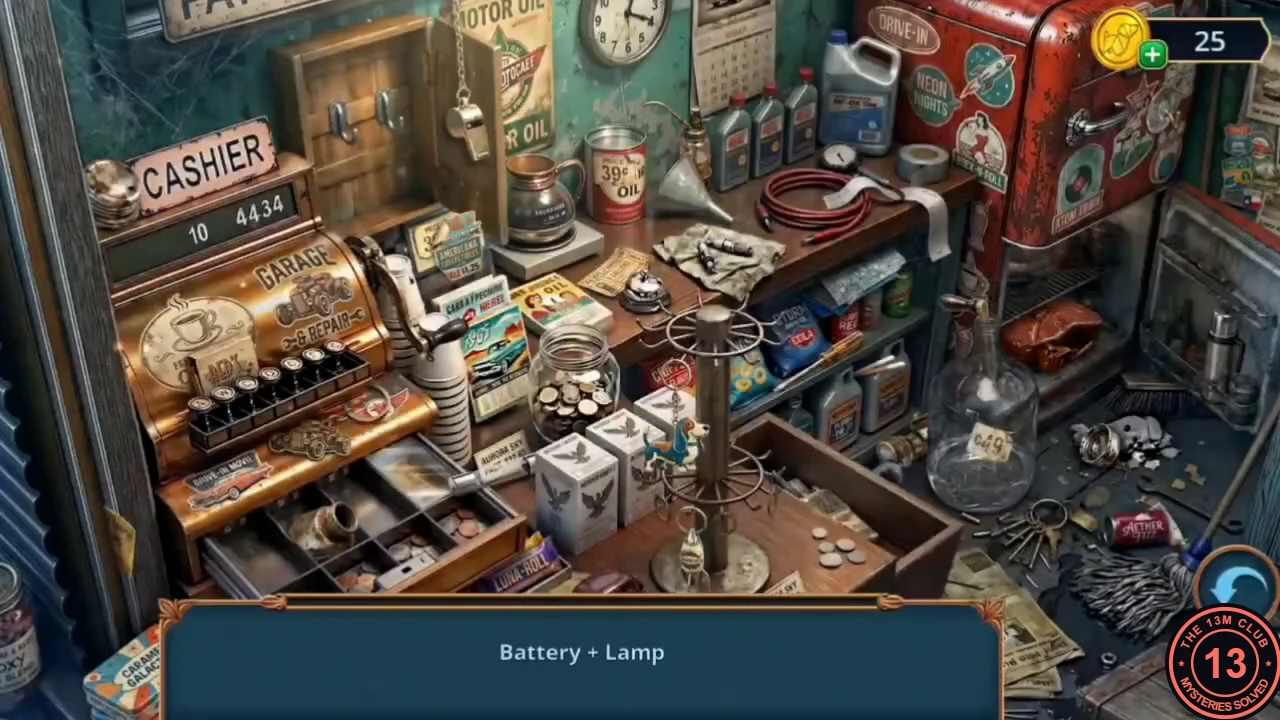
A two-word clue search in the kiosk. One clue is shown at a time as two words; find the single object that both words point to. The reward is the Sandwich.
- The clues in order, with their answers: Battery + Lamp = flashlight (lying in front of the big glass jug). Heat + Flask = thermos (inside the open cooler on the right). Screw + Handle = yellow-handled screwdriver (lying on the bags of chips). Gas Station + Tank = small red fuel can (on the cooler's wire shelf). Connection + Voice = grey radio handset with a speaker grille (in the open wooden crate). Road + Paper = folded road map (on the shelf under the red hose). Fire + Box = matchbox (on the front of the cash register). Lips + Sound = whistle (hanging on a chain at the top of the cupboard door). Oil + Bottle = brass oiler with a long spout (beside the '39¢ Oil' tin). Receipt + Roll = receipt roll (hanging over the shelf edge beside the red hose). Lightning + Glass = glass fuse (in the open cash drawer). Tag + Key = bunch of keys with a brass tag (on the floor right of the crate). When all twelve are found, take the Sandwich.