The Fountain Valve
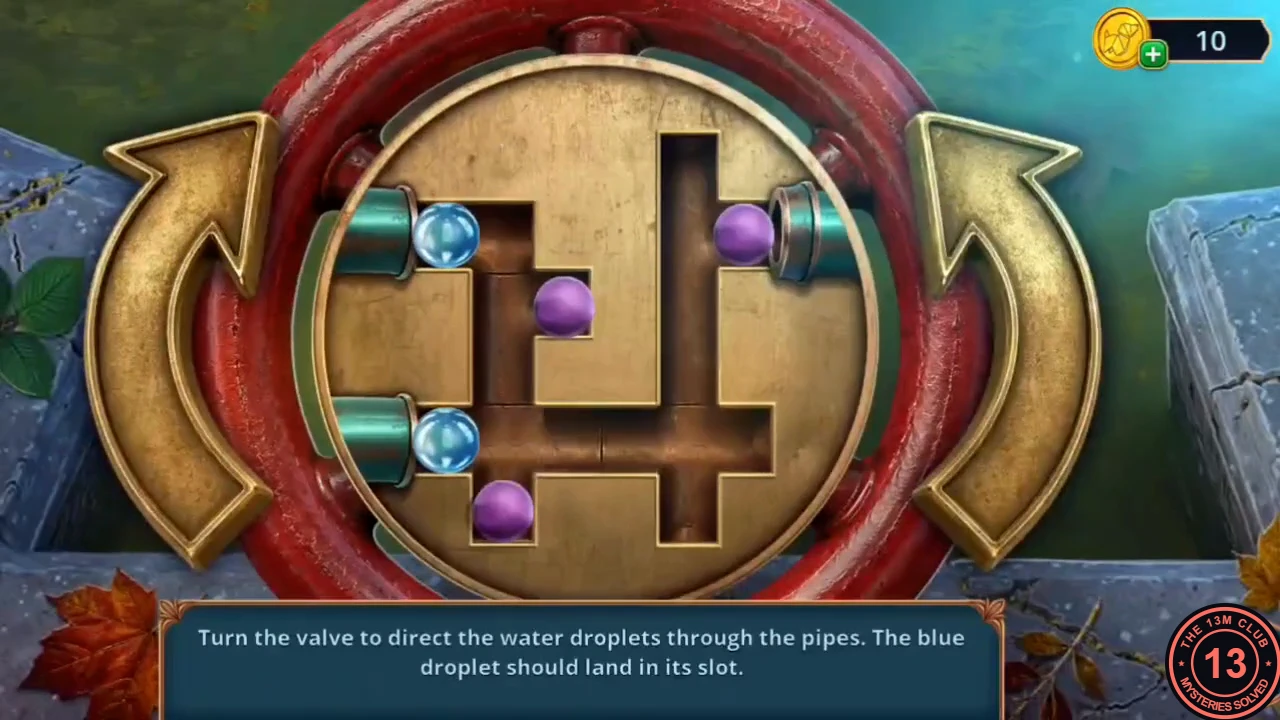
The instruction reads: turn the valve to direct the water droplets through the pipes; the blue droplet must land in its slot. This guide gives the target and a working approach rather than every move.
- Go to the Old Town of Salem, open the fountain basin and fit the Valve onto the bare threaded stem. Tap it to open the droplet puzzle.
- The two big arrows turn the whole valve disc a quarter turn to the left or right. After each turn the droplets fall downwards through the pipe channels, and the purple droplets can block the way. Keep turning until the blue droplet drops into its slot at the bottom; the purple droplets may end up anywhere. Water runs from the fountain spout: take the Essential Oil from the basin and the Instructions for Untying Knots.
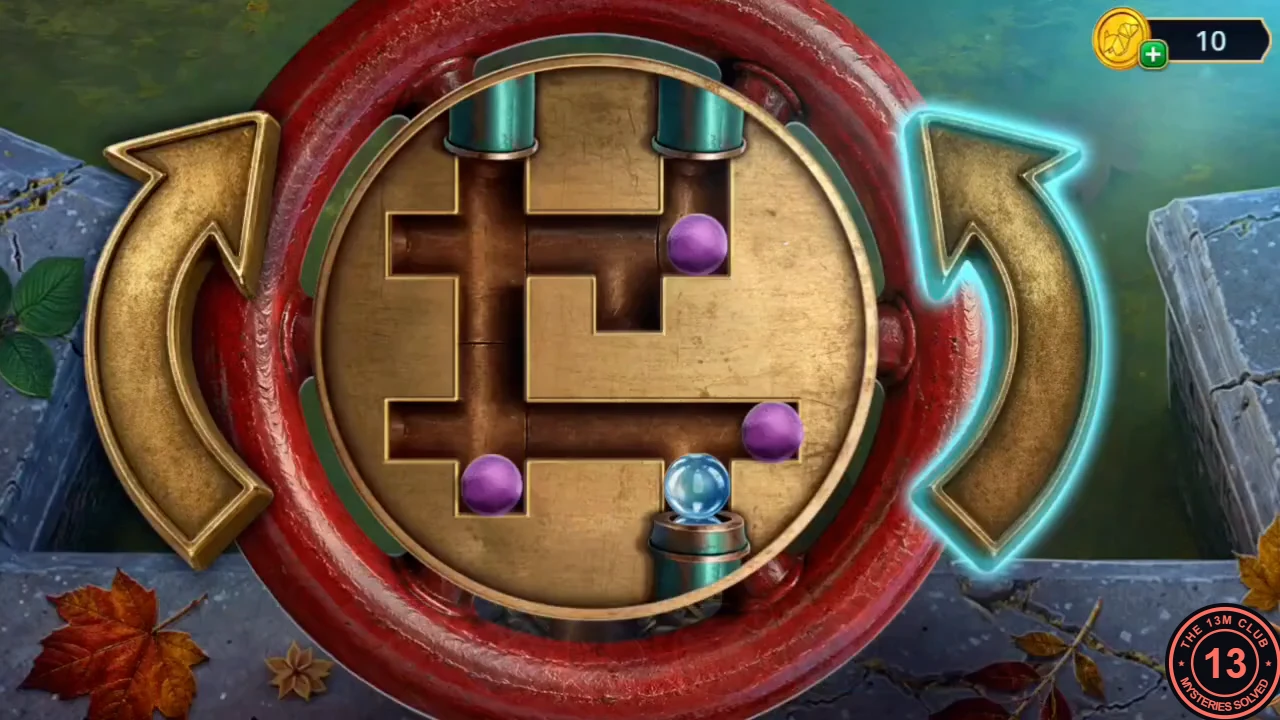
Solved: the blue droplet is in its slot at the bottom.
The Homemade Sonar
Untie the hose, build a homemade sonar and use it on the creek in the Secret Passageway.
- Still in the Old Town, open the iron fence with the knotted green hose and use the Instructions for Untying Knots on it. Take the Rubber Hose.
- Open the Telephone Capsule in your inventory (it has three empty slots) and add the Rubber Hose, the copper funnel from the raven's cage and the Empty Can. This builds the homemade sonar described in the note on the can.
- Travel to the Secret Passageway, open the creek below the Old Shield and lower the sonar into the water. It detects something under the debris and a search scene opens.
Creek Debris: Sets of Three
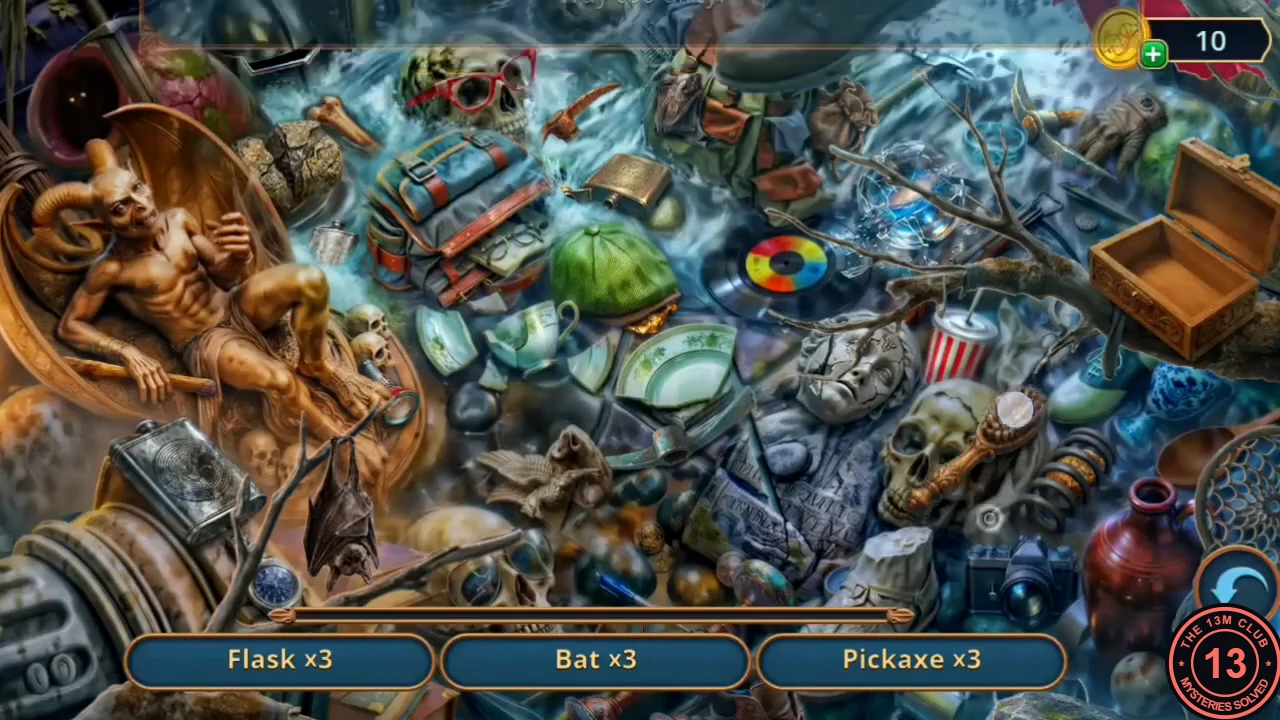
A sets search: the bar asks for several copies of each object, and the count goes down as you find them. The reward is the File.
- Find three of each: Flask, Bat and Pickaxe. Once all the flasks are found, Gold Piece takes their place on the bar; find those too. Then take the File.
The Wind-Up Car
Build a wind-up car and send it through the tunnel in the Secret Passageway.
- In the Secret Passageway, open the chained torch bracket on the left pillar and cut through the chain with the File. Take the Golden Earring.
- Open the Toy Car in your inventory. Fit the Button from the jar as its missing wheel and the Golden Earring as its winding ring. You now have the Wind-Up Car.
- Open the small tunnel opening in the wall on the right and put the Wind-Up Car in front of it. The tile maze opens.
The Tunnel Maze
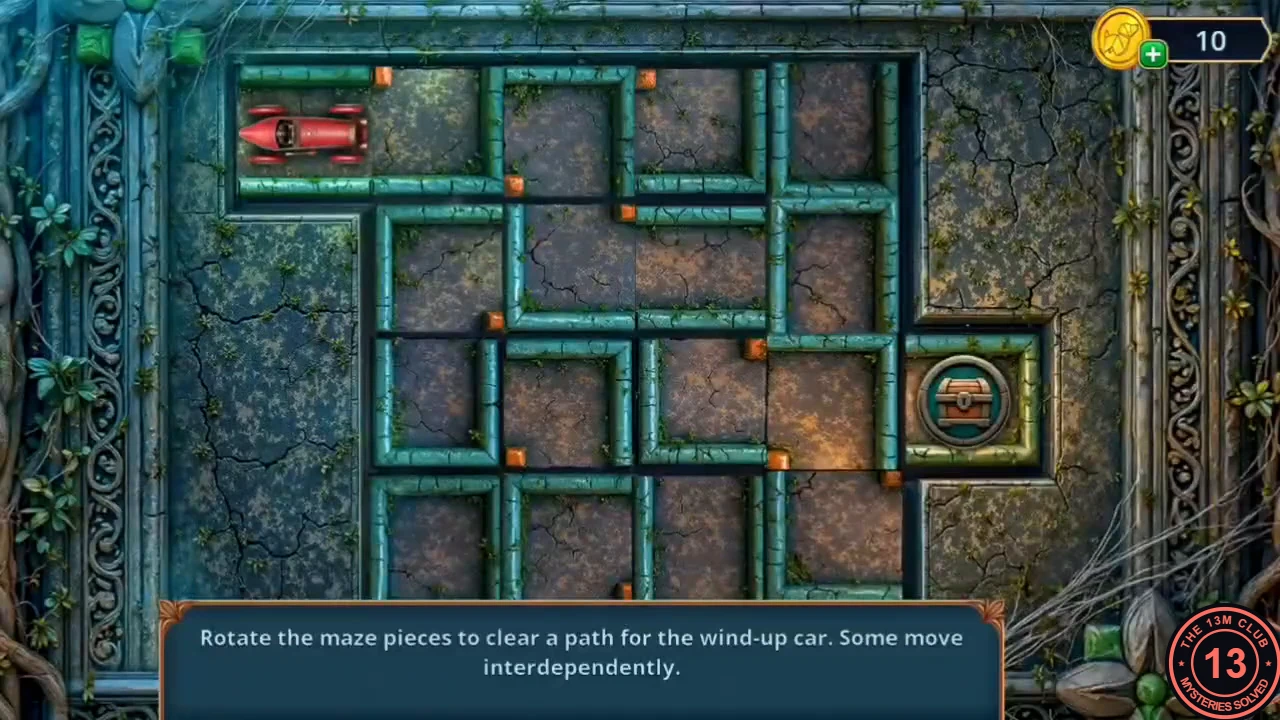
The instruction reads: rotate the maze pieces to clear a path for the wind-up car; some of them move together. This guide gives the target and a working approach rather than every move.
- Tap the square tiles to rotate them (some tiles turn together) until one unbroken corridor runs from the red car at the top left to the round exit on the right; the finished path is shown in this section's screenshot. The car drives through, a fox runs out of the tunnel, and the car brings back the third pink fragment (3/3) and the Fox Tail.
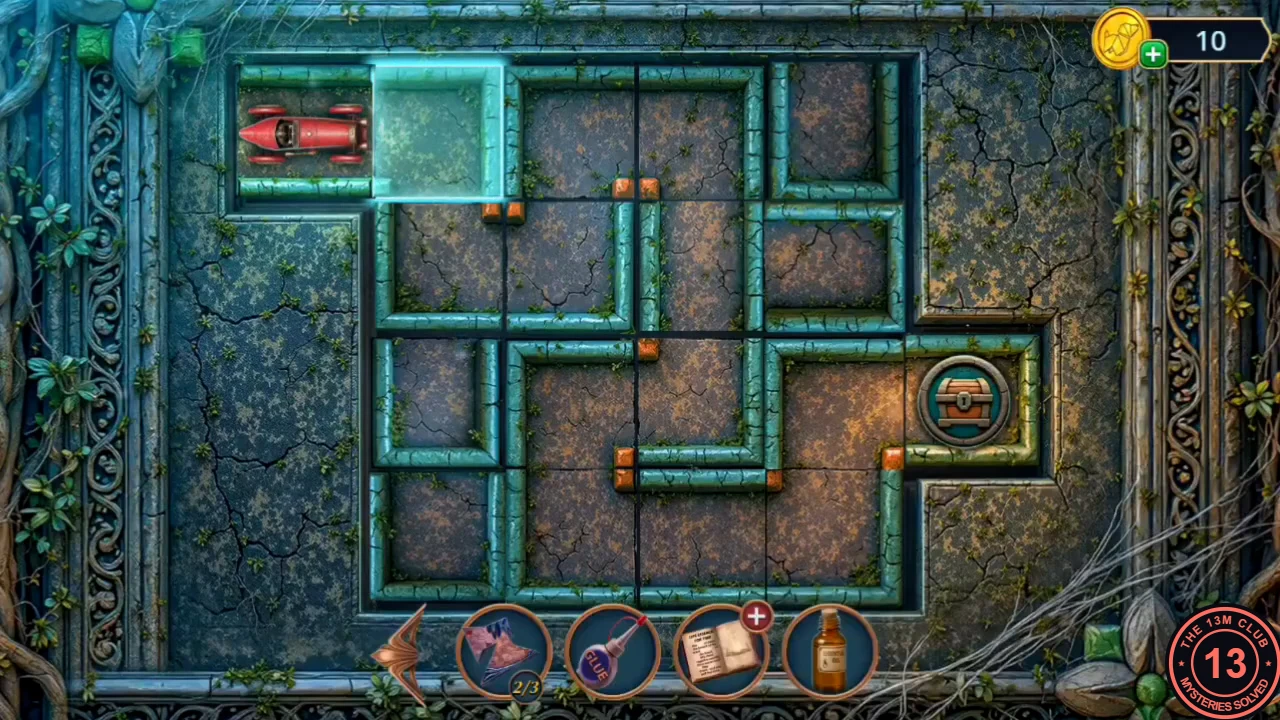
Solved: the finished corridor from the car to the exit.
The Raven Floor and the Photograph
Complete the raven floor mosaic and repair the camera to photograph the statue.
- Inside the church, open the raven mosaic on the floor and put the three pink fragments into its gaps. The mosaic slides open: take the Old Lantern and the Button below it.
- Open the Jammed Camera in your inventory and fit the new Button and the Bubble Gum into its two slots. It takes a picture: the Statue Photo ('The statue looks... different in the photo. Entirely different pose!').
The Statue's Pose
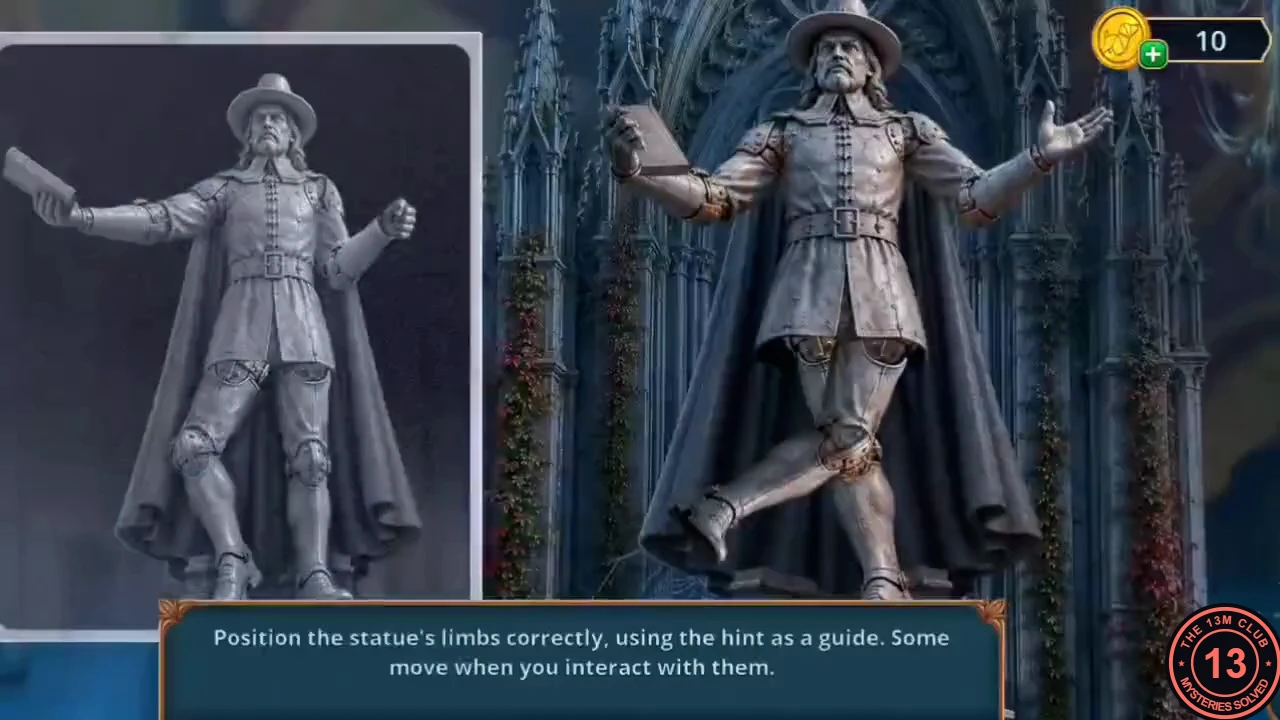
The instruction reads: position the statue's limbs correctly using the hint as a guide; some limbs move when you interact with others.
- Open the statue in the niche at the back of the church and place the Statue Photo there. The pose puzzle opens with the photo on the left.
- Tap the arm and leg joints to change their position until the statue matches the photo: the statue's right hand (on your left) holds the book out to the side, the other arm is stretched out with a clenched fist, and both legs stand straight and apart. The base opens: take the Matches and the Fortune-Telling Machine Handle.
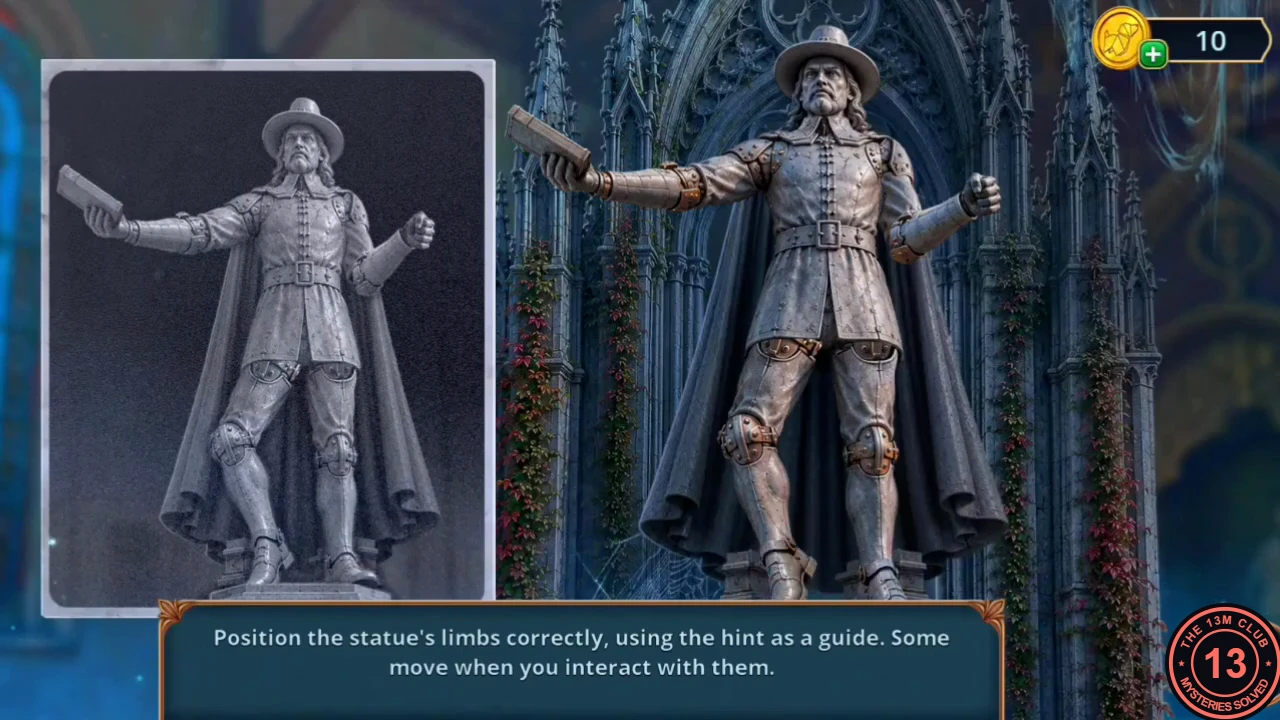
Solved: the statue matches the photo.
The Gumball Machine and the Crystal Ball
Use the Fortune-Telling Machine Handle on the gumball machine and repair Zosta's crystal ball.
- Travel to Madame Zosta's Magic Shop and open the gumball machine on the back counter. Fit the Fortune-Telling Machine Handle onto its crank and turn it. A gumball drops out and breaks open: take the curved glass piece and the Mirror Shards.
- Open the broken crystal ball on the round fortune table. The glass piece will not stay on its own ('The plan is good, but I need something sticky first.'), so spread the Glue on the broken edge first, then fit the curved glass piece. With the ball whole again, the drawer below opens on three cards: The Sun, The Empress and The Chariot ('They are all dead... Their souls are in the cards. This is a deck of victims.'). Take the cards, the Tarot card and the Pencil.
The Mirror and the Spellbook
Restore the crypt mirror, turn Zosta's Diary into a spellbook and mix the Essence of Life.
- Travel to the Mystical Crypt and put the Mirror Shards into the skeleton mirror. The mirror is restored and the trapped spirits appear in it.
- Open Zosta's Diary in your inventory: the 'Life Essence for Tree' recipe has gaps. Use the Pencil and the Stencil on it. The missing words appear ('The dew of dawn, the breath of the wind, the spark of the heart. Mix them together and warm them until they glow. Drink, and you'll feel alive.') and the diary becomes the Spellbook.
- Open the angel statue's red box by the brazier and lay the Spellbook on the table beside it. The mixing machine opens.
The Essence of Life
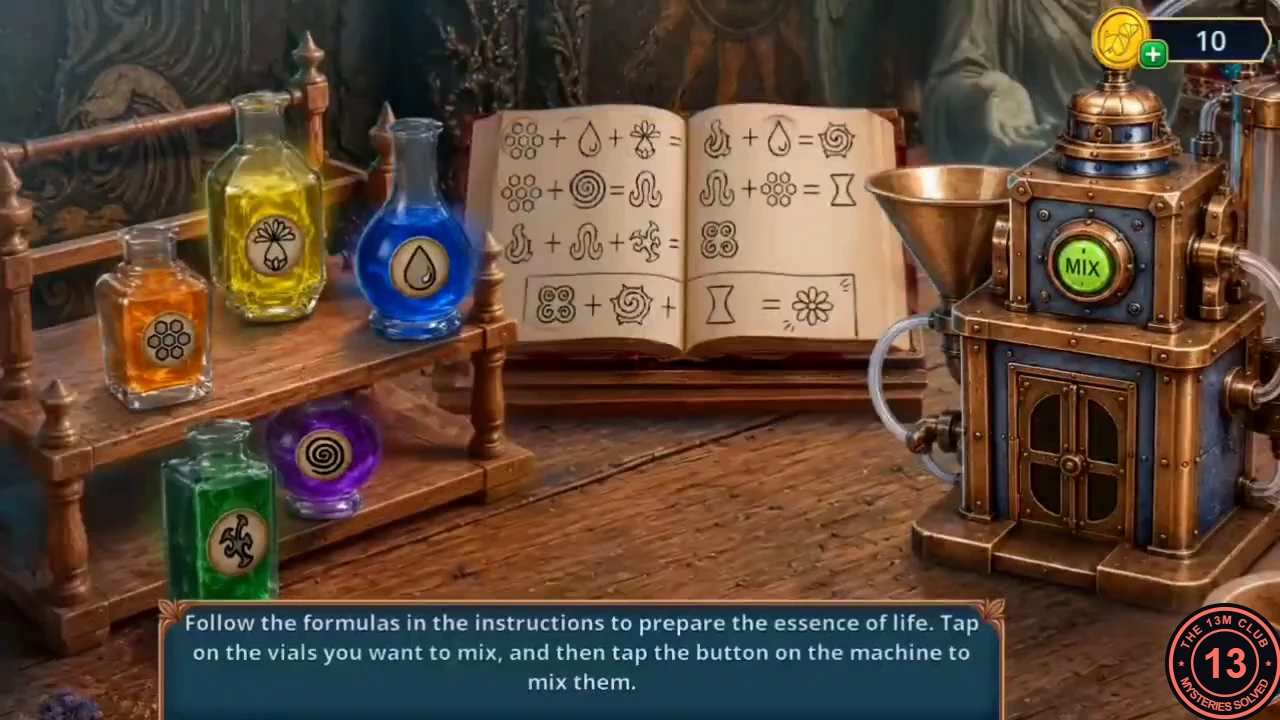
The instruction reads: follow the formulas in the instructions to prepare the essence of life; tap the vials you want to mix, then tap the button on the machine to mix them. Five starting vials carry symbols: an orange honeycomb, a blue drop, a yellow flower bulb, a purple spiral and a green star-burst. Each new mixture fills its own vial, and no vial runs out.
- Mix in this order, tapping the vials and then MIX each time: 1) honeycomb + drop + flower bulb = flame (magenta); 2) flame + drop = sun spiral (green); 3) honeycomb + spiral = loop (orange-red); 4) loop + honeycomb = hourglass (teal); 5) flame + loop + star-burst = four-leaf knot (red); 6) four-leaf knot + sun spiral + hourglass = the flower, the Essence of Life.
- Open the roots of the dead tree in the Mystical Crypt and pour the Essence of Life into the hollow. The tree comes back to life and blossoms.