CHAPTER 4
The River Camp
Make an improvised pickaxe at the river camp and climb the cliff.
- At the river camp, open the campfire with the green cauldron ('Good place to melt the resin.'). Take the second wooden plank piece (2/2), the Seashell and the Pickaxe Head from the stones in front of the fire.
- Open the bone in your inventory. Put the Hexagonal Ring (the metal ring from Chapter 3) in one slot and the Pickaxe Head in the other. You get the Improvised Pickaxe.
- Open the tent's front corner and lever out the wooden tent Peg with the Improvised Pickaxe. Take the Peg.
- Look at the rope bridge posts ('The bridge is sagging dangerously, but that slack rope might be the key. If only I could weigh it down properly...'). Then open the rocky crack near the cliff edge: set the Peg in the crack, drive it in with the Improvised Pickaxe and tie the Rope to it. (Trying the rope before the peg is in gives 'I'll try another solution.') The rope drops down the cliff and the climbing puzzle starts.
PUZZLE
Climbing the Cliff
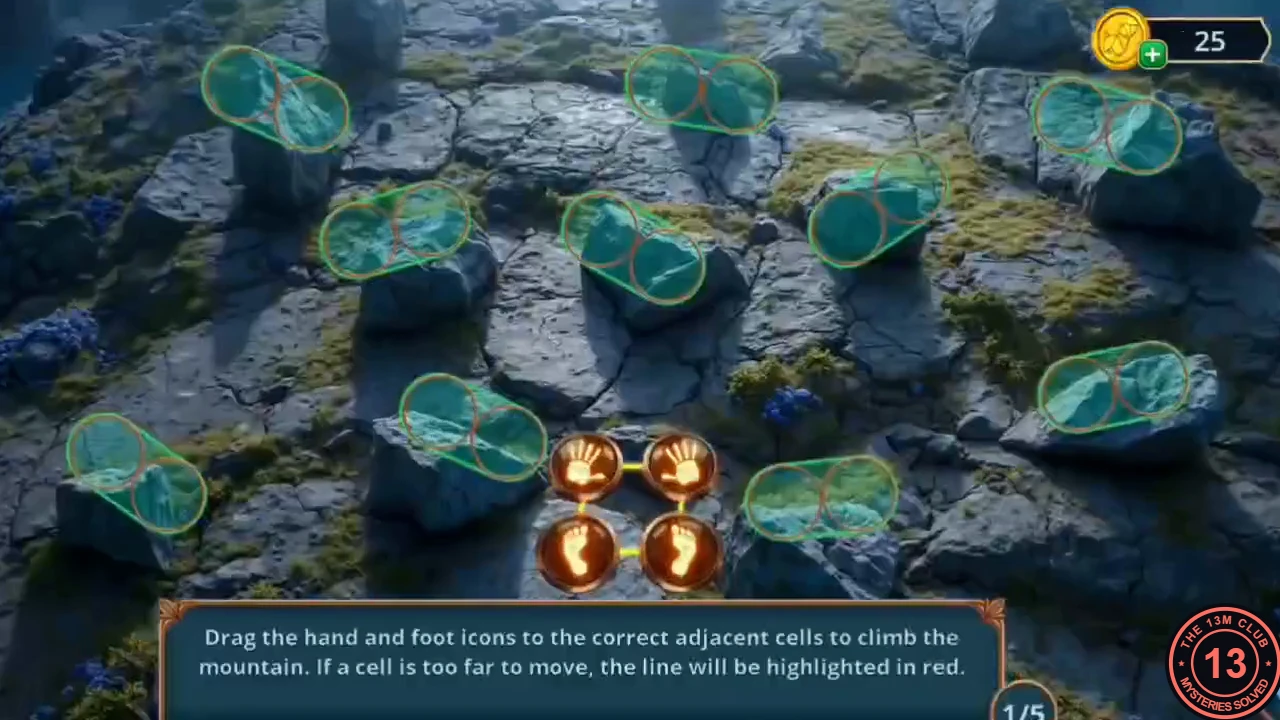
The instruction reads: drag the hand and foot icons to the correct adjacent cells to climb the mountain; if a cell is too far away, the line turns red. There are five screens, counted 1/5 to 5/5. The holds you choose can vary, so this guide gives the method rather than every move.
- Move one hand or foot at a time onto a nearby green hold, keeping the four limbs close together, and work upwards until the climber reaches the top of the screen. If a line turns red, the hold is too far; pick a closer one. Repeat on all five screens.
CHAPTER 4
Sebille and the Bridge
Sebille joins you on the cliff; make the decision and fix the rope bridge.
- Sebille climbs up after you ('Thank you! Without you... I really thought I was done for!'). Decision: 'I got your back, don't worry.' costs 60 coins and gives +2 points; 'You should watch your feet instead of letting your head wander in the clouds.' is free and gives 0. You receive the Weight (a kettlebell).
- Open the bridge posts and hang the Weight on the slack rope. The bridge tightens: cross it to the riverside house.
CHAPTER 4
The Riverside House
Search the jetty, the shell rock and the shed, then repair the ladder into the riverside house.
- Open the jetty board by the boat. Take the feather lying on the purple book, then take the book itself (Books 2/3). Its page reads: 'Water refuses to accept those who travel without a guide. The river returns the traveler to the shore from which he fled until he forgets his own name.' The boat has a hole ('There's a hole in the boat that needs patching.').
- Open the shell-mosaic rock by the fishing rod and place the Seashell in the empty round socket in the middle. A 'NO FISHING' sign comes loose: take the Metal Sign. Something is floating out of reach, and the fishing rod on the bank is missing its reel and line.
- Open the wooden shed door. Take the Tarot card at its lower left corner, then pry the latch open with the Metal Sign. Inside, take the first of the Gears (1/2) and the Corks. The tin can is sealed ('This can is sealed tight. I need something to pry it open so I can get whatever's inside.').
- Open the broken ladder leaning on the house. Put the Corks into the empty holes, set the two wooden plank pieces as rungs and knock them in with the Antique Stamp (the stamp goes back into your inventory). Climb the ladder into the house.