The Sleeping Woman's Stones
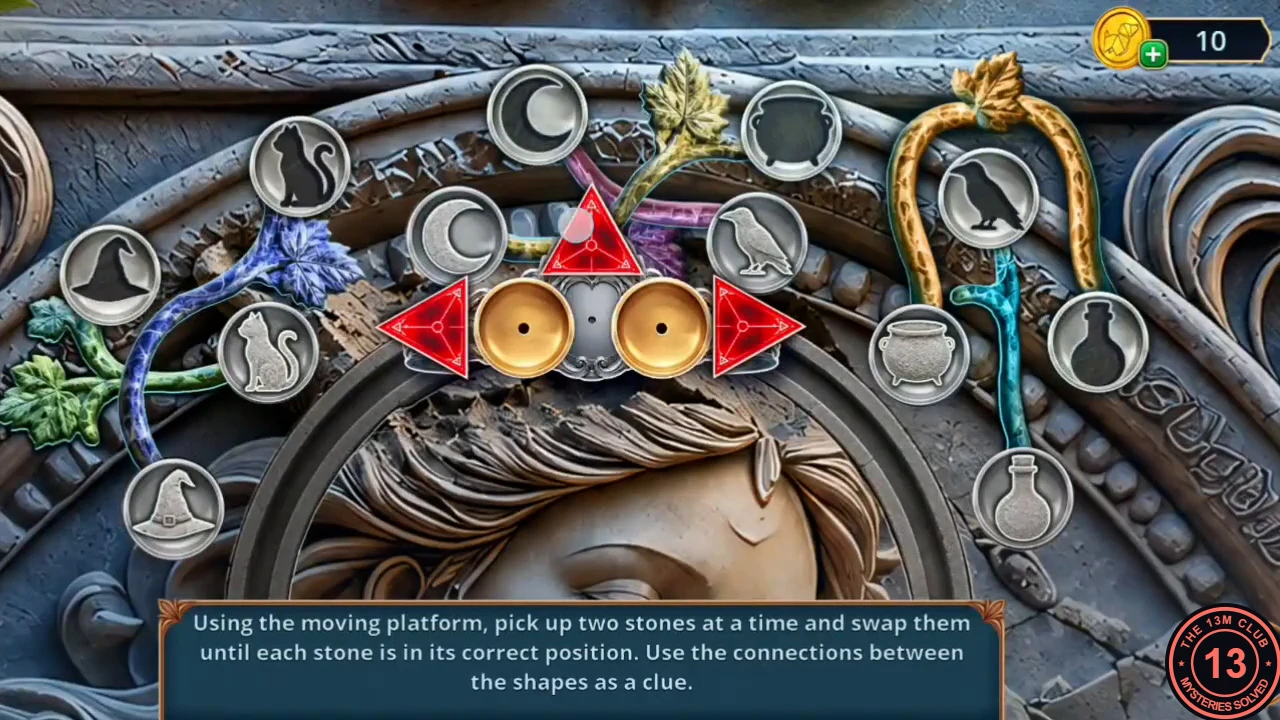
The instruction reads: use the moving platform to pick up two stones at a time and swap them until each stone is in its correct position, using the connections between the shapes as a clue. Each symbol (witch hat, cat, crescent moon, cauldron, raven, potion bottle) appears twice, once dark and once light, and the coloured vines link the places where each pair belongs. This guide gives the target and a working approach rather than every move.
- Move the platform with the red arrows, pick up two stones and swap them, until the stones sit like this. Left side: dark witch hat at the far left, dark cat above it, light witch hat just inside it, light cat at the bottom left. Top: crescent moon at the very top, light cauldron below and left of it, dark cauldron at the top right of the arch, second crescent moon to the right of the platform. Right side: dark raven at the top right, light potion and dark potion on either side of the teal vine, light raven at the bottom right. The solved layout is shown in this section's screenshot.
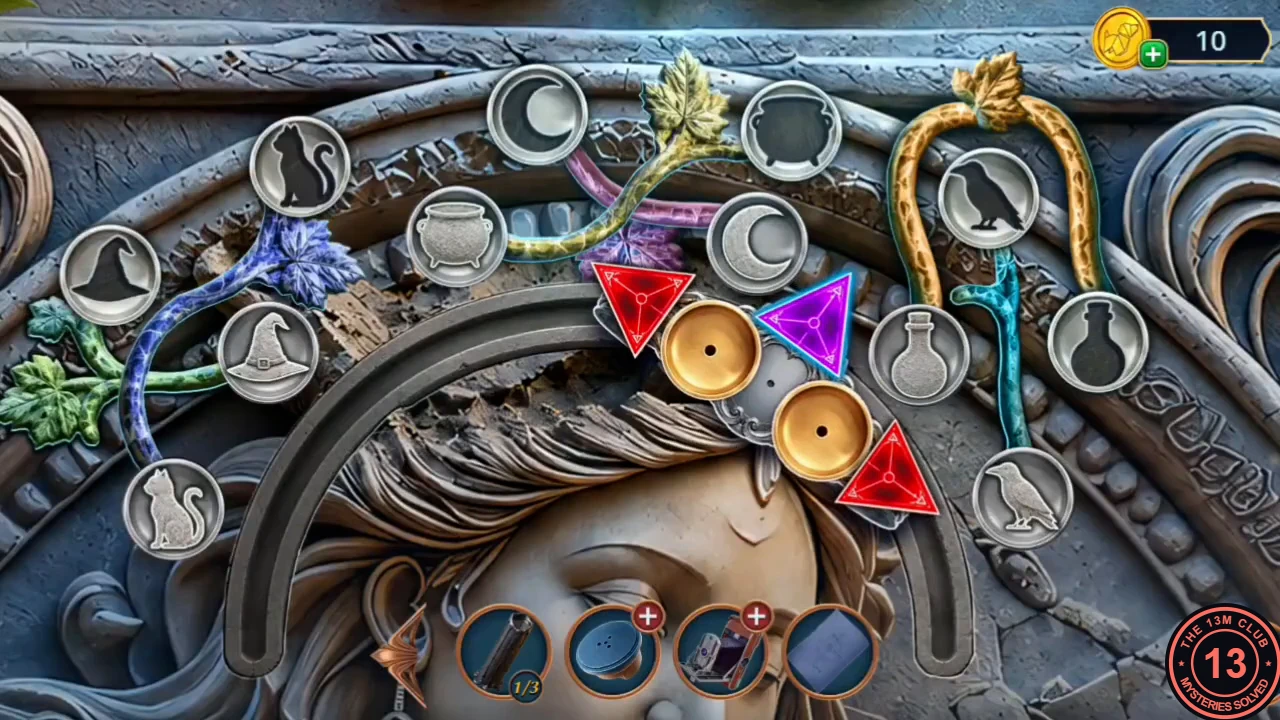
Solved: every stone in its place.
The Mystical Crypt
The relief opens into the Mystical Crypt, and Zosta's ghosts attack.
- Decision: 'Freeze in fear' is free and gives 0; 'Trust Sebille' costs 30 coins and gives +2; 'Protect Sebille' costs 60 coins and gives +6. Afterwards Sebille says: 'We're... okay. For now. We should take a close look around to find clues, traces, and weaknesses.'
- Open the skeleton mirror on the right. Take the Tarot card, then fit the Suspenders Buckle across the two pegs on the drawer as a handle and pull it open. Take the Coat of Arms (a white lily emblem) and the Brush.
Salem Museum: The Burnt Portrait
Return to the Salem Museum bonus location; the map now also lists the Mystical Crypt.
- Put the Coat of Arms on the crest of the 'Witch Trial Relics, Salem, 1692' display case. The case opens: take the Paint Squeezer.
- At Zosta's portrait, use the Paint Squeezer on the paint tubes, then paint over the canvas with the Brush. The portrait burns away: take the Mechanic Mouse from behind it.
- Put the Mechanic Mouse on the red box in front of the mechanical panther. The panther pounces and the box opens: take the Lip Balm.
- In the Secret Cellar, open the shelf with the red bag and rub the Lip Balm on its stuck zipper. Take the Spinning Wheel Pedal.
- Back in the museum, fit the Spinning Wheel Pedal to the spinning wheel in the display case. The wheel spins a red spool: take the Wool Thread and use it on the fruit-seller tapestry to start the tapestry puzzle.
The Fruit Seller Tapestry
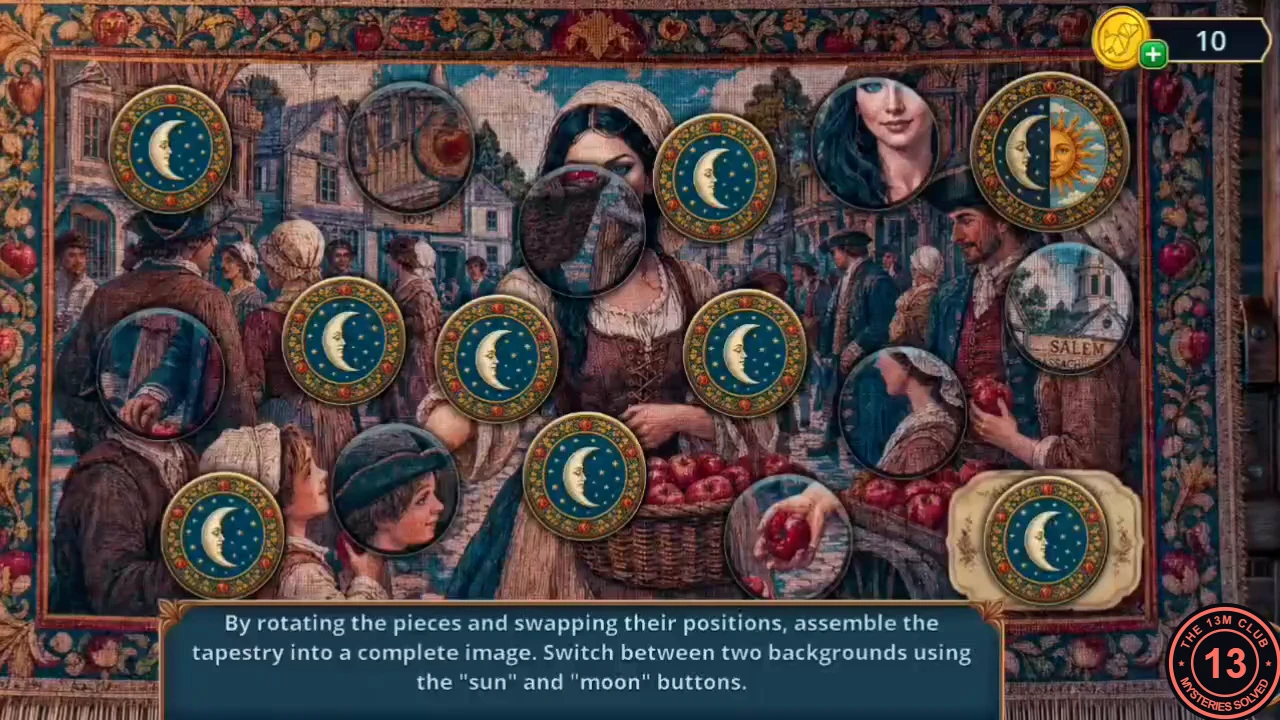
The instruction reads: rotate the pieces and swap their positions to assemble the tapestry into a complete image, switching between two backgrounds with the sun and moon buttons. This guide gives the target and a working approach rather than every move.
- Rotate and swap the round pieces until the picture of the fruit seller in the city square is complete. Some pieces belong to the night (moon) background and others to the day (sun) background, so switch between them as you go. The finished tapestry reads 'A Fruit Seller. City Square, 1723. Artist unknown.' The completed picture is shown in this section's screenshot.
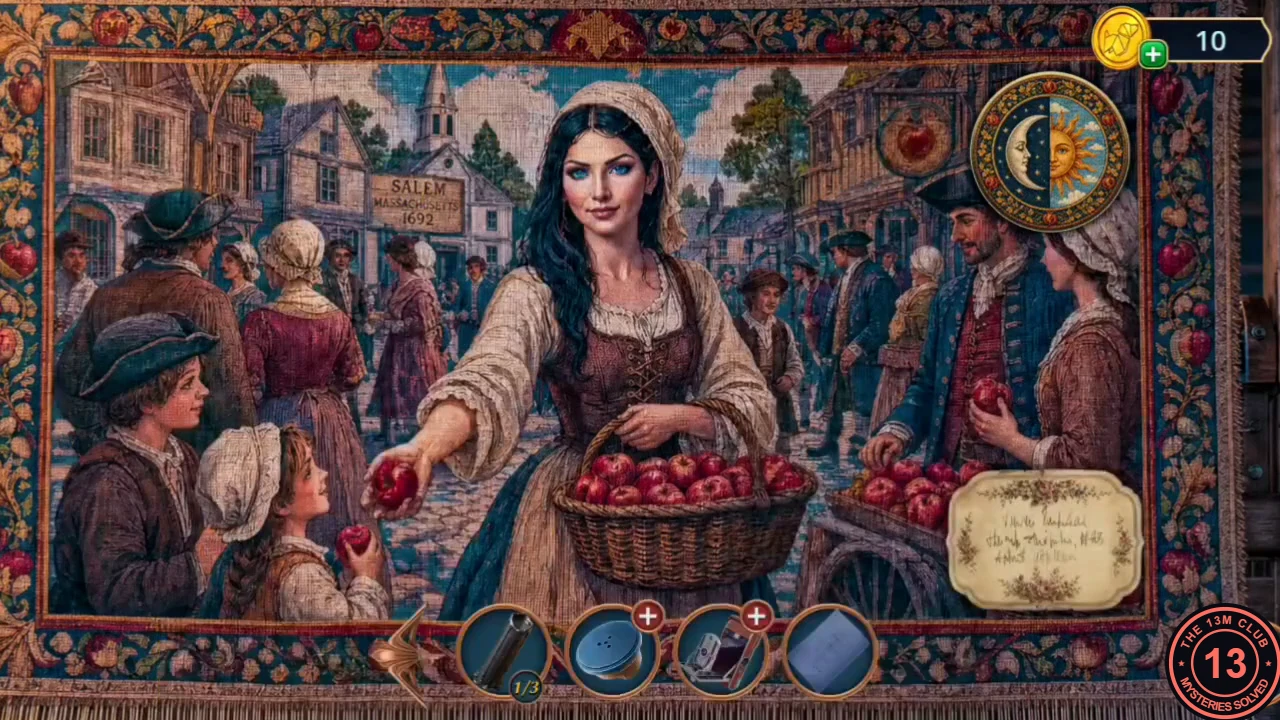
Solved: the complete fruit seller picture.
The Moon Sphere and the Blue Chest
Take the Moon Sphere from the dead tree for the angel statue, then open the blue chest at the fair.
- In the Mystical Crypt, open the roots of the dead tree ('I hate when plants die like this. Maybe I can help?'). Read the 'Homemade sonar' note on the can and take the Empty Can. Blow the loose dirt away with the Plastic Fan and take the Moon Sphere.
- Put the Moon Sphere in the hands of the angel statue by the brazier. Its light opens the red box: take the Hair Brush.
- At the City Fair, pour the Acetone over the blue-painted chest on the Shooting Gallery counter to strip the paint, then push the Hair Brush into the cleaned lock. The chest opens: take the Bubble Gum and the Rope.
The Fair Pole

Tie the Rope to the fair pole and help the detective climb to the top.
- Still at the fair, tie the Rope to the tall decorated pole by Zosta's shop. The climb starts: 'Climb up the pole and clear away any obstacles so they don't get in your way.'
- As the detective's portrait climbs, tap each flying obstacle (paper planes, birds, a toy dog, balloons, rockets) before it hits. At the top you get the Toy Car.
Clearing the Flies
Find the Deodorant under the Old Town fence and use it to clear the flies from the shed door.
- In the Old Town of Salem, open the fence with the knotted green hose and send the Toy Car under the fence. It comes back with the Deodorant. Keep the Toy Car.
- Spray the Deodorant at the flies by the shed door. They scatter and the second shed search opens.
Shed Desk: Associated Pairs
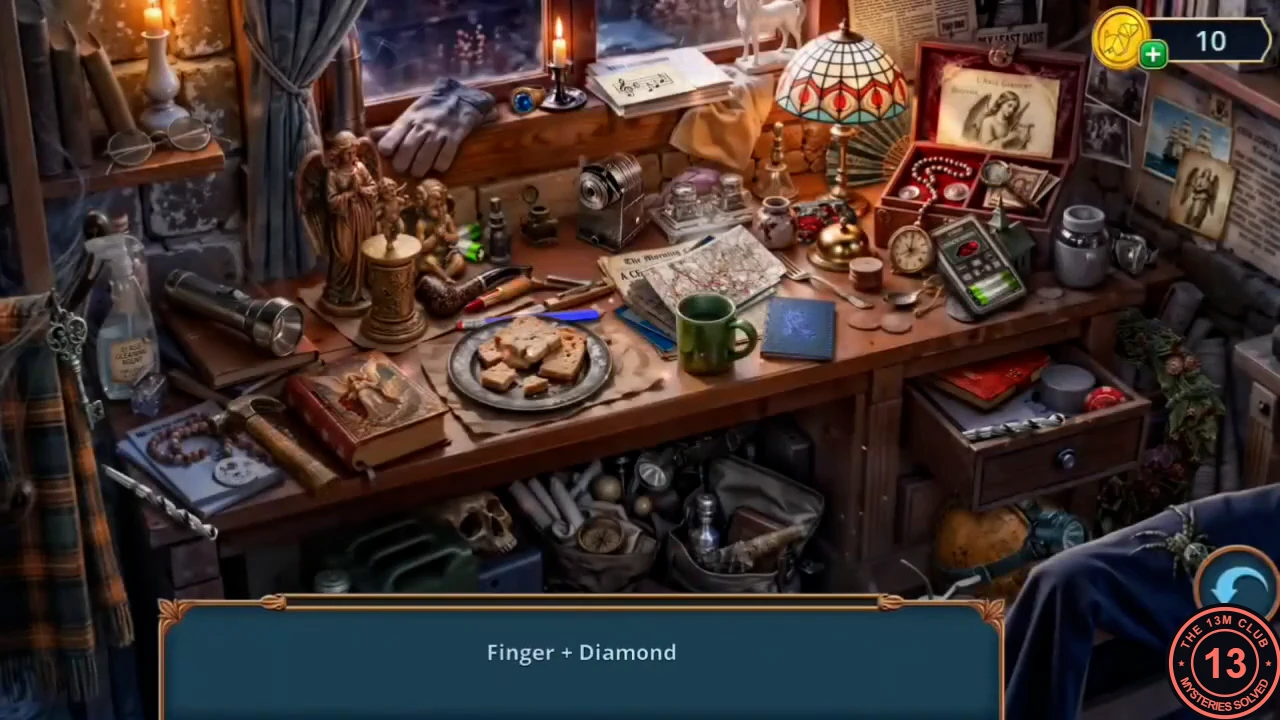
An associated-pairs search: the bar names two things that belong together, and you tap both objects in the scene. The reward is the Garden Sieve.
- The pairs, in the order shown: Finger + Diamond; Magnifying Glass + Eyes; Lips + Paint; Web + Bug; Flowers + Head; Mitten + Hand; Money + Playing Cards; Feathers + Wind Whirl; Anchor + Sail; Tombstone + Time; Gramophone + Record; Key Hole + Lock. Then take the last item, the Garden Sieve.
The Fountain
Sift the Old Town fountain basin with the Garden Sieve.
- Scoop the leaves out of the Old Town fountain basin with the Garden Sieve. It brings up the first pink fabric fragment (1/3) and the Bone Hand: take both.