Free the heron at the Shoreline
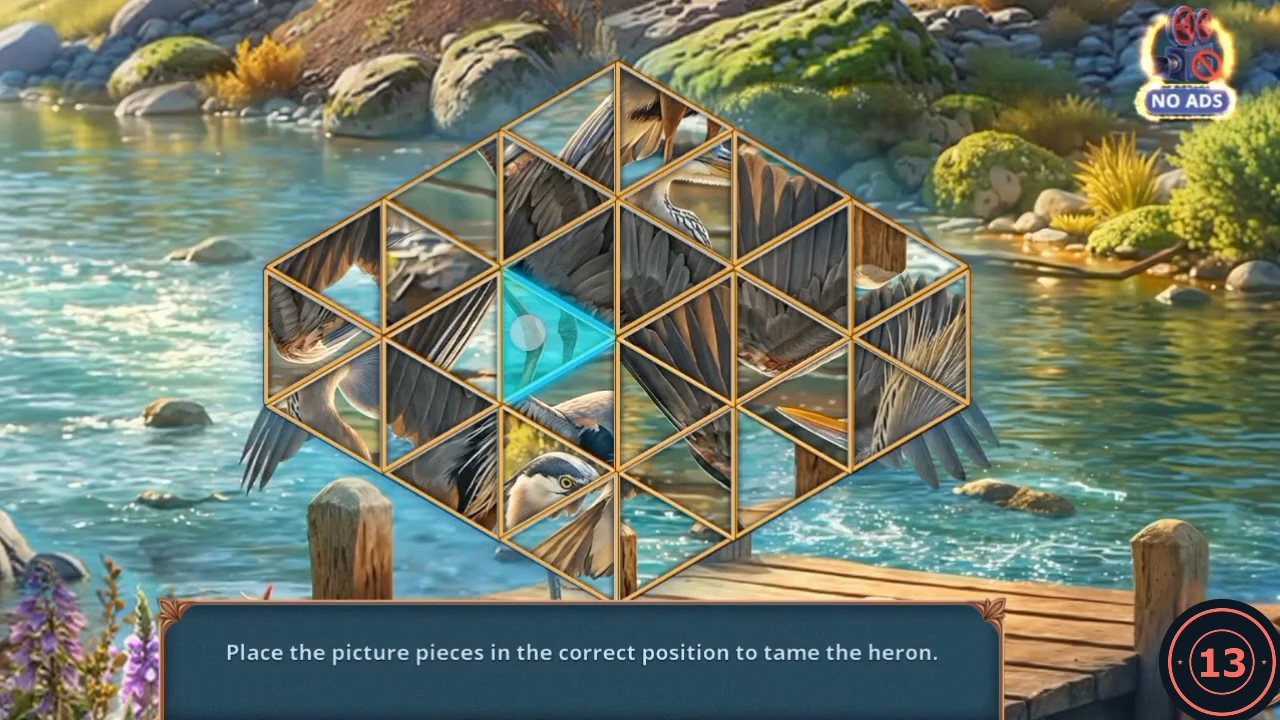
You land at the Shoreline with the heron trapped on the dock. Its picture is a triangle puzzle. The starting layout may differ, and a full move list would be long, so this is the approach rather than every swap.
- Leah suggests hang-gliding down to the river. In the flight choice, "Take control" earns 6 Decision Points, "Huddle up" earns 2 and "Panic" earns none. You land at the Shoreline.
- Talk to Leah. Neither answer here showed a Decision Point marker: "Do you think the contents survived?" and "There are traces everywhere here, too."
- Open the raft and read the remark about acid and rust on the anchor. Take the Gas Mask.
- Open the mushrooms and use the Gas Mask on the green gas. The gas clears from the wrapped package.
- Tap the package on the giant flower. Read the note, then take the first of two Alpenstocks and the Cloth.
- Open the raft. Squeeze the Lemon on the rusted anchor, then use the Cloth on it. Take the Expander.
- Open the heron on the dock and place the Expander at its trapped foot. The puzzle opens.
- Swap the triangles until the heron picture is whole inside the hexagon: tap a triangle, then the one it should change places with. Start from the heron's head and long neck. The heron joins your helpers.
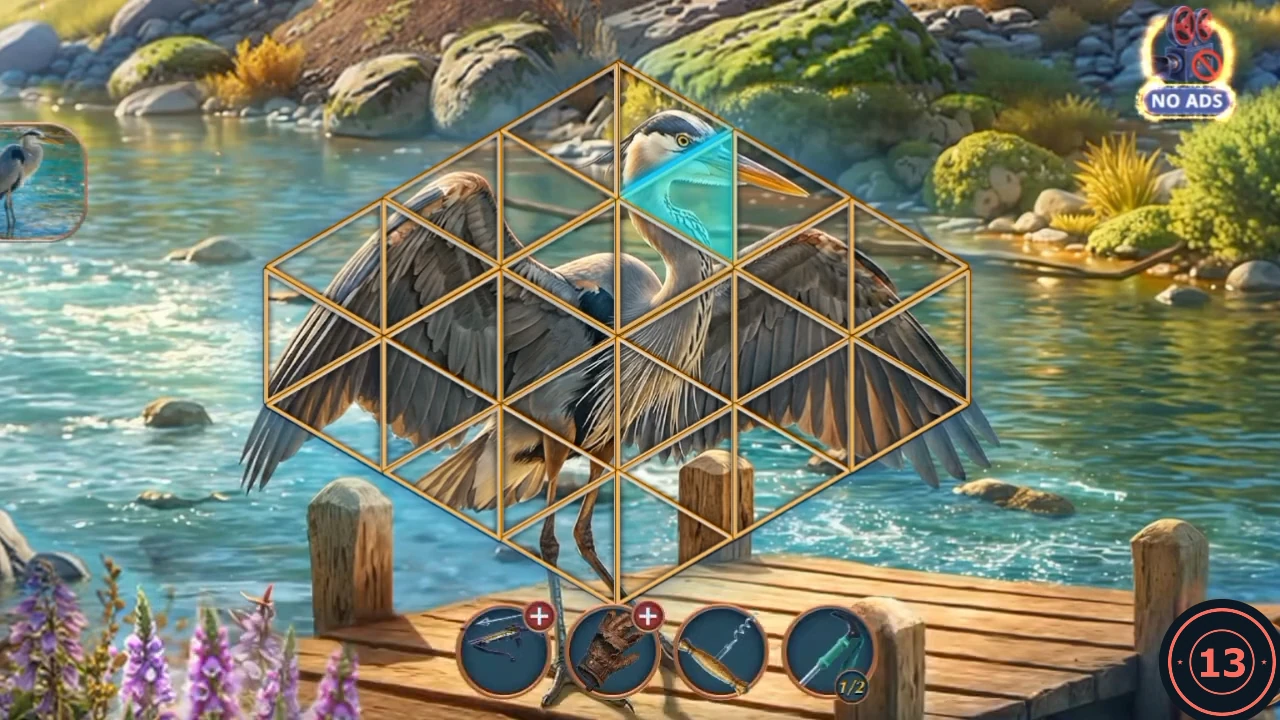
Target picture: the completed heron. The blue triangle is only the last one moved. - Open the raft and drag the heron icon onto it. The heron pulls the raft to the shore, and you can go on to the truck.
Search the Truck Wreck
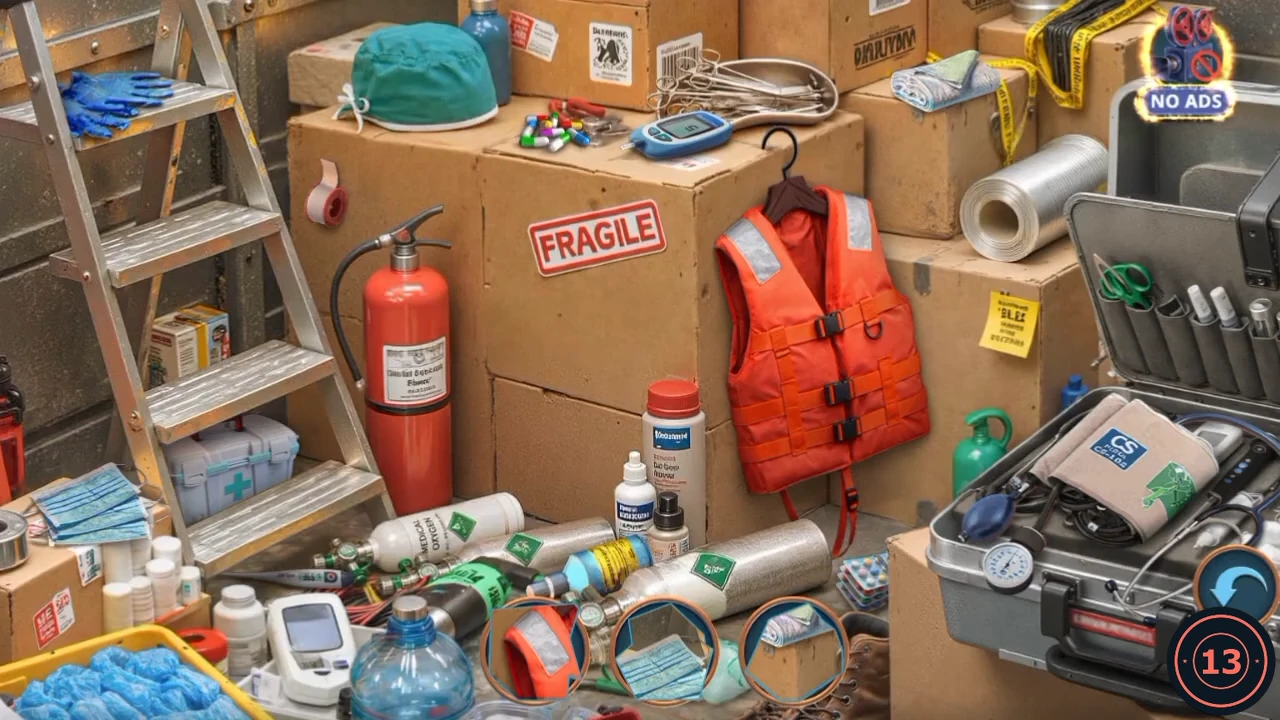
In this cargo scene the items to find are shown as close-up pictures in the round lenses along the bottom, not by name.
- The Find the missing truck task completes. Open the blue tarp and take the Hair Dryer and the Water.
- Open the butterflies by the headlight and take the Notebook Pages beside them.
- Read the driver's note and talk to Leah about the 7-C mark. "A criminal drove this truck, remember?" earns 2 Decision Points, "A prank gone wrong?" earns none. The new task is to reach the top of the cliff.
- Open the latch on the back of the truck. Place the yellow-handled tool on the pin, then tap the stone on the ground to knock it out. The cargo opens.
- Open the cargo. Each lens along the bottom shows a close-up of one spot, and tapping that spot in the scene clears the lens while the object stays in place. Positions are from the recording, and the order can differ. Orange life vest on its hanger at the centre right. Folded towel on the box at the top right, beside the yellow tape. Black hoses by the blue pump in the open silver case at the right. Roll of tape on the side of the big carton, left of the fire extinguisher. Blue paper masks on the box at the bottom left. Blue bottle with yellow bands on the floor, left of the long silver cylinder. Blister packs of tablets on the floor, just right of that cylinder. Blue glucose meter on top of the FRAGILE carton. Blue gloves on the top step of the ladder. Heap of coloured capsules on top of the carton, just left of the meter. The last two lenses show the ladder's bottom step, one with the valve and thermometer below it and one with the white first-aid box above it: a tap on that bottom step finished the recorded search. The reward is the Rope.
Cross the gorge on the rope
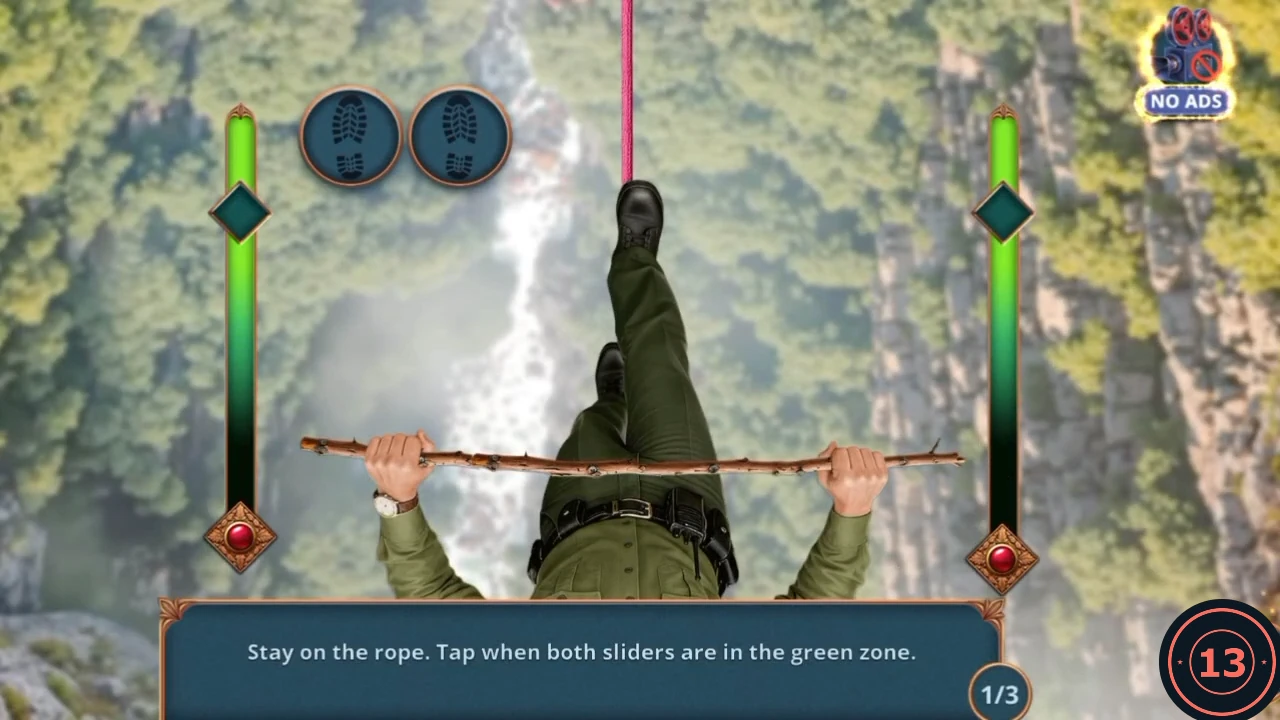
Two sliders move at once. Tap only when both are in the green zone. There are three rounds.
- Open the Crossbow from the inventory, where the Crossbow Bolt is already seated, and add the Rope. Take the Rope Crossbow.
- Open the gap with the two posts and use the Rope Crossbow on the near post. The rope flies across.
- Walk the rope. Wait until both sliders sit in the green zone and tap. A good tap lights the boot icons. Complete rounds 1/3, 2/3 and 3/3.
Search the cave wall on the Slope
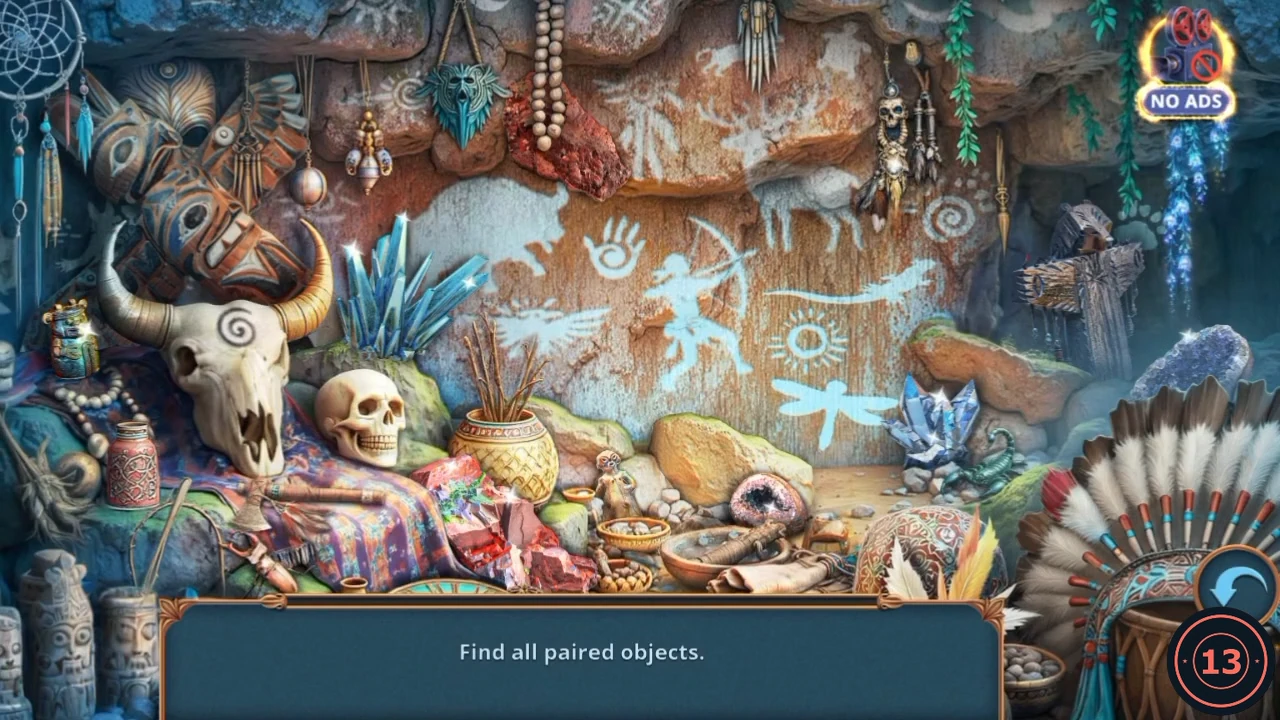
Fit the lamp to the red helmet and its light reveals a hidden-object scene on the cave wall.
- Look at the chamois and the chain. The remarks say she needs treating, and that acid is the answer for the chain.
- Open the stone altar and take the Miner's Lamp and the mortar item.
- Open the red helmet and fit the Miner's Lamp to make the Miner's Hat. Its light turns the cave wall into a hidden-object scene.
- "Paired objects" means two things of the same kind. Tap one and it gets a blue outline, then tap its partner and both vanish. There are six pairs in the recording, and the order can differ. Carved wooden masks: the big one at the upper left, above the bull skull, and the one on the dark rock at the upper right. Blue crystals: the tall cluster right of the bull skull, and the smaller one at the right above the scorpion. Red rocks: the rough red stone under the bead string at the top, and the red pile on the striped blanket. Small figures: the little idol jar at the far left, beside the skull's horn, and the small figure in the bowl at the centre. Painted prints: the pale paw print on the dark rock at the upper right, and the hand print on the painted wall. Geodes: the blue-purple stone at the right, above the feather headdress, and the pink geode right of the yellow boulder. When all pairs are gone, the Sickle lands by the yellow boulder. Tap it to take it.
Heal the chamois on the Slope
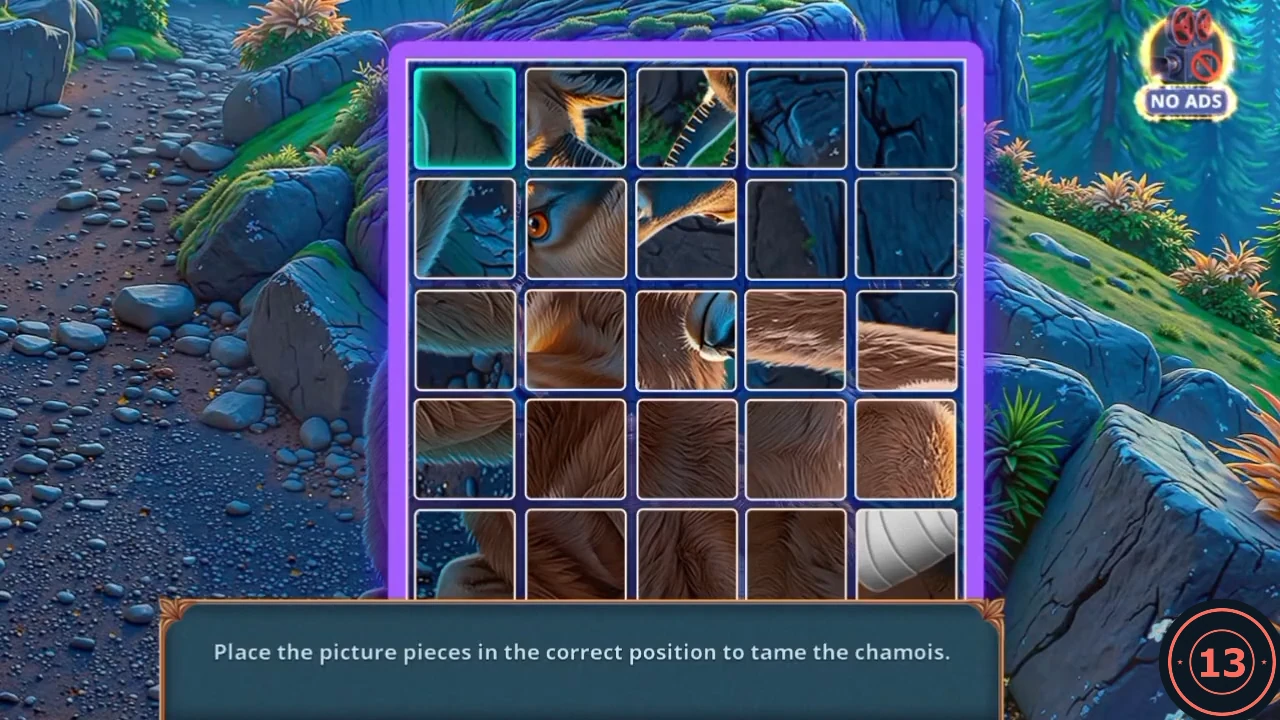
You reach the Slope, where a chained chamois needs treating before it will help. Its picture is a tile puzzle. The starting layout may differ, and a full move list would be long, so this is the approach rather than every swap.
- Open the helmet again and use the Sickle on the roots. Take the red plant.
- Open the mortar item from the inventory. Its note shows the recipe. Fill the three slots with the plant, the Water and a bandage, then take the Healing Compress.
- Open the chamois and use the Healing Compress on her leg. The puzzle opens.
- Swap the tiles until the chamois picture is whole: tap a tile, then the tile it should change places with. The chamois joins your helpers.
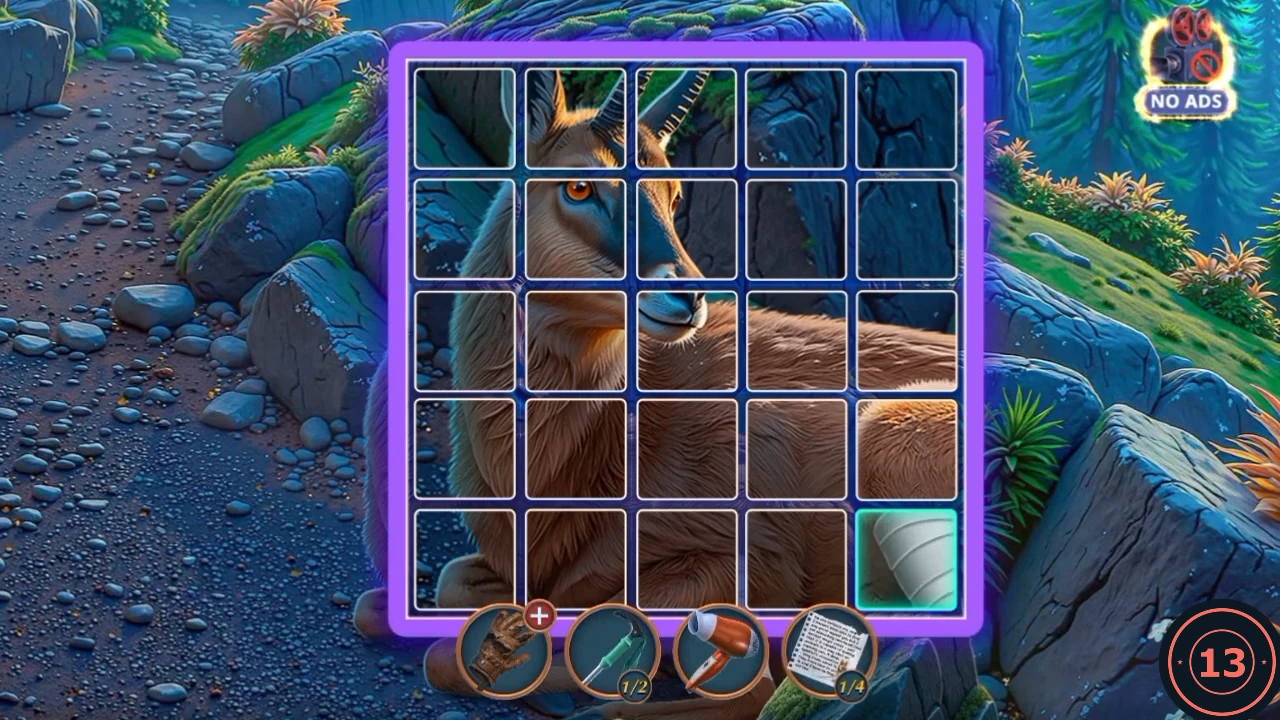
Target picture: the completed chamois. The bright square is only the last one moved. - Open the altar and drag the chamois icon onto the stone. She butts it away. Take the Ranger Badge, the Dried Herbs and the Curved Hairpin from the hole. The three wedge slots are for amulets you find later.
- Open the Torn Glove from the inventory and place the Dried Herbs in its lower slot.
Clear the dock crate with the pin
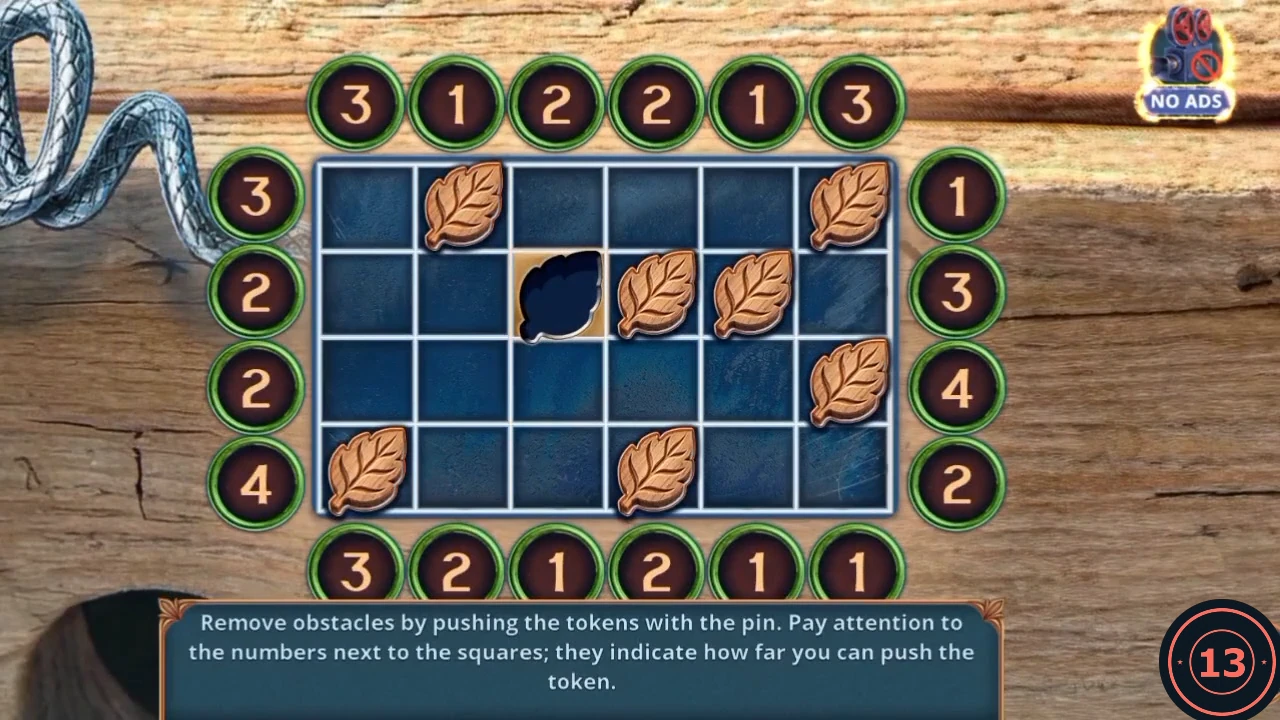
Each edge tap sends the pin in along that row or column. The number beside it is how many cells the pin reaches from that edge, and a token in its way ends up just past the tip. Push every token into the dark hole in row 2, column 3.
- At the Shoreline, open the crate on the dock and use the Curved Hairpin on its lid. The board opens.
- Recorded order: tap the edges as listed. Rows count from the top and columns from the left. If your board differs, use the numbers to work out where each push leaves a token, and line each one up with the hole.CODEtop 2, left 2, right 2, left 2, bottom 1, left 1, bottom 4, right 2, top 6, right 3, bottom 2, left 2, bottom 6, right 3, bottom 2, left 2, top 4, right 3, bottom 2, left 2
- Take the Threads and Needle from the crate.
- Open the Torn Glove and place the Threads and Needle in the top slot. Take the repaired Glove.
Connect the mushrooms
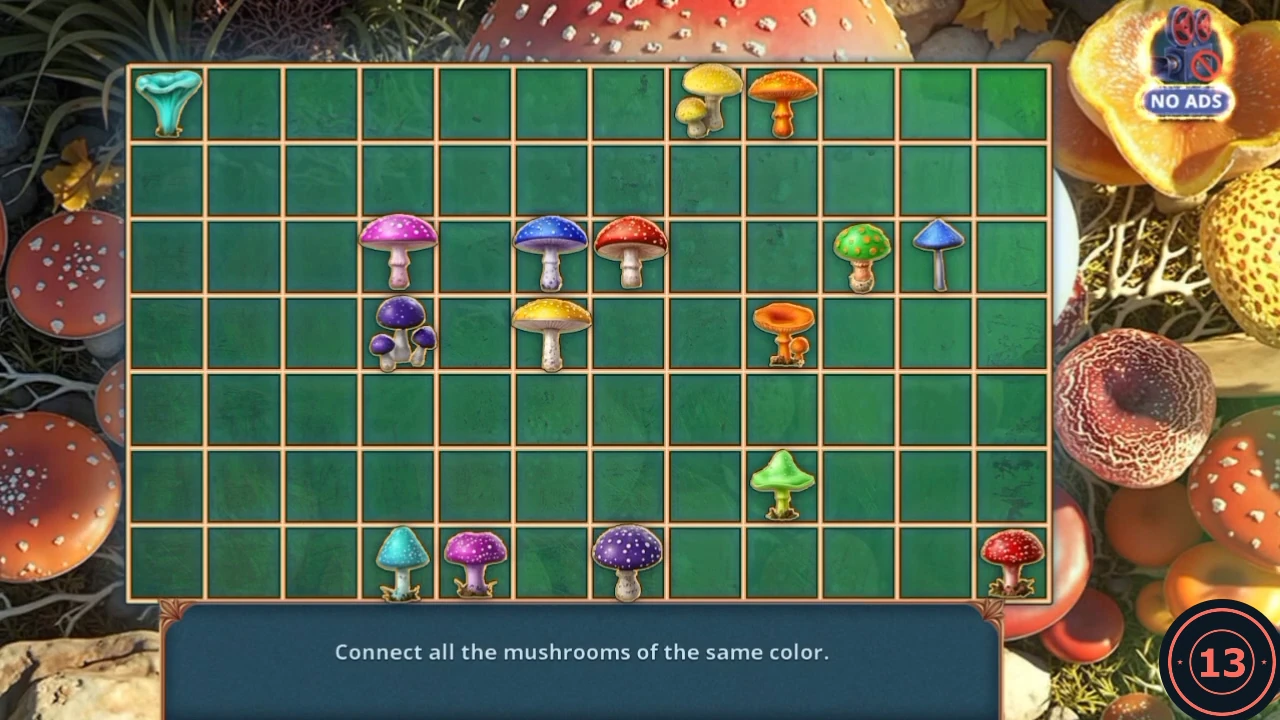
Draw a path between each pair of matching mushrooms. Paths cannot cross, and the recorded solution fills nearly the whole 12 by 7 grid. Below, columns count from the left and rows from the top.
- Open the mushrooms at the Shoreline and use the Glove on them. The board opens.
- Draw the eight recorded paths. Each is given by its two end mushrooms as column, row.CODETeal 1,1 to 4,7: down column 1, then right along row 7 Magenta 4,3 to 5,7: left to column 2, down to row 6, right to column 5, down Dark purple 4,4 to 7,7: left to column 3, down to row 5, right to column 6, down to row 7, right Yellow 8,1 to 6,4: left to column 5, down to row 4, right Orange 9,1 to 9,4: right to column 12, down to row 4, left Red 7,3 to 12,7: down to row 6, right to column 8, down to row 7, right Blue 6,3 to 11,3: up to row 2, right to column 11, down Lime 10,3 to 9,6: left to column 8, down to row 5, right to column 9, down
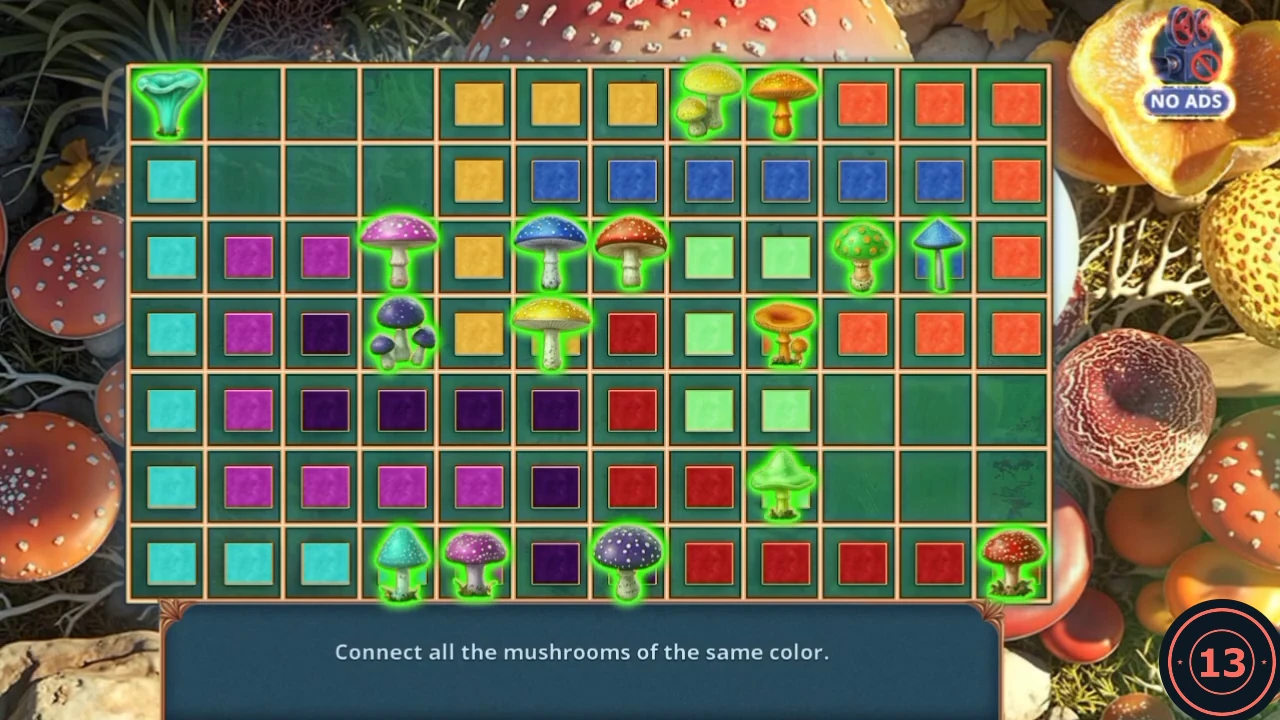
The recorded paths, finished. Compare your trails with the routes in step 2. - Open the flower and tap the yellow tin. Take the Matches, the Acid and the Sign.