Repair the ladder and search the treehouse
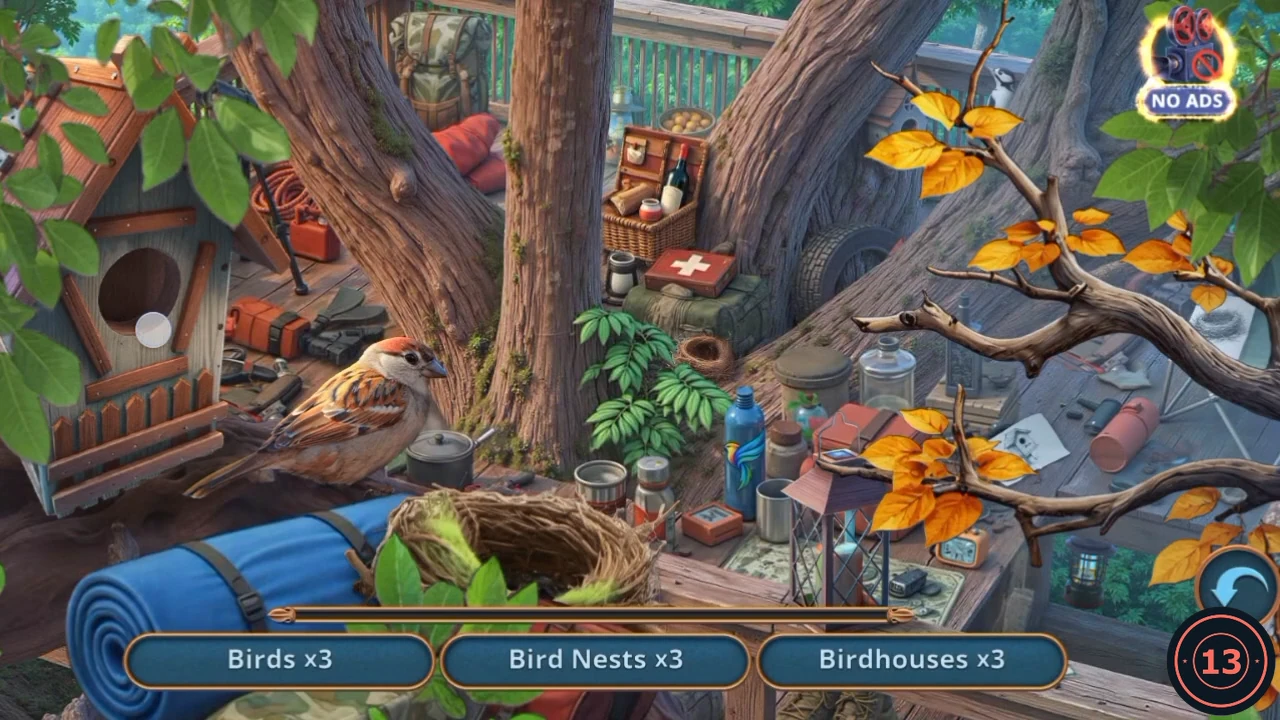
Beyond the fence is the Tree with a Net. Fix the ladder to search the treehouse.
- Beyond the fence you find Leah and a woman with binoculars whose group ran into poachers. "Where did you last see him? Did he say anything?" earns 2 Decision Points. The other reply is "He's as strong as an ox - nothing's gonna happen."
- Open the firepit, read the blue note and take the Empty Vial.
- Open the motorbike wheel at the root and take the Plank. The green device lying beside it stays there for now.
- Open the ladder on the treehouse trunk. Place the Plank on the gap and tie it on with the orange Rope. The ladder is complete and the treehouse search opens.
- Search the treehouse by category. Only three categories show at a time, and each object is removed when you tap it. Positions are from the recording. Birdhouses: the big wooden birdhouse at the far left, the small grey one on the tree trunk behind the yellow leaves at the upper right, and the birdhouse drawn on the white sheet of paper right of centre. Bird Nests: the big nest at the bottom centre, the small nest in the ferns beside the central trunk, and the nest drawn on the sheet of paper at the far right, under the branch. Lanterns: the big black lantern at the bottom centre, the faint lantern on the railing just behind the central trunk, and the small dark lantern at the lower right, past the edge of the desk. Birds: the sparrow on the log at the left, the black and white bird at the top right behind the leaves, and the rainbow bird printed on the blue bottle in the centre. When all the categories are done, the Camping Lantern drops in front of that blue bottle. Tap it to take it.
Tame the flying squirrel
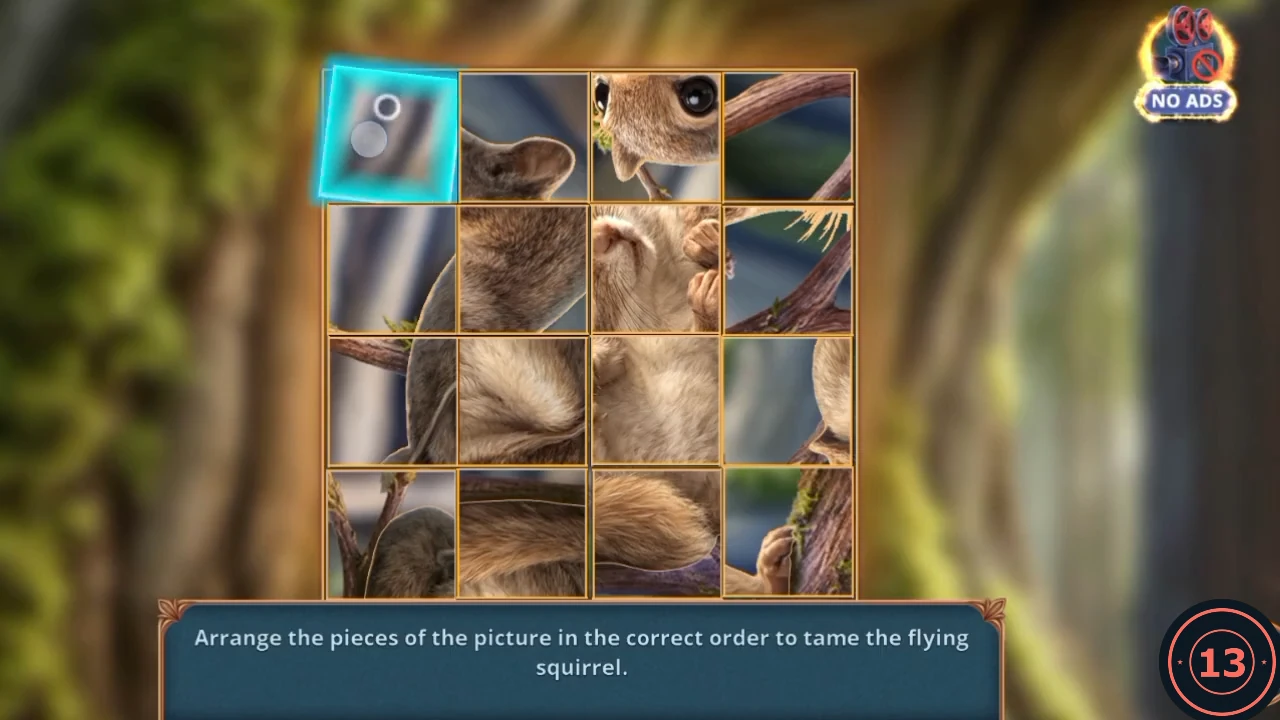
The light from the Camping Lantern gives you the Needle that frees the flying squirrel. Its picture is a tile puzzle. The starting layout may differ, and a full move list would be long, so this is the approach rather than every swap.
- Open the dark hollow in the big tree on the left and place the Camping Lantern inside. Take the Needle that the light reveals.
- Open the net hanging from the tree, where the flying squirrel is caught, and use the Needle on the net. The picture puzzle opens.
- Tap two squares to swap them. Rearrange the 16 squares until the squirrel picture is whole. The flying squirrel joins your helpers.
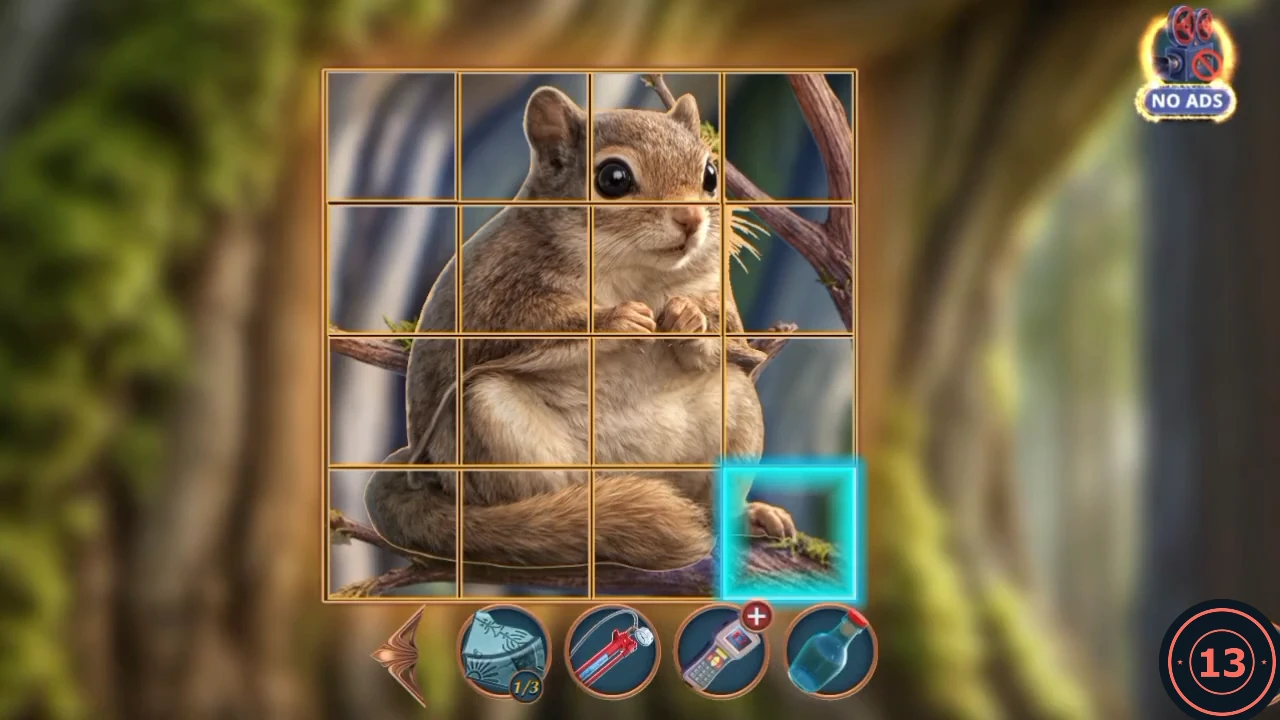
Target picture: the completed flying squirrel. The blue square is only the last one moved.
Make the harness
The squirrel fetches a delivery tag, and that leads to the materials for a harness.
- Open the lit hollow and use the flying squirrel icon on it. The squirrel glides out and brings back the Poacher's Delivery Tag, numbered 07.
- At the Old Forest, open the stack of crates and use the tag on crate 07. Take the Sharp Razor and the Fluffy Brush.
- Open the moss where you took the Speaker and use the Fluffy Brush on the dirty paper. Read it and take the Diagram for Harness.
- At the Trap by the Path, open the tree hollow and place the Diagram on the leather bag. Cut the leather with the Sharp Razor and take the Harness.
Tap the maple tree and clear the ants
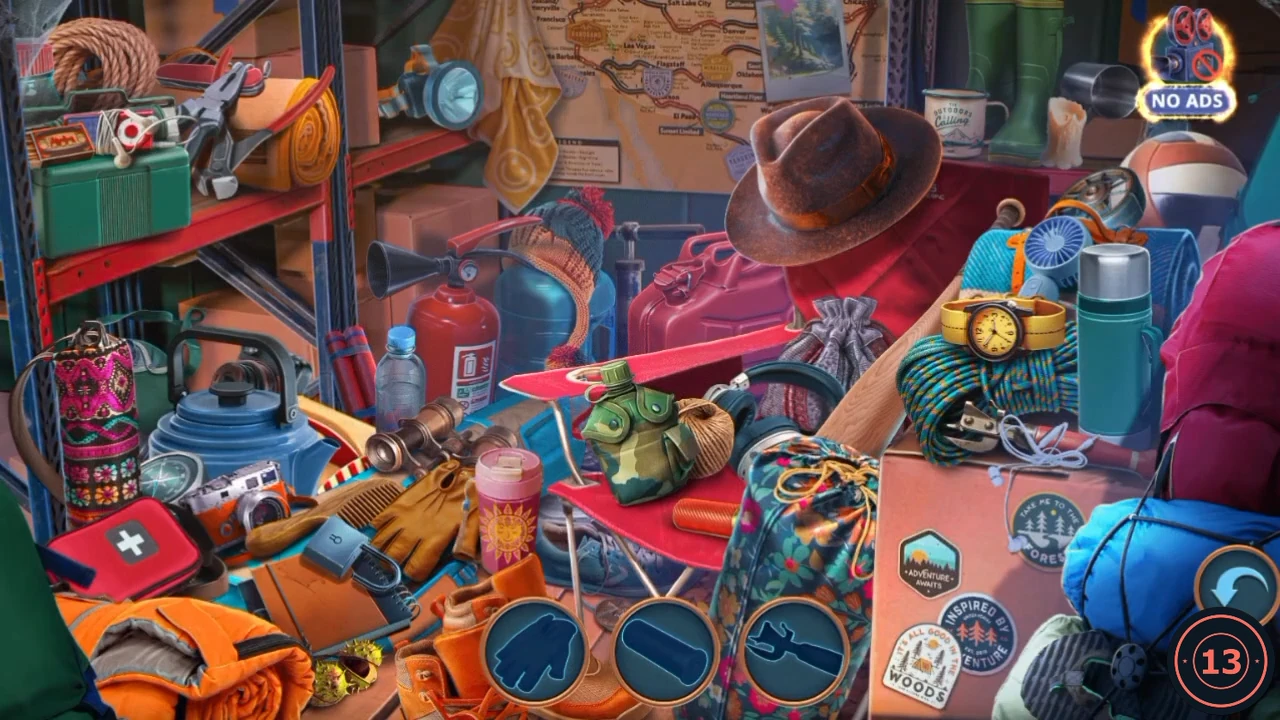
A last search of the container gives you the Tree Tapper, which you need for the maple syrup.
- The container sparkles again. Each circle at the bottom shows a silhouette, and the object is removed when you tap it. Three show at a time, and the order can differ. Positions are from the recording. Folding tool: tucked into the coiled rope at the right, under the wristwatch. Leather glove: at the lower left, beside the wooden comb. Wooden paddle handle: leaning against the pink case at the right, between the purple pouch and the rope. Green rubber boots: at the top right, behind the mug. Red-handled cutters: on the orange blanket roll on the shelf at the upper left. Red jerry can: in the centre, under the brown hat. Red music player with white earphones: on the green case on the same shelf. Fire extinguisher with the black horn: left of centre. Blue hand fan: on the blue blanket at the right, above the wristwatch. Blue kettle: at the left, above the camera. Ball of twine: on the red chair, right of the camouflage canteen. Orange tube: on the red chair, below the canteen. When the bar is empty, the last silhouette is the Tree Tapper, which drops onto the red board above the canteen, just below the brown hat. Tap it to take it.
- Open the trunk where you found the Wire. Put the Tree Tapper in the lower slot and the Empty Vial in the upper slot. Take the Maple Syrup.
Finish the Ancient Sealed Cave
You left the cave with Bas-Relief Parts 1/3. Finish it here, before setting up the flying squirrel, because the warning at the firepit stops you returning to earlier Chapter 4 locations. The Google Play recording shows the 1/3 counter and the unsolved disc, but its player never came back, so these steps come from the other release's recording.
- At the Tree with a Net, open the motorbike wheel and place the Hydraulic Pump under it. The wheel lifts. Take the Stone Slab from under it.
- Open the journal map and tap the gold Ancient Sealed Cave tile. Open the geyser and place the Stone Slab on it, which blocks the water. Take the Rabbit Totem, the carved post among the rocks at the upper right of the close-up.
- Open the altar in the middle of the cave and stand the Rabbit Totem in the empty place at the right of the circle. The centre stone splits. Take the second bas-relief piece (the counter reads 2/3) and the Remote Control from the rubble.
- Open the Drone Car in your inventory (it has a plus sign) and add the Remote Control.
- Use the journal map to go to the Trap by the Path. Open the hollow beside the leather bag and place the Drone Car. Its arm reaches into the hole and brings back the last bas-relief piece.
- Use the journal map to return to the cave. Open the stone disc at the upper left and place the Bas-Relief Parts. The puzzle opens.
Assemble the bas-relief
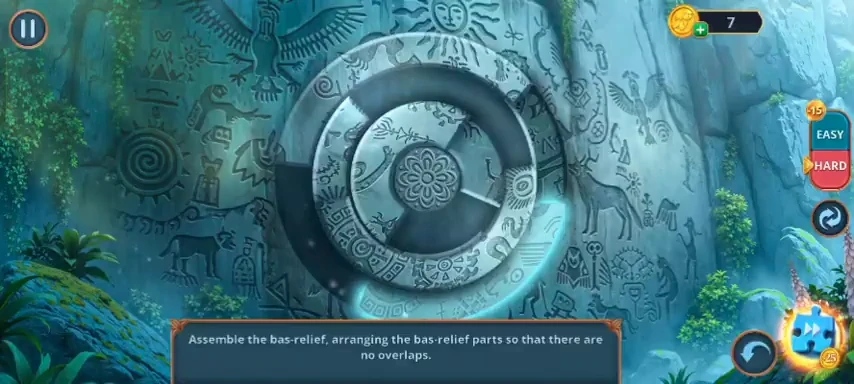
Three stone rings around the flower at the centre hold curved pieces, and the rings show dark gaps until the pieces are spread out without overlapping. The starting layout may differ, so solve by the picture. The only recording of this puzzle is the other release's.
- Drag a piece around its ring. It glows while you move it. Keep turning pieces until none overlap and no dark gaps remain. The recording works on the outer ring first and finishes on the innermost ring.
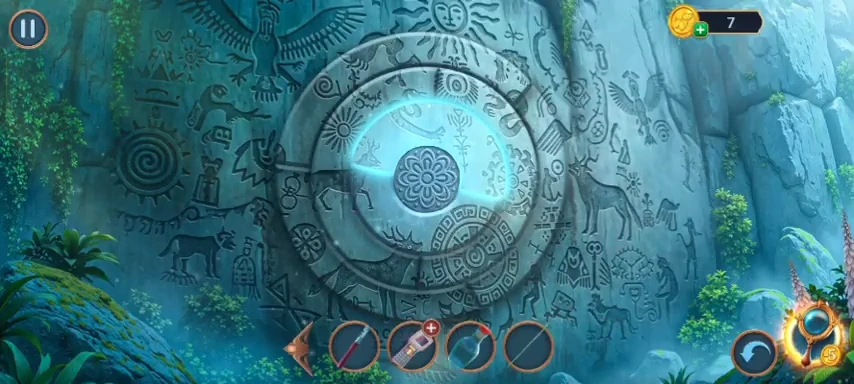
The finished bas-relief in the other release's recording, with no dark gaps left. - Read the note that opens. Your task to uncover the secret of the ancient tribe completes, with the Eldritch Secrets achievement.
Chapter 4 badges before the flying squirrel's flight
Collect these before you set up the flying squirrel. Placing the Harness at the firepit brings up the warning that you can't return to earlier locations. This group holds 10 pickups worth 17.
- Trap by the Path, main scene: on the dirt track between the fox's mossy patch and the ranger truck. This position is approximate. Worth 2.
- Trap by the Path, hollow with orange leaves close-up: at the lower left, beside the branch. Worth 3.
- Old Forest, main scene: on the blue-green ground to the right of the crate, left of the bright moss. This position is approximate. Worth 1.
- Old Forest, speaker and frog close-up: on the stone at the lower right edge. Worth 1.
- Old Forest, ant mound close-up: on the mossy stones to the left of the mound. This position is approximate. Worth 2.
- Old Forest, moss burrow close-up: at the upper left, on the moss. This position is approximate. Worth 2.
- Old Forest, stacked crates close-up: on top of crate 26 at the right, just under crate 42. This position is approximate. Worth 1.
- Tree with a Net, main scene: on the stone to the left of the net, beside the orange backpack. This position is approximate. Worth 3.
- Tree with a Net, tree hollow close-up: on the root in the lower right corner. This position is approximate. Worth 1.
- Tree with a Net, motorbike wheel and roots close-up: at the right edge, on the root. This position is approximate. Worth 1.
Build the beacon and prepare the squirrel
Warning: finishing this section locks you out of all earlier Chapter 4 locations. Pick up any remaining Ranger Badges in this chapter before you answer the prompt. The game asks: "If you complete this task, you won't be able to go back to previous locations and find the remaining items."
- At the Old Forest, open the anthill and pour the Maple Syrup at its foot. The ants leave the pole. Take the long orange-shafted tool and the Small Soldering Iron.
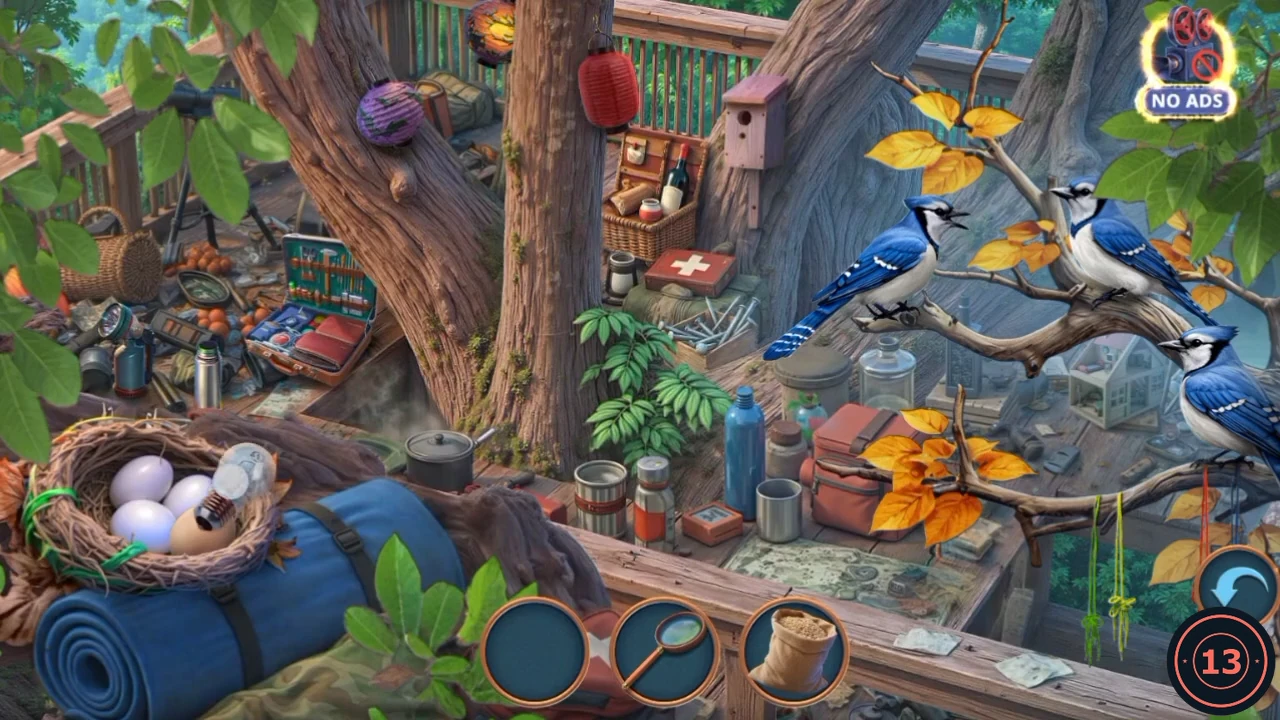
- At the Tree with a Net, the treehouse sparkles again. This search works differently: the circles at the bottom show real objects, and you drag each one to the place in the scene where it belongs. Three show at a time, and the order can differ. Positions are from the recording. Brown egg: into the nest at the lower left, with the three white eggs. Light bulb: into the flashlight in the tool pile at the left. Magnifying glass: into the open case at the left, beside the tool pile. Sack of grain: on the table in front of the red backpack, right of centre. Hanging bird feeder: under the branch at the upper right, beside the pink birdhouse. Small blue jay: on the branch beside the two big jays. Red cord: with the green cords hanging from the branch at the lower right. Thin metal pin: on the pile of pins on the box below the first-aid kit. Small wooden house: inside the glass house on the deck at the right, under the jays. Paper lantern: at the top, between the purple and red lanterns. Wooden peg: on the front of the pink birdhouse at the top, under its hole. Steel cup: on top of the steel thermos in the tool pile at the left. When all twelve are placed, the last silhouette is the Spare Sensor, a small purple chip in the ferns beside the central trunk. Tap it to take it.
- Open the motorbike wheel. Place the Spare Sensor in the open green device on the ground, then solder it with the Small Soldering Iron. Take the Beacon.
- Open the firepit. Put the Beacon in the lower slot and the Harness in the upper slot. When the warning appears, choose Yes only if you have finished collecting. Alex says "Agent Flying Squirrel, prepare for operation!"
- Drag the flying squirrel icon onto the firepit. The squirrel sits by the fire and the flight board opens.
Fly the squirrel to the poachers' camp
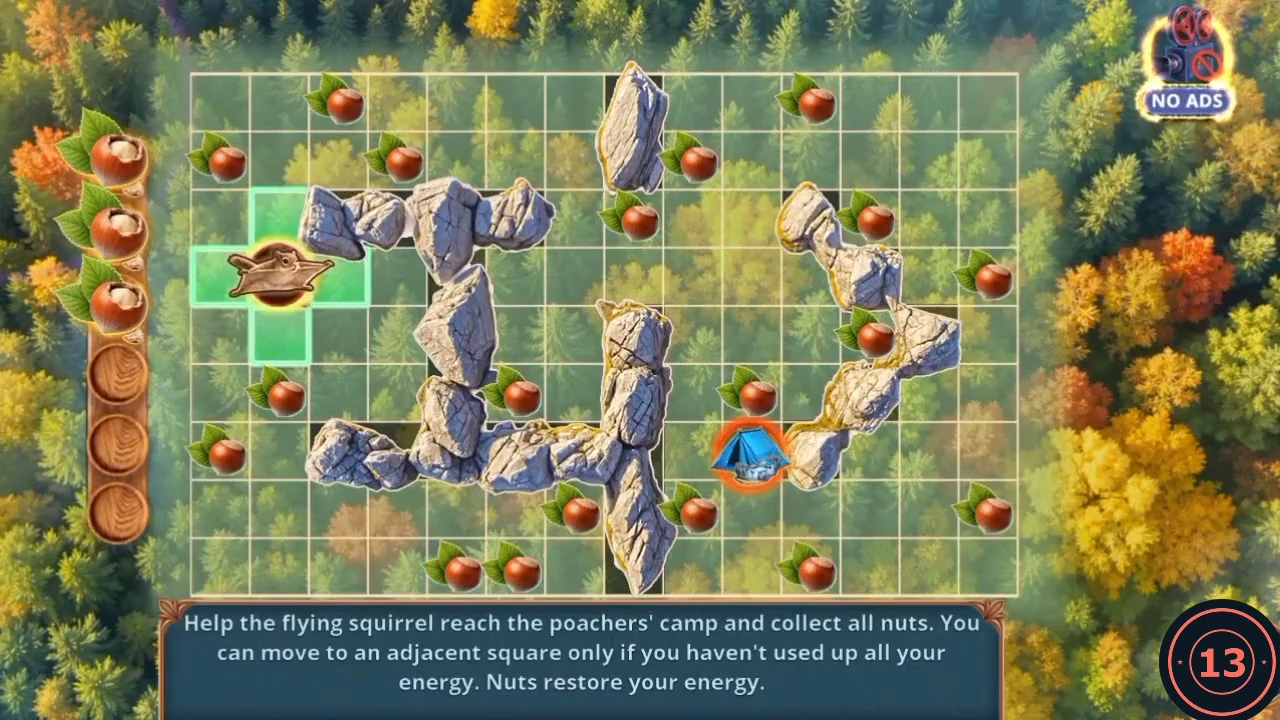
The column of nuts on the left is your energy. You start with three, each move spends one, each nut you reach gives back three, and the column holds six at most. Tap a green square next to your trail to move there. You can branch from any square you have already visited, not just the last one. The board holds 20 nuts. One sits under your start square, which leaves 19 to reach before you enter the tent. The grid has 14 columns and 9 rows. Row 1 is the top and column 1 is the left.
- This route from the recording works from the start square at row 4, column 2. An asterisk marks a nut. Tap the squares in order.CODER3C2, R2C2, R2C1*, R1C2, R1C3*, R2C3, R2C4*, R2C5, R2C6, R2C7, R3C7, R3C8*, R3C9, R2C9*, R2C10, R2C11, R1C11*, R2C12, R3C12*, R3C13, R4C13, R4C14*, R5C14, R6C14, R7C14, R8C14*, R8C13, R8C12, R8C11, R9C11*, R8C10, R8C9*, R7C9, R6C9, R6C10*, R6C11, R5C11, R5C12*
- Branch back to the square below the start and continue.CODER5C2, R6C2*, R7C2, R7C1*, R8C2, R8C3, R8C4, R8C5, R9C5*, R8C6, R9C6*, R8C7*
- Branch from R3C7 down the middle for the last nut, then step from R7C9 into the tent at R7C10.CODER4C7, R5C7, R6C7, R6C6*, R7C10 (tent)
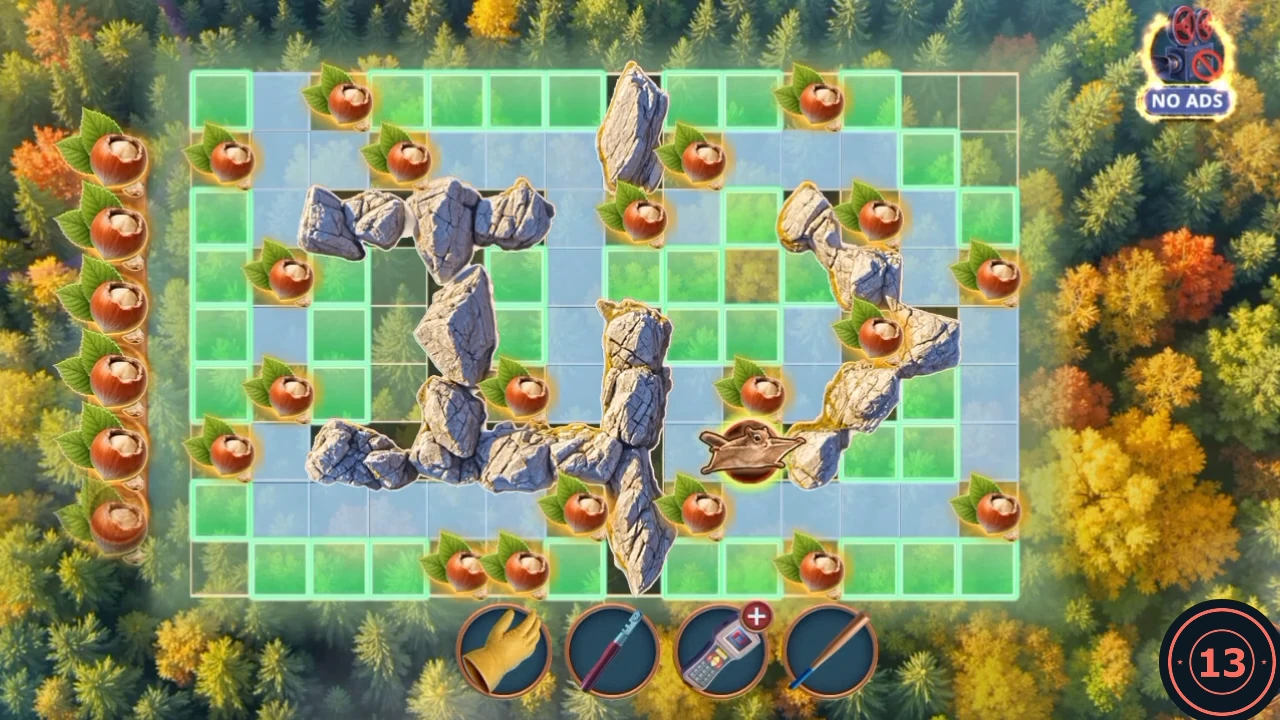
The recorded route, finished, with every nut collected and the squirrel at the tent.