Cut the owl free at the swamp arch
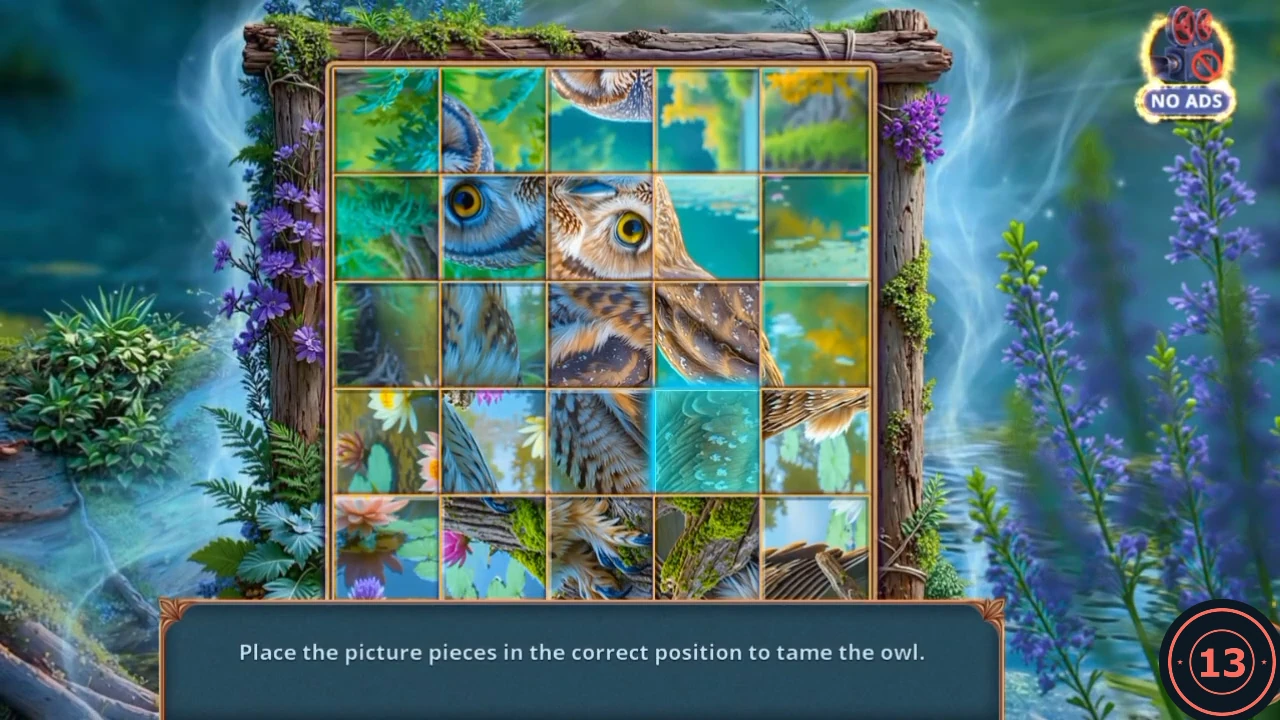
The Outskirts of Swamp scene has an arched fallen tree over the water. The owl's picture is a tile puzzle. The starting layout may differ, and a full move list would be long, so this is the approach rather than every swap.
- Open the pond by the reeds and take the Extinguished Lantern.
- Open the hollow tree on the left and take the Scissors.
- Open the owl tangled in orange cord and use the Scissors.
- Swap tiles until the owl picture is whole: tap a tile, then the tile it should change places with. The owl's face is the easiest place to start. When the last tile lands the owl joins your helpers.
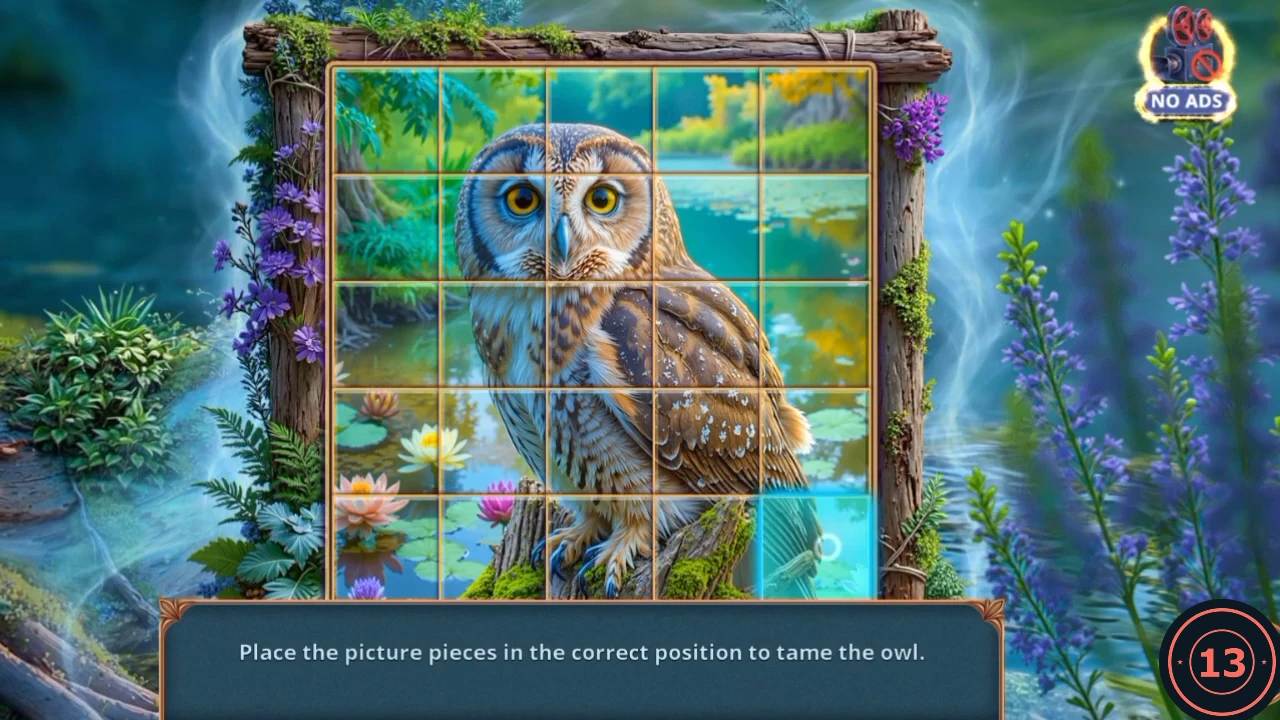
Target picture: the completed owl. The bright square is only the last one moved.
Cross the swamp along the footprints
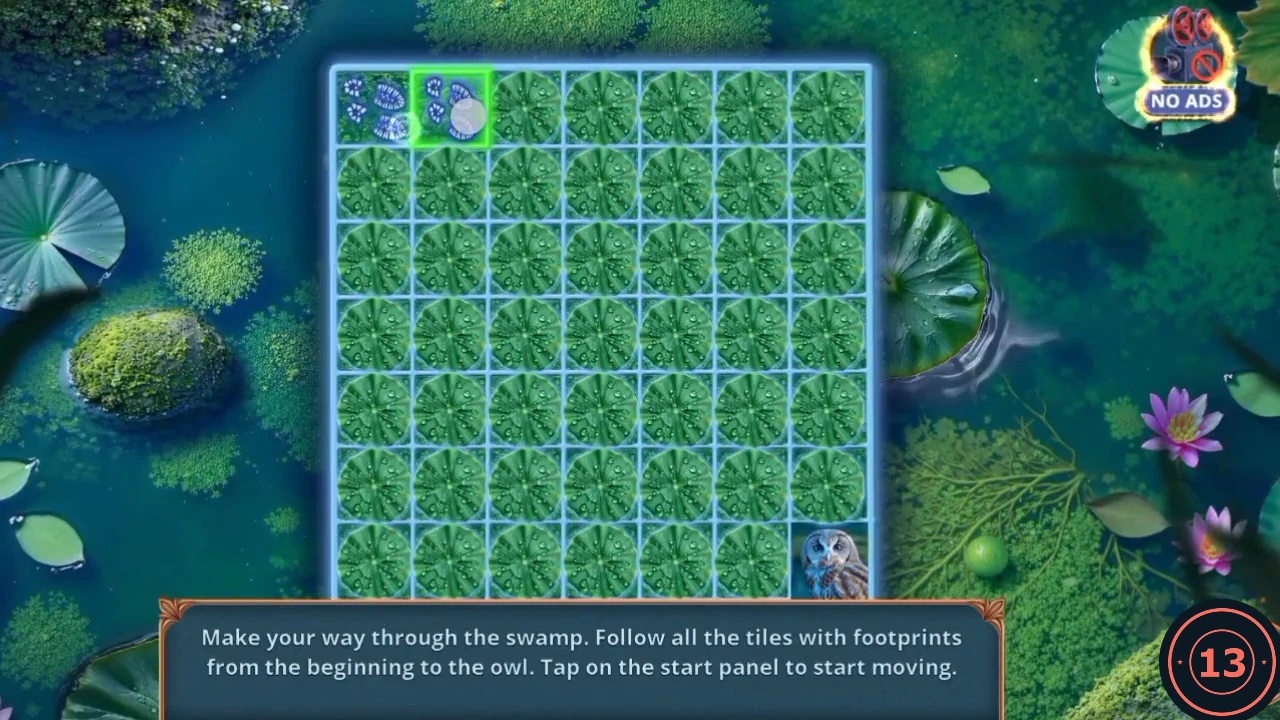
Tap the start panel at the top left, then step tile by tile to the owl at the bottom right. In the recording each footprint appears only when you step on it.
- Open the hollow tree and take the plank from the lower trunk. Drag the owl icon up the tree: the owl knocks down a second plank. Take that too.
- Open the swamp in the middle of the scene and lay the Plank over it, then drag the owl icon onto it.
- The board is 7 by 7. From the start tile the recorded path runs: right, down, right, right, down, down, right, down, down, right, right, down. All the other tiles turn red when you reach the owl.CODER D R R D D R D D R R D
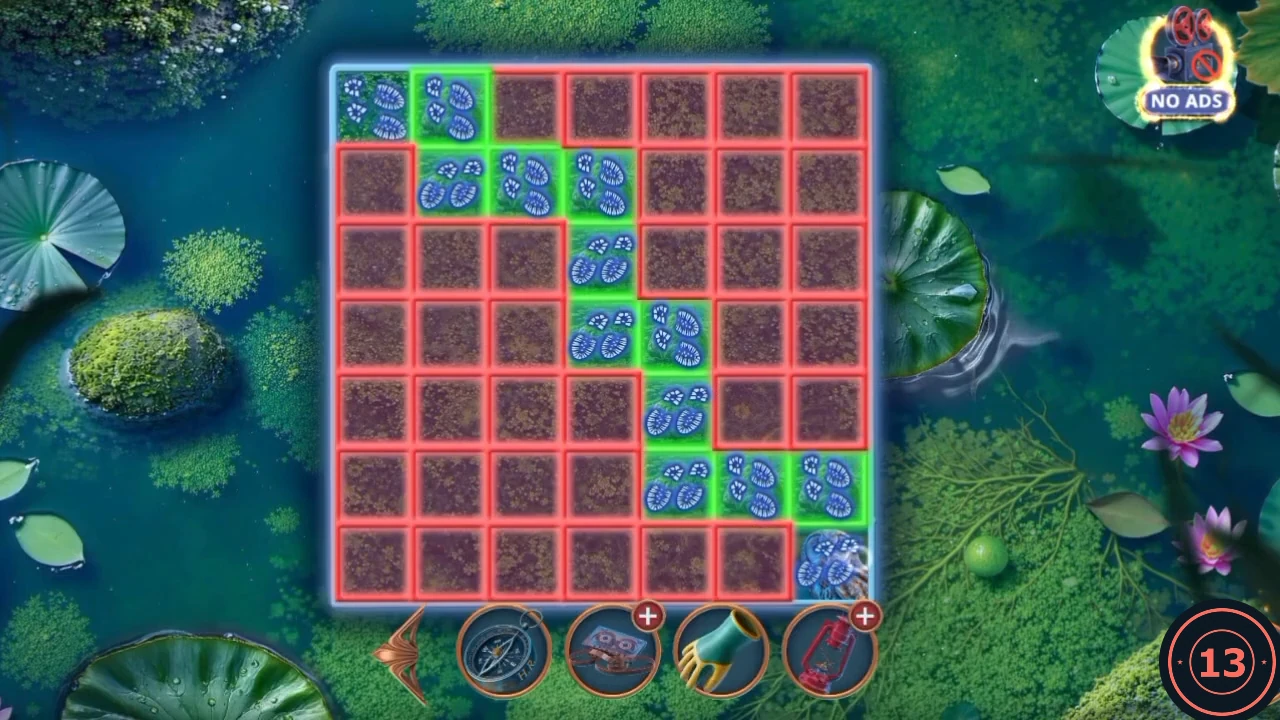
The recorded footprint path after reaching the owl, with the other tiles turned red.
Pull Hal Reed out of the water
A cutscene follows the swamp crossing, and your reply carries the chapter's biggest Decision Point score.
- In the cutscene Hal Reed calls for help. "Let him grab onto a snag" earns 6 Decision Points, "Give him a hand" earns 2 and "Do nothing" earns none.
- You arrive at Swamp's Pontoon. Leah says Reed needs a first-aid kit and something to drink. The new task is to pull the transmitter out of the swamp.
Treat Reed: the heart fragments
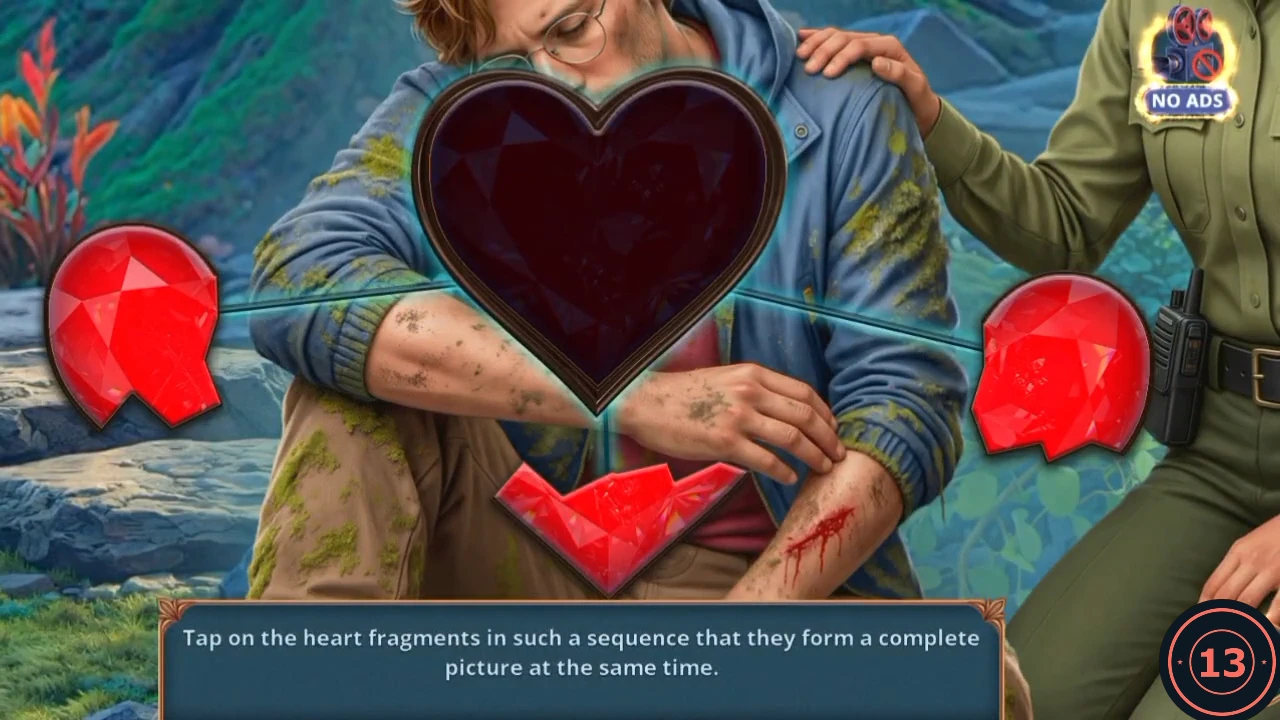
All three fragments must land in the heart at the same moment. Each one takes a different time to arrive, so start the slowest first.
- Open the bag on the pier and take the Matches lying on it.
- Use the Paper Clip on the bag's zip. Take the First Aid from inside.
- Use the First Aid on Reed where Leah sits with him. The heart puzzle opens.
- Tap the right fragment first, the bottom fragment about 2 seconds later and the left fragment about 2 seconds after that. In the recorded run they took about 8, 6 and 4 seconds and all landed together.
- Reed says a shadow distracted him. "What shadow?" earns 2 Decision Points, the other answer is "And what if we hadn't made it in time?" You then receive Reed's Seal.
Develop the invisible ink at the camp
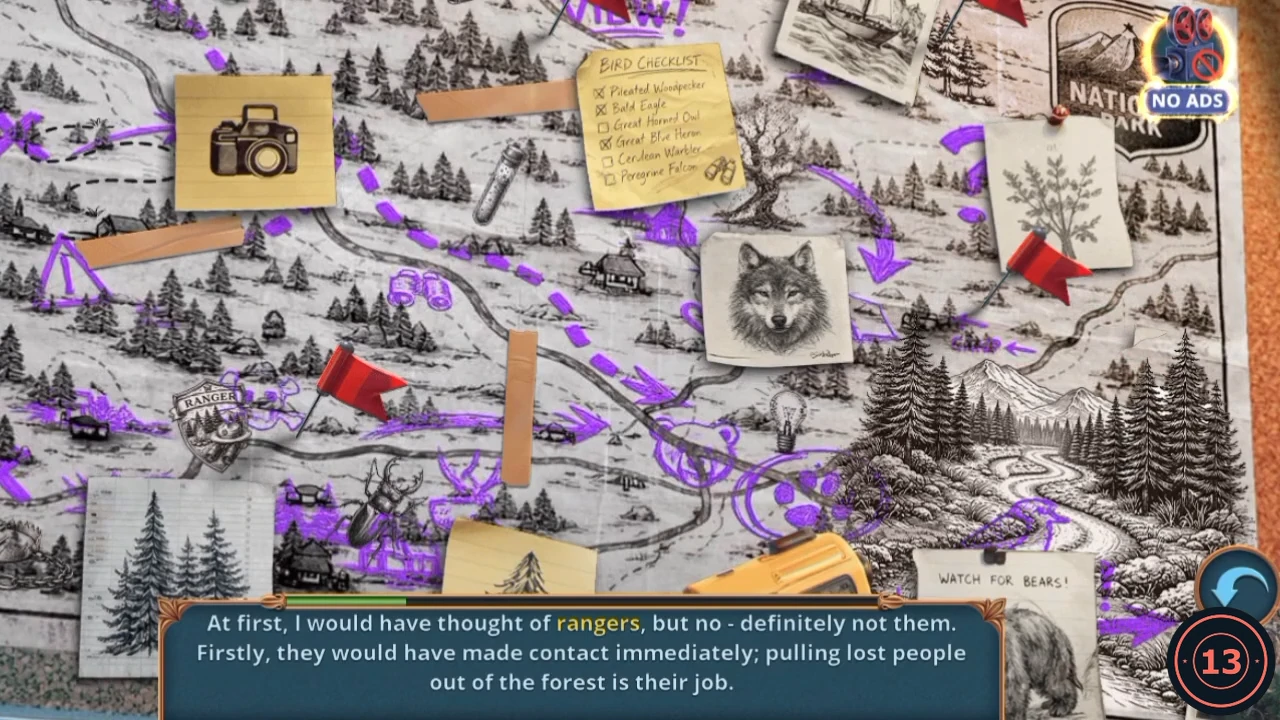
Reed's Seal opens the case at the camp, and its bottle develops the invisible ink on the cork board.
- Return to the Ornithologist's Camp. Open the camouflage case by the fire and use Reed's Seal on its lock. Read Reed's note: strangers headed into the swamp and he wrote their route in invisible ink.
- Take the Glue bottle from the case.
- Open the Extinguished Lantern from the inventory and place the Matches in its lowest slot.
- Open the cork board and pour the Glue bottle over it. Purple trails appear. Tap each sparkle in turn and follow the commentary until Alex writes the route down.
- Take the Coordinates reading 41.1X 112.4Y.CODE41.1X 112.4Y
Reach the deer and calm it
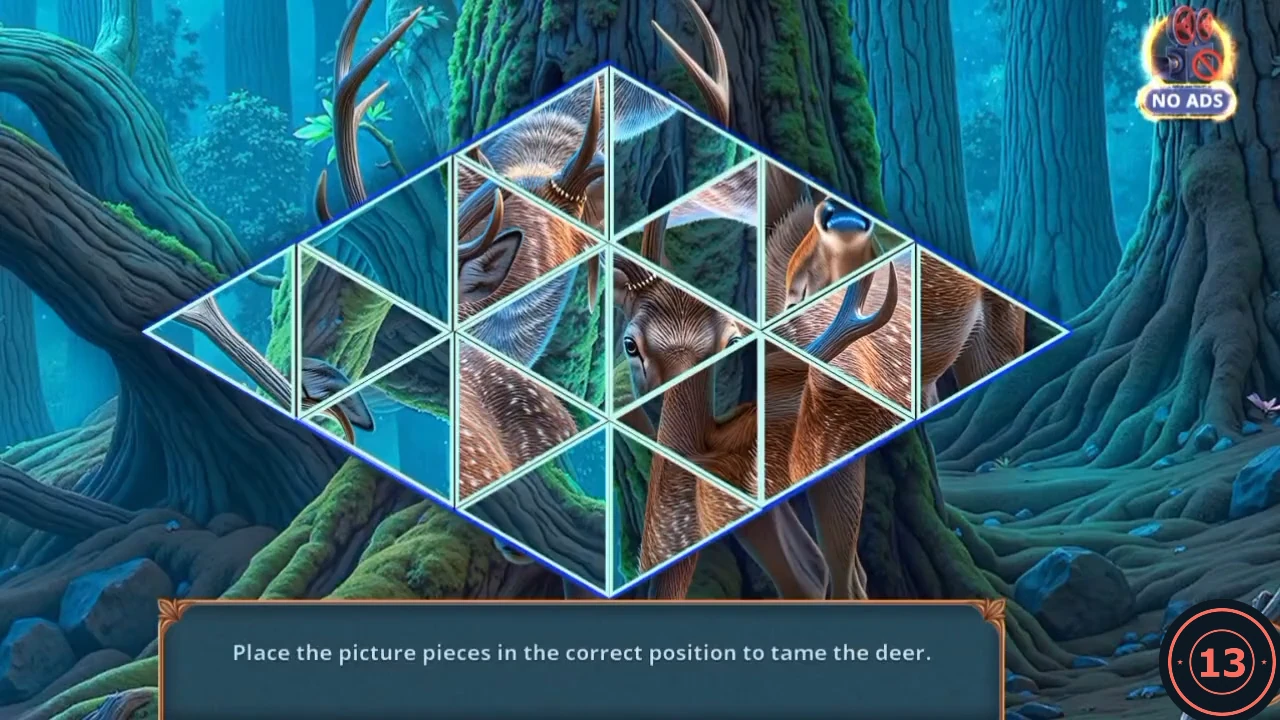
The Coordinates and the Compass open the way to the deer. Its picture is a triangle puzzle. The starting layout may differ, and a full move list would be long, so this is the approach rather than every swap.
- At Swamp's Pontoon, open the stone path behind the pier and use the Coordinates and the Compass in its two slots. Deep in the Swamp opens.
- Open the bush of blueberries and use the Sieve on it. Take the Berries.
- Open the roots and take the Kerosene and the Selfie Stick.
- Open the deer and give it the Berries. The deer puzzle opens.
- Swap triangles until the deer is whole. Tap a triangle, then the triangle that should take its place. The antlers and the head give the clearest edges.
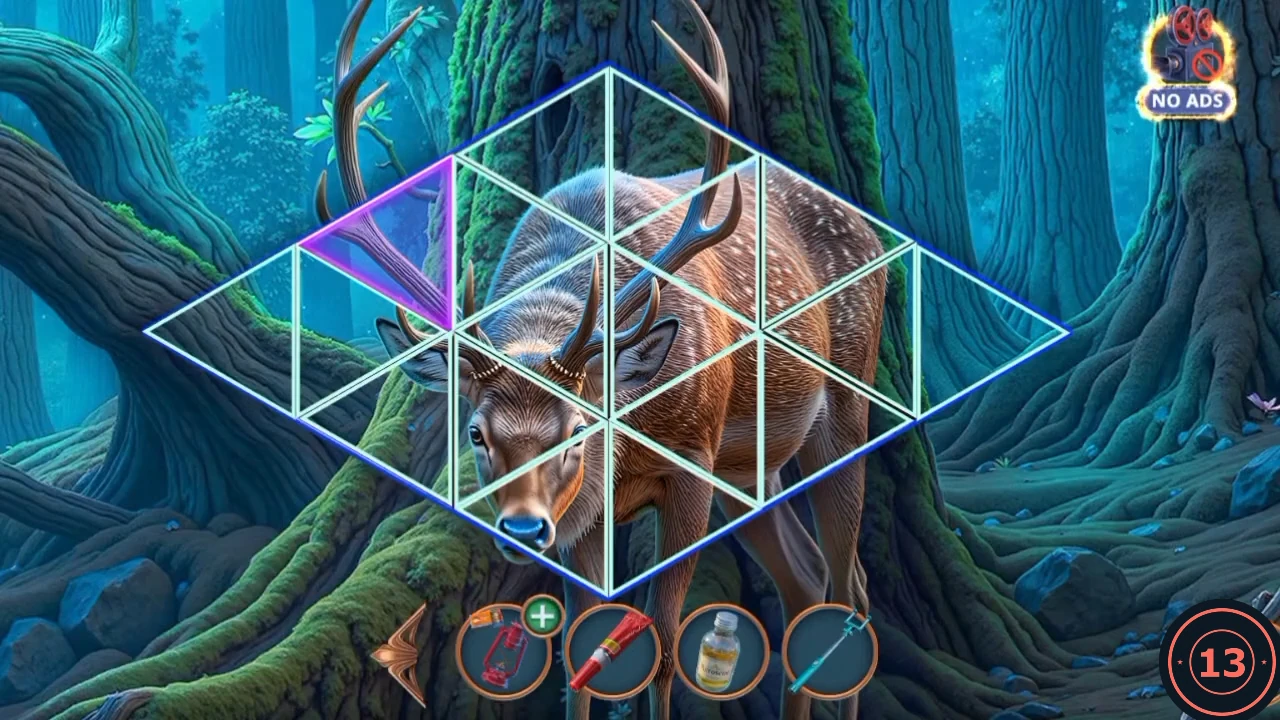
Target picture: the completed deer. The purple triangle is only the last one moved.
Rope, Reel and the Rubber Boot
The deer can now move heavy things. Prepare the boat it will pull later, then hook the Scraper.
- Open the roots again and drag the deer icon onto them. The deer shifts the snag. Take the Rope and then the Fishing Reel.
- At Swamp's Pontoon, open the sunk boat and place the Rope in its first slot.
- Open the Lantern and place the Kerosene in its middle slot.
- Open the bag on the pier and fix the Fishing Reel to the rod. It hooks a Scraper from the water.
- Open the mossy pier planks and use the Scraper. Take the Rubber Boot.
Clear the trash from the pond
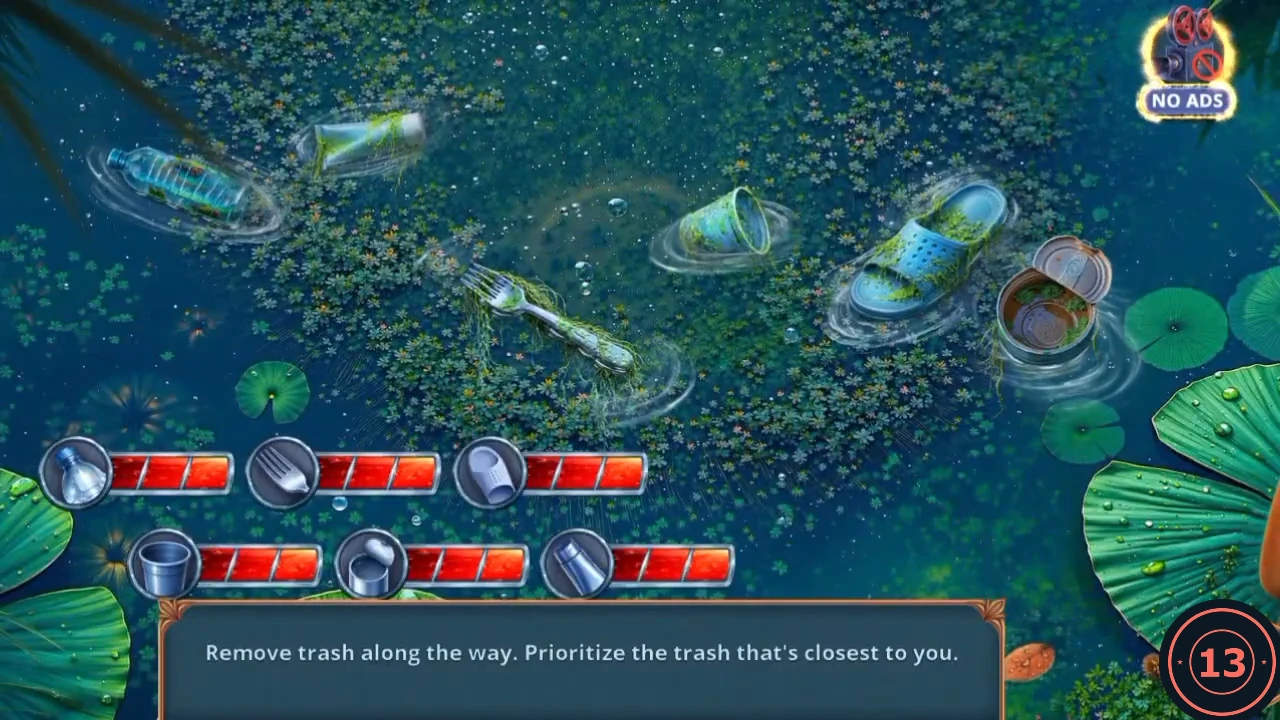
Six health bars track the trash. Tap the closest pieces first and keep tapping until every bar is empty.
- At the swamp arch, open the pond and place the Rubber Boot and the Selfie Stick in its slots. The trash mini-game starts.
- Tap each piece of trash, nearest first, until all six bars are empty. You receive the Toolkit and the Lantern Glass.
- Open the Lantern and place the Lantern Glass in the top slot. The lantern lights.
- Open the hollow tree and place the Lantern inside. Take the Deodorant that the light reveals.
- Use the Rubber Glove on the metal at the foot of the hollow tree. Take the Pencil.
- At Deep in the Swamp, open the bush and spray the Deodorant at the insects. Take the Animal Token that appears.
Run the net across the red case
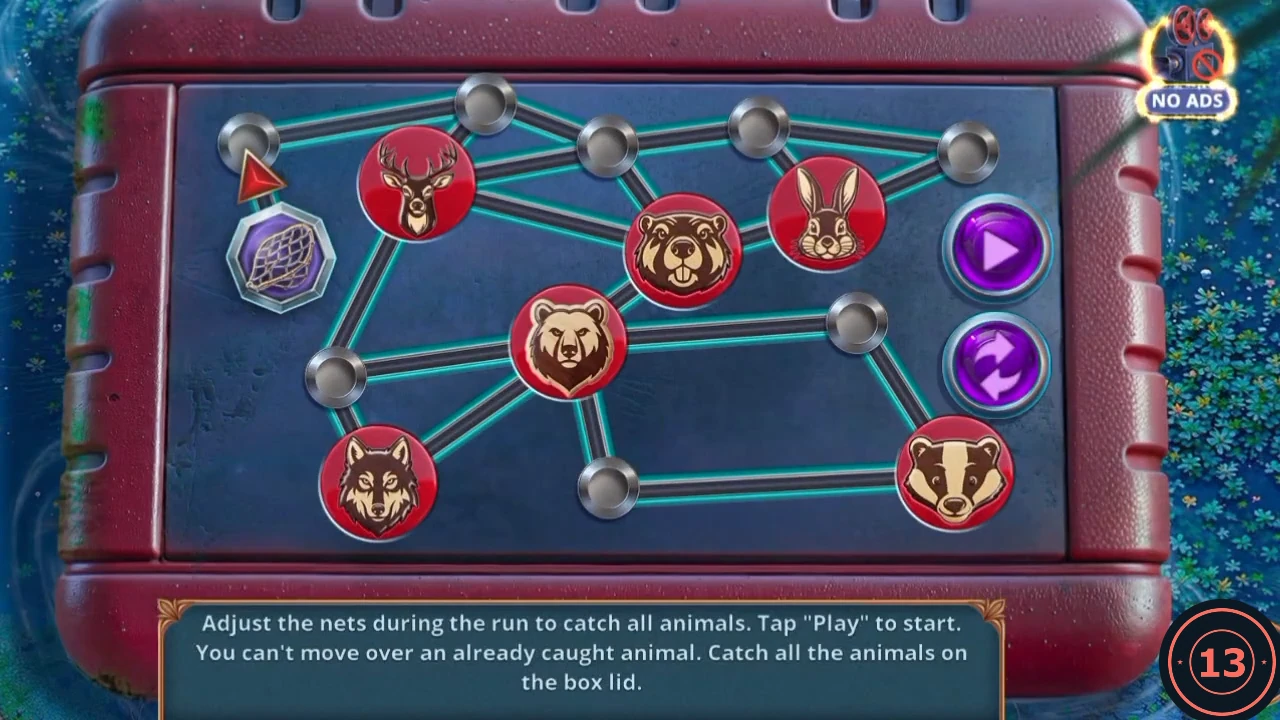
The token runs along the lines by itself once you tap Play. The lower button turns the red arrow, which sets the token's next direction. An animal already caught cannot be crossed again.
- Open the red case at Deep in the Swamp and place the Animal Token in the empty hollow on the lid. The net puzzle opens.
- Tap Play, then keep turning the arrow ahead of the token. The recorded run caught the animals in this order: rabbit, beaver, deer, wolf, bear, badger.CODErabbit, beaver, deer, wolf, bear, badger
- Read the notes in the case: "Take a detector, place it at a shallow depth, and move it along the swamp." Take the Metal Detector.
- Open the Cassette from the inventory and place the Pencil on it. The loose tape winds back. Take the Cassette Tape.
Assemble Reed's audio diary
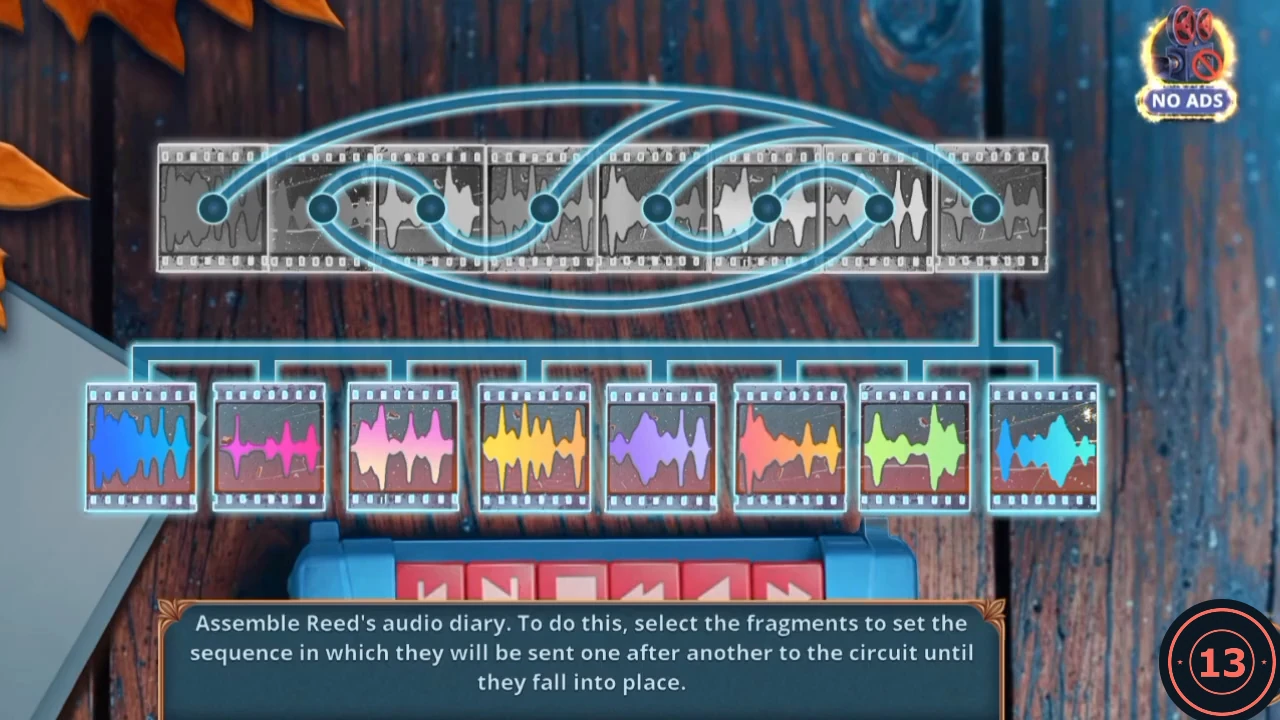
Fragments are numbered in the order you tap them, then run along the blue lines into the strip above.
- At the Abandoned Ornithological Post, the lake platform, open the blue tape player and insert the Cassette Tape.
- Tap the eight fragments in this order, counted from the left: 1, 4, 7, 8, 5, 3, 6, 2. By colour that is blue, yellow, green, cyan, purple, pink, orange, magenta.CODE1, 4, 7, 8, 5, 3, 6, 2
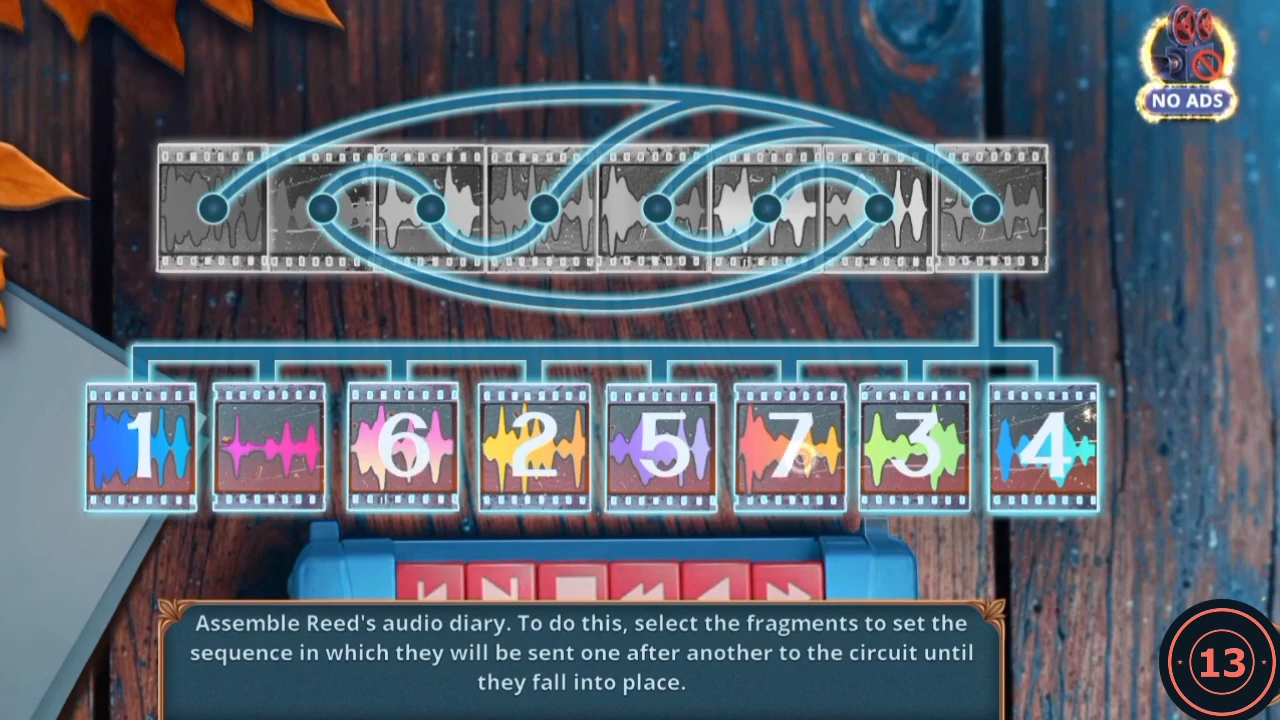
Seven fragments numbered in the recorded order. The magenta one, second from the left, is tapped last and becomes 8. - Read the diary: the birds never arrived at the K-7 site. The task Study Hal Reed's audio diary is complete.
Chapter 2 badges before the transmitter
Collect these before pulling the transmitter out, because that ends the chapter. This group holds 11 pickups worth 20.
- Ornithologist's Camp, main scene: on the ground in the middle of the camp, just right of the green bush below the cork board. Worth 1.
- Ornithologist's Camp, firepit and case close-up: at the upper left, on the blue rocks above the case. Worth 1.
- Ornithologist's Camp, green radio case close-up: on the stone at the lower right. This position is approximate. Worth 3.
- Outskirts of Swamp, main scene: on top of the mossy arch, towards its right side. This position is approximate. Worth 3.
- Outskirts of Swamp, hollow tree close-up: on the bark at the lower left, left of the scissors. Worth 2.
- Swamp's Pontoon, main scene: on the stone on the planks at the left, beside the mushrooms. This position is approximate. Worth 2.
- Swamp's Pontoon, moss close-up: at the upper right by the stump. Worth 2.
- Swamp's Pontoon, red case and fishing rod close-up: at the upper left. Worth 1.
- Deep in the Swamp, main scene: in the mossy rocks to the left of the deer. This position is approximate. Worth 3.
- Deep in the Swamp, blueberry close-up: on the grey stone in the lower right corner. This position is approximate. Worth 1.
- Deep in the Swamp, tree root close-up: at the lower right, on the moss. Worth 1.
Pull the transmitter out with the deer
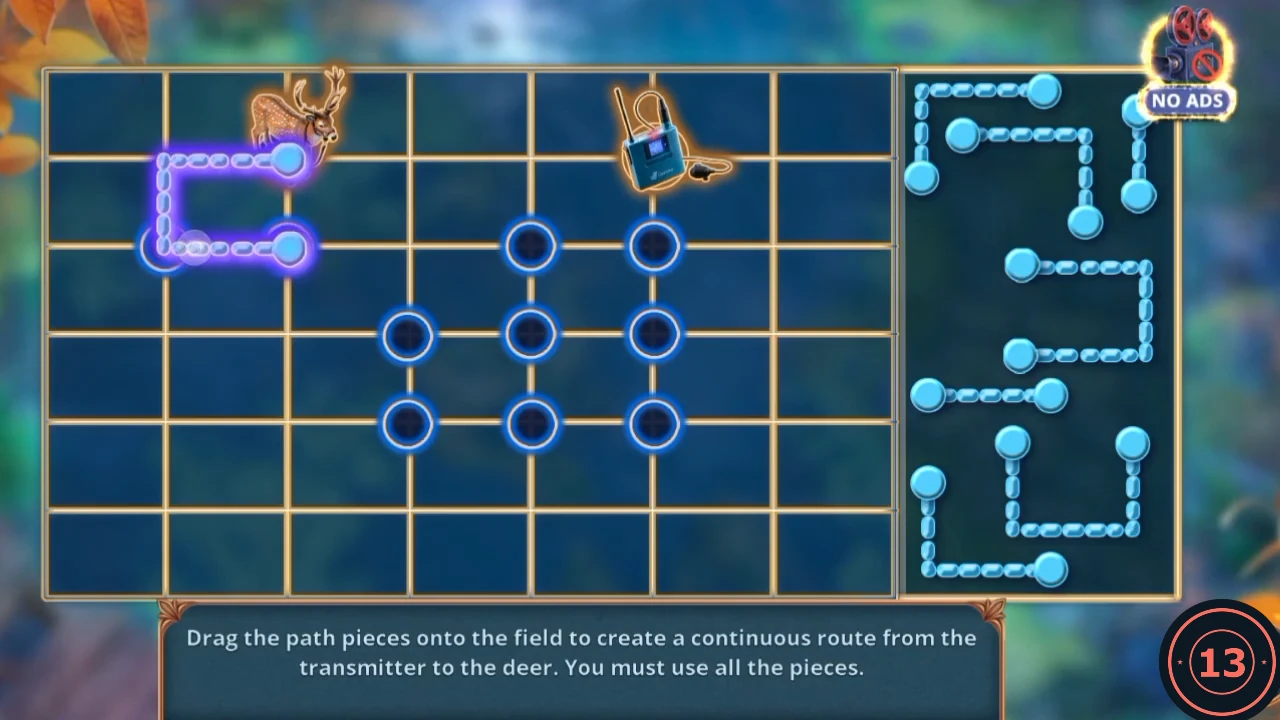
Drag every piece onto the board so that one unbroken line joins the transmitter to the deer.
- At Deep in the Swamp, open the roots and use the Metal Detector over the water. Take the Screwdriver it finds.
- Open the red case and use the Screwdriver on the false bottom. Read the page, then take the Clamp, the orange rod and the two-pronged wire.
- Open the Toolkit from the inventory and place the Clamp in the middle slot.
- At the Ornithologist's Camp, open the radio table and push the two-pronged wire into the two holes of the drawer. Take the Harness.
- At Swamp's Pontoon, open the sunk boat and place the Harness in the second slot. Then drag the deer icon onto it.
- Recorded solution, working back from the transmitter: a short piece from the transmitter to the node below it. From there left and down to the middle-row node, right to the next node, then a hook out to the right and back to the bottom-row node beneath it. A U under the board leads left to the next bottom-row node, then a straight piece left. Go up one node, then up and left to the top-row node, left once more, and finally up and right to the deer. All the nodes turn green when it is right.
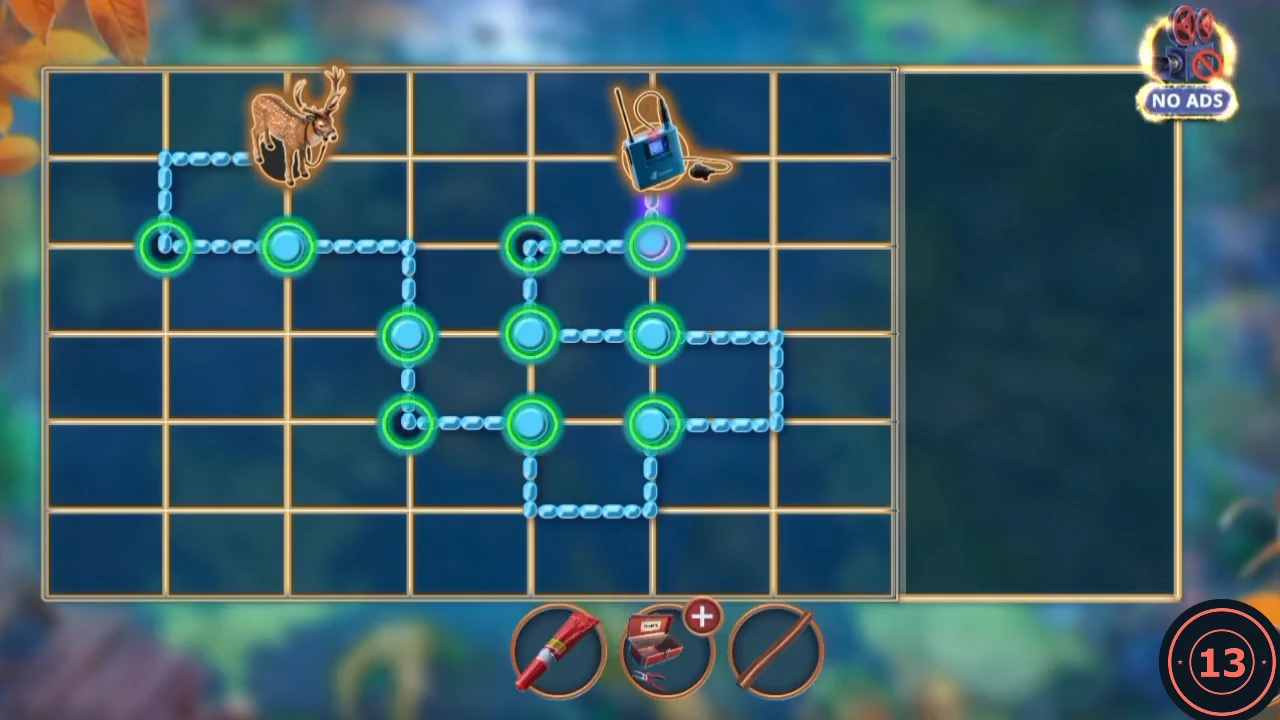
The recorded route, finished, with all the nodes green and the tray empty. - The chapter results list your Decision Points. This chapter's choices add up to 13, and the three reward pictures sit at 0, 4 and 10 points.