Search the trap and the red crate
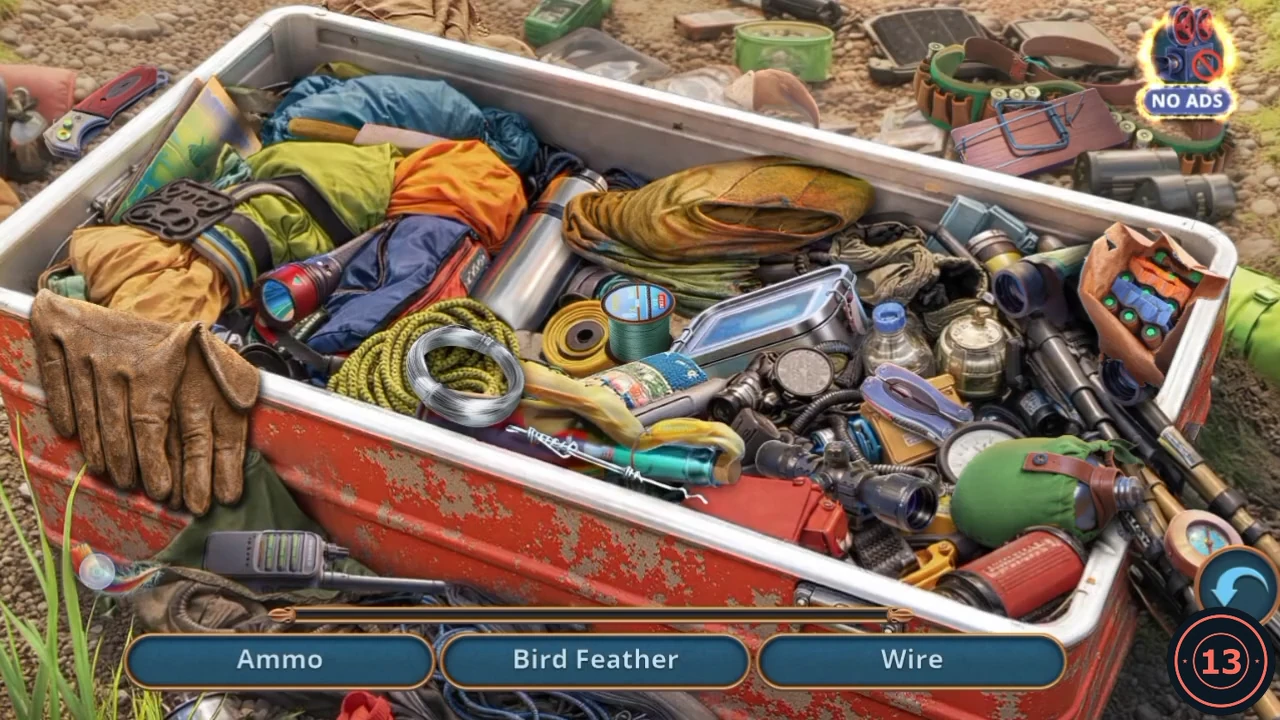
Chapter 4 begins in the Forest Clearing, which has traps, crates and a treehouse to get into.
- Chapter 4 opens in the Forest Clearing. Leah says poachers have been here and more traps are in the forest. Fix the antenna completes.
- Open the cage on the path and tap the pouch lying in front of it. Take the green battery pack, the Tape Measure and the Pliers. Alex wants something sharp to cut the bars.
- Open the red crate behind the bush and use the Pliers on the latch. Alex says "Another one! I need to get rid of it."
- Search the crate. The bar shows three names at a time, and each item is removed when you tap it. Positions are from the recording, and the order can differ. Bird Feather: the rainbow feather on the ground at the bottom left, by the boot. Mousetrap: on the wooden board outside the crate at the upper right. Flask: the green canvas flask with a leather strap at the lower right of the crate. Wire: the silver coil on the yellow-green rope at the centre left. Bear Claw: on the ground outside the top edge of the crate, near the centre. Knife: the red folding knife on the ground outside the top left corner. Map: the green and yellow sheet standing in the crate's top left corner. Gloves: the brown leather pair draped over the crate's left edge. Line: the teal spool beside the yellow roll in the middle of the crate. Lock Pick: the thin wire lying across the teal tube near the crate's front edge. Ammo: the shells in the torn paper bag at the crate's upper right. Balaclava: the olive and orange cloth at the top centre of the crate. The Buckshot jar with a red lid then appears at the top centre of the crate, just above the steel thermos. Tap it to take it.
- Open the Slingshot in your inventory. Put the Buckshot in the lower slot and the Elastic Band in the upper slot.
Aim the slingshot at the treehouse planks
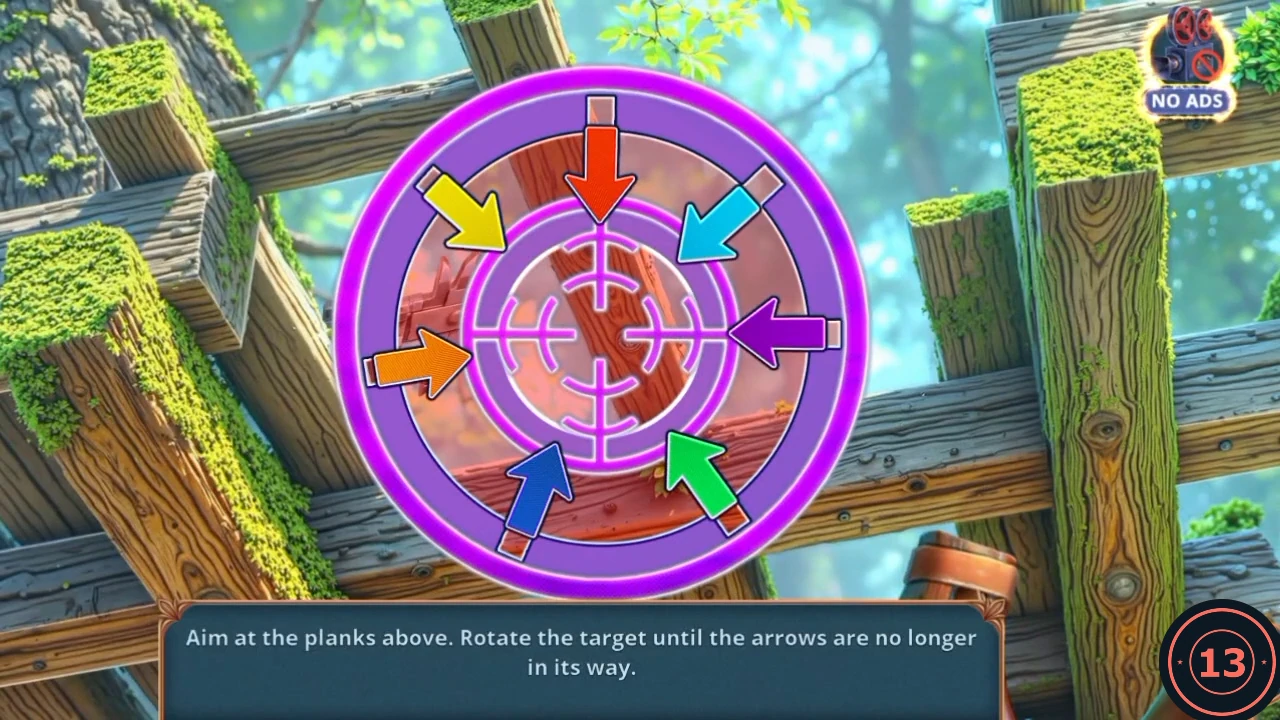
Seven arrows point in at the target, and a gap shows behind each arrow's tail. The board clears once every arrow has been pushed back into the slot behind it, so that no tip reaches into the ring.
- Open the crossed planks under the treehouse and use the loaded Slingshot. The target appears.
- Drag the target around in one steady clockwise sweep. The arrows draw back as the crosshair turns. The recorded run took about three quarters of a turn and ended with the crosshair upright. Keep turning until the board clears.
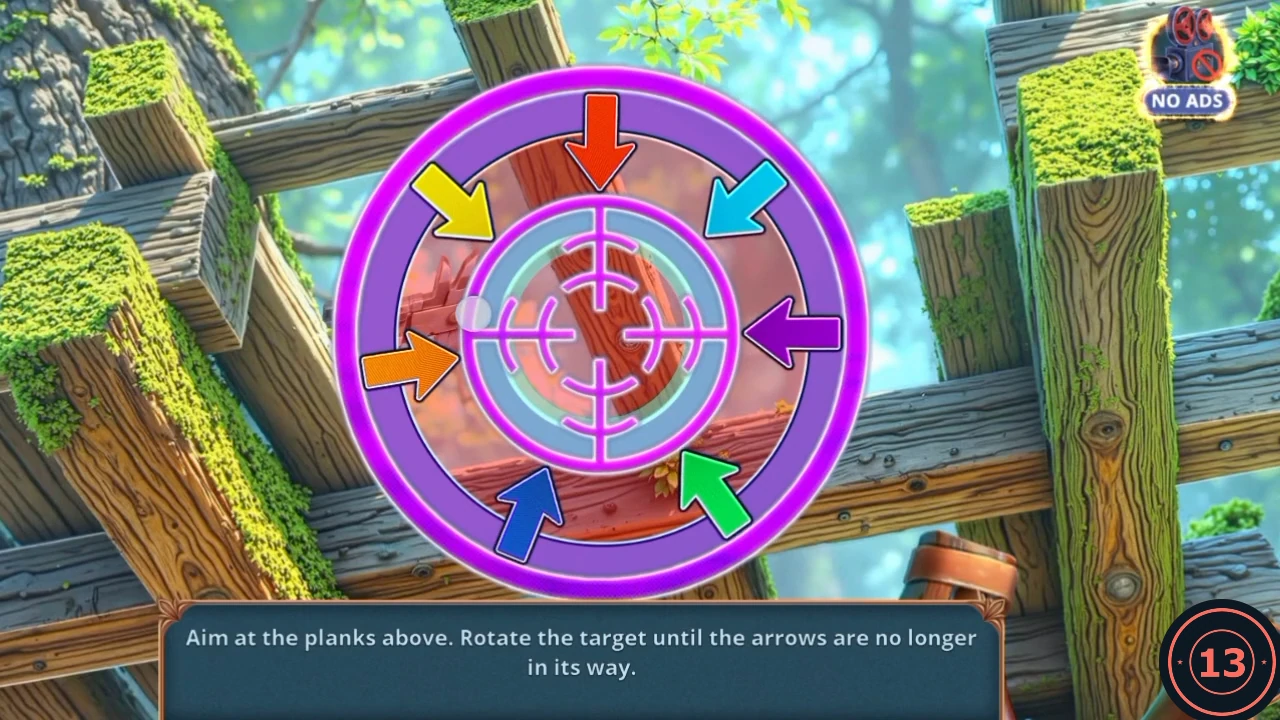
The cleared target, with all seven arrows drawn back and the crosshair upright. - Take the Caliper as it falls from the planks.
Pick the berries and find the Saw
The fox will need berries, so you need something to carry them in.
- Open the tangled roots at the foot of the big tree and use the Caliper on the purple cloth. Take the Hat.
- Open the cage again, set the Hat on the ground beside the bush and tap the bush. Take the Berries in the Hat.
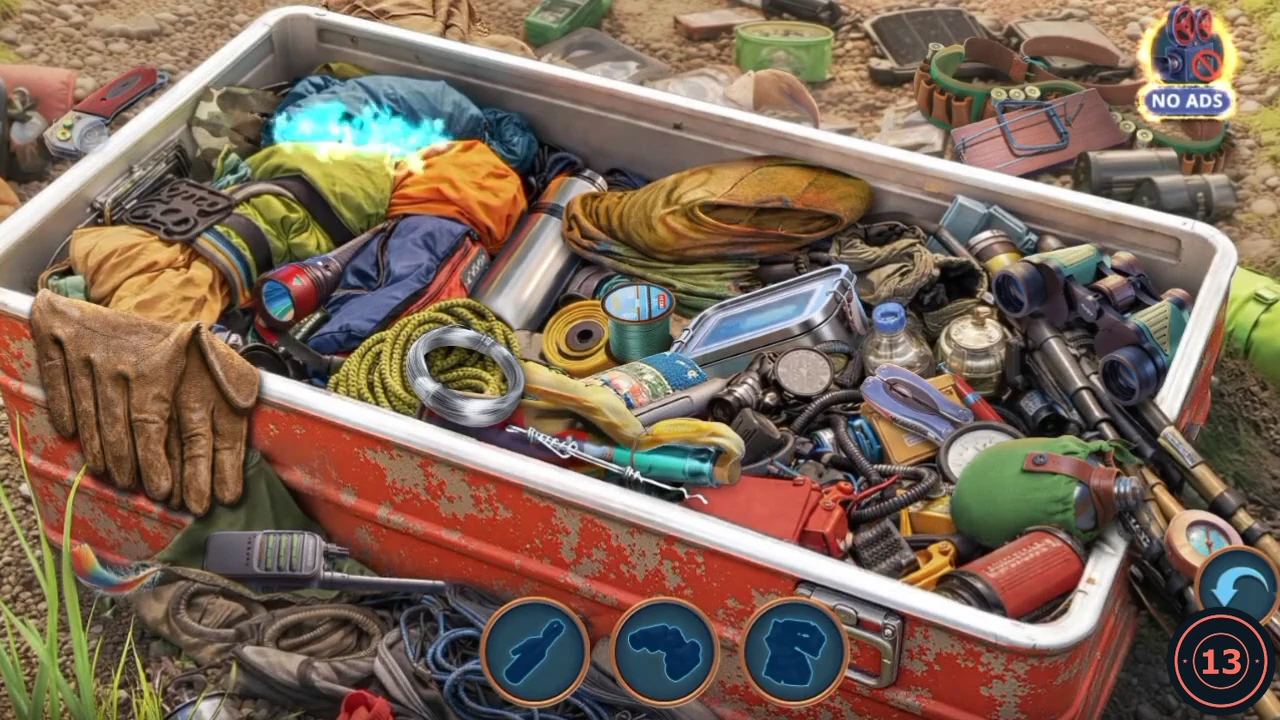
- The red crate sparkles again. Each circle at the bottom shows a close-up of an object, and it stays in the scene after you tap it. Three show at a time, and the order can differ. Positions are from the recording. Rifle scope: at the front right of the crate, beside the green bag. Binoculars: on the ground at the upper right, outside the crate. Walkie-talkie: on the ground at the lower left, in front of the crate. Steel thermos: in the centre of the crate. Yellow and teal tool: across the front edge of the crate. Compass: at the far right, at the bottom. Red wooden trap with blue wire: on the ground at the upper right, outside the crate. Blue multi-tool: right of centre in the crate. Red flashlight: on the left in the crate. Metal lunch tin: in the centre of the crate. Camouflage shirt: in the top left corner of the crate. When the bar is empty, the last silhouette is the Saw, a red-handled tool that drops onto the right of the crate, between the glass bottle and the rifle scope. Tap it to take it.
Chapter 4 badge in the Forest Clearing
Take this one before you tame the fox. Taming it moves the story on, and the Forest Clearing tile was already locked in the journal by the time the cave came up. No warning appeared in the recording.
- Forest Clearing, main scene: the round tan stone at the foot of the large tree at the back left, left of the orange bush. This position is approximate. Worth 3.
Tame the fox
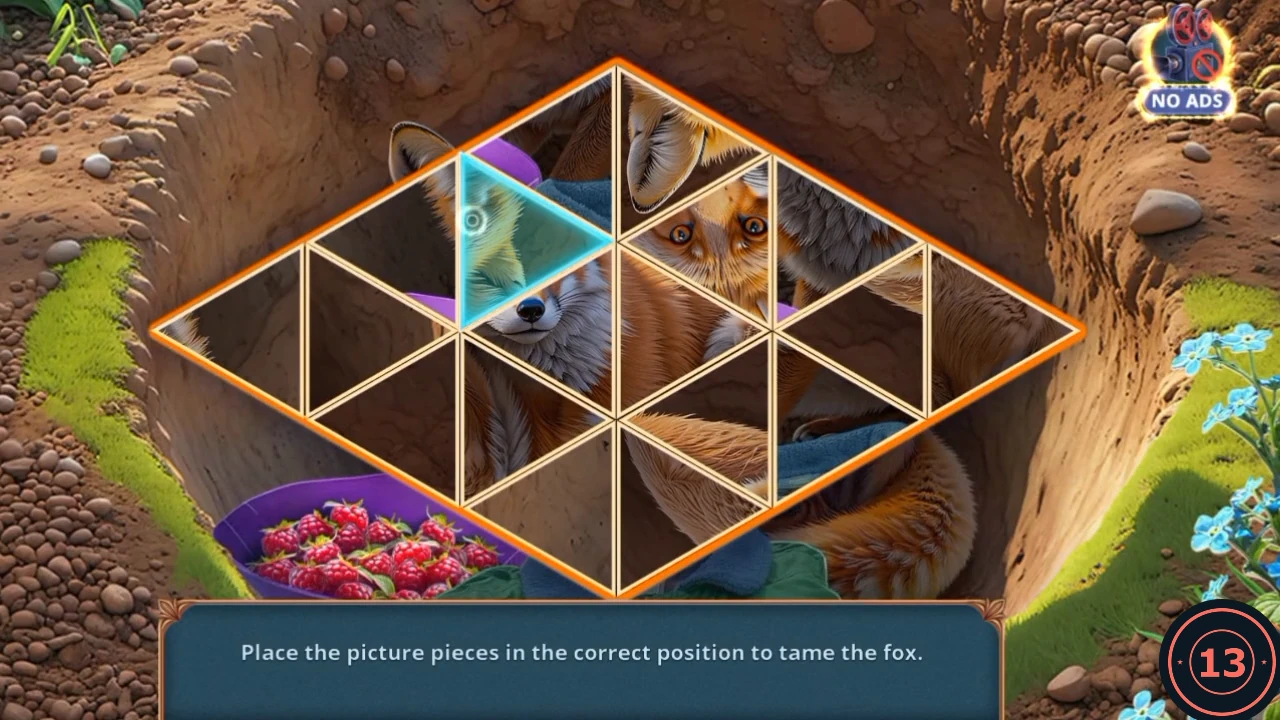
The fox takes two offerings, and its picture is a triangle puzzle. The starting layout may differ, and a full move list would be long, so this is the approach rather than every swap.
- Open the fox burrow at the lower right and place the Berries in the lower of the two slots. The fox stays put, so you still need something for the upper slot.
- Open the cage on the path and saw through the bars with the Saw, dragging it up and down. Take the Jacket from inside.
- Open the fox burrow and place the Jacket in the upper slot. Alex lays it out and the picture puzzle opens.
- Tap one triangle, then another, to swap them. Rearrange them until the fox picture is whole inside the rhombus. The fox joins your helpers.
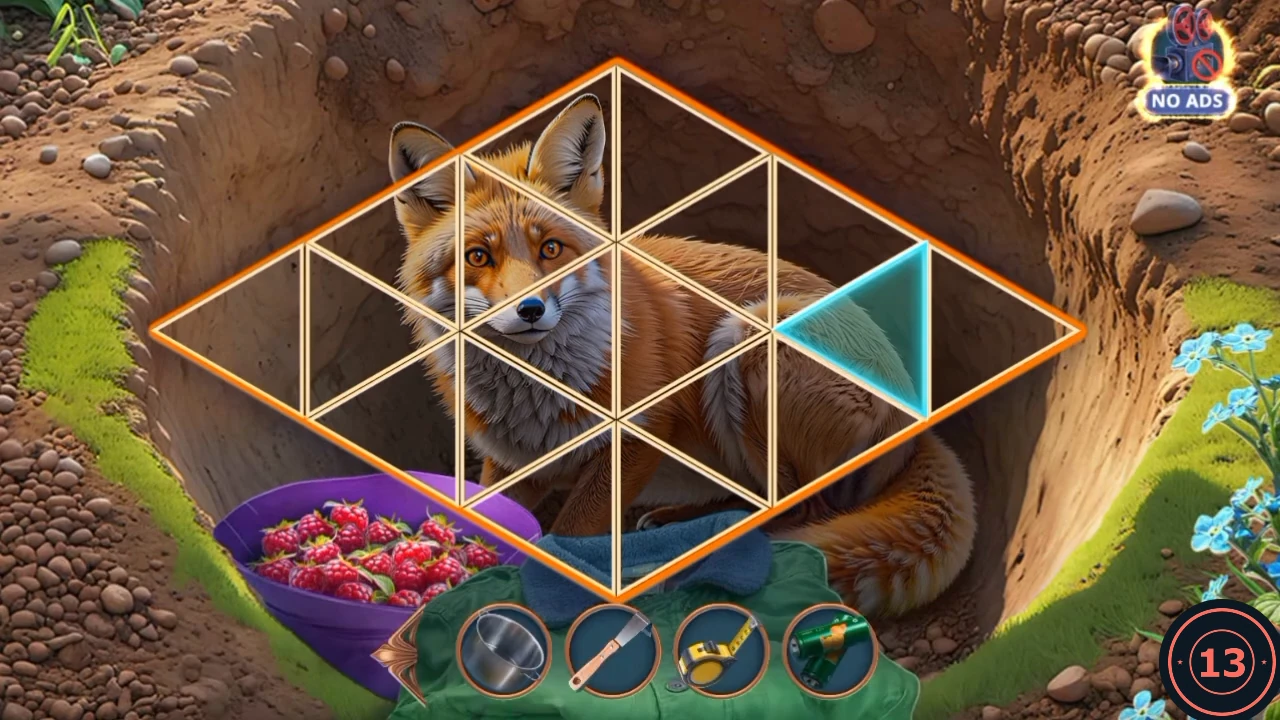
Target picture: the completed fox. The blue triangle is only the last one moved. - Open the cut cage and drag the fox icon onto it. The fox picks up the trail and leads you and Leah to a new place.
Free the chained cub
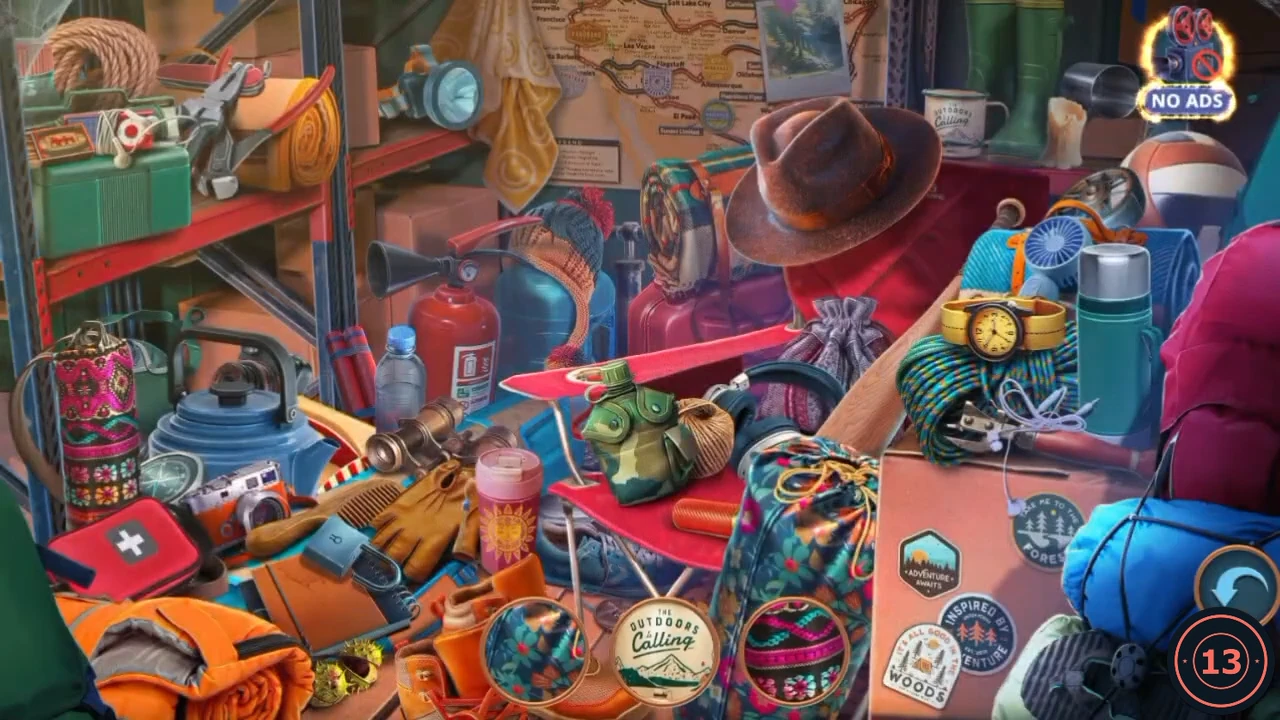
The fox leads you to the Trap by the Path, with a poachers' container and a fox cub in chains.
- Leah recognises the handwriting as Wild Hunt Expeditions. "It seems personal for you." earns 2 Decision Points. The other reply is "Get yourself together! No time for your rants." A chained fox cub sits at the left of this clearing.
- Open the gravel pile against the red container and use the Camping Pot on it. The gravel is cleared and the container opens.
- Search the container. Each circle at the bottom shows a close-up of an object, and it's removed when you tap it. Three show at a time, and the order can differ. Positions are from the recording. Mug that says The Outdoors Are Calling: on the red trunk at the upper right. Patterned pink flask: at the far left, on the floor. Knitted orange and blue hat: on the blue tank at the centre, beside the fire extinguisher. Wooden comb: at the lower left, by the leather glove. Pink cup with the sun print: left of the folding chair. Yellow wristwatch: on the coiled rope at the right. Striped ball: at the upper right, behind the fan. Camouflage canteen: on the red folding chair. Purple drawstring pouch: behind the chair, right of centre. Rolled tartan blanket: on the pink case at the centre, left of the brown hat. Yellow towel with the spiral: hanging from the shelf at the top centre. Orange boots with red laces: on the floor at the bottom centre. Flowered drawstring bag: right of the boots. When the bar is empty, the last silhouette is the Collar Key, which drops across the top of the red folding chair, just right of the canteen. Tap it to take it.
- Open the cub and use the Collar Key on its padlock. The mother fox comes to her cub.
Dig in the moss and break into the truck
The moss and the tree hollow give you what you need to break into the ranger truck.
- Open the moss mound at the lower left. Tap the yellow glove sticking out of it. Take the Heat-Resistant Glove and the Baseball.
- Open the hollow in the tree and tap the bag on the right. Take the Rusty Bolt Cutter.
- Open the truck's side window and throw the Baseball at it. The glass breaks. Reach in with the Tape Measure, which hooks the ignition panel.
Start the truck's ignition
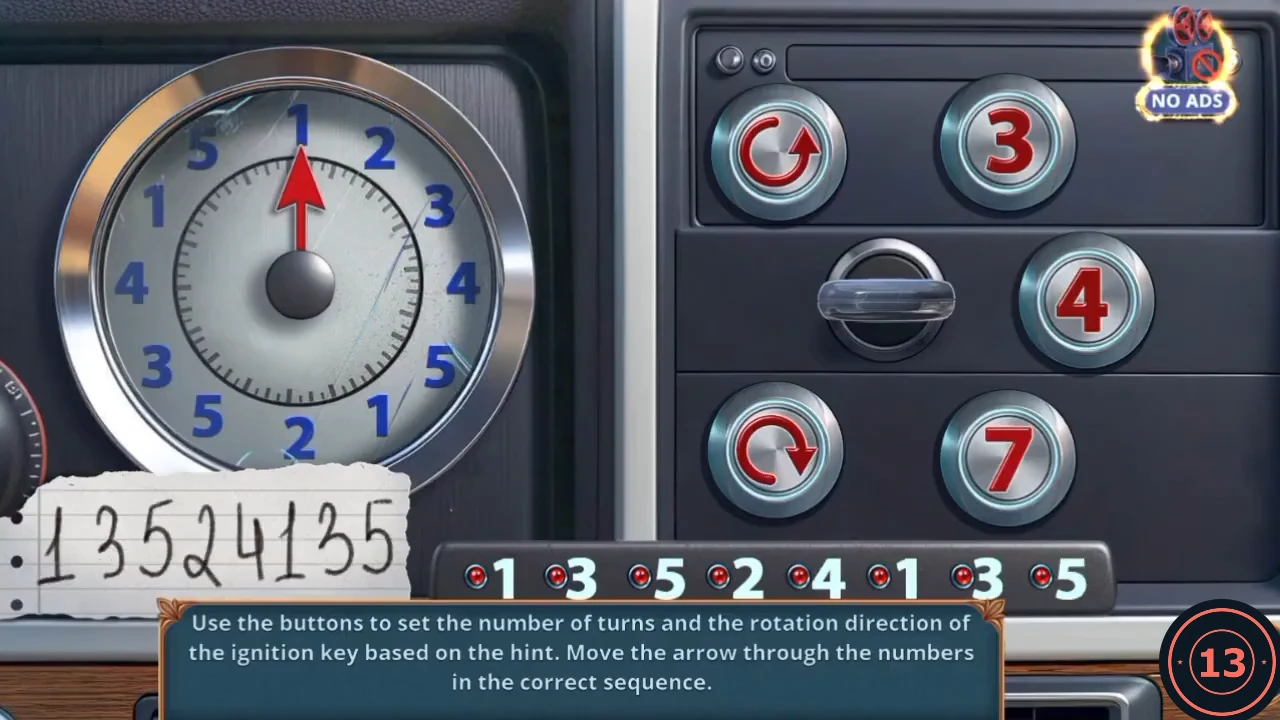
The arrow must stop on the digits of the paper hint in order: 1 3 5 2 4 1 3 5. Tap a number (3, 4 or 7), then a curved arrow on the left. The top curved arrow turns the key counterclockwise and the bottom one turns it clockwise. The arrow moves that many marks around the dial. Each correct stop lights a digit on the strip.
- Enter these eight turns in order. The number in brackets is where the arrow stops.CODE7, top arrow (1) 3, bottom arrow (3) 4, top arrow (5) 3, top arrow (2) 4, top arrow (4) 3, bottom arrow (1) 4, top arrow (3) 3, bottom arrow (5)
Agree to check the cave
This reply decides whether the chapter's gold Bonus Location opens. The steps after it assume you accept.
- Leah suggests looking in the cave for evidence about Nolan. "You're right. Let's take a look." earns 1 Decision Point and opens the Ancient Sealed Cave, the gold tile on this chapter's journal page. The other reply is "We can't be distracted." Only the first was played, so what declining does is unknown.
Clear the moss
You arrive at the Old Forest. Several things here need tools you don't have yet, so collect what you can.
- Open the anthill and take the Glass Cutter and the Rough Sponge from the foot of the pole.
- Open the speaker box by the frog. It needs wiring and some power, so leave it for now.
- Open the bright green moss at the bottom right and scrape it away with the Scraper. Take the Speaker from the rock.
Search the cave with the sonar
The Ancient Sealed Cave is the gold Bonus Location you just agreed to check.
- Go through the opening on the right into the Ancient Sealed Cave. Your new task is Uncover the secret of ancient tribe. Open the geyser and note that you cannot cross it yet.
- Open the carved wall on the right. Take the Drone Car lying at its foot, then read the note beneath it about using a sonar, and take the Sonar.
- Open the altar in the middle of the cave and take the stone wedge. Alex says one is missing. You now hold the Bas-Relief Parts.
- Open the geyser and lower the Sonar into the water. Its screen shows what lies on the bottom. Take the Stone Wolf.
- Open the carved wall and place the Stone Wolf in the diamond keyhole. The disc swings open. Take the Hydraulic Pump.
- Open the Rusty Bolt Cutter in your inventory and put the Rough Sponge in the lower slot. Alex needs something else to clean it properly, so the upper slot stays empty for now.
- Open the stone disc at the upper left of the cave. Alex says a few details are missing, and your Bas-Relief Parts read 1/3. Leave it for now: the section Finish the Ancient Sealed Cave brings you back before the cave locks.
Scare the frog with the speaker
A frog sits on papers you need, and the speaker box is the way to move it.
- Open the speaker box by the frog. Place the Speaker on the box and the green battery pack beside it.
- Return to the Trap by the Path, open the trunk with the red loop at its foot and take the Wire.
- Open the speaker box and use the Wire. Alex wires up the speaker and fits the batteries. Music plays and the frog jumps away.
- Tap the papers the frog was sitting on and read the poachers' notes. Take the Dead Scanner and the Soda Pop.
- Open the Rusty Bolt Cutter in your inventory and put the Soda Pop in the upper slot. The rust cleans off and you have the Bolt Cutter.
Cut the barbed wire
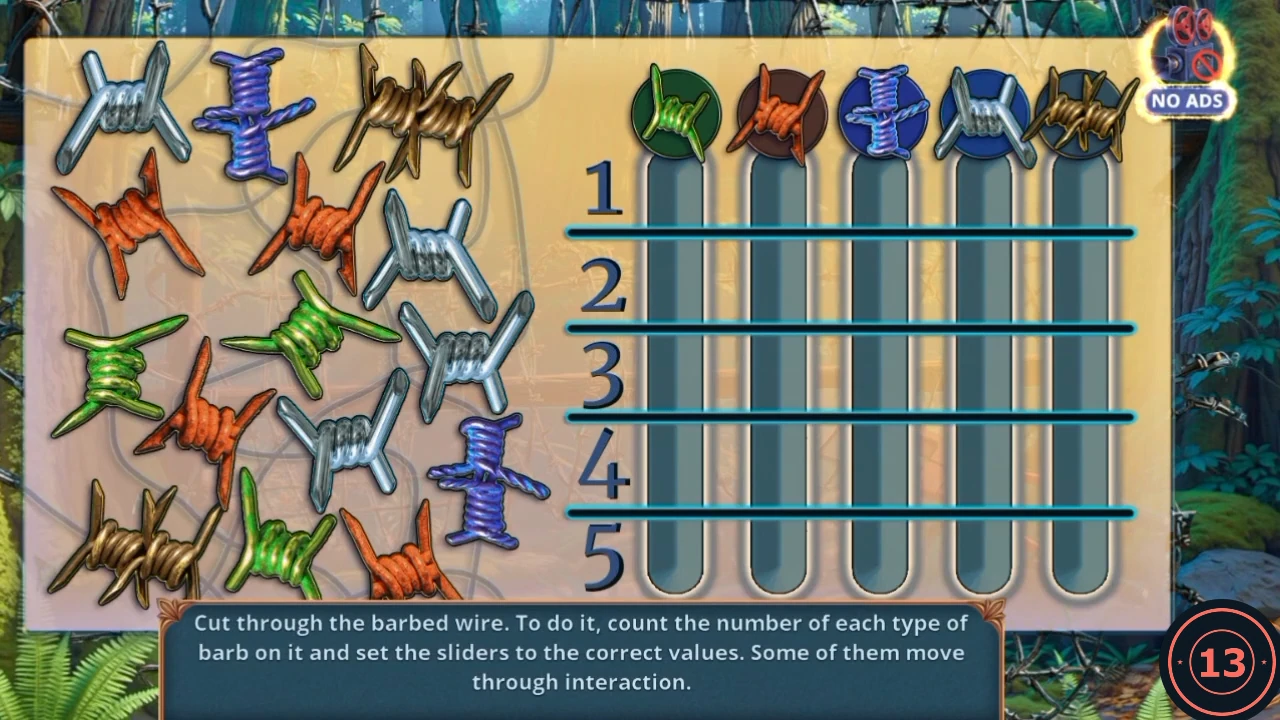
Count each kind of barb on the wire at the left, then set that colour's slider to the count. Some sliders push others back to the top as you move them. If a token jumps back, set it again. The last slider set must leave all five in place.
- Open the barbed-wire fence behind the bench and use the Bolt Cutter. The board opens.
- Set the sliders in this order, which is the order that worked in the recording.CODEGreen: 3 Silver: 4 Purple: 2 Orange: 4 Gold: 2
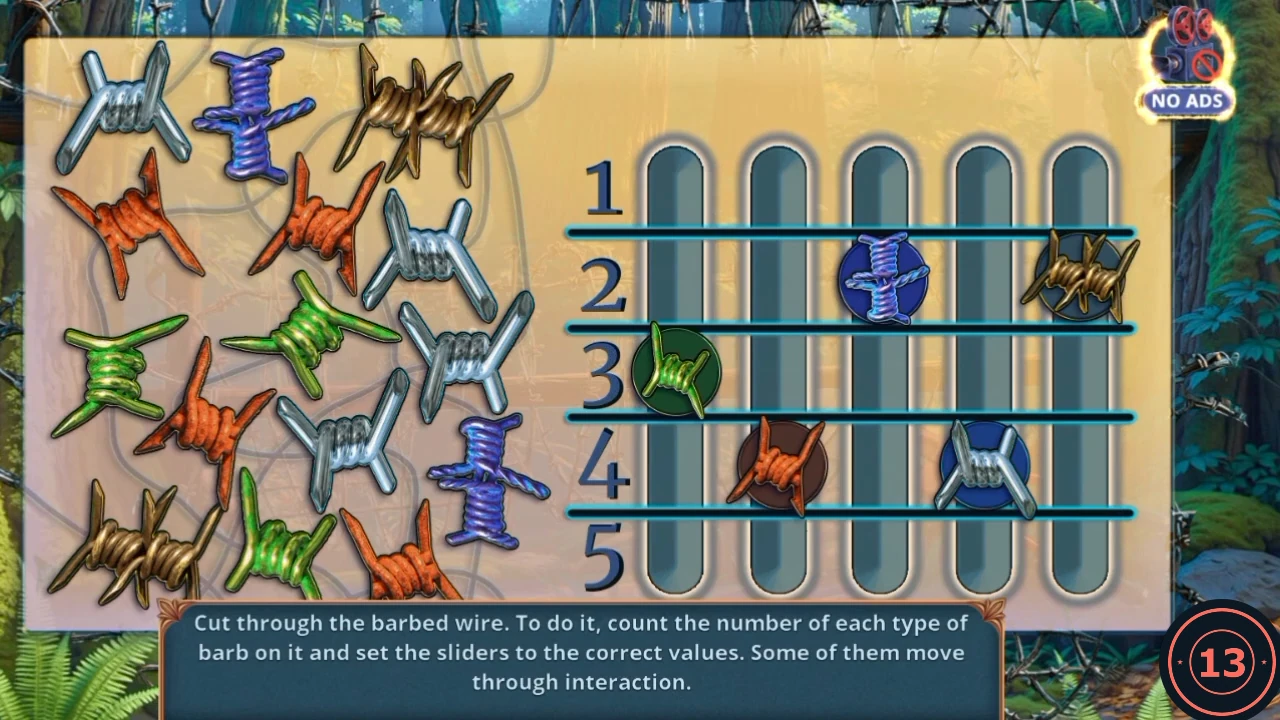
All five sliders set: green 3, orange 4, purple 2, silver 4, gold 2.