Walkthrough
Basement
You are trapped in the dark basement. Find a light first.
- Pick the chest padlock with the hatpin; take the lamp oil, the leather belt, the stone plate and the hand mirror.
- Open the wall lantern, take disc 1/2 from it, fill it with lamp oil and light it with the matches.
Hidden objects
Basement Shelf Close-Up Hidden Objects
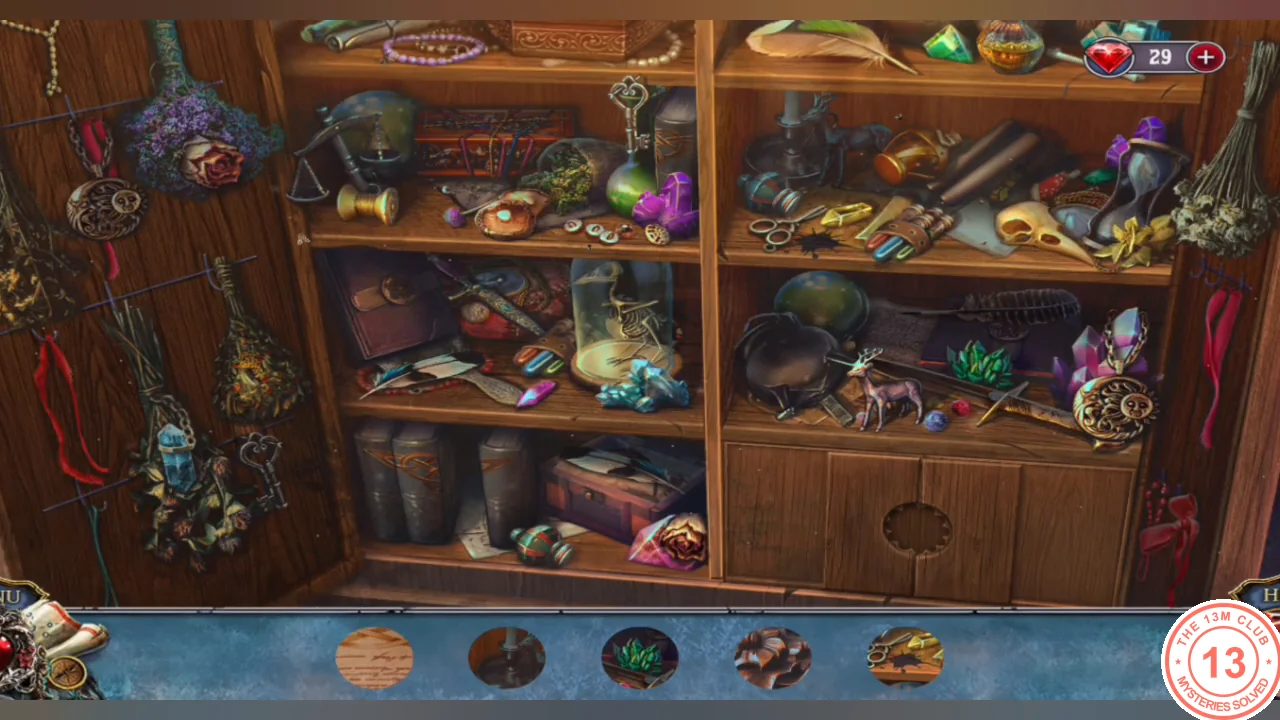
The bottom bar shows five round close-up fragments of objects; find the object each fragment comes from.
- Find the objects shown as close-up fragments on the shelf. Put the book back on the shelf when asked, and for the tied carved box untie the knots rope by rope (yellow, blue, then red). Reward: rusty dirk.
- Clean the rusty dirk with the lamp oil and sharpen it on the belt.
Puzzle
Druid Statue Plates
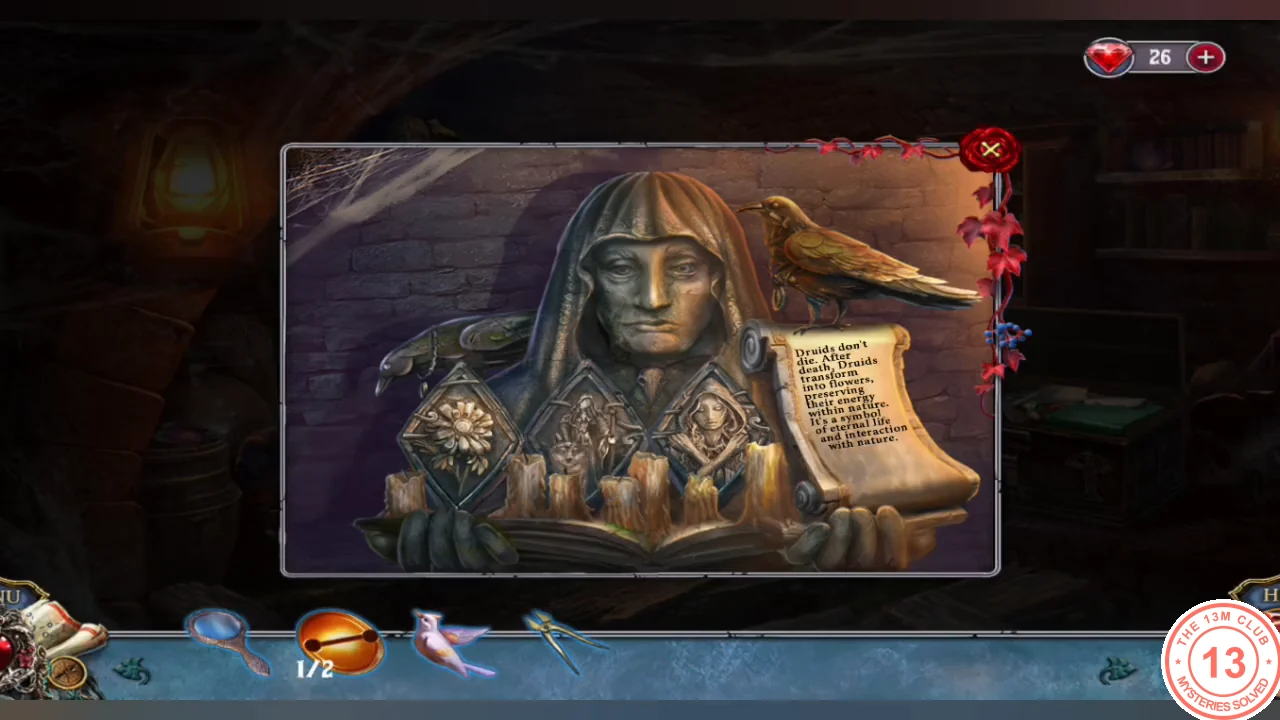
Free the druid statue and arrange its stone plates in life-to-death order.
- Cut the ropes and cloth off the statue with the dirk. Take the pink bird figurine and the pliers, and place the stone plate in the empty slot.
- Read the scroll (druids turn into flowers after death) and swap the plates into life-to-death order: robed druid with staff, hooded woman with crossed arms, flower. Take the sunflower medallion.
Puzzle
Scare the Rats
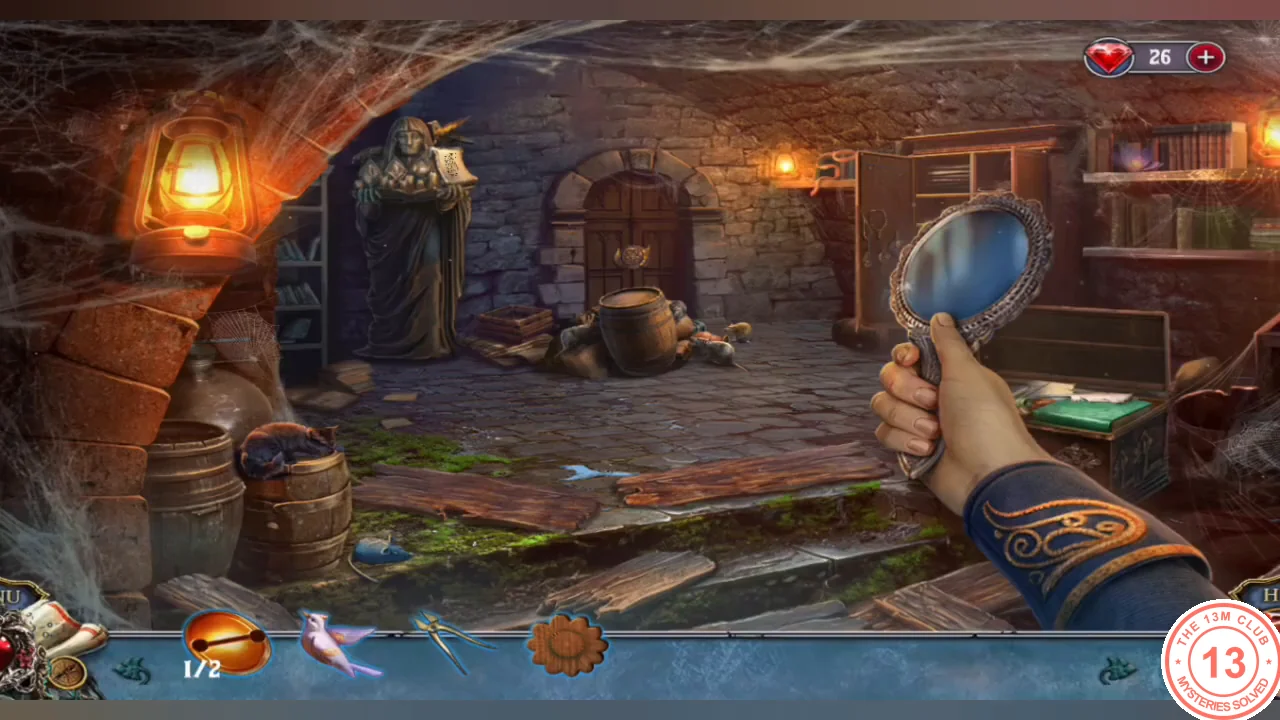
Rats block the back door. Use the cat to scare them away.
- Rats sit on the sacks and barrel blocking the back door. Use the hand mirror near the cat on the left barrel and lead the reflected light to those obstacles; the cat pounces and the rats scatter.
Hidden objects
Sunflower Cupboard Search
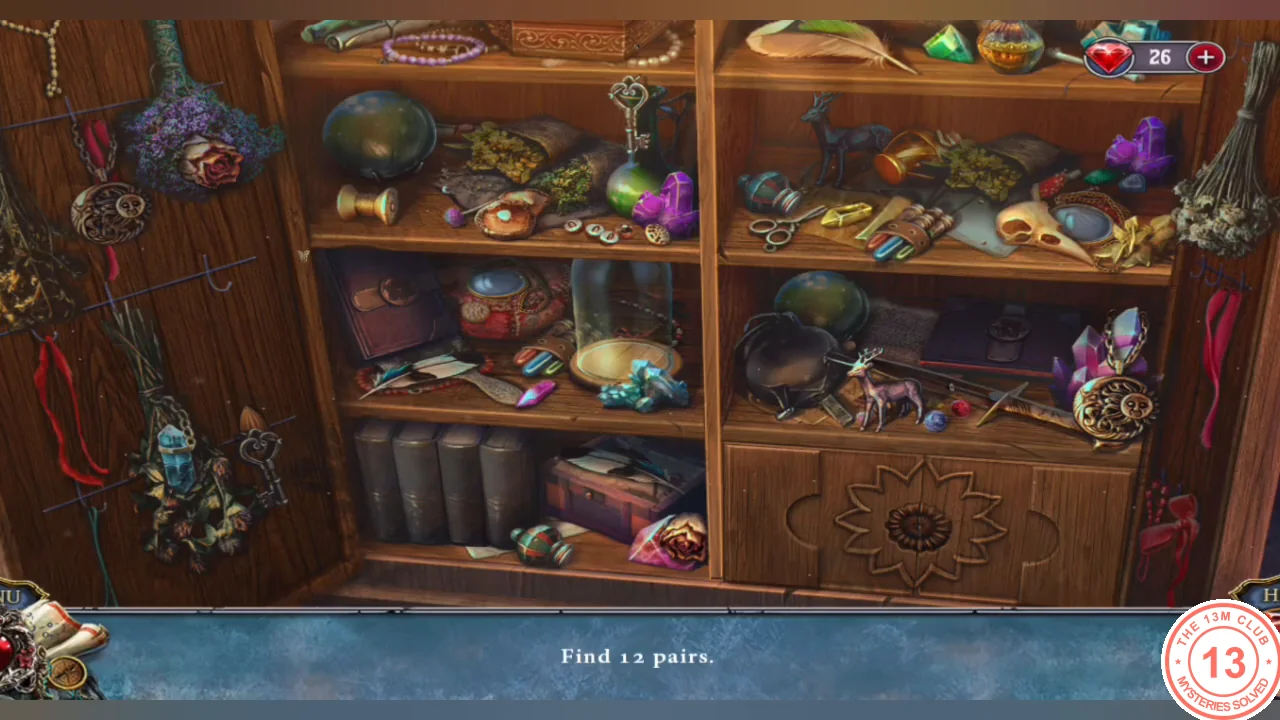
The bar asks for 12 pairs, then 12 petals, then the lock piece.
- Place the sunflower in the round hole of the cupboard door. Find 12 pairs, then 12 petals, then the lock piece. You get lock piece 2/2.
Puzzle
Pentagram Door Lock
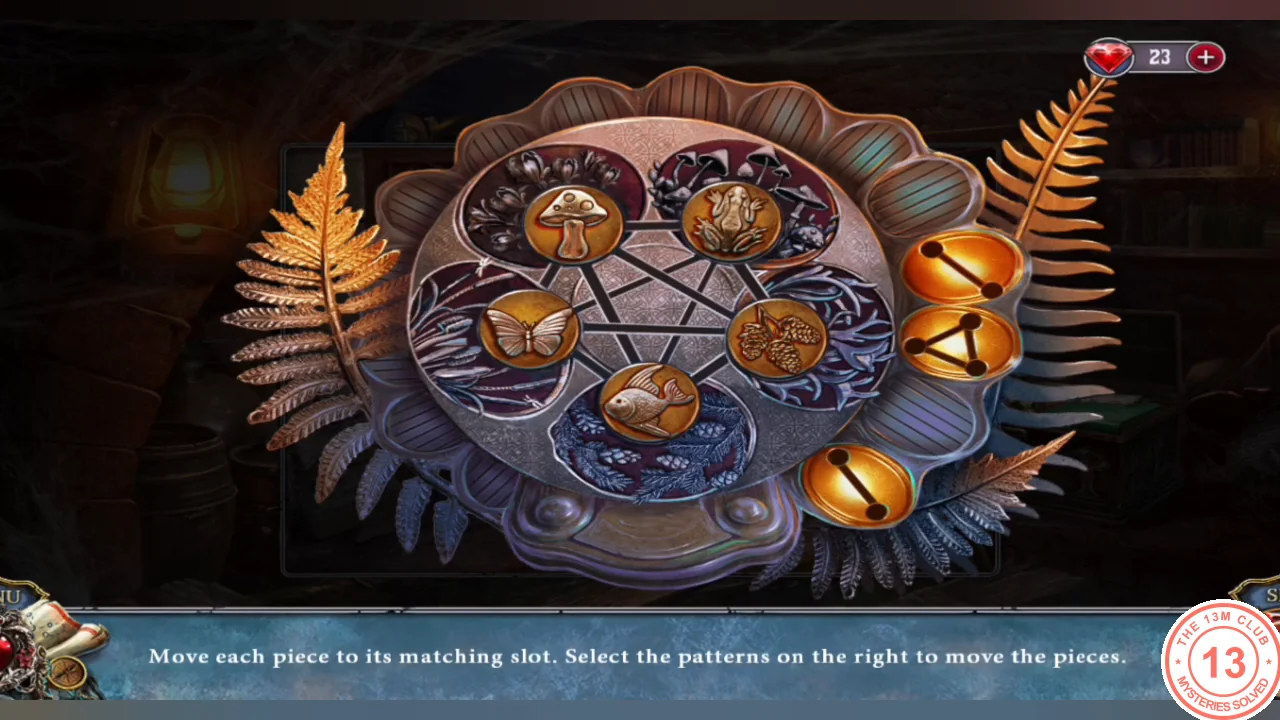
Move each piece to its matching slot using the pattern buttons on the right. Each button moves a fixed group of pieces; a piece in its correct slot gets a cyan ring.
- At the back door, move the barrel, sacks, crate and bundle aside, then place both lock pieces.
- Press the buttons, watching which slots each one moves, until the slots read: top-left butterfly, top-right mushroom, left pine cones, right fish, bottom frog. The door opens.
Walkthrough
Dakmor's Chambers
Search Dakmor's chambers for the roses, the code note and the other items you need.
- Read the note at the dresser with Elizabeth's portrait and take the blue feather.
- Place the pink bird on the jewelry box on the left table; read the scrolls and take oak leaf 1/2, the birdseed and the mister.
- Spray the plant pot on the dresser with the mister and take rose 1/3.
- At the window seat move the red pillow and take the broken umbrella. Fill the empty bird feeder with birdseed; the dove brings a blue ribbon.
- In inventory strip the umbrella's ribs with the pliers, then tie on the blue ribbon to make a cane.
- Under the bed, hook out the glove with the cane; take the glove and rose 2/3, and fold back the rug corner to find a tiny key.
- Open the dresser drawer with the tiny key; take rose 3/3 and the rose code note.
Puzzle
Rose Track Code
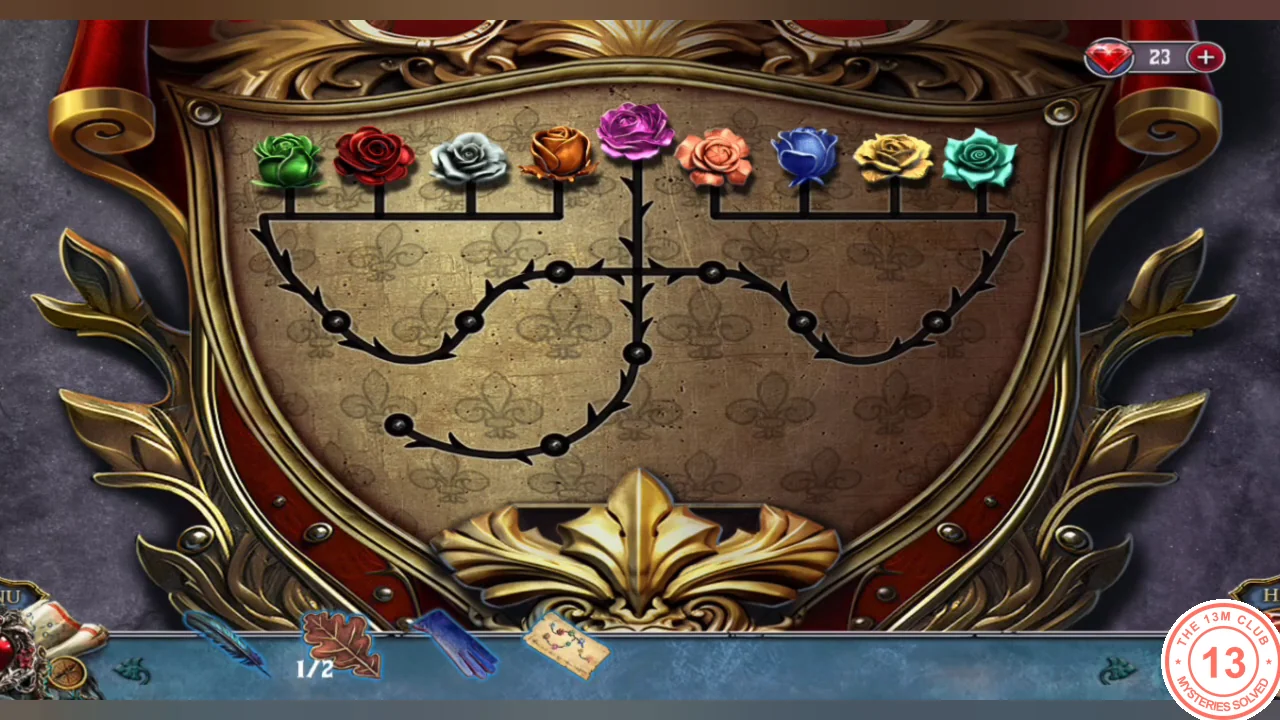
Arrange the rose tokens according to the note. Each new token pushes the ones ahead of it along the track.
- Place the three roses and the note on the crest over the bed. Tap the roses in this order: orange, green, red, teal, blue, yellow, white, purple, peach.
- Take white petal 1/2 and Dakmor's note: the ritual is in the Sacred Grove. Blaze leads the way.