Walkthrough
Abyss: Fix the Bridge
The bridge is burned. Repair the cart at the abyss and collect the sphere pieces.
- The Druid burned the bridge. At the magic bridge pedestals take the pottery jug.
- Take the cart wheel lying in the middle and sphere piece 2/4 under it.
- At the stream in the rocks take the patterned ring, widen the hole with the pickaxe and fill the jug.
- Take sphere piece 3/4 from under the cart's red cloth.
- Pour the water into the hole where the wheel lay; the axle floats up. Fit the axle and the wheel to the cart and take the matches and the bag.
Puzzle
Bag Ring Pattern
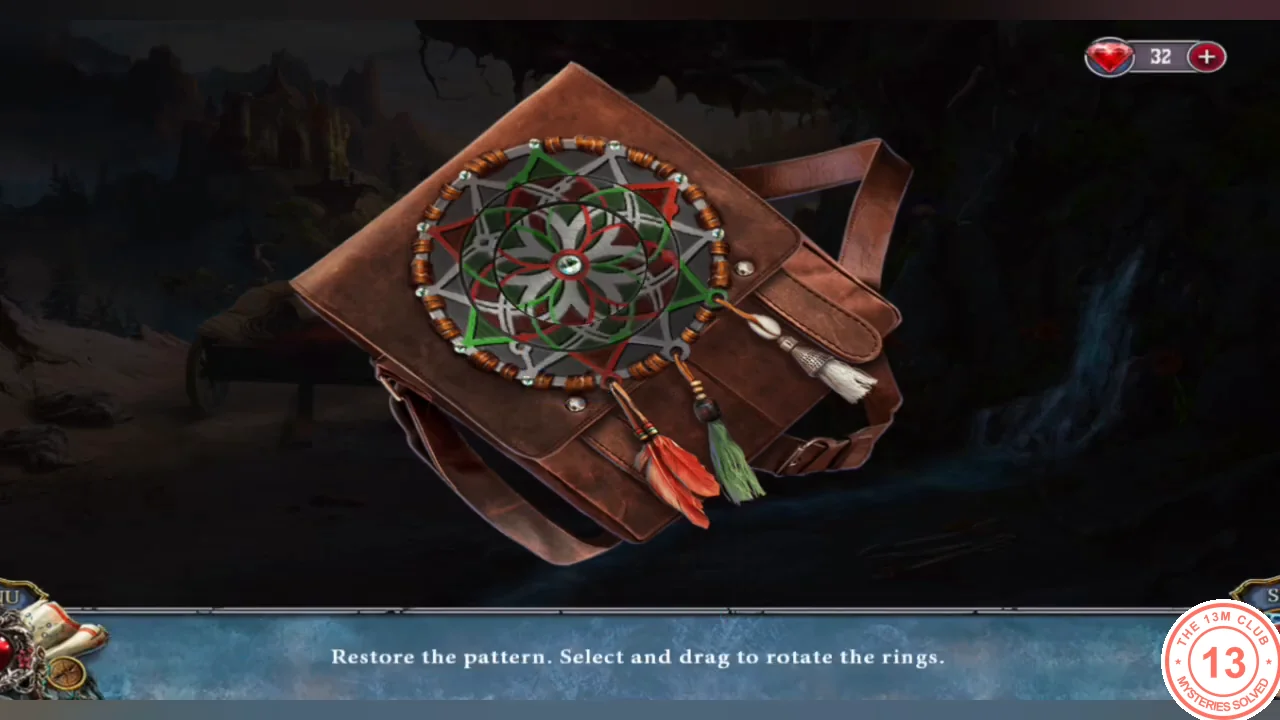
Restore the pattern by dragging the rings to rotate them.
- Add the patterned ring to the bag and rotate the rings until all star lines join and the flower sits centered (solved image). Read the note about the sphere and take the knob and the key.
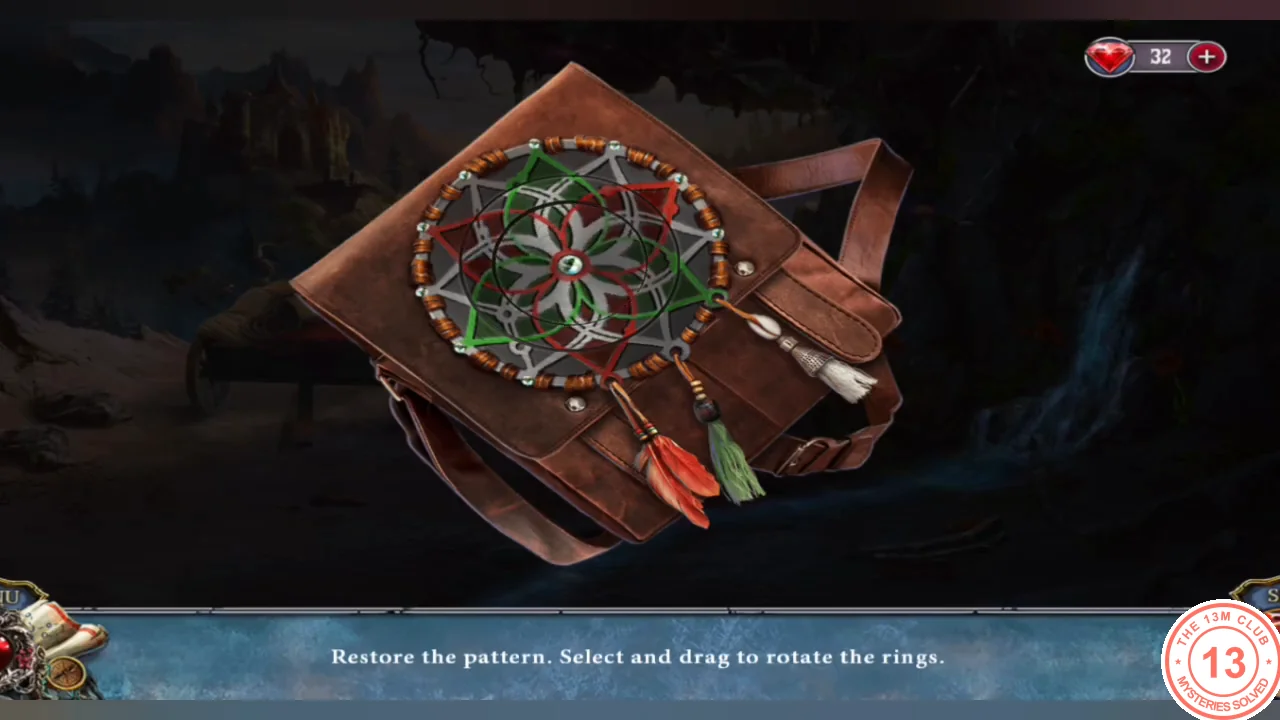
Solved: the star lines join and the flower is centered.
Puzzle
Restore the Magic Sphere
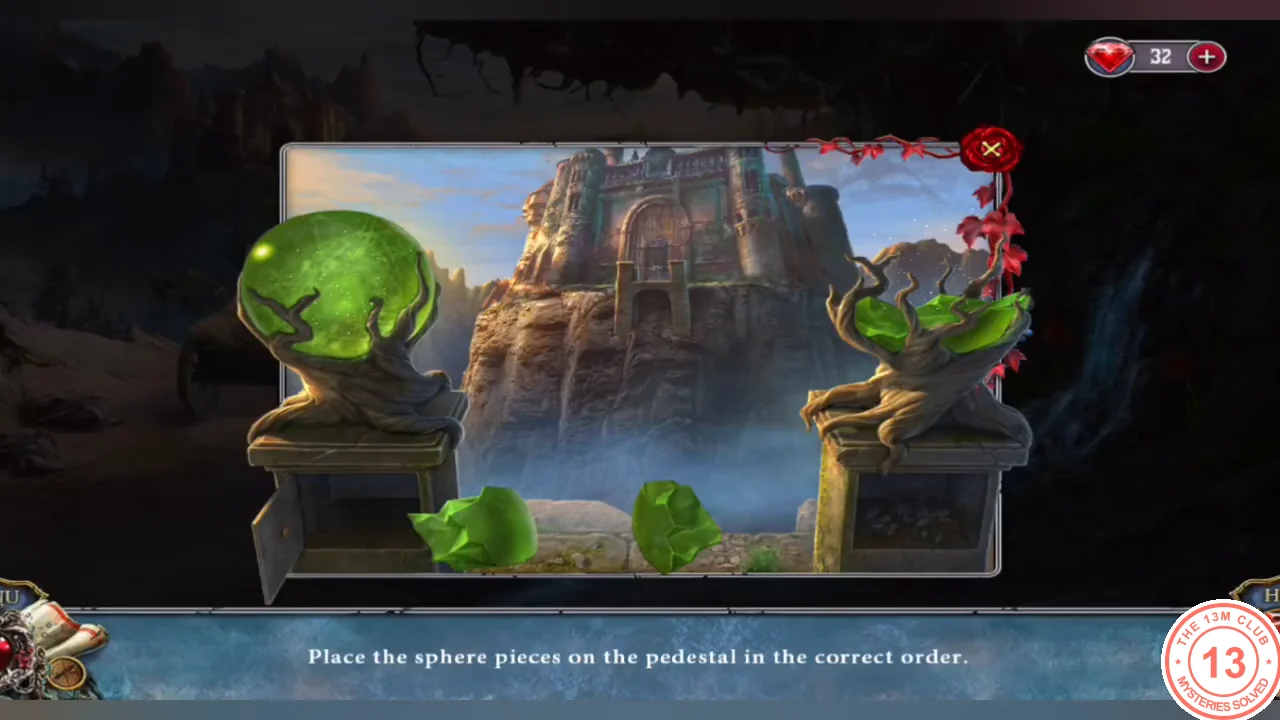
Rebuild the magic sphere on the right pedestal so the vine bridge grows.
- Put the knob on the drawer under the left sphere pedestal and take sphere piece 4/4.
- Place the sphere pieces on the right pedestal in order, building up from the base cup and finishing with the flat cap; the vine bridge grows.
Walkthrough
Castle Gate
Open the castle gate with the petal and the key.
- At the statue on the left take the petal, oil the rusted scale hand and take the dagger and grape leaf 1/2.
- Put the petal on the metal rose of the gate and open it with the key. A cat is trapped under debris.
Hidden objects
Free the Cat
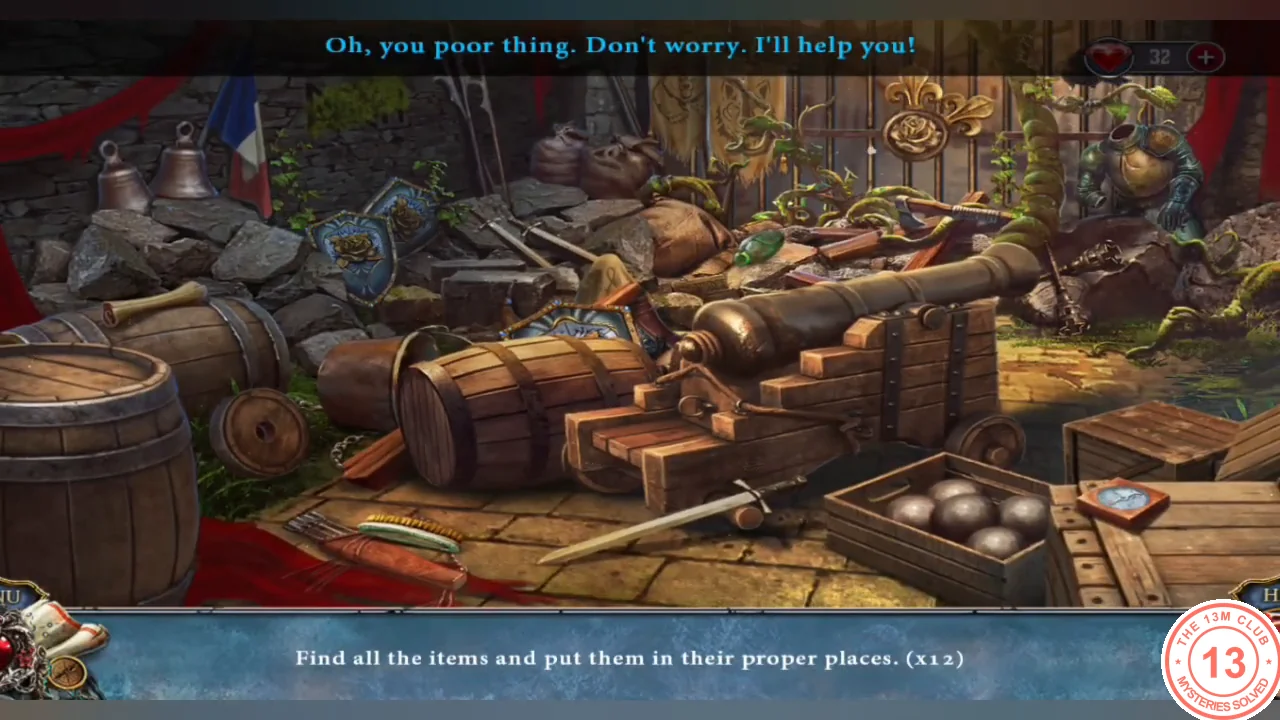
The bar asks you to find 12 items and put each one back in its proper place to free the trapped cat.
- Find all 12 items and put them in their places (clear what blocks the barrel before placing it). You free the cat and get a board.
- Lay the board over the hole in the right foreground and walk around to the castle side.
Walkthrough
Prepare the Cannon
Clean and load the cannon at the castle side.
- Take the sponge-rammer and clean the cannon barrel; take grape leaf 2/2 from under the sandbags.
- Cut the vines on the ground with the dagger; read the soldier's letter and take the gunpowder. Pour the gunpowder into the cannon; the wick is missing and a cannonball is needed.
Hidden objects
Armory Hidden Objects
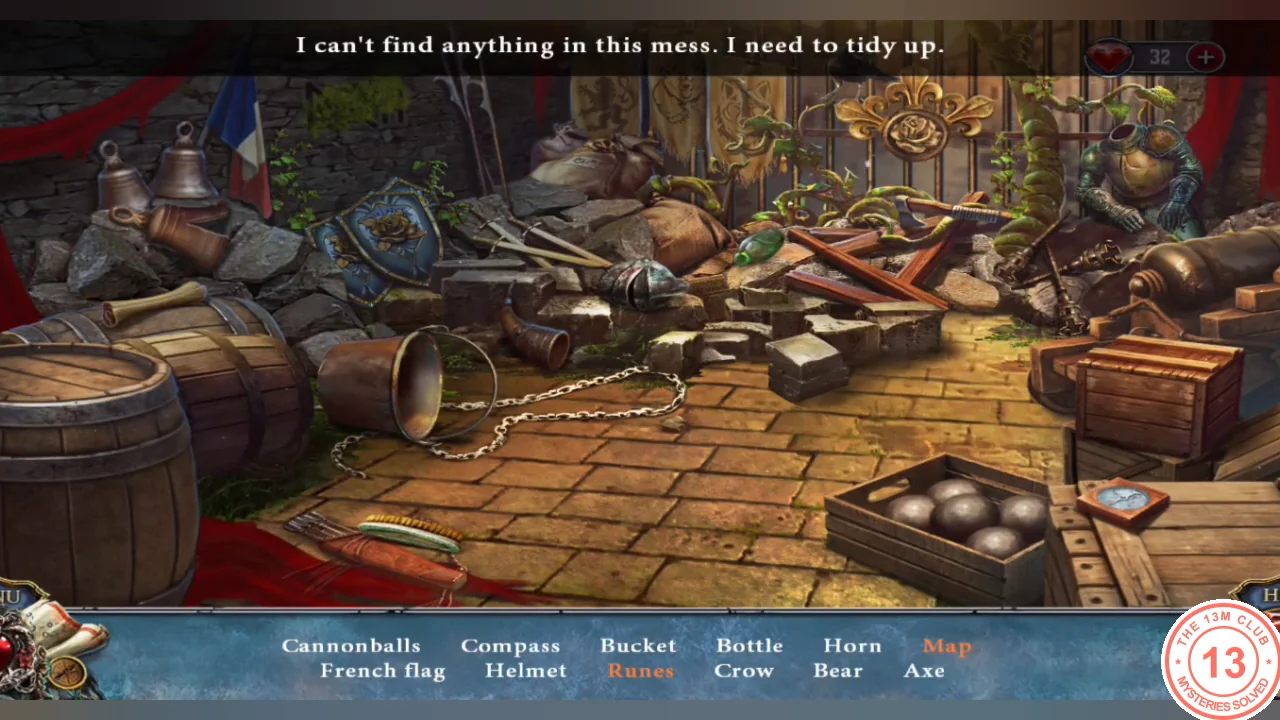
Find every listed item in the armory; items shown in color need an extra action first.
- Return to the castle gate and tidy the mess: find the cannonballs, French flag, compass, helmet, bucket, bottle, crow, horn, bear and axe; assemble the runes; complete the torn map by dragging its pieces into the frame. Reward: a cannonball.
- Unhook the canister from the vines right of the gates with the sponge-rammer. Fit both grape leaves into its slots; take the wick and the deer figurine.
- Load the cannon with the cannonball and wick and light it with the matches. The wall is breached; meet Blaze in the library.
Walkthrough
Library
Search the library for the clues and items that show how to defeat the Druid.
- From the window ledge take the golden tweezers. Place the deer in the empty corner of the lake painting's frame and take the card. Take the spoon from under the carnivorous plant. Read the Druid's note and take the golden flower ornament on the desk.
- Lift the desk cabinet latch with the card; take owl piece 1/3 and fill the spoon with honey.
- Pull owl piece 2/3 from the corner of the gem panel left of the stairs with the tweezers.
- Put the honey spoon on the window ledge and catch the fly with the tweezers; feed it to the carnivorous plant and take owl piece 3/3.
Puzzle
Predator Statues
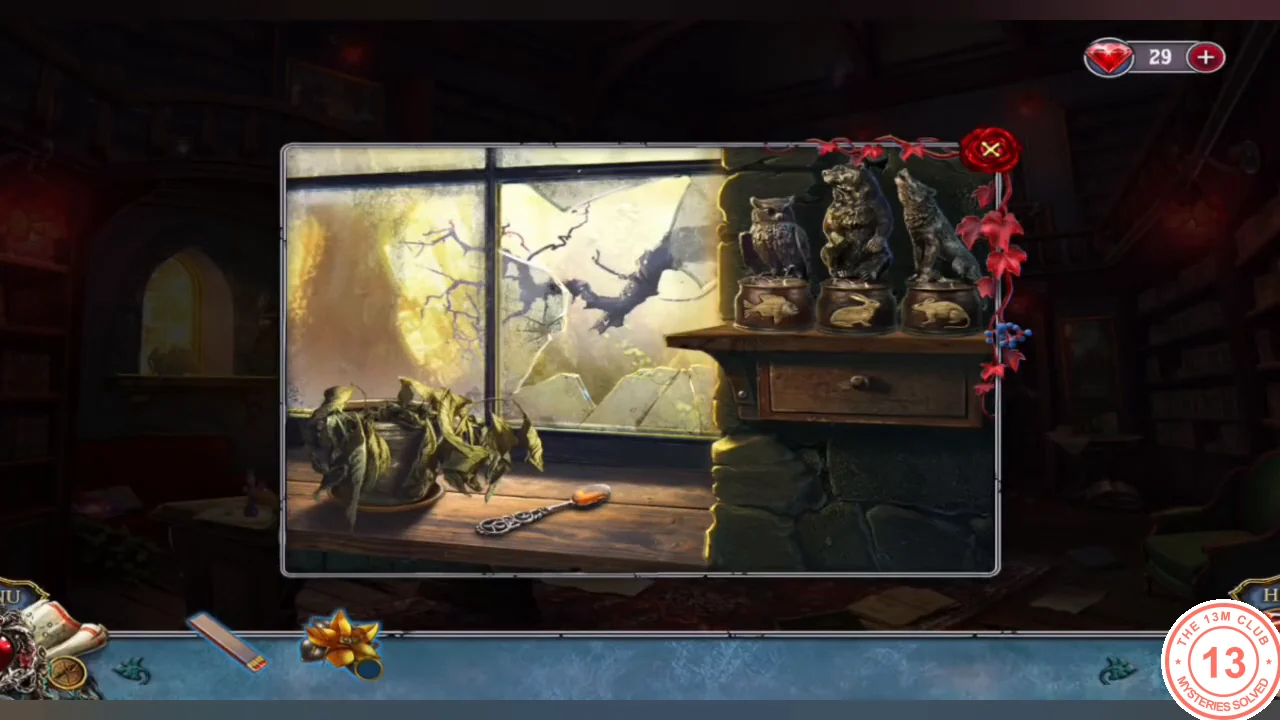
Put each predator statue on the pedestal of its prey.
- Assemble the owl on the empty left pedestal of the window shelf. Swap statues so each predator stands on its prey: bear on the fish (left), wolf on the rabbit (middle), owl on the mouse (right). Take the lotus part and the inlay from the drawer.
Puzzle
Crystal Hex Path
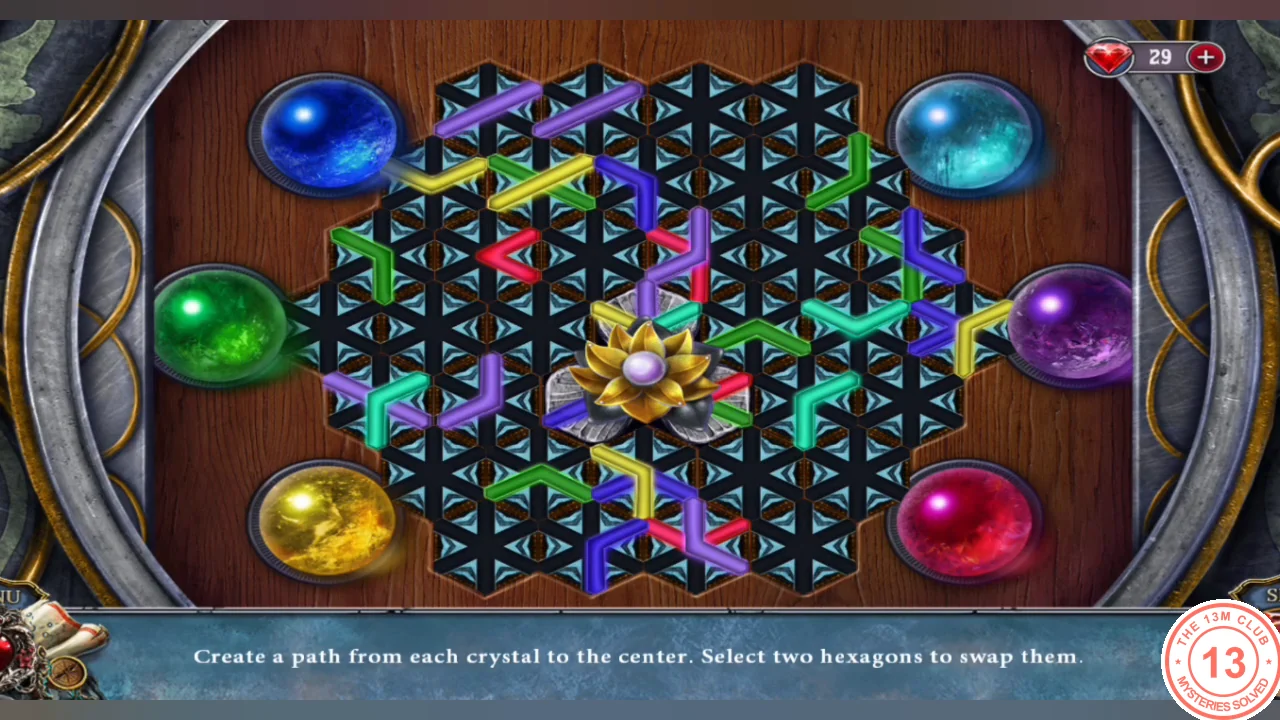
Create a path from each crystal to the center. Select two hexagons to swap them.
- Combine the lotus part with the golden flower ornament and place the lotus in the center of the gem panel. Swap hexagons until each of the six crystals has a continuous channel to the center (solved image). Your starting layout may differ, so build one crystal's channel at a time and check that the channels you already finished stay connected. Take the book.
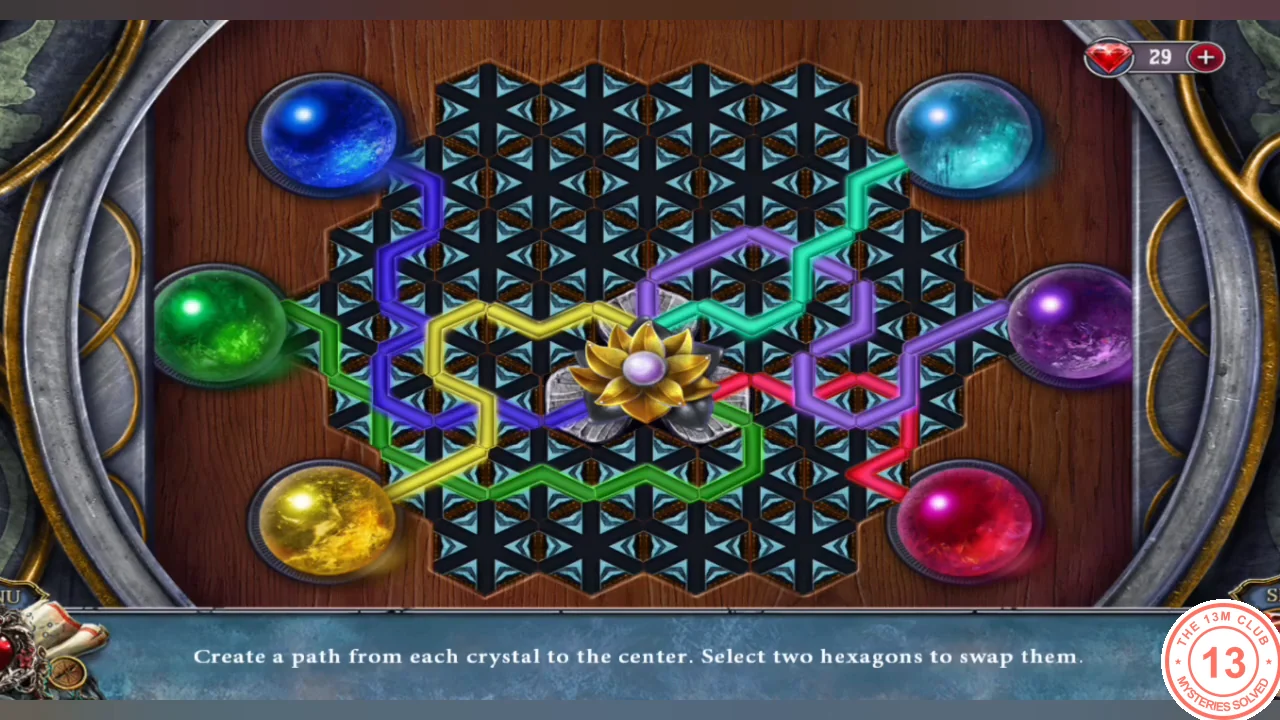
Solved: one continuous channel from every crystal to the center. - Put the inlay on the book cover; read the Druid's notes and take the hatpin bookmark. Blaze arrives, and a trapdoor drops you into the basement.