Bonus hidden objects
Cellar Hidden Objects
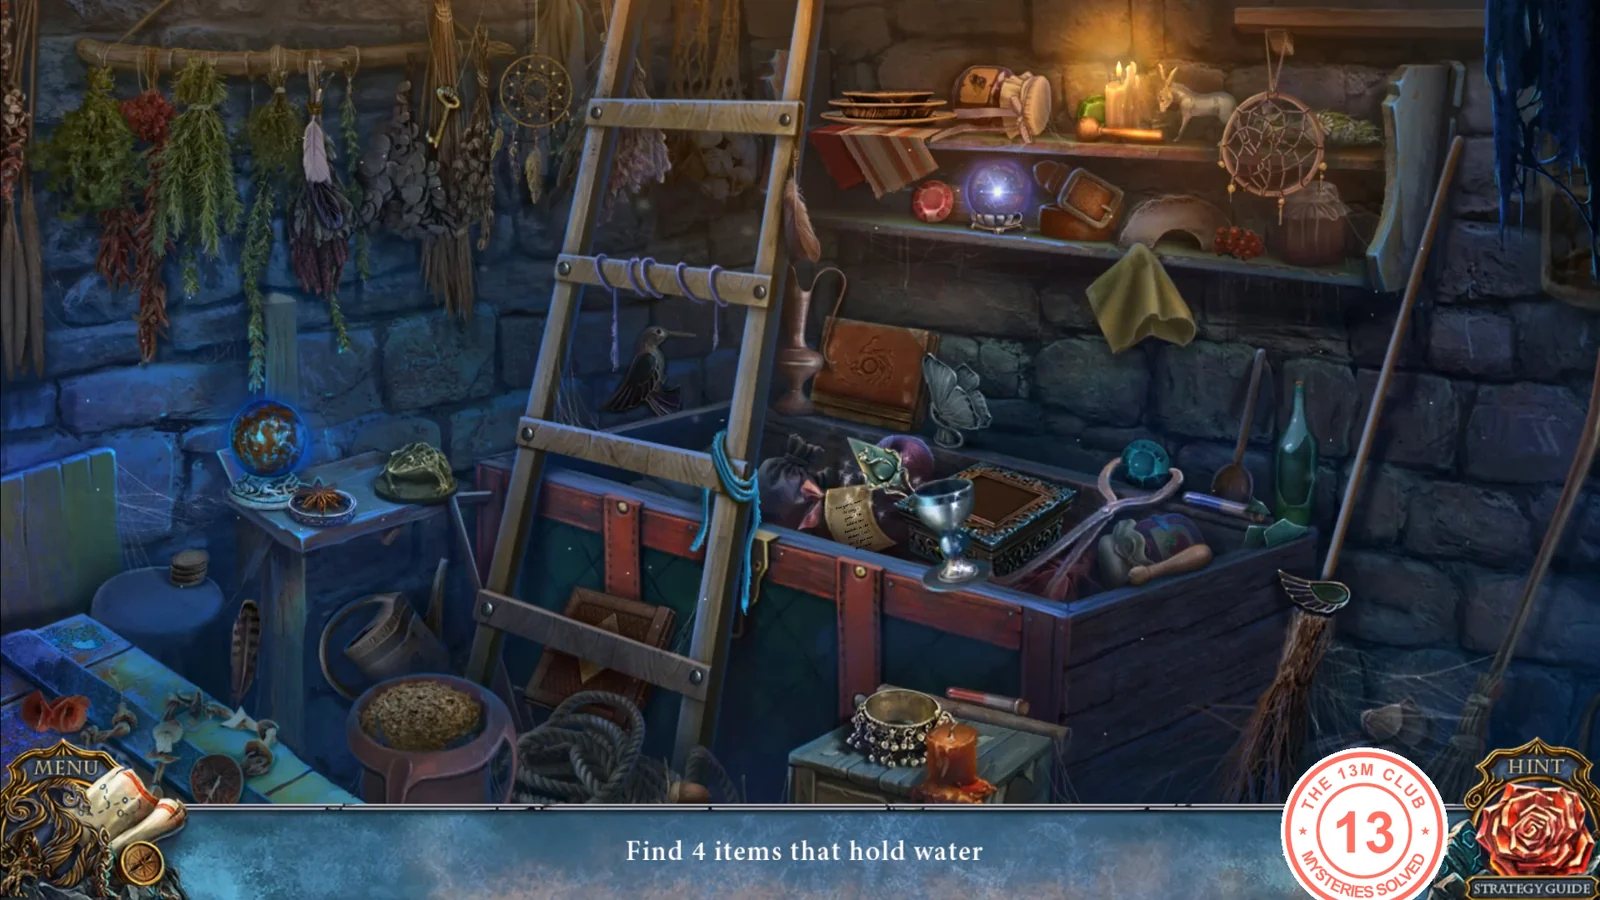
Find items by category; the text bar names the category and how many are left.
- Find 4 items that hold water. For the broken bottle, drag the loose glass shards back onto it.
- Find 4 figurines of living creatures. The black bird on the ladder is missing a wing: drag the wing lying by the broom on the right onto it. The white horse on the top shelf also counts.
- Find 4 magical gems. You get the amethyst.
Bonus walkthrough
Water and Druidic Water
Fetch water from the garden ruins and open Granny's chest.
- Put the weights on the worktable. Take the bucket beside the fireplace cauldron.
- In the garden ruins, fill the bucket at the water spout on the left. Put the amethyst in the frog statue's empty eye (lower left) to get the ornate key.
- Open Granny's chest (wolf-head lock, right) with the ornate key and take the small mirror and the knife.
- Pour the water into the fireplace cauldron and light the fire with the flint.
- In the yard, cut the branches in the root hollow with the knife and take the bowl (mortar). A spirit drops something in the bushes, opening a second hidden-object scene.
Bonus hidden objects
Druidic Water Hidden Objects
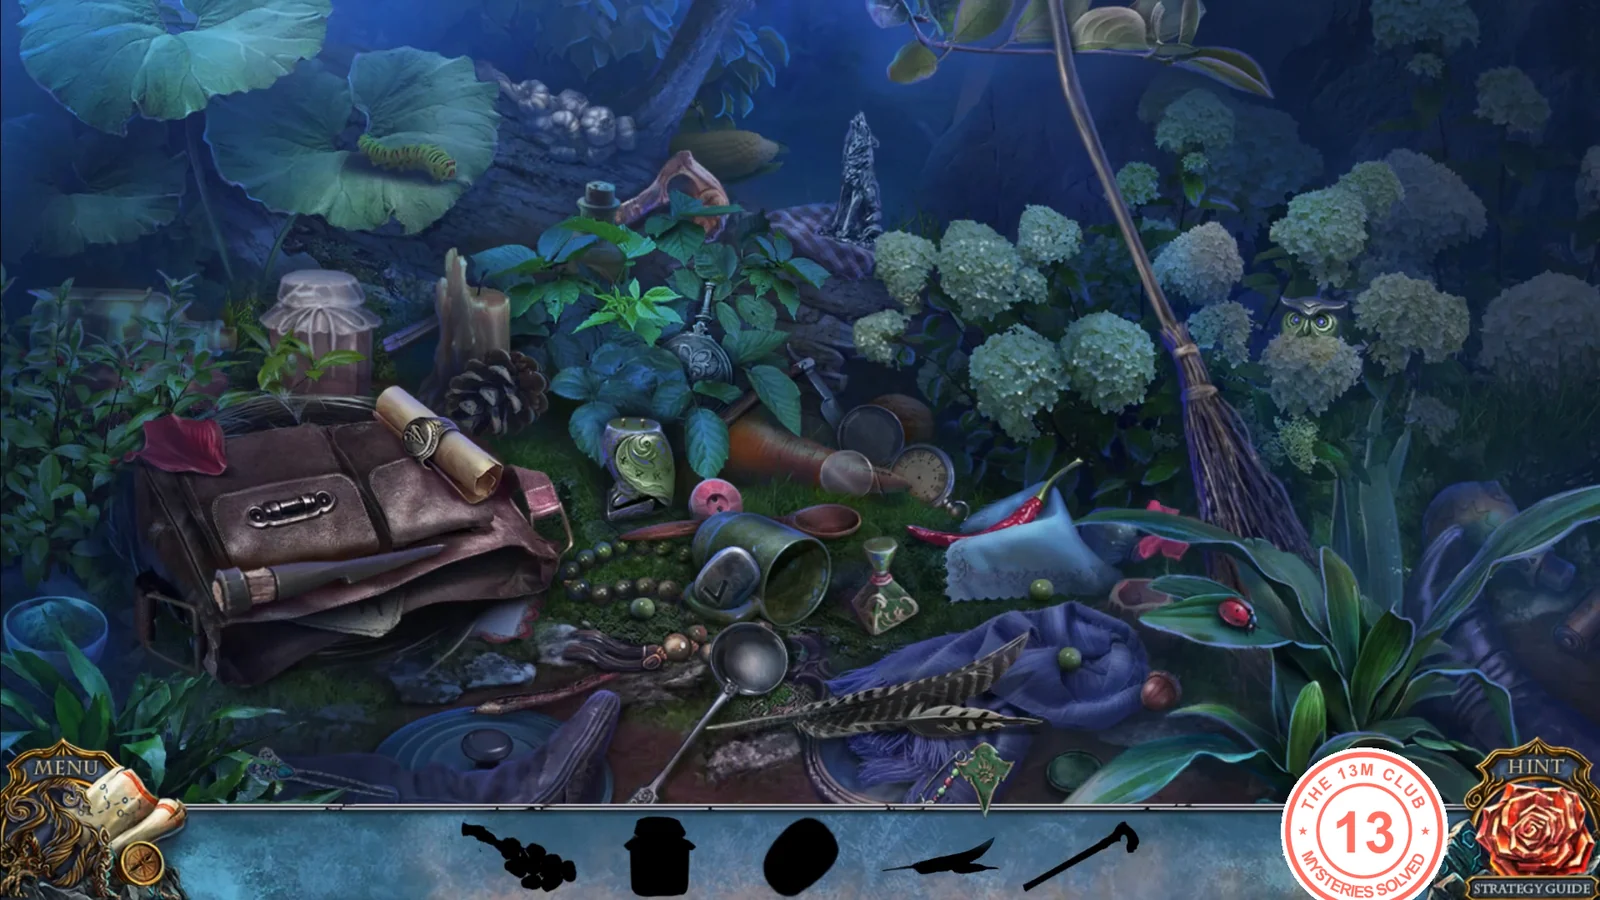
The bar shows silhouettes; a new silhouette replaces each one you find.
- Find the items that match the silhouettes.
- Rune stone: take the knife lying on the bag and finish carving the gray stone by the mug in the middle.
- Owl vase: the owl's head sits among the white flowers on the right; drag it onto the headless green owl vase left of center.
- Pocket watch: open it and put the hands back on the face.
- Finishing the scene gives you the druidic water. Pour it into the boiling cauldron (it turns purple), then dip the flask in to get the mixture.
Bonus hidden objects
Cellar Pairs
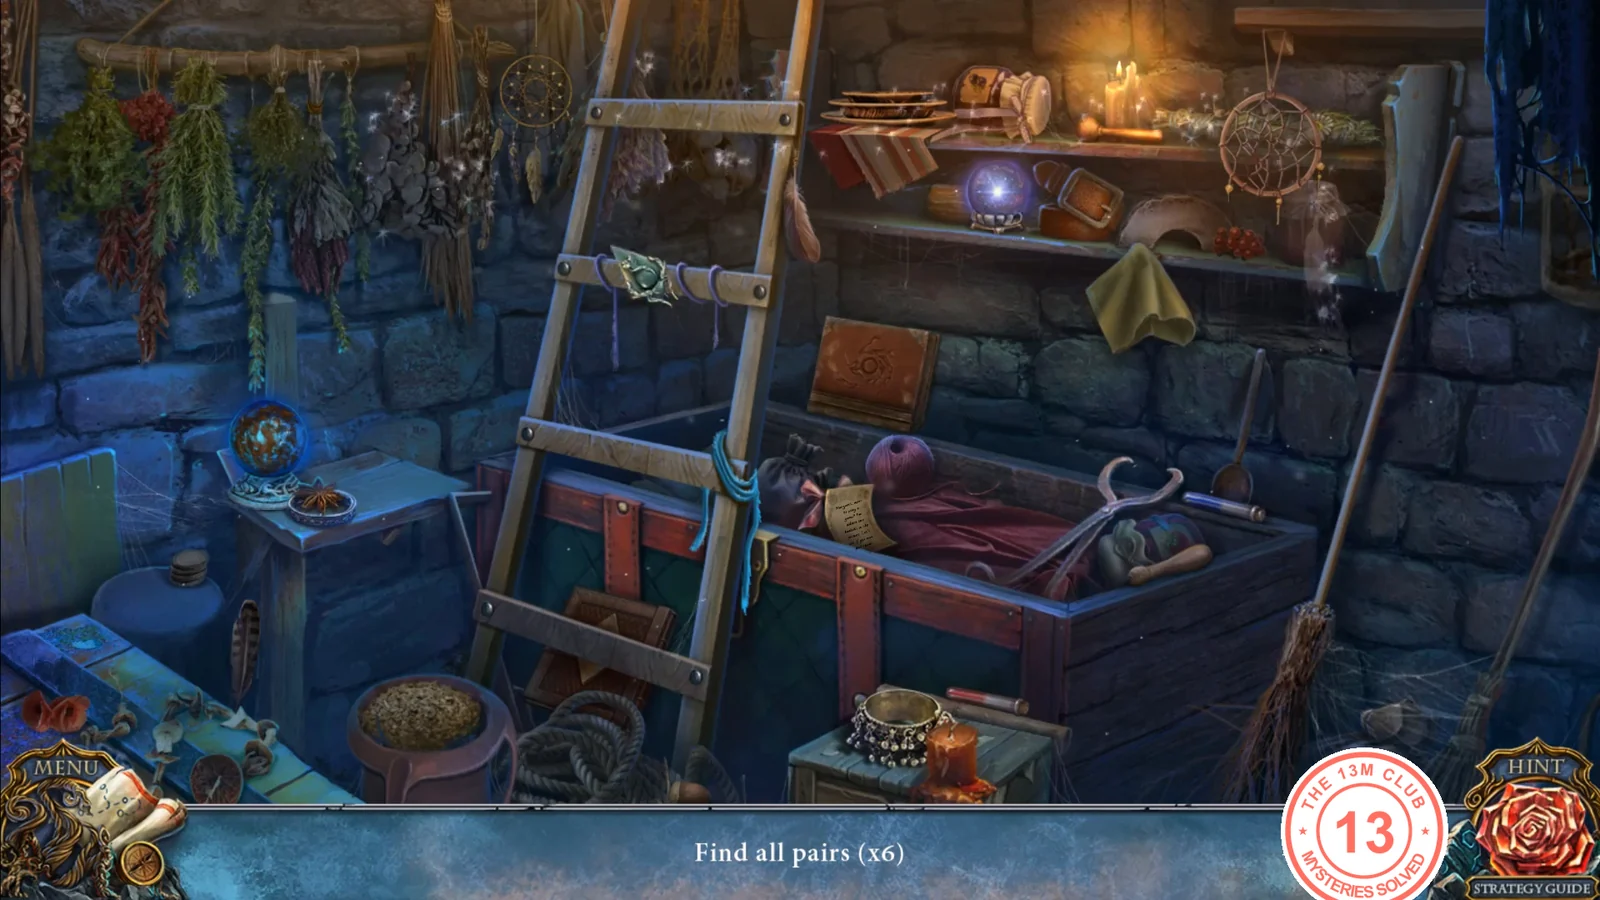
Granny suggests the cellar again. Find six pairs of matching items.
- Find the pairs. The crystal ball on the left stand is dirty: drag the yellow cloth from the middle shelf onto it first. One pair is two hidden baskets (a note from Granny hints at them). You get the pestle.
Bonus puzzle
Healing Potion
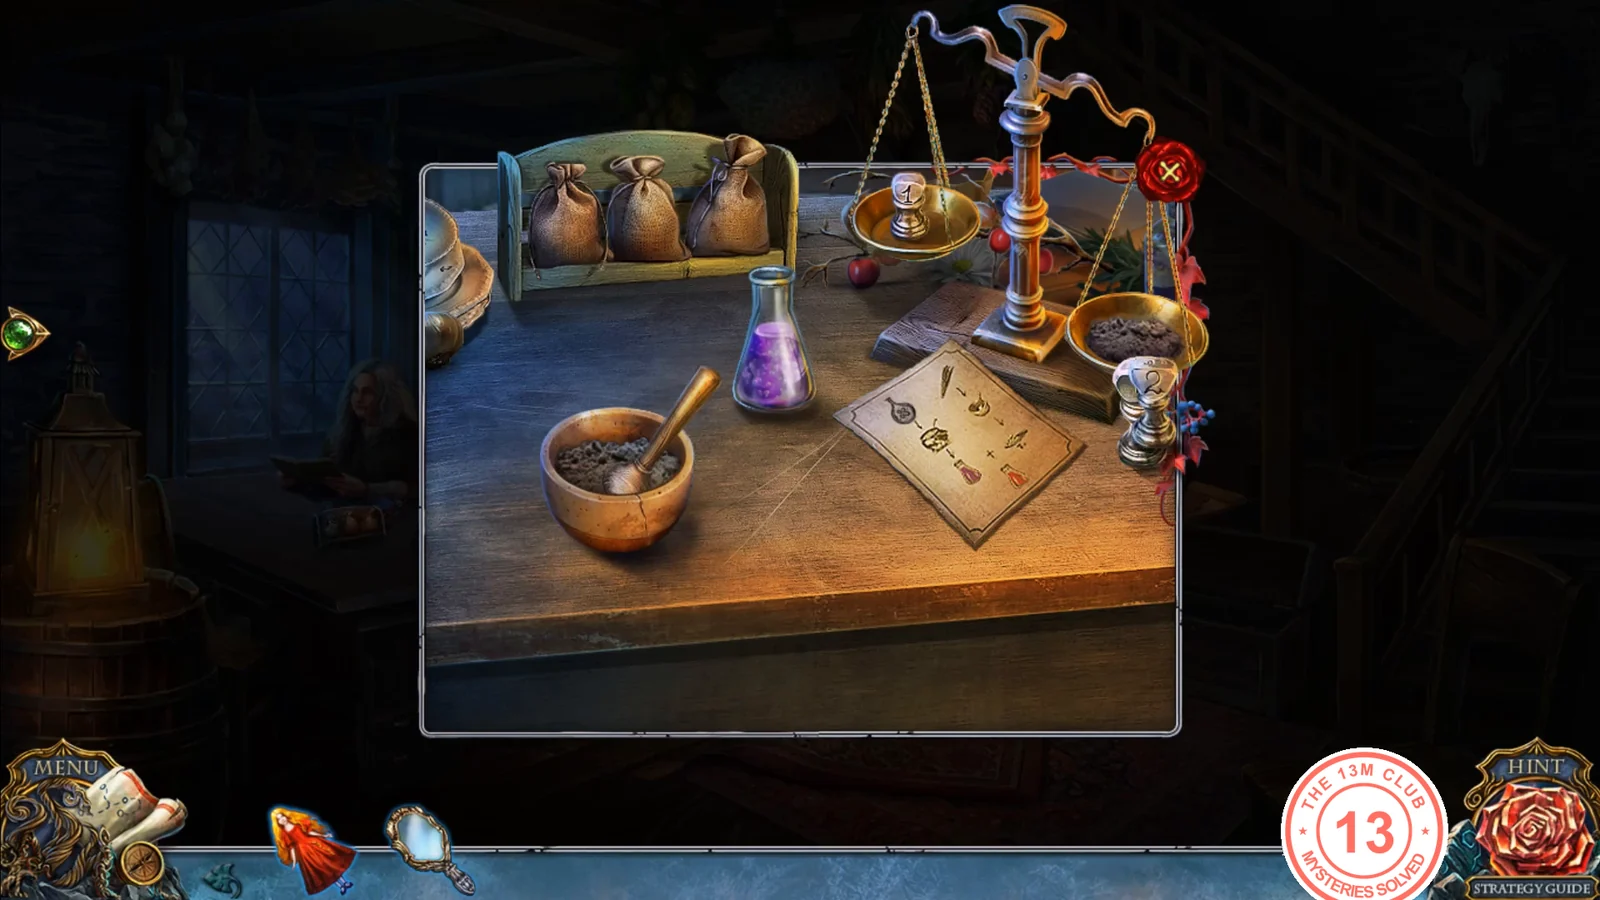
Grind and weigh the herbs on Granny's worktable to finish the healing potion.
- Combine the mortar and pestle in inventory and place them and the mixture on the worktable. Grind the herbs.
- Put the ground herbs on the right pan of the scales and drag all three weights onto the left pan so the pans level. Pour the weighed herbs into the mixture flask to get the healing potion.
- The finished healing potion goes into your inventory. Use it on Granny at her table to show her; this starts the conversation. Keep the potion, because Margaret needs it at the end.
- Talk to Granny until she finishes, then give her the doll for her tracking spell. Follow the light that appears; it leads to a bridge guarded by the Lycans.
Bonus walkthrough
The Broken Bridge
A Lycan has destroyed the bridge. Repair it with parts from the merchant's cart.
- Take the branch in front of the crate in the middle. Pull the blue cover off the cart on the right to get a cloth, and read the note on the firefly jar.
- At the stream bank at the lower left, tapping the key knocks it into the water. Take the red flame emblem lying there.
- Open the cloth in inventory and tap it to twist it into a cord ("A magnet would be the perfect finishing touch"). Do not combine the branch with it; you need the plain branch at the cart.
- Put the emblem in the slot on the firefly jar on the cart; the fireflies fly to the stream and light up the key under the water.
- At the cart, reach through the bars with the plain branch to pull out the magnet.
- Open the cloth cord in inventory and add the magnet to its end. Use this cloth-and-magnet line in the lit stream to fish out the key.
- Use the key on the cart's padlock to start the sliding bar puzzle.