Walkthrough
Blaze's Hut
Slip into Blaze's hut unnoticed and collect the parts for the broken ladder.
- Use the magic cloak on the hut door to enter unnoticed. Ruby seems to be on the loft.
- Take the broken ladder by the bed.
- At the chest on the left, lift the towel, and take metal button "3" and long item 1/3. Take the broom.
- Pull the broom apart in inventory to get the strings, the sun token and long item 2/3.
- Place the sun token on the stove door.
Puzzle
Stove Token Puzzle
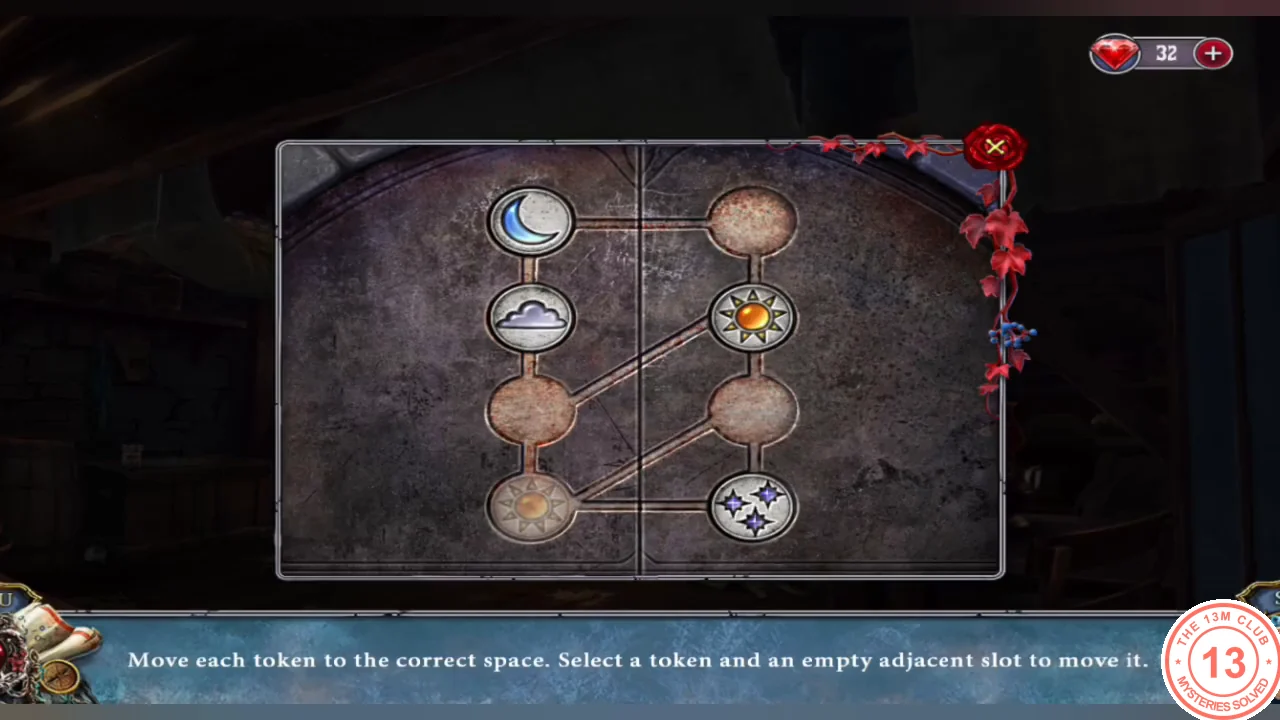
Move each token to its engraved space by selecting a token and then an empty linked slot.
- Shuffle the tokens through the empty slots until the moon is in the left column, second slot; the sun in the left column, bottom slot; the stars in the right column, second slot; and the cloud in the right column, bottom slot.
- The stove is too hot; take long item 3/3 with the towel.
Walkthrough
The Loft
Repair the ladder, climb to the loft and collect the clues for the invisible ink.
- Repair the broken ladder in inventory with the three long items and the strings, then place it at the loft.
- Climb up: only Ruby's cloak is there. Take the note written in invisible ink from it.
- From the loft dresser take the cheese, the ink recipe card and the lemon.
Puzzle
Dresser Number Lock
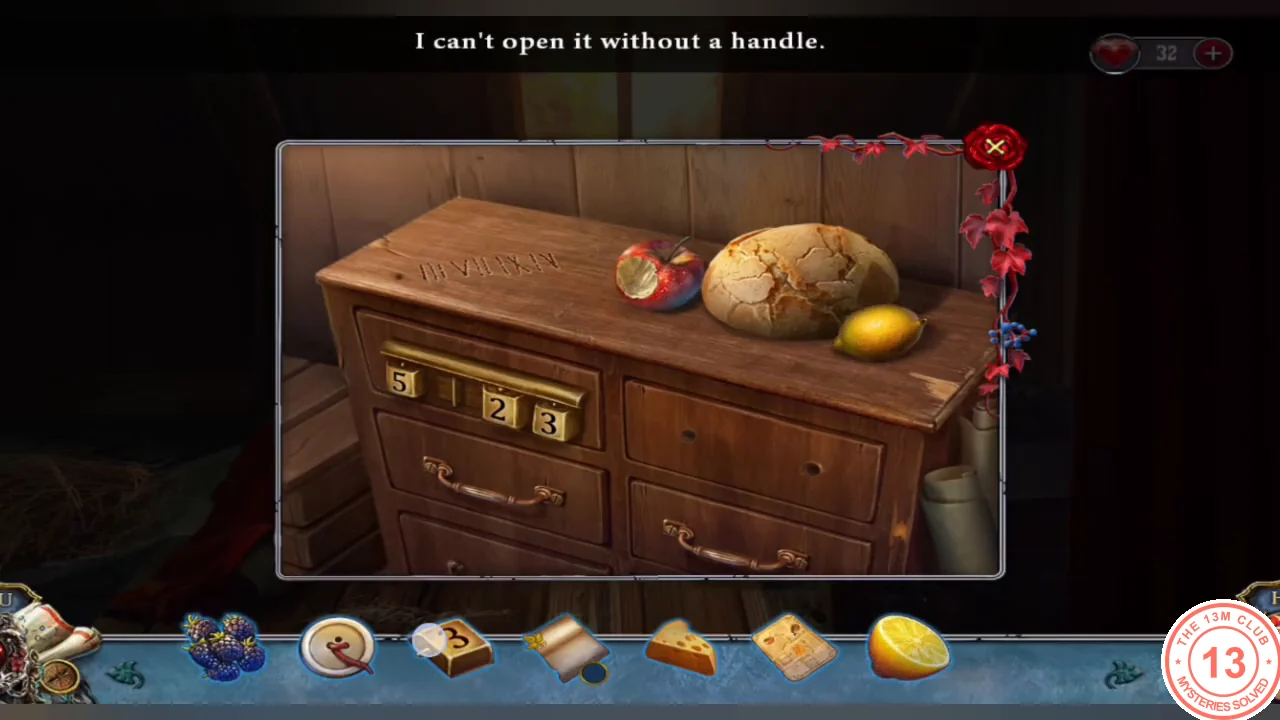
The carved Roman numerals on the loft dresser give the code for its number lock.
- Insert metal button "3" into the empty wheel of the dresser lock. The Roman numerals carved on the dresser top give the code.CODE3794
- Set the wheels to 3794 to open the left drawer. Read the letters and take the boy figurine inside.CODE3794
- The right drawer has no handle. Take the loose handle lying in the open left drawer and fit it on the right drawer, then use the small button from the teddy bear to fasten it like a screw. Open the right drawer and take the mortar.
Puzzle
Reveal the Invisible Ink
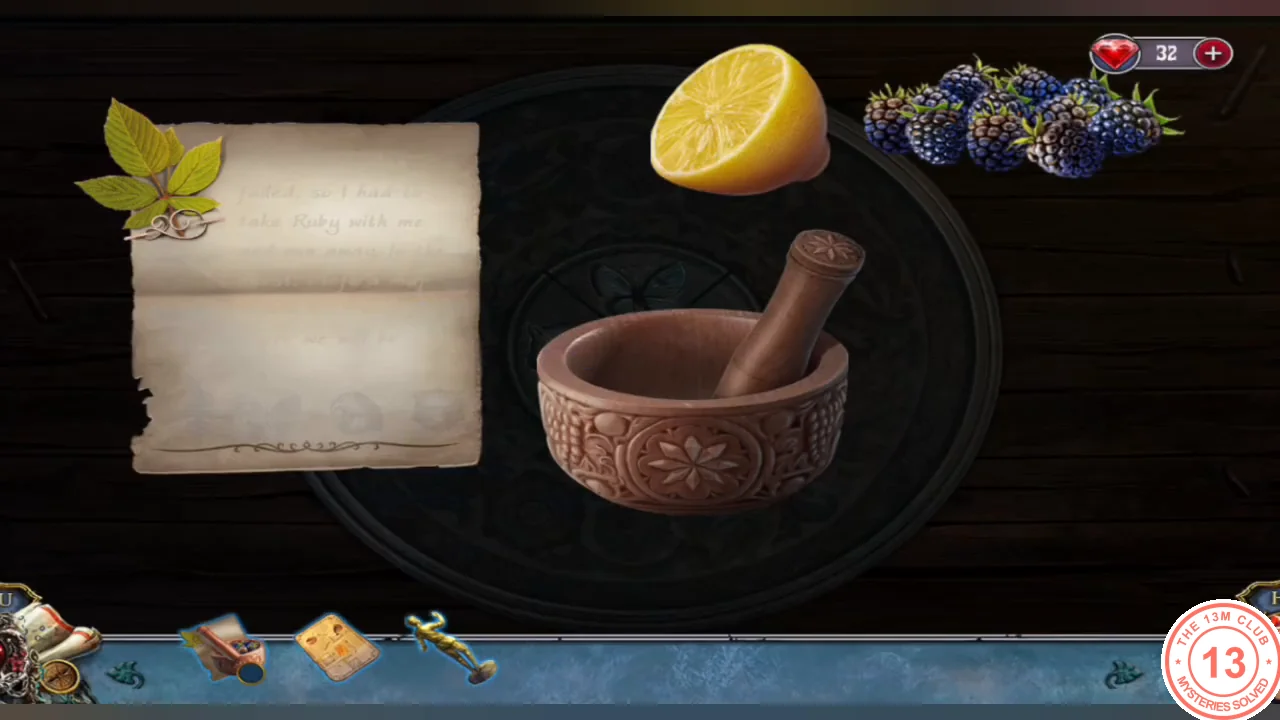
Treat the blank note with berry and lemon juice on the hut chest, then heat it at the stove to read it.
- Give the cheese to the mouse on the hut chest; it leaves. The disc on the chest has symbols you cannot press yet.
- On the chest, put down the blank note, the lemon, the mortar, berries from the basket and the ink recipe. Grind the berries, squeeze in the lemon and pour the juice over the note. Only faint marks appear; take the note back.
- Open the stove and hold the treated note to the fire. The heat reveals Blaze's message to Gaspar (he took Ruby and left a map in the chest) and four symbols: fern, butterfly, eagle, wolf.
Puzzle
Chest Symbols and Pairs
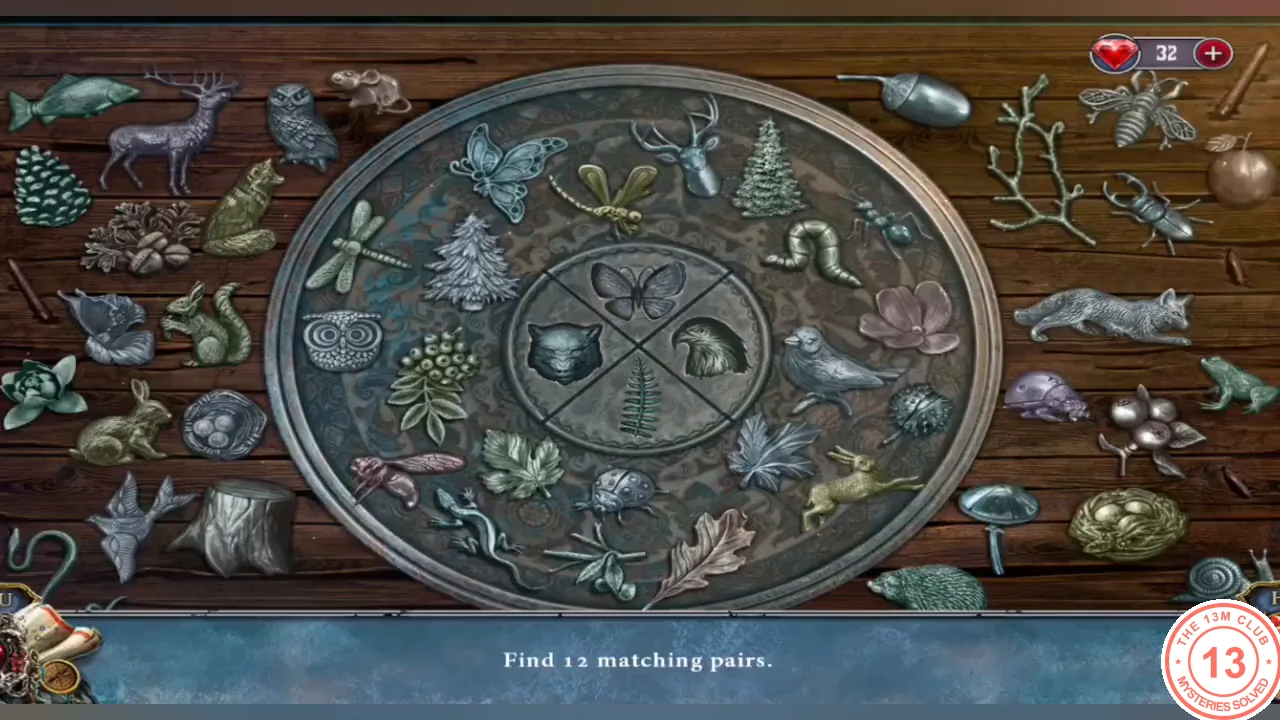
Enter the symbol code on the chest disc, then find all 12 pairs of matching engravings.
- Place the symbol note on the chest disc and press fern, butterfly, eagle, wolf.
- Find 12 matching pairs of engravings on and around the disc.
- Take the knob and the map.
Walkthrough
Follow the Fox
The fox escapes through the window. Place the two figurines to get the pin that opens the latch, and follow it.
- Watch the wolf and the fox appear; the fox escapes through the window.
- Put the knob on the bedside drawer and take the magnifier and the spoon. Take the wire from the broken floor and pry out the girl figurine with the spoon.
- Place the boy and girl figurines on the blue box on the broken floor; read Marion's letter and take the pin.
- Open the window latch with the pin and climb out to the glade.