Academy Courtyard
The Academy is on holiday and Maaron is missing. You need ten pink gems in total for Maaron's case; the first came from the net at the lake. The task Explore Maaron's office is added.
- Look at the saddlebag on the horse in the stable on the left: its faded runes must be redrawn with magic crayons of the same colors.
- Zoom into the notice board on the right and take the page (Manuscript 4 of 10).
- Zoom into the wooden doors left of the notice board, open the small box on the right, read the note and take the pink Gem.
- Open the large door and enter the Academy entrance hall. The board left of the hallway is covered by a cloth you cannot remove by hand.
- Zoom into the barred box on the right of the hall, pull out the wedged metal bar and take the pink Gem from inside.
Library and Hallway
Explore the library and the hallway to collect the three Crayons and more pink Gems. Maaron's room, number 3, is locked for now.
- Enter the library through the larger door on the right. On the main table move the books to find the boxes: take the Crayon (1/3) from one box and the pink Gem from the other. The chest with the castle emblem needs a key.
- Walk to the end of the hallway to the suit of armor. Pry the pink Gem off the shield with the Knife, open the helmet visor for another Gem, and take the Halberd.
- Back in the entrance hall, pull the cloth off the board with the Halberd. Read the list of classrooms (Professor Maaron is in room 3) and take the pink Gem.
- Go to door number 3 in the hallway: it is locked. Take the Crayon (2/3) from the door.
- Travel to the Stronghold excavation (back through the dolmens or with the map button) and take the Crayon (3/3) at the grindstone above the tent on the right.
Saddlebag Runes
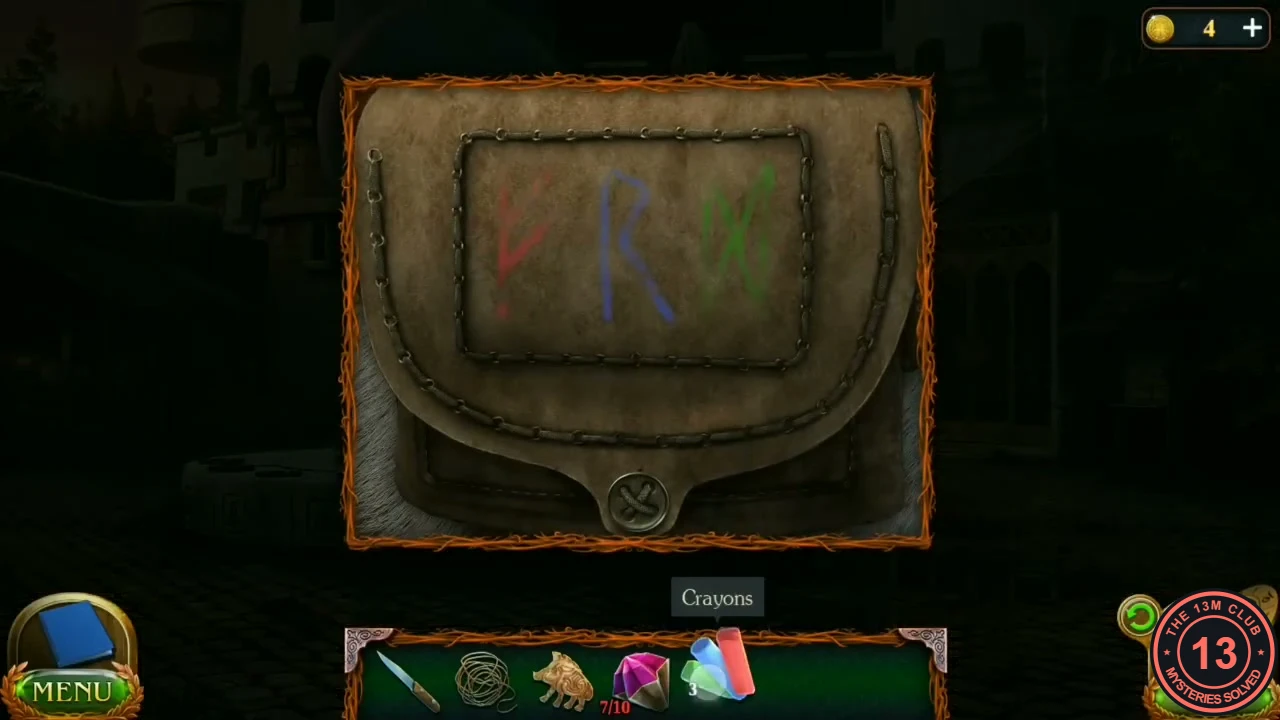
Return to the Academy courtyard and open the saddlebag on the horse.
- Use the Crayons on the saddlebag and trace each faded rune in its own color: red on the left, blue in the middle and green on the right.
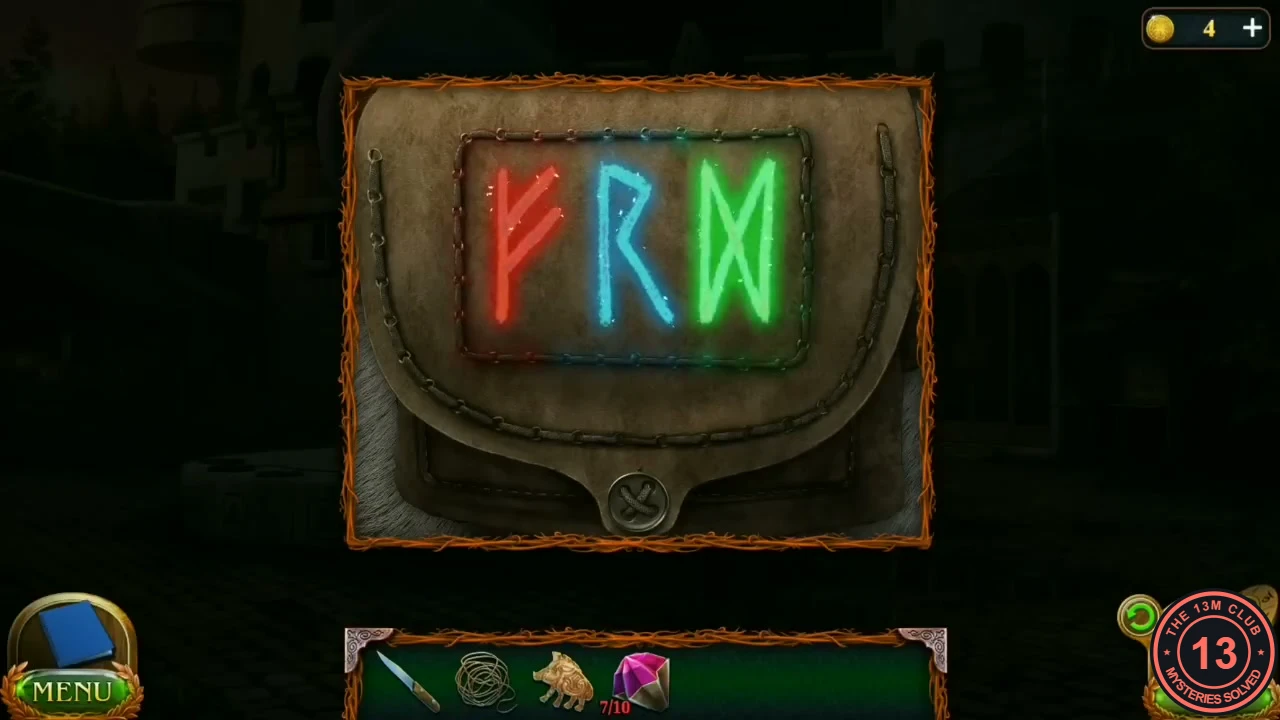
Traced runes: red left, blue middle, green right. - Take the Bull emblem, the pink Gem and the Torn drawing from the bag.
Storeroom Door Lock
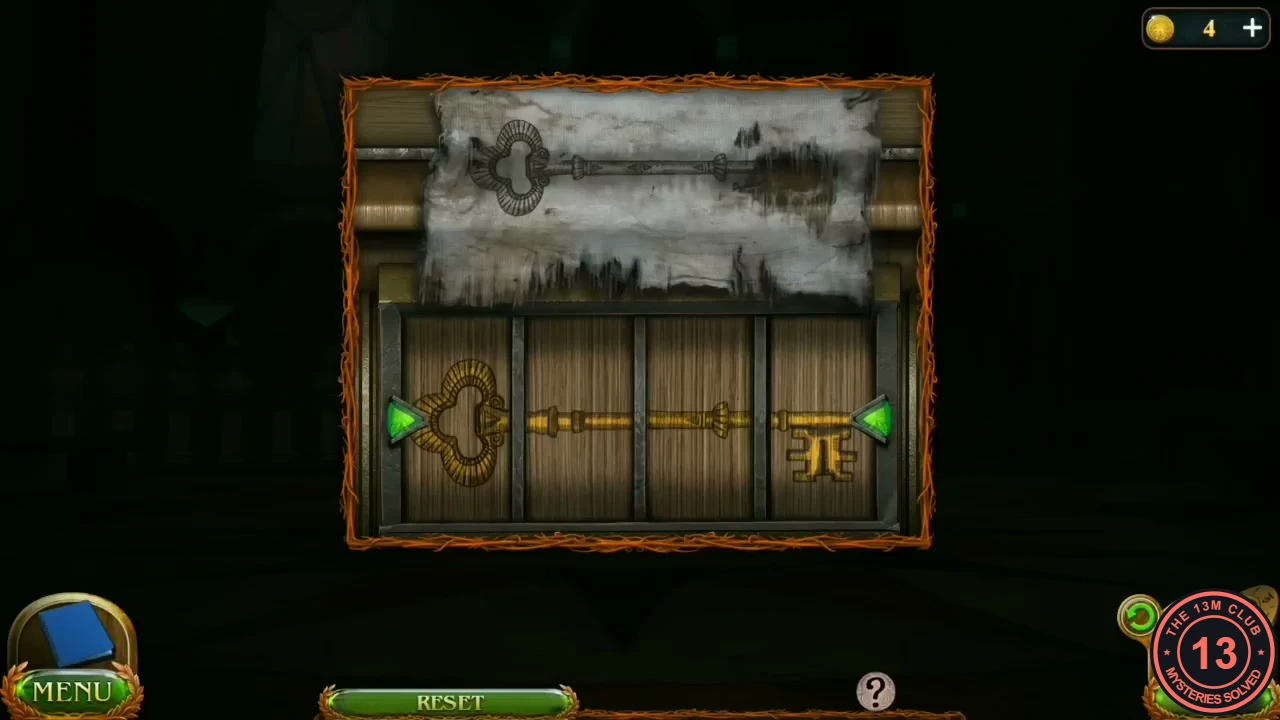
The smaller door on the right of the entrance hall leads to the storeroom.
- Zoom into the lock and place the Torn drawing in the upper slot as a reference.
- Click the four sections below to cycle their key-part shapes until together they copy the key in the drawing. The last section completes the lock when it reaches the right shape.
The Storeroom
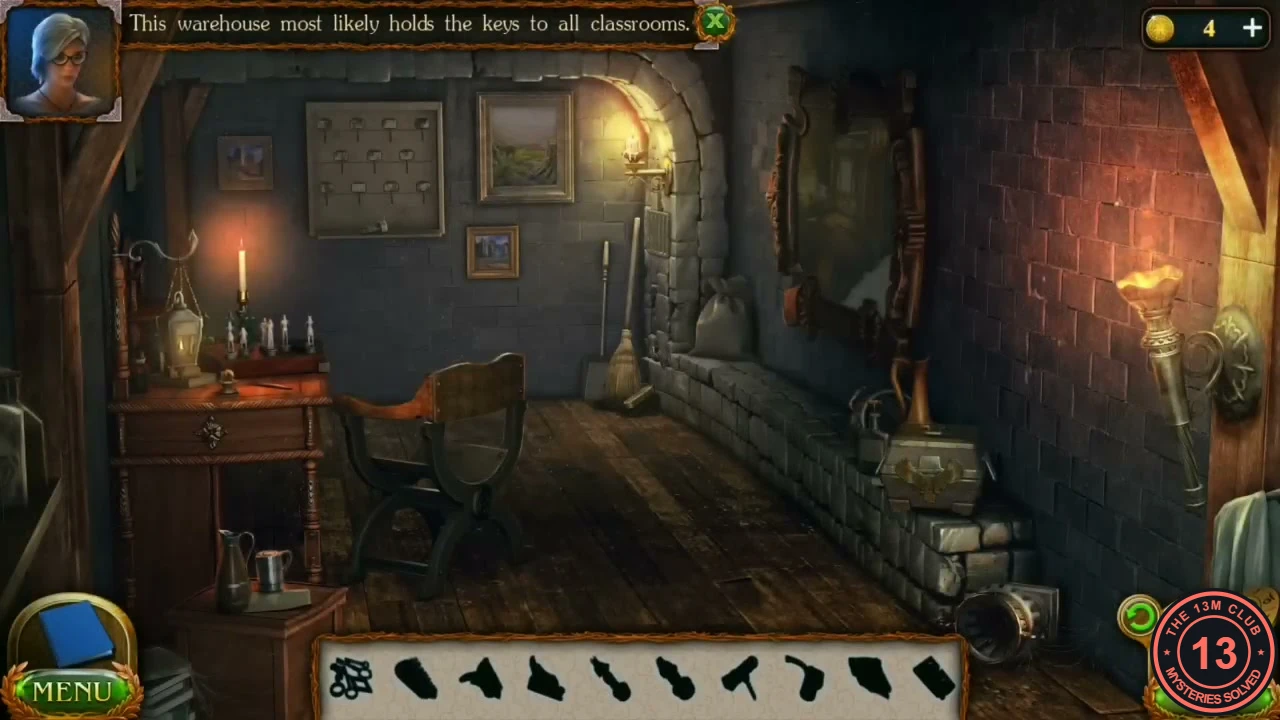
The inventory bar turns into a row of silhouettes for this room. The keys to the classrooms should be on the empty rack.
- Take the Brush from the floor by the broom in the back corner. Zoom into the box on the low wall at the lower right (part of its bird lock is missing) and take the Corkscrew from the bottle beside it.
- Zoom into the desk and open the left drawer with the Corkscrew. Take the Oiler and the first owl part. The board on the desk is missing figurines.
- Oil the small vent in the back wall below the candle, open it and take the second owl part and the key Stencil.
- Fit both owl parts on the box at the lower right and open it. Move the clutter aside and take the Priest figurine, then sweep the bottom with the Brush to reveal the hint: hat, broom and bottle.
- Take the Warrior figurine from the key rack area. Put both figurines on the board on the desk; a drawer opens with the Canvas.
- Add the Canvas to the painting on the right wall, then click the hat, the broom and the bottle in the painting. Another drawer opens with the bunch of keys.
Storeroom Key Rack
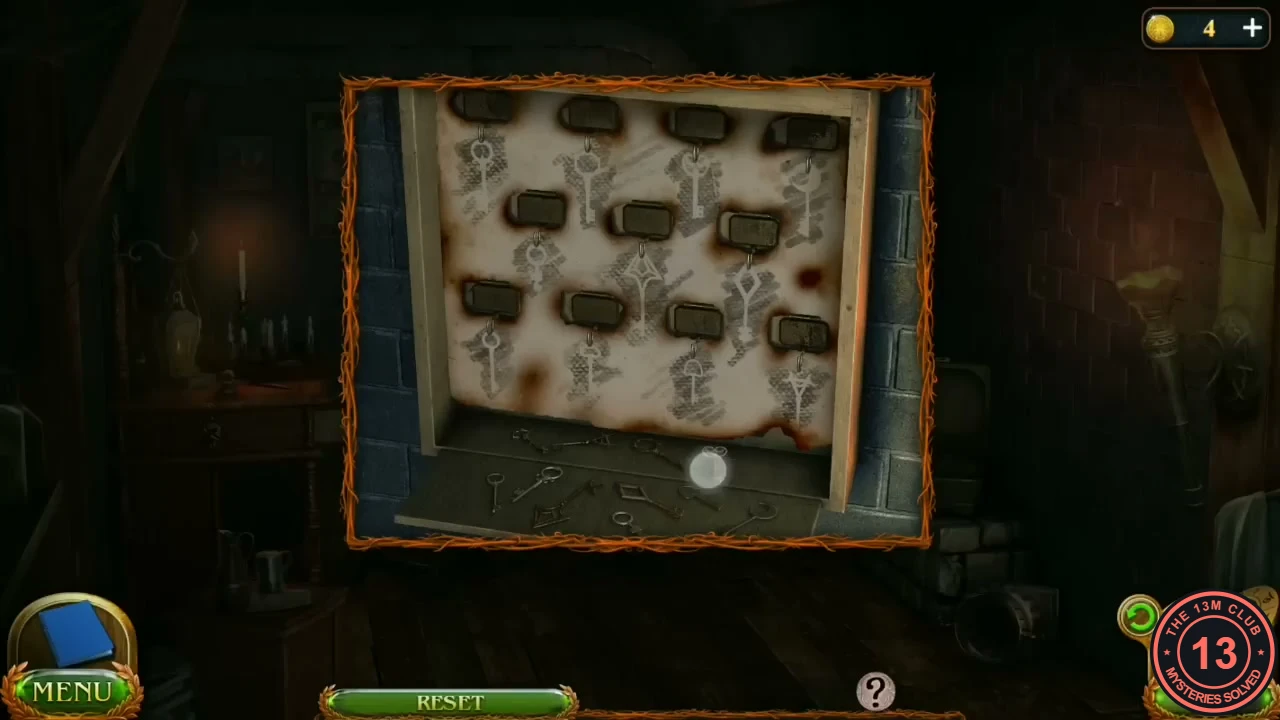
Place the Stencil and the keys on the empty rack on the back wall.
- Drag each key onto the hook above its matching painted outline. Compare bows (round, ring, clover or diamond heads), shaft lengths and bit patterns; each outline fits only one key.
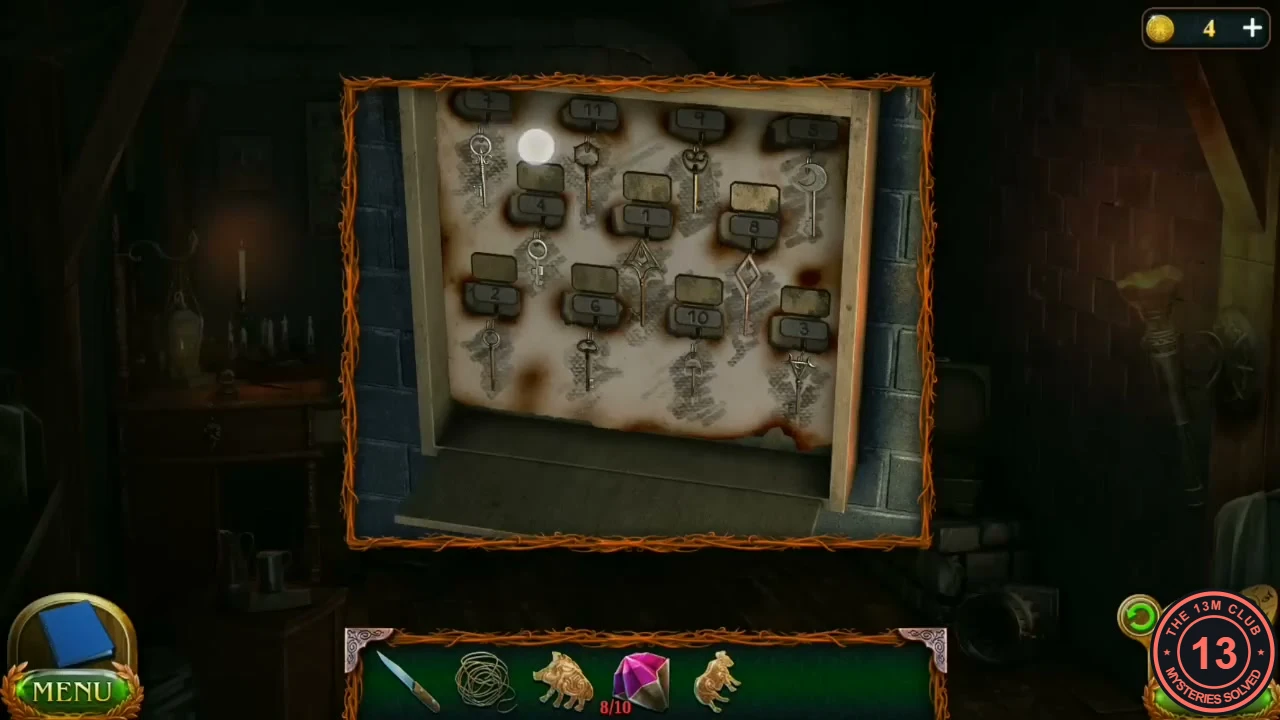
Completed rack with each key over its matching outline. - Take the Key for room 3.
Maaron's Room
Maaron's room holds more pink Gems, the two emblems and the archaeologists' note that explains the chest on the floor.
- Open door number 3 with the Key and go in.
- Zoom into the big bird cage on the left and take the pink Gem and the Raven emblem.
- Zoom into the round table in front of the green curtain, move the flask and take the pink Gem.
- Zoom into the desk, take the Deer emblem and read the archaeologists' note. Its circle diagram is the clue for the chest on the floor.
Knights' Chest
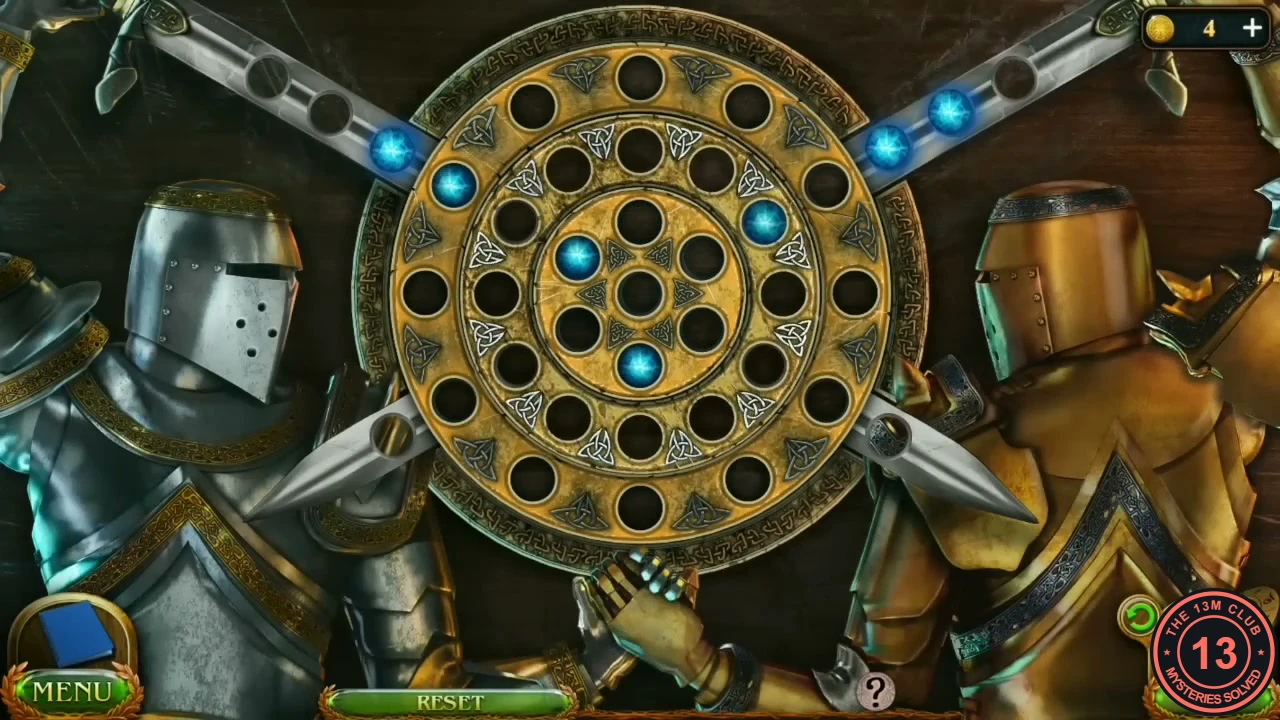
Two knights hold four swords across a shield of rotating rings. The blue gems must form the pattern drawn on the archaeologists' note.
- Rotate the rings and slide the swords to carry gems between the rings until they match the note. Final layout: five gems in the inner ring (every hole except the top one), the center hole empty, and two gems in the middle ring at the upper left and upper right.
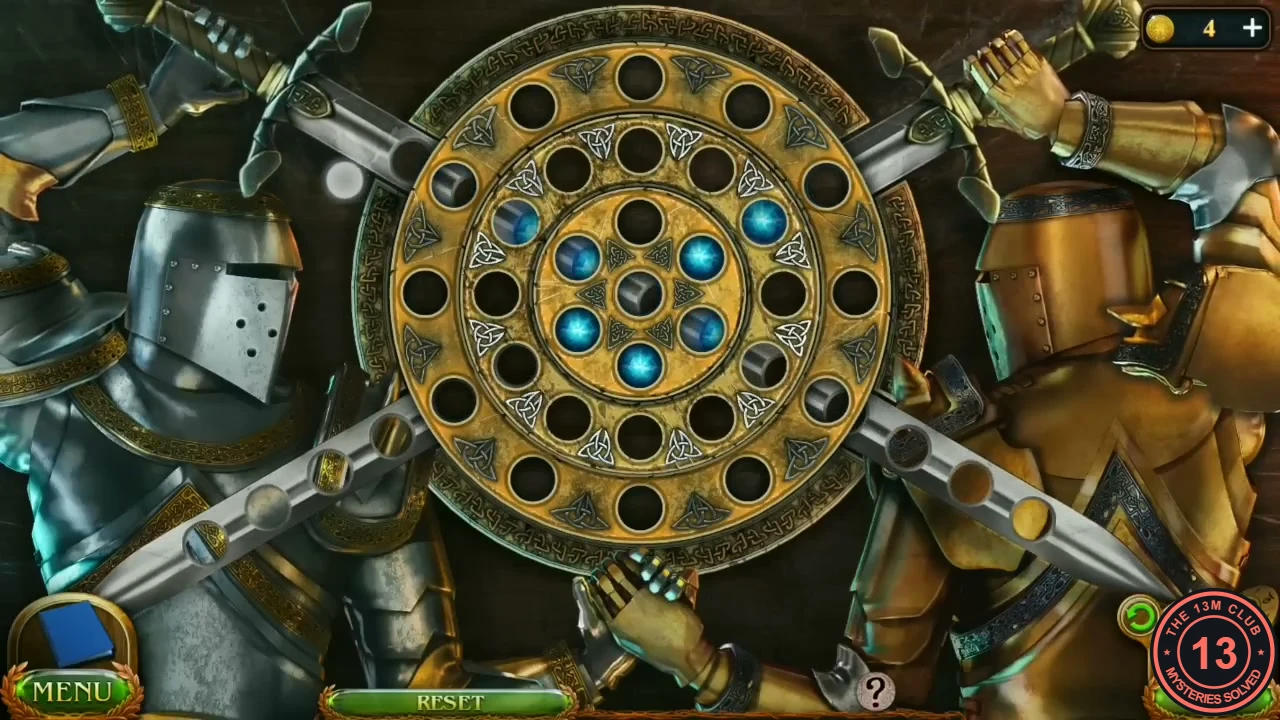
The target gem layout from step 1. - Put the ten pink Gems into the notches of the golden case and take the green Orb.
The Hidden Library Wall
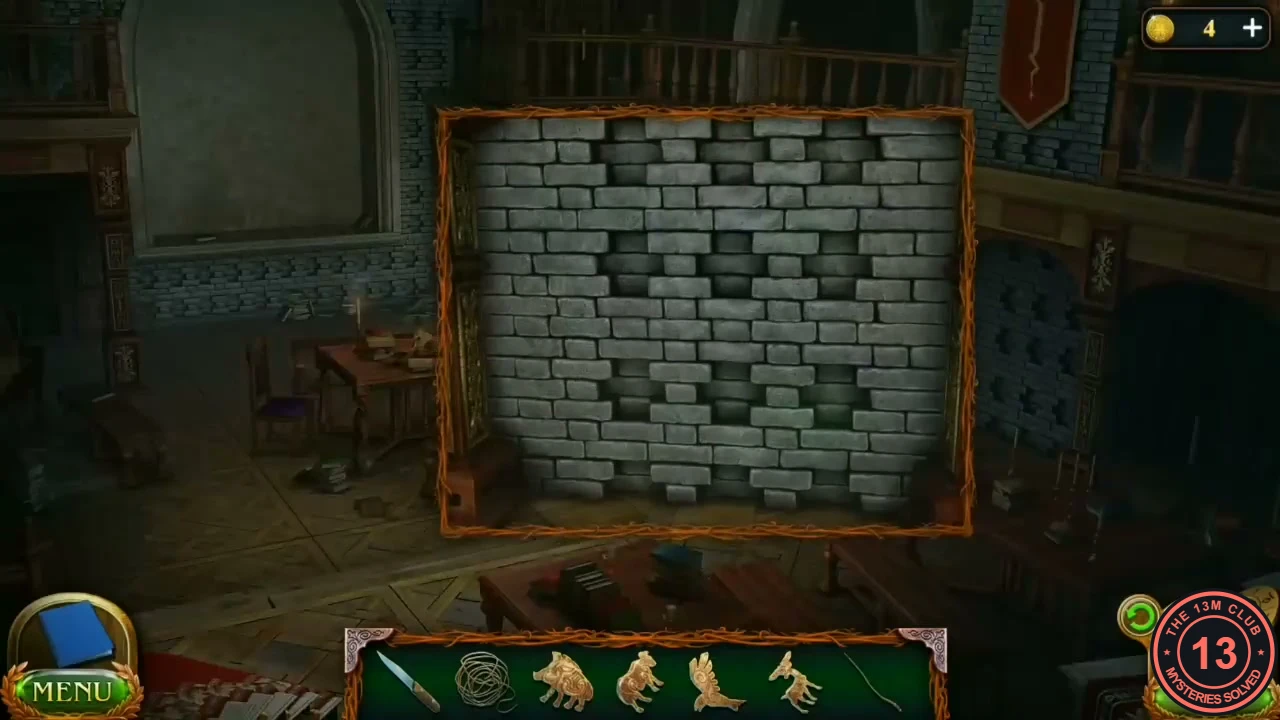
The cutscene shows the symbol that opens a secret wall in the library. It is also saved in the journal.
- Take the Magic wand from Maaron's desk in room 3.
- In the library, use the Magic wand on the grey stone wall on the right to show nine glowing points (three rows of three). Draw the symbol: the top row edge to edge, the middle row edge to edge, the upper middle point down to the center, both diagonals from the top corners through the center to the bottom corners, and the left and right middle points straight down to the bottom corners.
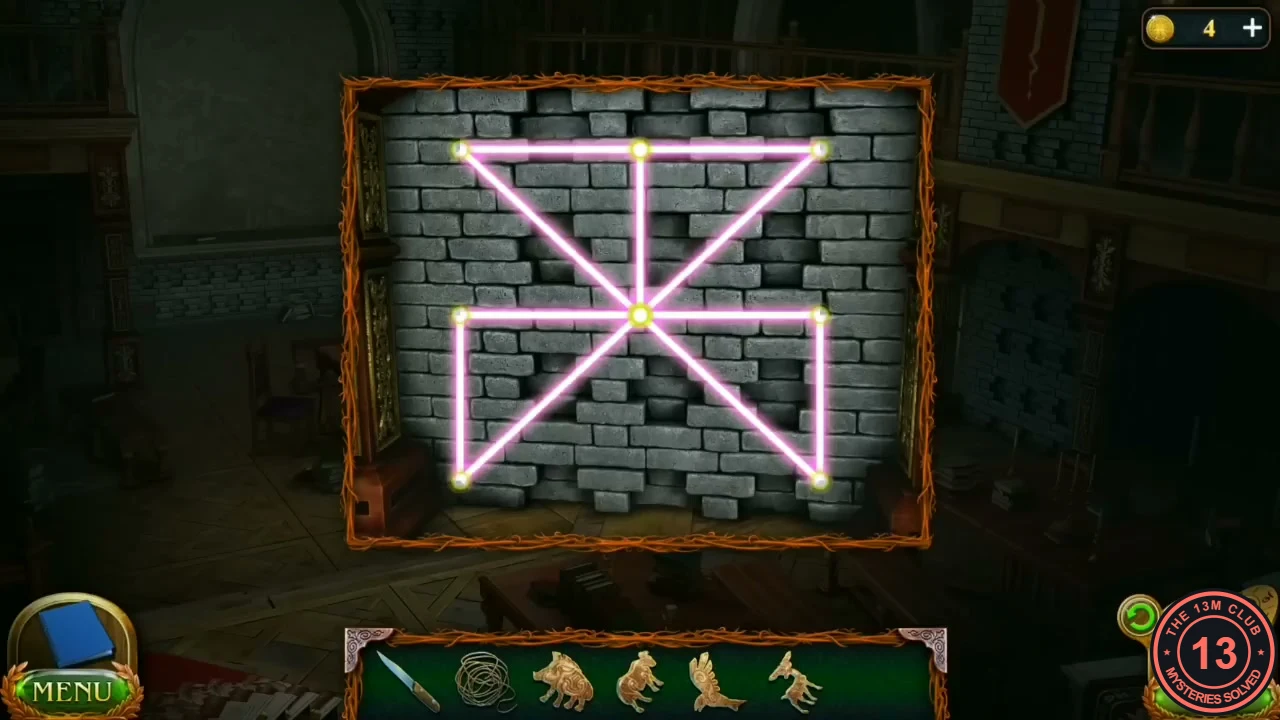
The finished symbol on the nine points. - Watch the conversation with Maaron. The task Activate the dolmen to the Darkwoods is added.