The Excavation Site
The dolmen brings Susan to the deserted Stronghold excavation. The scaffold needs planks and the door on the left needs tiles and a skull.
- Zoom into the large skeleton on the ground at the left and take the small Skull beside its head.
- Zoom into the wooden scaffold in the center and shake it; a Tile falls and you collect it. The scaffold needs many planks before you can climb it.
- Look into the white tent on the right. Read the note on the table (task Get to the Academy of Magicians) and take the Tile there. The chest in the tent is padlocked. Read the manuscript on the bench (Manuscript 3 of 10, Mage Maaron).
- Zoom into the door at the top of the steps on the left. Place the three Tiles (from the halfling, the scaffold and the tent) in the empty blocks around the door, then put the Skull in the center. The door opens into the maze.
Stronghold Maze
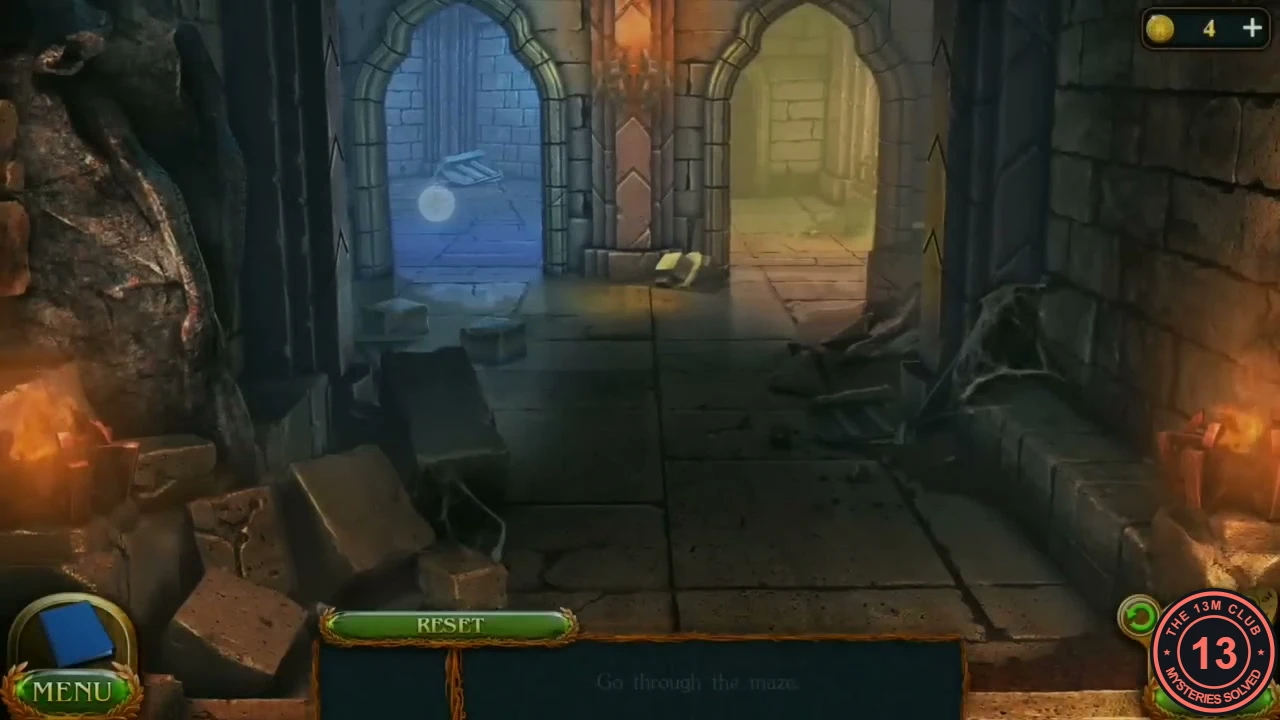
Move through linked rooms. Backing out returns you to the previous room. The route below never needs the Reset button.
- From the entrance take the left (blue) doorway, then the right (orange) doorway. Take the Spear from the back left corner of this room.
- Back up once and take the left (blue) doorway. Use the Spear to knock down the Mask on the upper wall and take it.
- Back up twice to the entrance and take the right (orange) doorway. Place the Mask in the center of the door to open it and go through.
- Take the left path. Click the unlit torch on the right wall to open a secret passage, go through and take the Sword from the broken statue.
- Back up twice to the fork and take the right path. Give the Sword to the statue on the right; the doorway opens. Go through to the room with three arches.
- Go through the left arch and take the Crystal from the far right wall (the room goes dark). Back up, go through the right arch and set the Crystal in the socket on the far left; the room lights up and a passage opens at the back. Go through.
- Take the left (blue) path, click the stone plinth in the center to shift the rocks and take the Lever arm. Back up, take the right (orange) path, fit the Lever arm into the stone block on the left and pull it. Steps appear; climb out through the high doorway.
The Dry Lake: Ten Planks
Collect ten planks around the lake for the scaffold. The plank counter shows your progress.
- Take the Plank on the ground at the lower left (1/10). Zoom into the roots of the tree: a chest is trapped in the roots (you cannot open it yet); take the Plank beside it (2/10).
- Zoom into the net under the bridge, take the pink Gem (1/10) caught in it and the Plank beside it (3/10).
- Zoom into the boulder the boat is tied to and take the Plank behind it (4/10). Zoom into the boat and take the two Planks on the deck (6/10). The locked compartment with a golden skull cannot be opened yet.
- Zoom into the dolmen on the hill above the bridge and take the Plank behind the rune stone (7/10). Zoom into the signpost at the upper right and take the Plank by it (8/10).
- Zoom into the petrified troll under the far side of the bridge and take the Planks there (10/10).
Repairing the Scaffold
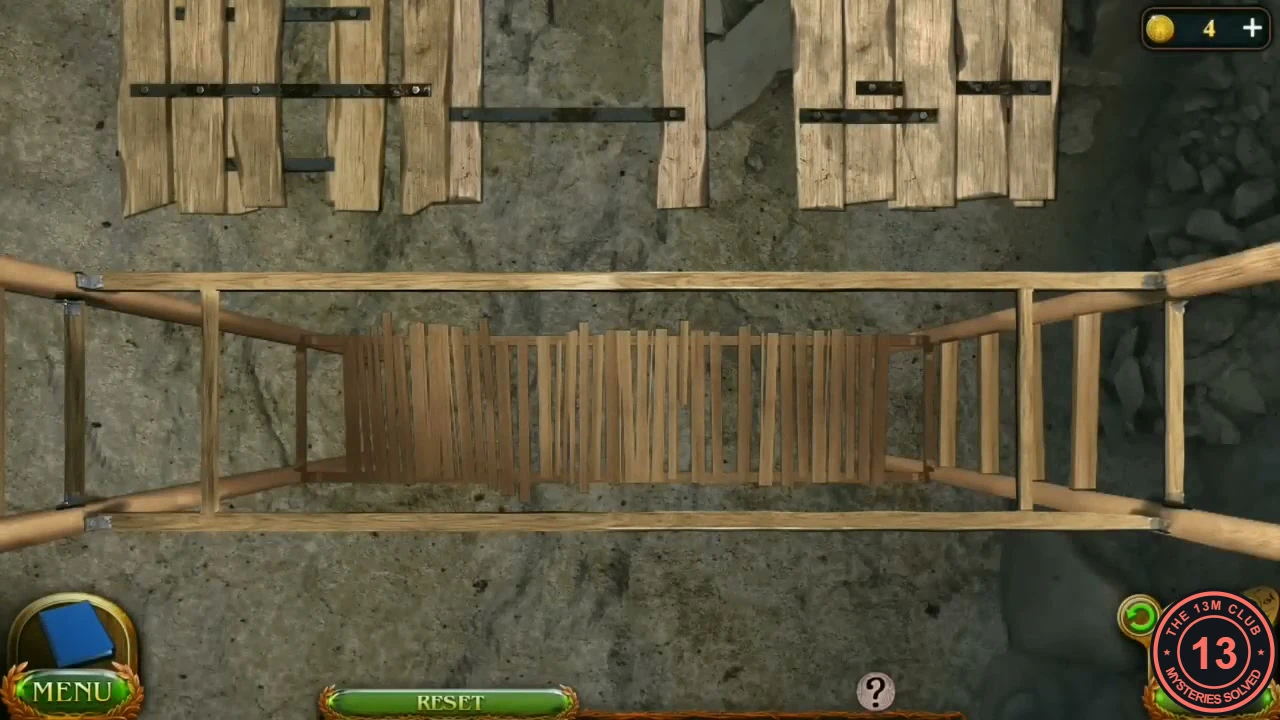
Back at the excavation, put the ten Planks on the scaffold. You must floor three levels by dragging groups of boards from the top into the frame. Groups are joined by iron straps and some have gaps between their boards. This is a lengthy fitting puzzle, so use the method below rather than a move list.
- Zoom into the scaffold and use the Planks to start the puzzle.
- Each level is solved when every board slot across the frame is covered, with no empty gaps and no board lying over another. Drop a group, look at which gaps its spaced boards leave, then fill those gaps with single boards or with groups whose boards interleave. Groups snap where they fit; drag them back out or press Reset if the last spaces cannot be filled. Work from one end of the frame toward the other.
- Repeat the same method on the second and third levels. The upper levels use more groups with wide gaps, so place the interleaving groups early.
The Second Rune
A second Rune is locked in the chest in the tent. It opens the dolmen on the halfling's road, which leads to the Academy of Magicians.
- Click the top of the scaffold, open the box and take the Hacksaw.
- In the tent, cut the padlock off the chest with the Hacksaw, open it and take the Rune.
- Return through the dolmen to Maaron's yard and go through the gate to the halfling's road. Zoom into the stone below the dolmen at the top of the path, insert the Rune and walk through to the Academy of Magicians.