Collections and Missed Items
Extras > Collections shows your progress in every set: hourglasses 8, horseshoes 7, turtles 7, shoes 8, spikelets 12 (bonus chapter), manuscripts 10 and morphing objects 30. The Collectibles part of this guide lists every location.
- Open Collections. If a set is incomplete, press Complete collections. A choice opens between "Play the main game" and "Play the bonus chapter", so you can go back for the missing items.
The Puzzles Menu
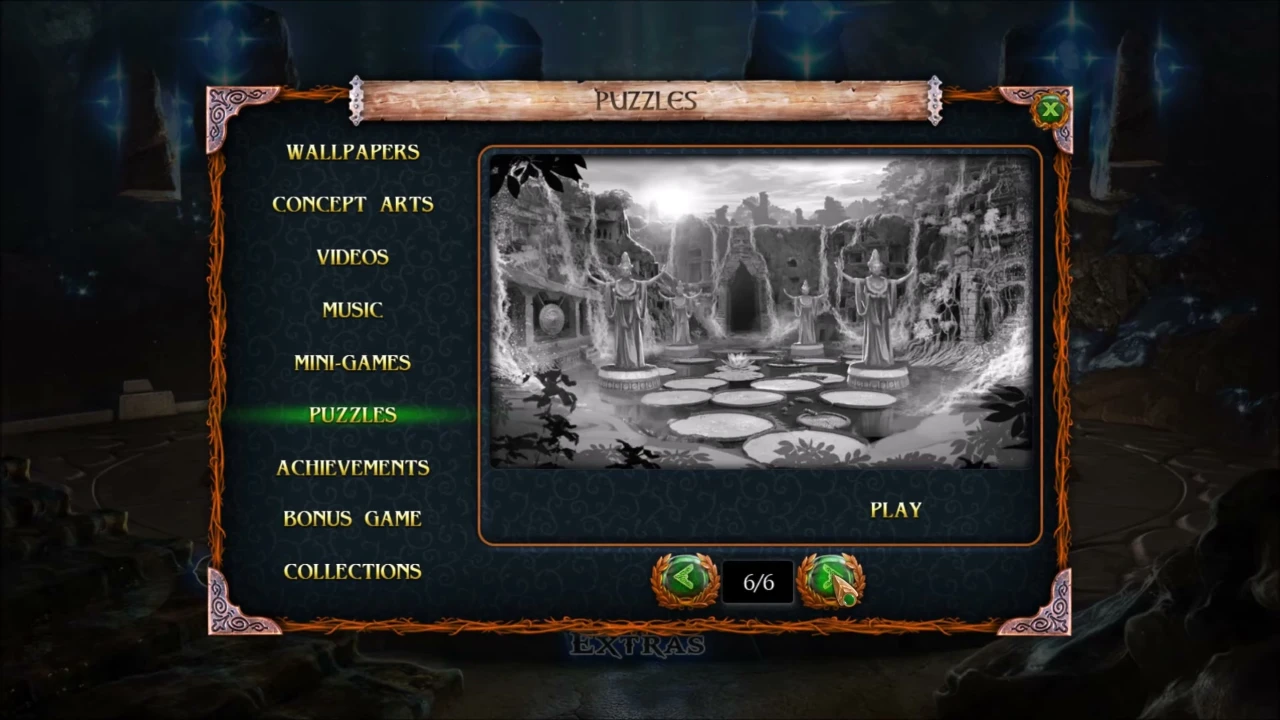
Extras > Puzzles holds six mosaics, numbered 1/6 to 6/6. Each one is a black-and-white scene from the game. A player review of the PC Collector's Edition on Big Fish Games (a customer review, not the official product description) reports that one bonus puzzle unlocks for each collection or morphing-object set you complete. We could not confirm this rule in the mobile version. If a mosaic is locked, complete more collection sets (see the Collectibles part).
- Open Extras > Puzzles. Use the arrows under the preview to choose a mosaic. The preview shows the finished picture, so look at it before you press Play.
Mosaic 1: The Tree House Yard
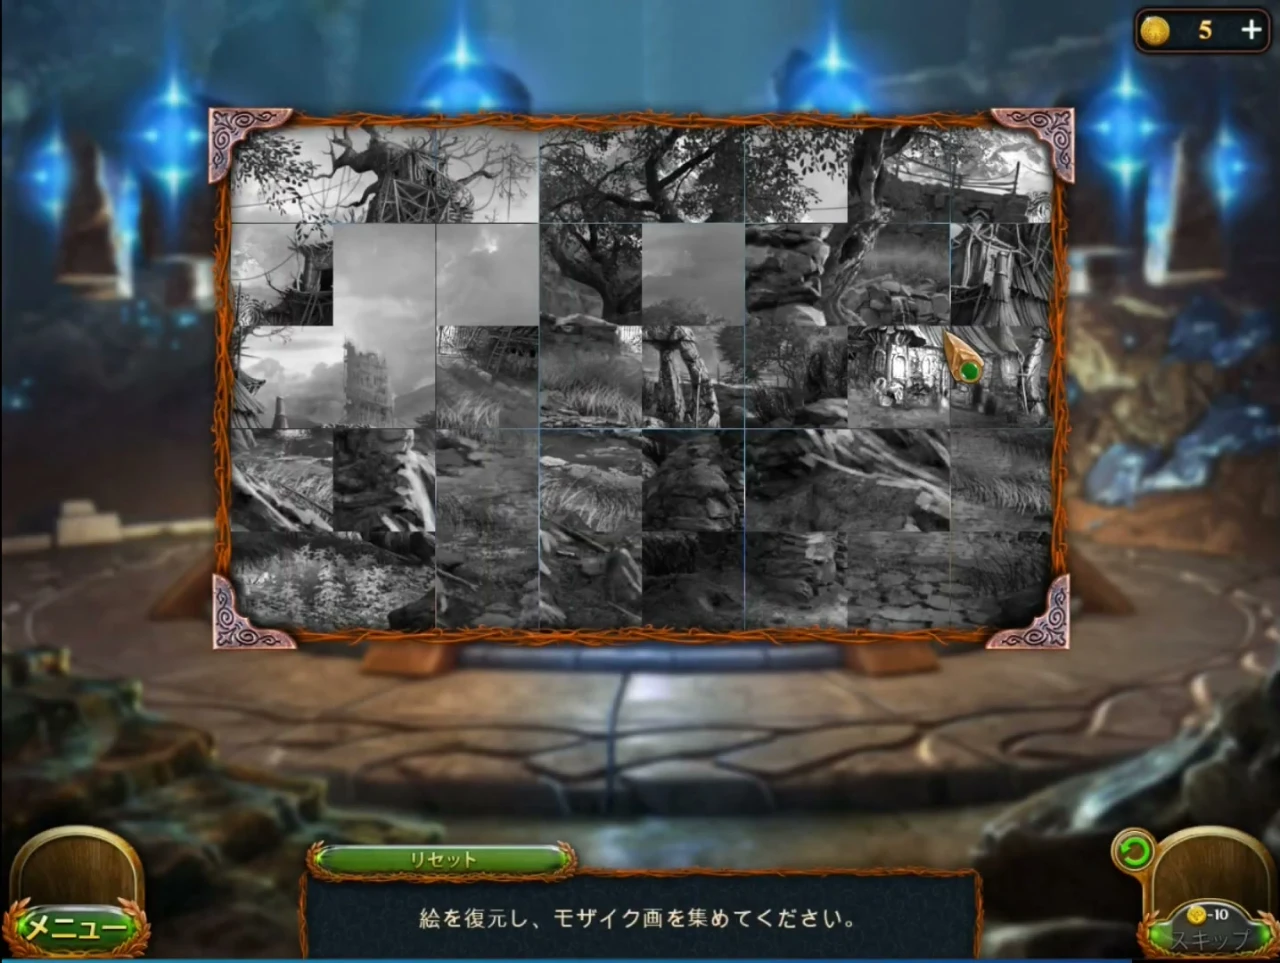
Mosaic 1/6 shows a yard with a house built into a tall tree, a ruined tower and a stone arch. The picture is cut into 8 columns and 5 rows of tiles and shuffled. Click a tile to lift it (it gets a white frame), then click another tile to swap the two. In the recording, tiles that are in their correct place turn dark grey, and tiles that still need to move stay bright. The starting shuffle shown here comes from one recording, so your board may be mixed differently.
- In Extras > Puzzles, go to 1/6 and press Play.
- Swap tiles until every tile is dark and the picture matches the preview. Landmarks in the finished picture: a gnarled tree on the left edge, the house and its tree in the top middle, the ruined tower and the stone arch on the right, and grass with a stone path along the bottom.
Mosaic 2: The Attic Room
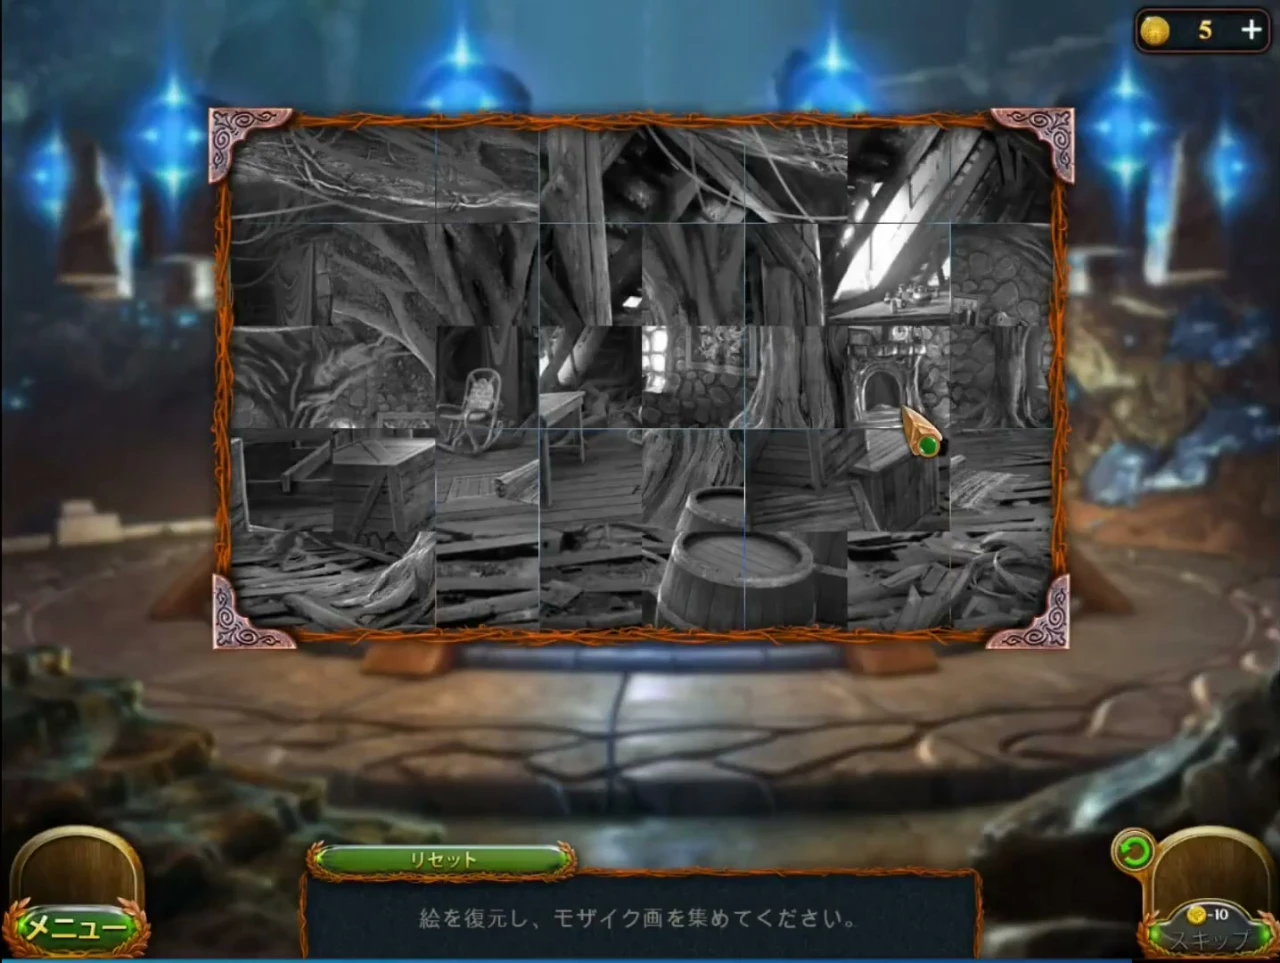
Mosaic 2/6 shows a wooden room under sloping roof beams, with a rocking chair, a fireplace and barrels. The picture is cut into 8 columns and 5 rows of tiles and shuffled. Click a tile to lift it (it gets a white frame), then click another tile to swap the two. In the recording, tiles that are in their correct place turn dark grey, and tiles that still need to move stay bright. The starting shuffle shown here comes from one recording, so your board may be mixed differently.
- In Extras > Puzzles, go to 2/6 and press Play.
- Swap tiles until every tile is dark and the picture matches the preview. Landmarks in the finished picture: sloping beams and a skylight in the top left, a table and crates on the left, the rocking chair and the fireplace in the middle, a round-topped window in a huge tree trunk on the right, and barrels in the bottom right corner.
Mosaic 3: The Excavation Site
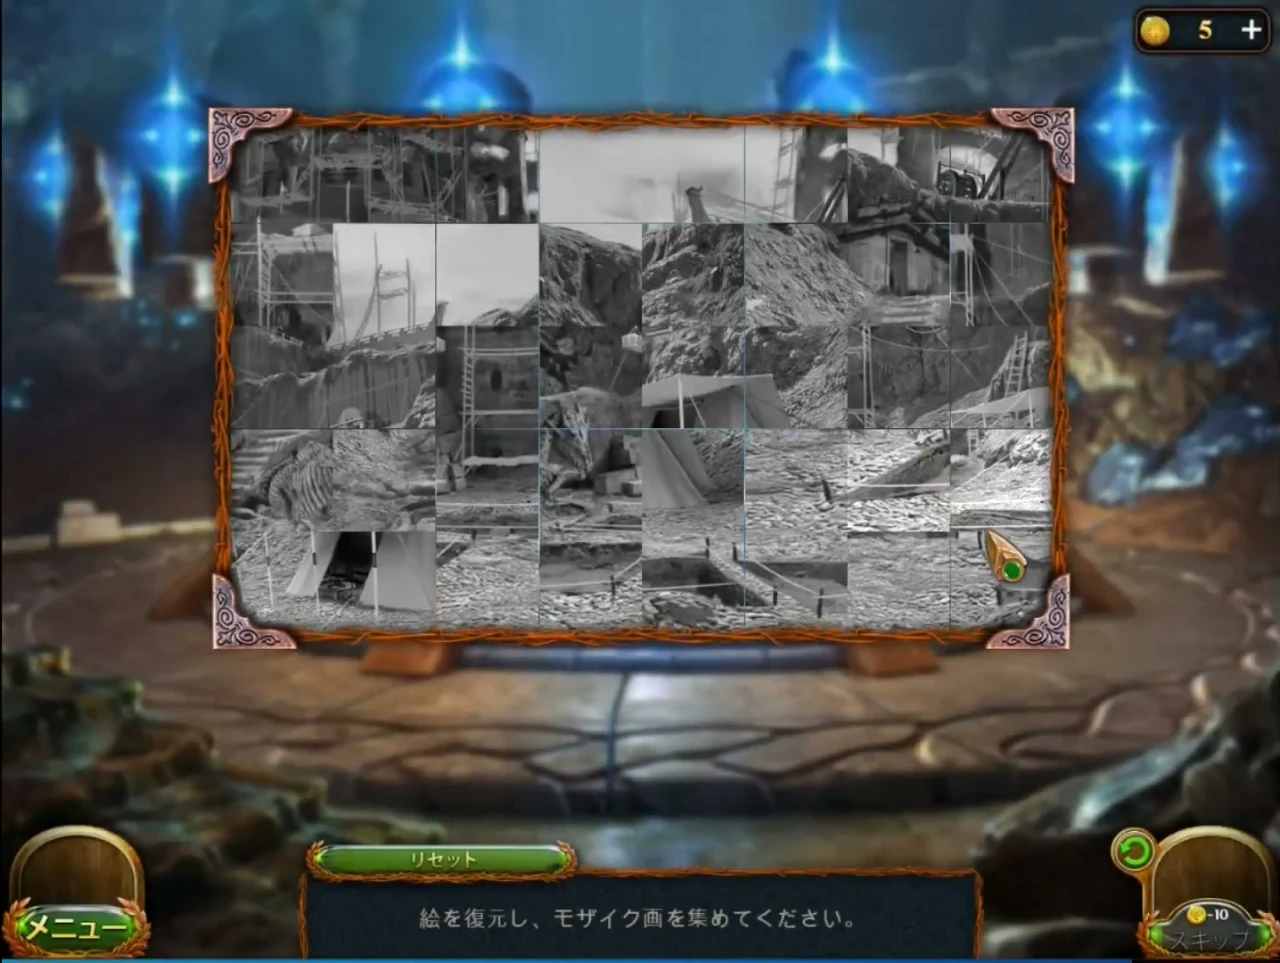
Mosaic 3/6 shows an excavation site with a scaffolded tower, a tent and dig pits. The picture is cut into 8 columns and 5 rows of tiles and shuffled. Click a tile to lift it (it gets a white frame), then click another tile to swap the two. In the recording, tiles that are in their correct place turn dark grey, and tiles that still need to move stay bright. The starting shuffle shown here comes from one recording, so your board may be mixed differently.
- In Extras > Puzzles, go to 3/6 and press Play.
- Swap tiles until every tile is dark and the picture matches the preview. Landmarks in the finished picture: grey sky in the top left, the tower with scaffolding and ladders at the top middle, stone steps on the left, the tent on the right, and two rectangular dig pits along the bottom.
Mosaic 4: The Greenhouse Garden
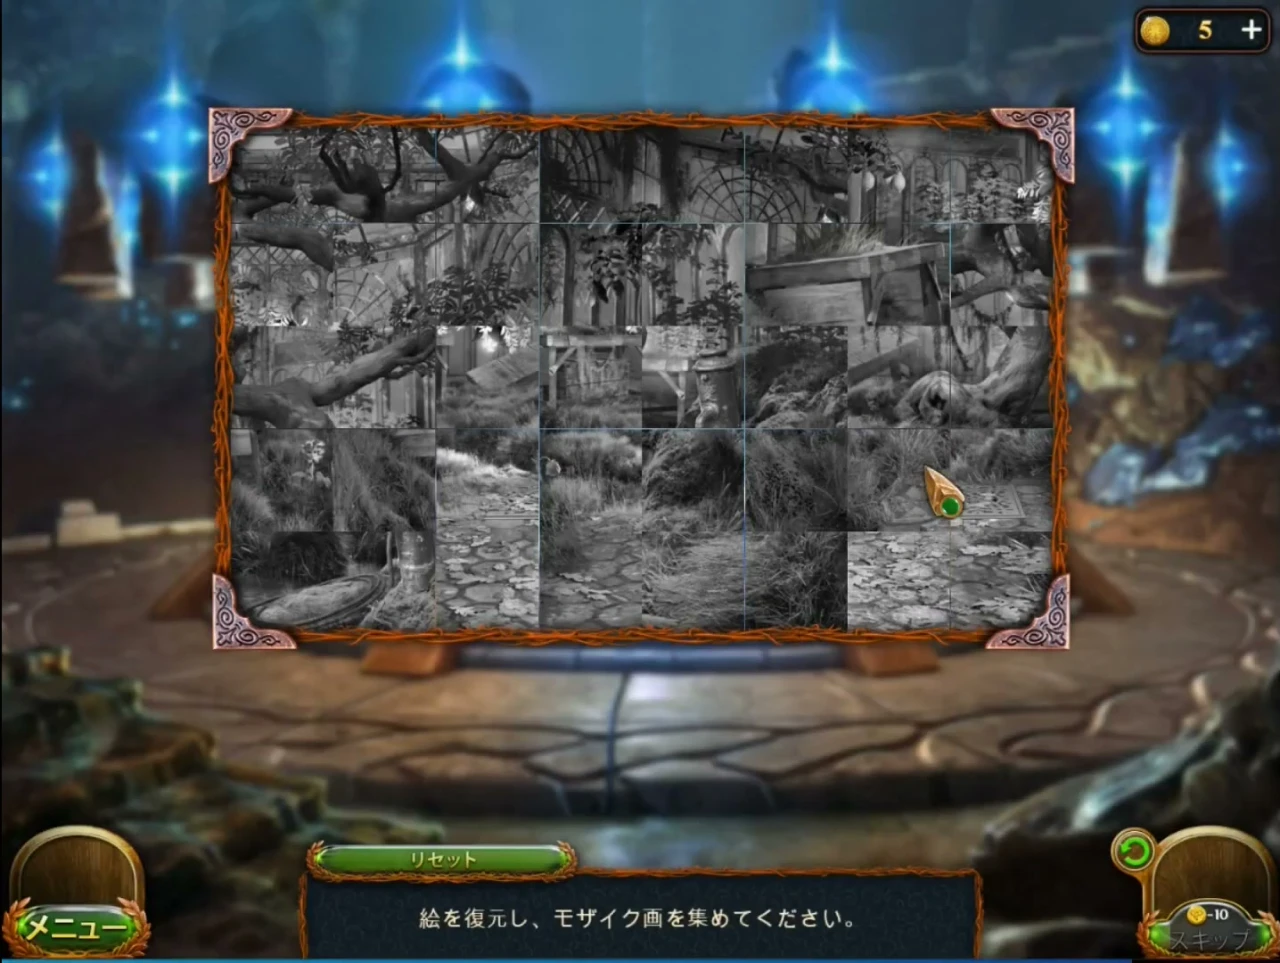
Mosaic 4/6 shows an overgrown garden with greenhouse windows, a twisted tree and a cobbled path. The picture is cut into 8 columns and 5 rows of tiles and shuffled. Click a tile to lift it (it gets a white frame), then click another tile to swap the two. In the recording, tiles that are in their correct place turn dark grey, and tiles that still need to move stay bright. The starting shuffle shown here comes from one recording, so your board may be mixed differently.
- In Extras > Puzzles, go to 4/6 and press Play.
- Swap tiles until every tile is dark and the picture matches the preview. Landmarks in the finished picture: arched greenhouse windows across the top, a big twisted tree right of centre, a water pump on the right, wooden boards on the left, and a cobbled path along the bottom.
Mosaic 5: The Study
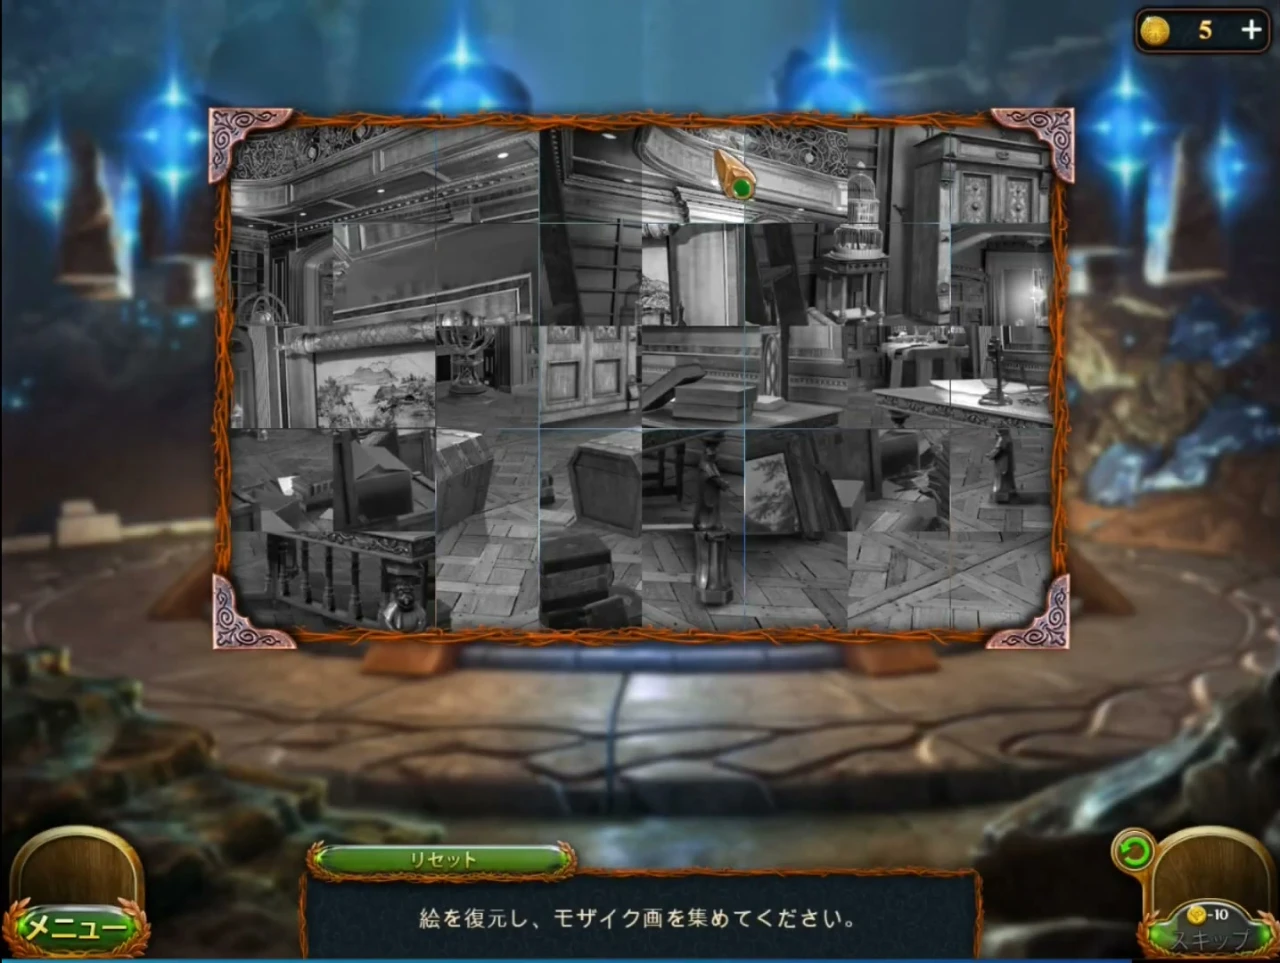
Mosaic 5/6 shows a study with a tall wardrobe, a long desk and a framed painting. The picture is cut into 8 columns and 5 rows of tiles and shuffled. Click a tile to lift it (it gets a white frame), then click another tile to swap the two. In the recording, tiles that are in their correct place turn dark grey, and tiles that still need to move stay bright. The starting shuffle shown here comes from one recording, so your board may be mixed differently.
- In Extras > Puzzles, go to 5/6 and press Play.
- Swap tiles until every tile is dark and the picture matches the preview. Landmarks in the finished picture: a birdcage on the far left, the tall carved wardrobe left of centre, a globe in the middle, the framed landscape painting on the right wall, the long desk in the bottom right, and a chest on the floor at the bottom left.
Mosaic 6: The Temple Pool
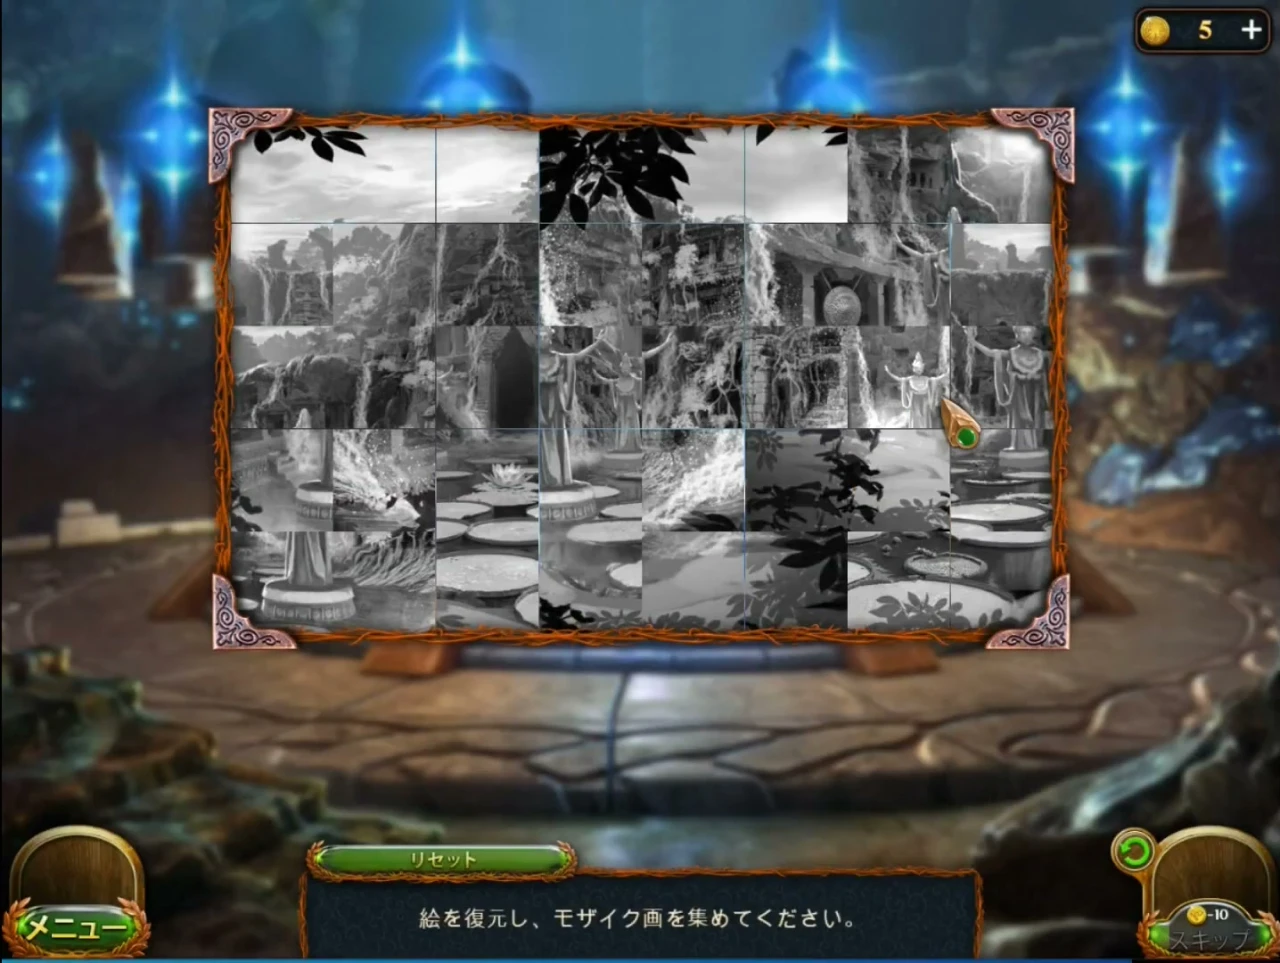
Mosaic 6/6 shows a temple courtyard with statues, waterfalls and round stepping stones in a pool. The picture is cut into 8 columns and 5 rows of tiles and shuffled. Click a tile to lift it (it gets a white frame), then click another tile to swap the two. In the recording, tiles that are in their correct place turn dark grey, and tiles that still need to move stay bright. The starting shuffle shown here comes from one recording, so your board may be mixed differently.
- In Extras > Puzzles, go to 6/6 and press Play.
- Swap tiles until every tile is dark and the picture matches the preview. Landmarks in the finished picture: dark leaves in the top left corner, the statues with raised arms on both sides, the dark doorway in the centre, and the round stepping stones in the pool along the bottom. When the last mosaic is finished, the achievement Puzzle Fan pops up (if you have completed the other five).