The cliff above the dwelling
Climb to the cliff above Uri's dwelling and examine the memorial sign.
- (The third chest tool is a SPATULA; it shows no name popup when taken; the game names it later.) Go back out to the winch right of the giant trunk ("I cannot simply hook the rope onto a branch."; the jack does not work here). Use the GRAPPLING HOOK on the winch: the rope is thrown over the high branch and a rope ladder comes down right of the trunk. Climb it to the cliff.
- "What is this? It looks like some kind of memorial sign." The pedestal plaque reads "IF YOU FIND YOUR BALANCE, THE WORLD WILL OPEN UP TO YOU". Click the sparkling shifting object in the grass at the lower left by the fallen log: Morphing objects 32/42.
Memorial sign: the balance stones
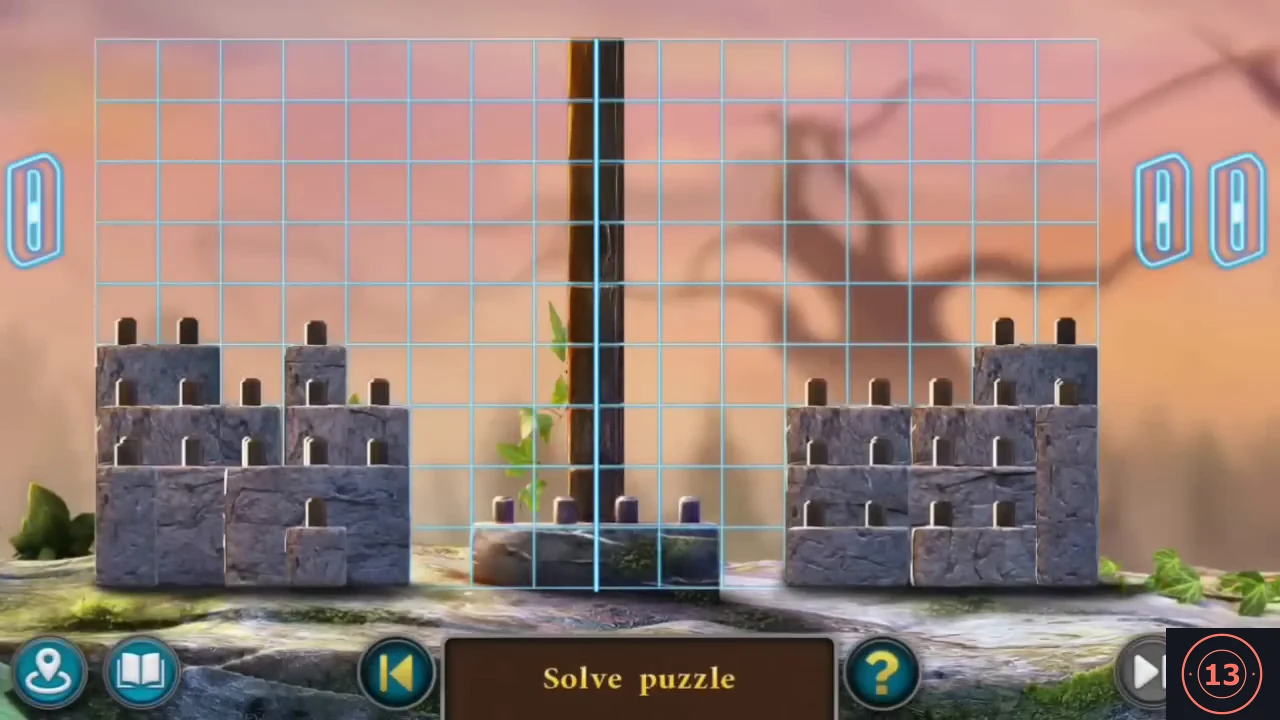
Place every stone block on the grid around the pole so that the counters on both sides of the memorial sign show the same number. The Extras replay of this puzzle has several versions, so your board may start differently; the method below works for every version.
- Zoom on the pedestal. Two piles of stone blocks lie on either side of a central pole on a base, with counters at the left and right edges. The grid above the base is split by a blue line through the pole. Controls: drag a stone from either pile onto the grid; it snaps to the squares and turns dark once placed. A placed stone can be dragged again to move it, and its squares come off the count. Counters: the number at each side counts the grid squares covered by placed stones on that side of the blue line. A stone across the line counts its squares on each side separately (the two-square-wide pole stone, four squares tall, adds 4 to each side). Goal: every stone placed and both numbers equal. Equal numbers alone are not enough while stones are still left in the piles. Method: add up the squares of all the stones and halve it to get the target for each side. Start with the tall stones beside or across the pole, then stack the rest on the base or on stones already placed, keeping inside the grid. Check both numbers after each drop and keep them close. If one side ends up a square or two short, move a stone that crosses the line one square towards that side, or swap a small stone over. In our game both sides ended at 45; another playthrough with a different start ended at 40 and 40. The stone set and the target differ between versions, so read your own numbers. A compartment opens: take the BOTTLE OF WATER and the FLINT ("The water is fresh, don't worry. It comes from a special source and never goes bad."). A small creature appears ("You scared me so much... Um... Just in case, I didn't steal anything. I put the stones together, and the hiding place opened by itself."); new task Even higher!. Then click the small grey fluffy figure lying in the grass by the rocks at the right edge: Collection Fluffy 2/12.
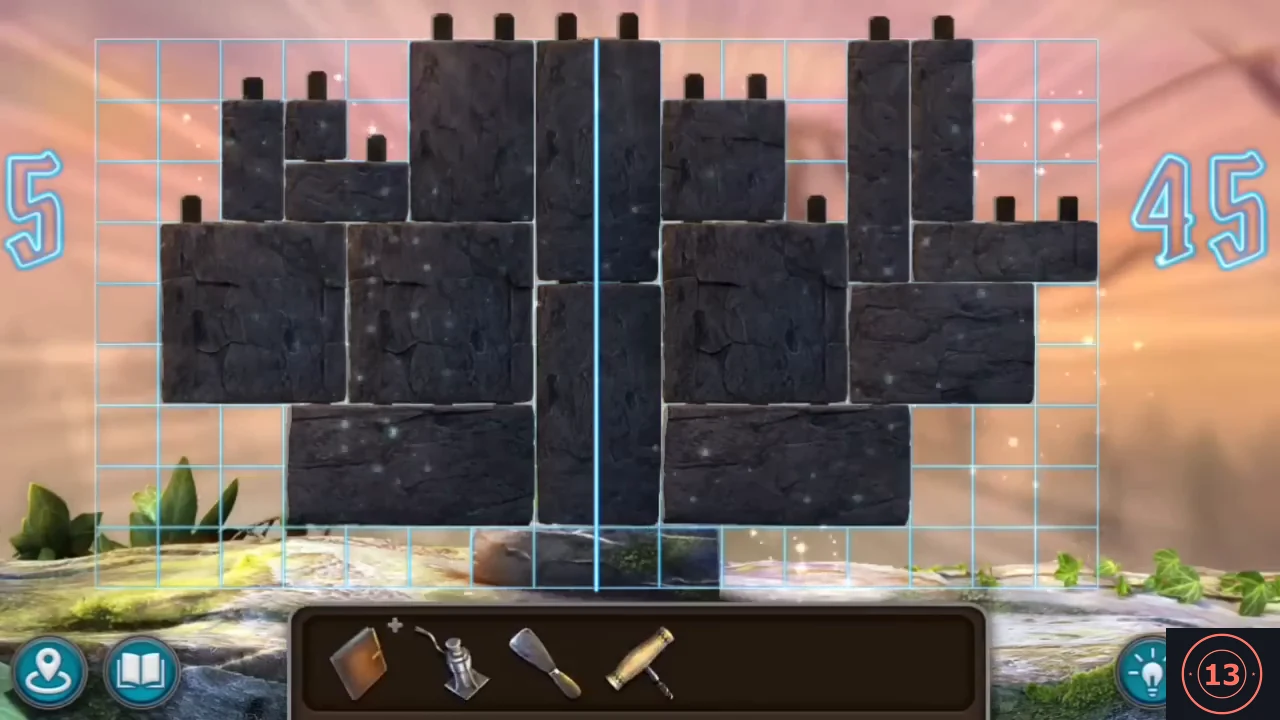
Solved in our playthrough: every block is stacked on the central base and the board sparkles as the sides balance. - Look around the cliff: the glowing bush ("Looks like fireflies.") and the odd tree ("It looks like a spruce tree, but the branches are like a palm tree.") are needed later.
Uri's safe: the diary symbols
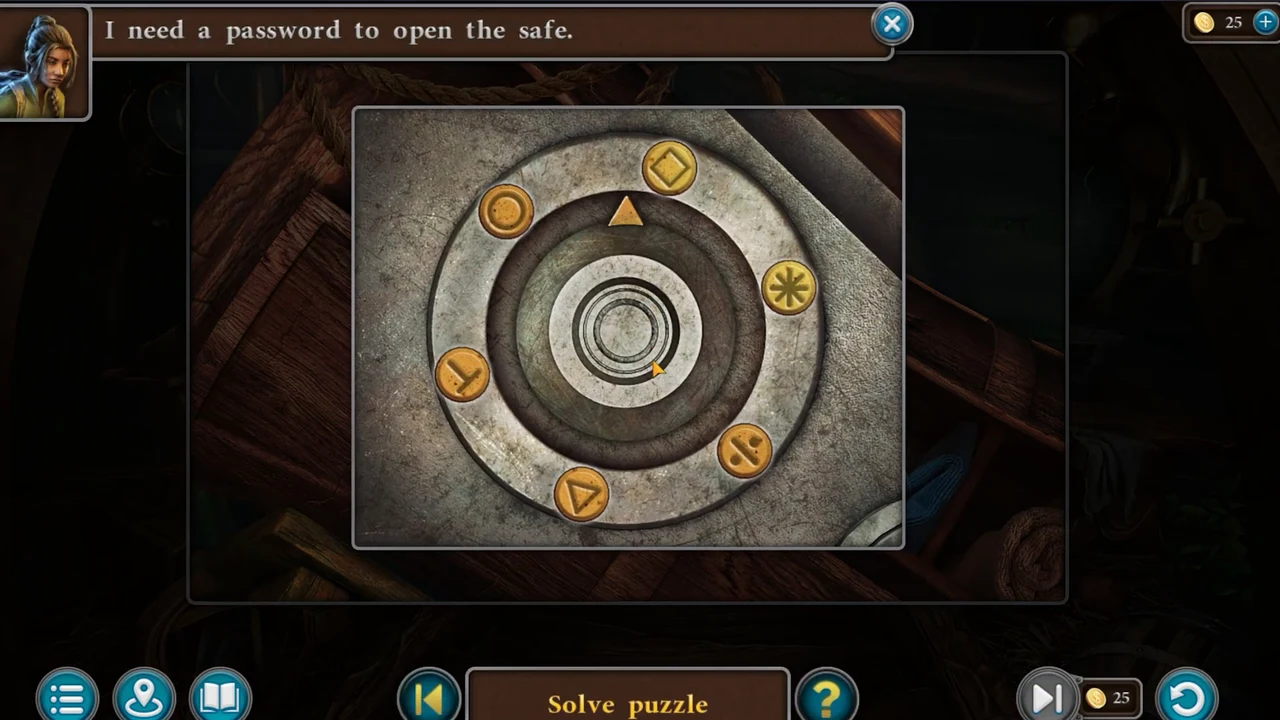
Force open the red cabinet and use the symbols in Uri's diary to open the wall safe.
- Back in the dwelling, use the JACK on the jammed red cabinet: the doors are forced open and reveal a wall safe with a round symbol dial ("I need a password to open the safe."). Open URI'S DIARY: "Some pages have symbols that match the symbols on the safe. But how can I figure out their order?" / "Maybe I should reduce the number to a single digit on each page." Add up the digits of each page number that carries a symbol: 190 dot-bar-dot = 1, 362 triangle = 2, 102 asterisk = 3, 238 circle = 4, 212 inverted T = 5, 276 square = 6. Set the dial to the symbols in that order: dot-bar-dot, triangle, asterisk, circle, inverted T, square. The safe opens: notes on FIREFLIES and STEEL-WEAVING SPIDERS, a MORTAR AND PESTLE and a SAW. The diary now also shows the page BAIT FOR FLYING TURTLES.
Bait for the flying turtle
Gather the ingredients for the flying-turtle bait from the recipe.
- The bait recipe: 1 thorny vines in a portable stove; 2 bird feathers (1 bunch) for quick lighting; 3 cattail fluff (2 heads) for more soot; 4 seeds of tropical spruce fruit (1 fruit); 5 eyes of the "curiosers" (3 pieces); 6 carpet moss, smoked over the extinguished fire. "Place the bait on the shore of the lake and cast a magic summoning spell over it." Take the BUNCH OF FEATHERS from the bed in the dwelling. Outside, zoom on the wooden footbridge left of the path and cut the vines over it with the SAW: THORNY VINES.
- The path over the footbridge leads to a foggy lake: "This is a foggy lake. A flying turtle lives somewhere in the lake." Zoom on the wrecked boat on the left and scrape the moss off with the SPATULA: MARSH MOSS. Click the shifting object in the foliage at the upper left: Morphing objects 33/42. Zoom on the reeds right of centre: COB OF CATTAIL (two heads). The dead tree with webs holds steel-weaving spiders ("They feed on carrion.") - nothing to do there yet.
- In the cellar take the JAR WITH EYES (middle of the cellar near the stump). Open it in the inventory: use the CORKSCREW on the red wax seal, then again to pull the cork - EYES OF THE CURIOUS (3). Drag the vines, feathers, cattail, moss and eyes onto the diary's bait page (each gets a green tick). On the cliff, zoom on the spruce-palm tree and take the FRUIT OF TROPICAL SPRUCE; add it to the page: INGREDIENTS FOR BAIT.
Portable stove: cooking the bait
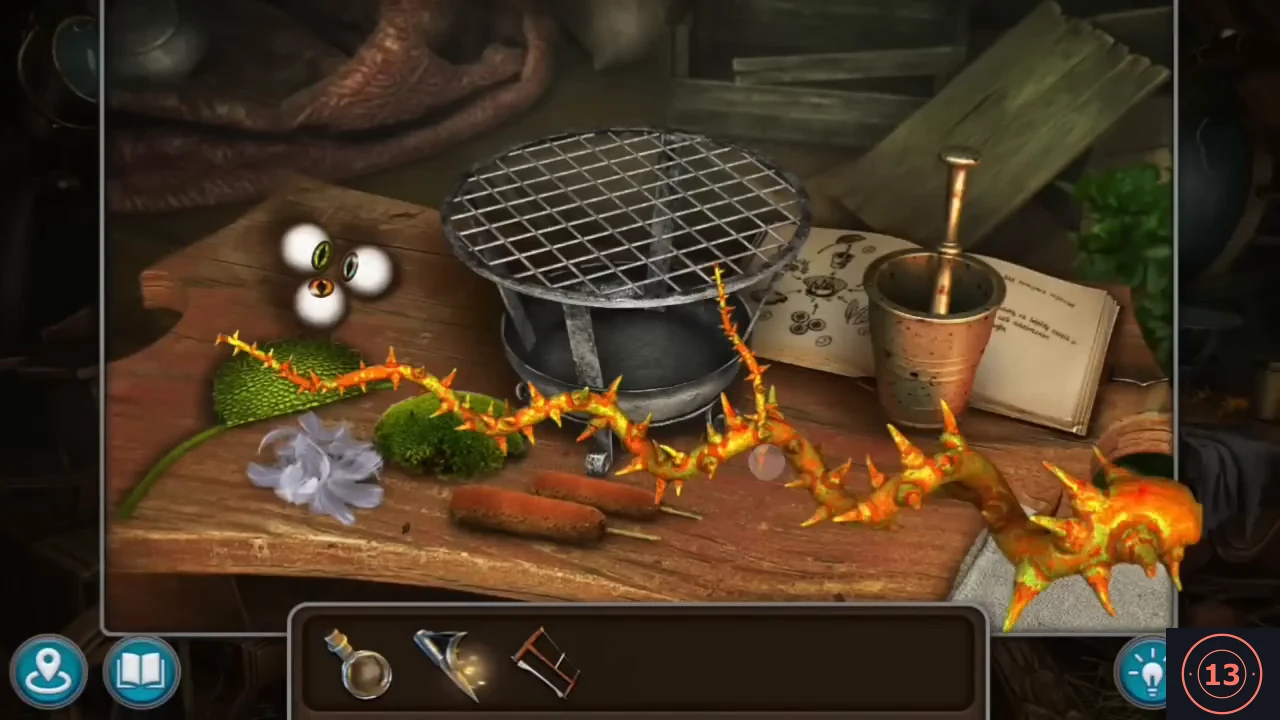
Cook the turtle bait on the portable stove by following the recipe in order.
- Zoom on the table with the grill stand (the portable stove) and place the INGREDIENTS FOR BAIT; they are laid out beside the mortar. Follow the recipe order (other orders are rejected: "I need to follow the recipe."): put the thorny vines into the stove; if you try the feathers now, Kiana says "I need to start a fire." Strike the FLINT at the stove first, then put in the feathers and strike the FLINT a second time so the fire flares up. Then add the cattail to the fire, the spruce fruit into the mortar and grind it with the pestle, pour the ground seeds into the fire, then the eyes. When the fire dies down and gives orange smoke, lay the moss on the grate: TURTLE BAIT.
Lake shore: the summoning spell
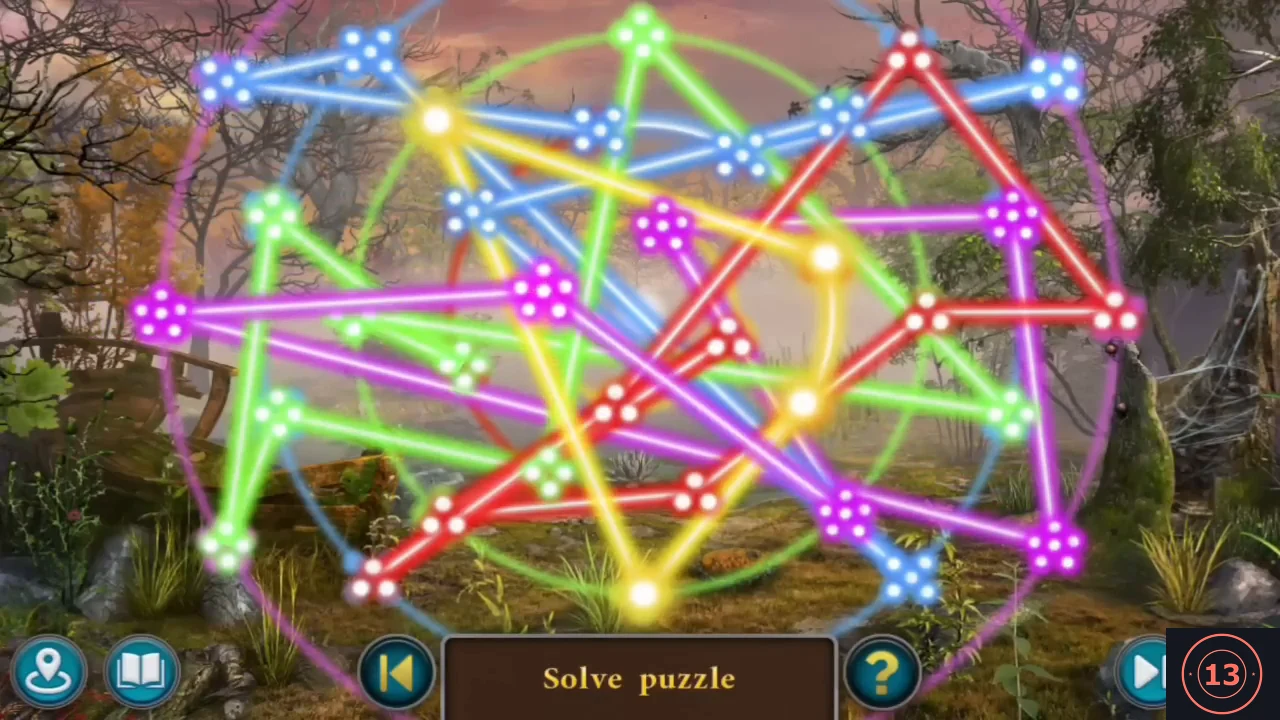
Untangle the summoning spell on the lake shore into five separate coloured rings.
- At the foggy lake place the TURTLE BAIT on the shore ("Now you need to perform a magic summoning spell."). The spell is a tangle of glowing coloured lines with nodes: drag the nodes so each colour forms its own clean ring. Finished, the rings lie inside each other: purple (outer), blue, green, red, yellow (centre). Click the small grey fluffy figure sitting on a bare branch near the top right of the lake scene (it is visible and clickable behind the spell, just left of the outer purple ring): Collection Fluffy 3/12.
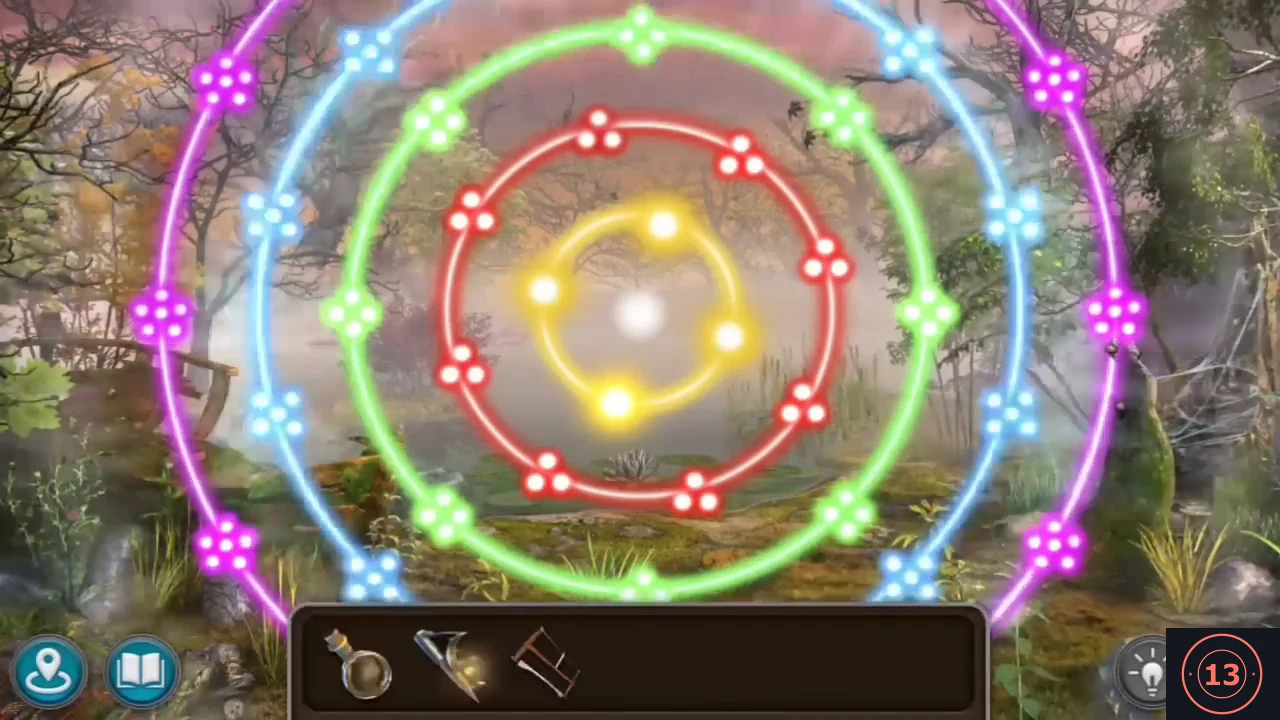
Solved: five clean rings, purple outside, then blue, green, red and yellow in the centre.
Freeing the flying turtle
Cut the fishing net off the flying turtle's head and fly with it to the oasis.
- "Maybe the method doesn't work?" - the little creature reassures Kiana, and the flying turtle rises out of the lake and lands on the shore with a fishing net caught over its head ("Poor turtle! Its head got caught in the net!"). Go back to Uri's dwelling and take the NIPPERS from under the wooden three-legged stool left of the open floor hatch. At the lake zoom on the turtle and cut the net with the NIPPERS (keep them).
- Talk it over with the creature (Furi): fly over the Firefly Forest to the Wastelands and the canyon, find villagers there and land in a damp oasis so the turtle stays put. The turtle carries Kiana to an oasis with a red tree and a dead warrior overgrown with ivy ("If something happens, I can return to the Firefly Forest on the turtle at any time."); new task Dam. Click the light-brown fluffy figure on the rock at the lower right, just right of the warrior's boots: Collection Fluffy 4/12.
- Zoom on the warrior: the nippers are too slow for the ivy ("Is there a more suitable tool?"), and something lies under it. Zoom on the boulder left of the cave by the red tree and take the STRAIGHT RAZOR from the ivy at its lower right foot. Cut the warrior's ivy with the RAZOR (keep it): QUIVER OF ARROWS. Kiana notes that the warrior's helmet does not seem to fit him.
The canyon and the labyrinth
From the oasis, go on to the canyon with its observation post and look through the telescope.
- Walk from the oasis to the canyon ("Oh! Someone set up an observation post here!"). The telescope on the left is blurry - a lens is missing. Click the collection sparkle on the grassy slope just left of the telescope: Collection Fluffy 5/12. The rope bridge at the pole in the centre has come off. Zoom on the vulture's nest in the tree on the right and cut the nest branch with the SAW: the vulture flies off and the nest falls. Take the EYEPIECE OF THE TELESCOPE from the nest (a spiked glove also lies in it - leave it for now) and put the EYEPIECE on the telescope.
- Look through the telescope: the Dam with workers far below, a labyrinth of passages in the rocks leading from the oasis to the Dam, and a bell ringing on its own on a mountain terrace. Zoom on the bridge pole ("Such a pole can be used as a powerful lever for a boulder.") and cut its ropes with the RAZOR: WOODEN POLE.
- At the oasis zoom on the boulder and lever it aside with the WOODEN POLE. A withered hand pushes out a bow: take the ELOGAN BOW. A passage opens behind the boulder.
Canyon labyrinth: finding the exit
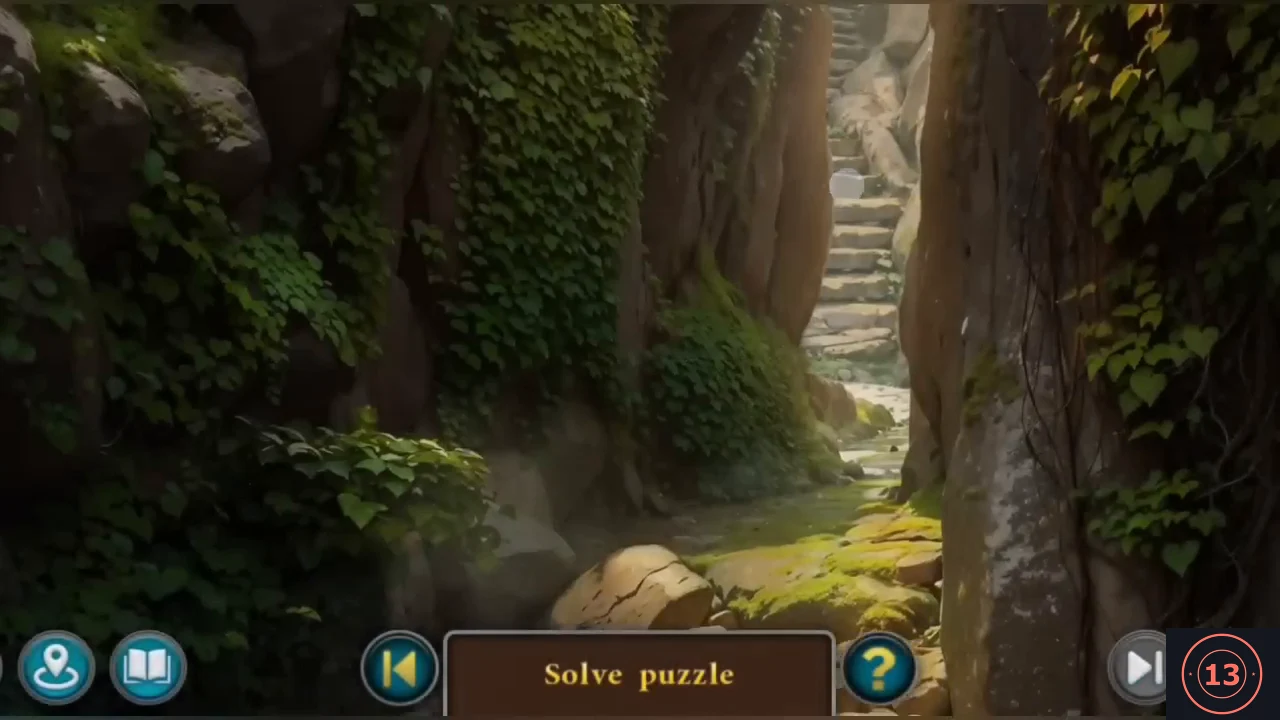
Find your way through the canyon labyrinth, then make a bow and arrows.
- Enter the passage: "Make your way through the canyon and find a way out of the maze." A route that works: from the oasis passage take the stairs at the upper left, then the stone stairs with pillars at the upper left, then the glowing cave mouth on the left of the ravine into the blue crystal cave. (The cave's upper-left stairs only lead to the Dam seen from the wrong side - a dead end.) In the blue cave take the bright doorway right of the carved pillar to a stone corridor with a rock, then on to the exit wall with carved symbol tiles. It is closed: "I think this is the exit from the labyrinth, but it's closed." The corridor rock is really a button, out of reach.
- Optional pickup on the way: in Uri's dwelling click the shifting object at the upper left above the pillows (shelf and curtain area): Morphing objects 34/42.
- The bow has no string ("I need something to use as a string. Something flexible and durable."). At the oasis boulder take the WITHERED HAND of the dead warrior. In the Firefly Forest, at the foggy lake, zoom on the dead tree with the steel-weaving spiders and put the WITHERED HAND on the web: the spiders spin a thick web over it. The razor cannot cut it and bare hands cannot take it; cut it with the NIPPERS: STRONG SPIDER THREAD. In the inventory put the thread on the ELOGAN BOW and add the QUIVER: BOW AND ARROWS.
- At the canyon zoom on the fallen nest under the tree on the right and take the PATTERNED TRAPEZOIDS.
Labyrinth: shoot the ten symbol buttons
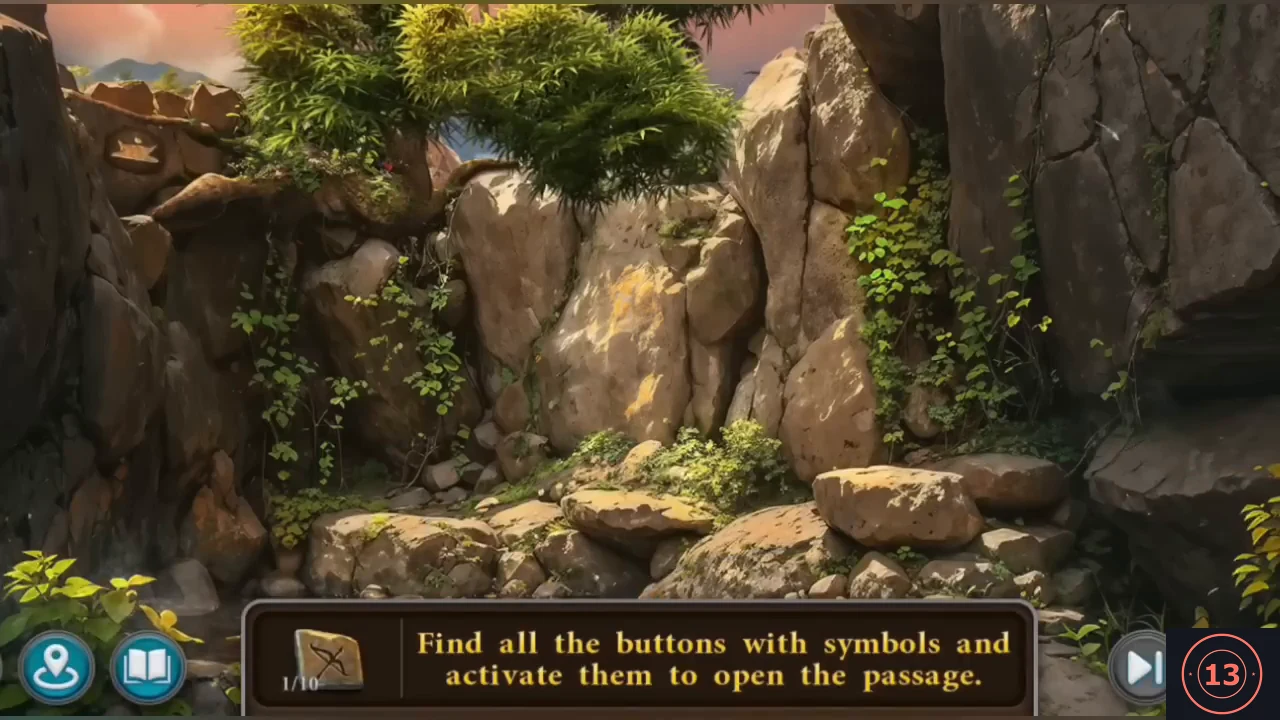
Shoot the ten carved symbol buttons in the labyrinth. They can be hit in any order.
- Go back into the labyrinth and use the BOW AND ARROWS at the first rock-wall scene: "Find all the buttons with symbols and activate them to open the passage." Shoot the ten carved symbol stones (counter x/10; the order is free): 1 rock wall with a tree on top - round carved stone high on the upper-left cliff; 2 ravine with a stream - square boulder at the back right of the stream (symbol on its left face); 3 stone path with a tall rock pillar and a stake fence - oval symbol on the left side of the pillar; 4 cliff stairs with the rope-bridge view - round stone on the cliff-top boulder above the stairs; 5 head-shaped rock with rope posts and a cyan pool - triangle-in-circle symbol on the far-left rock; 6 ledge with the blue glowing cave - small symbol on the dark rock face low at the right edge above the bushes; 7 steep stone stairs between boulders - spiral stone at the top left; 8 the Dam seen from the wrong side - square symbol block on the left cliff; 9 stone corridor with the loose rock - mountain-symbol plate high on the right pillar; 10 arched corridor with rubble - spiral symbol high on the upper-left wall. The tiles on the exit wall glow and the wall sinks: "Hooray!!!"