The Witch School: Classroom and Courtyard
After Chapter 3, page 2 of the Chapter Selection screen lists three bonus chapters: Chapter 4 (Bonus) Little Witch, Chapter 5 (Bonus) Egil's Helper and Chapter 6 (Bonus) The Captain of the Ship. Only Chapter 4's PLAY button is active at first; Chapters 5 and 6 stay greyed out until the bonus chapter before them is finished. Every chapter also has a Replay button. About access: the Google Play version is free to download and is marked 'Contains ads' and 'In-app purchases'. Player reviews on the listing mention an optional paid upgrade (the full or Collector's Edition, about $19.99 when they wrote), but they disagree on whether it adds the bonus chapter or mainly unlimited hints and skips. Our main recording shows the Collector's Edition menu. Two other recordings of the free Google Play version play Chapters 4-6 with no purchase screen shown. We did not buy anything, so we cannot confirm whether your copy needs the upgrade for these chapters. Press PLAY next to Chapter 4. Young Skarlett is behind in class and wants to prove herself. Optional pickups in this chapter are Morphing Objects and the remaining straw dolls; the Collectibles part lists every one by room.
- Watch the opening. After class the teacher tells Skarlett she is trailing behind everyone and has not been listening. Her task: find a textbook about Griffins in the library and read it. New task: Read a book about griffins. You start with a Key in your inventory. Zoom into the front desk in the middle of the classroom: a recipe sheet lies on it. Take it to read the Growth potion recipe: combine a flask of water, red soil and a part of the plant whose growth you want to speed up in a reagent bottle ('This is the recipe for a Rapid growth potion! I want to make it, but I need red soil'). The Growth potion recipe goes into your inventory.
- Optional collectible: click the straw doll on the desk in the middle of the classroom, in front of the stairs (it glows when found). Zoom into the red glass showcase cabinet at the upper left and take the Flask: the small brass flask standing at the left end of the cabinet's shelf, beside the little anatomy figure. Look at the jar of eyes on the wall shelf left of the blackboard (you need a tool to reach into it), the brass orrery right of the teacher's desk (one arm is empty) and the inkwell on the front-right desk ('I can make this ink magical by using a particular pollen'). Clicking the tall dark panel just right of the blackboard (with a round purple ornament) shows an empty circle of purple flowers.
- Go out to the courtyard. Take the Wooden eye (1/2): the dark round eye lying in the carved lid of the big stone urn at the front left. Click the paper at the upper left by the hanging wind chimes to look at the drawing of a fairy; it goes into the inventory as the Clue. Optional collectible: click the straw doll hanging among the ornaments at the top left. Zoom into the patch of earth right of the urn, under the window of the ivy-covered house on the left: take the Garden shovel (orange-handled trowel) lying on the sack, then click the red ivy on the wall right of the window to take a Vine leaf. Clicking the earth gives 'I can grow a vigorous vine here.' (Clicking the red ivy on the high balcony only shows a close-up; nothing to take yet.) Zoom into the little bench under the arch in the tree trunk on the fountain island: click the pile of leaves on the table top to brush them aside and take the Jar opener (a small tweezers-like tool). Zoom into the barred gate at the back of the courtyard, right of the tree, and take the Broom leaning against it; the gate glows ('Students must get permission from a teacher before leaving the school'). Zoom into the sacks in the wheelbarrow behind the right side of the fountain and use the Garden shovel on the open sack to get Red soil ('It's red soil! It speeds up plant growth').
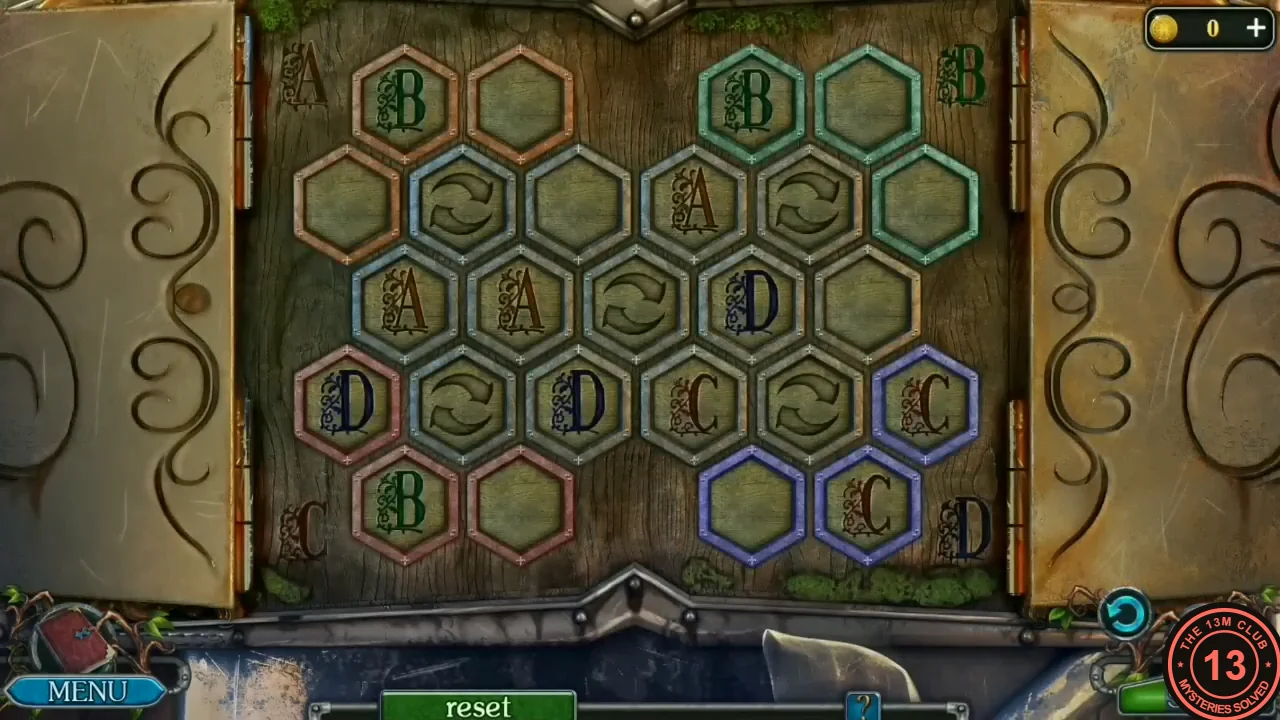
- Zoom into the library door: a book with a keyhole locks it. Use the Key on the book. Puzzle ('Select buttons to rotate sections of the board to place the letters into their respective slots'): the five hexagons with circular arrows are the buttons and never move. Each press of a button turns the six tiles around it one step clockwise, carrying any letters with them (to move a ring one step anticlockwise, press the same button five times). Bring every letter into its matching coloured corner: the three A tiles into the three brown slots at the top left, the three Bs into the green slots at the top right, the three Cs into the red slots at the bottom left and the three Ds into the blue slots at the bottom right (the corner letters printed on the board show which is which). Fill one corner at a time, using the rotator nearest that corner, and park finished tiles away from rings you still need to turn. The reset button at the bottom restarts. Your starting layout may not match ours: the two recordings we checked start with different letters in different places, so work from the corner colours on your board.
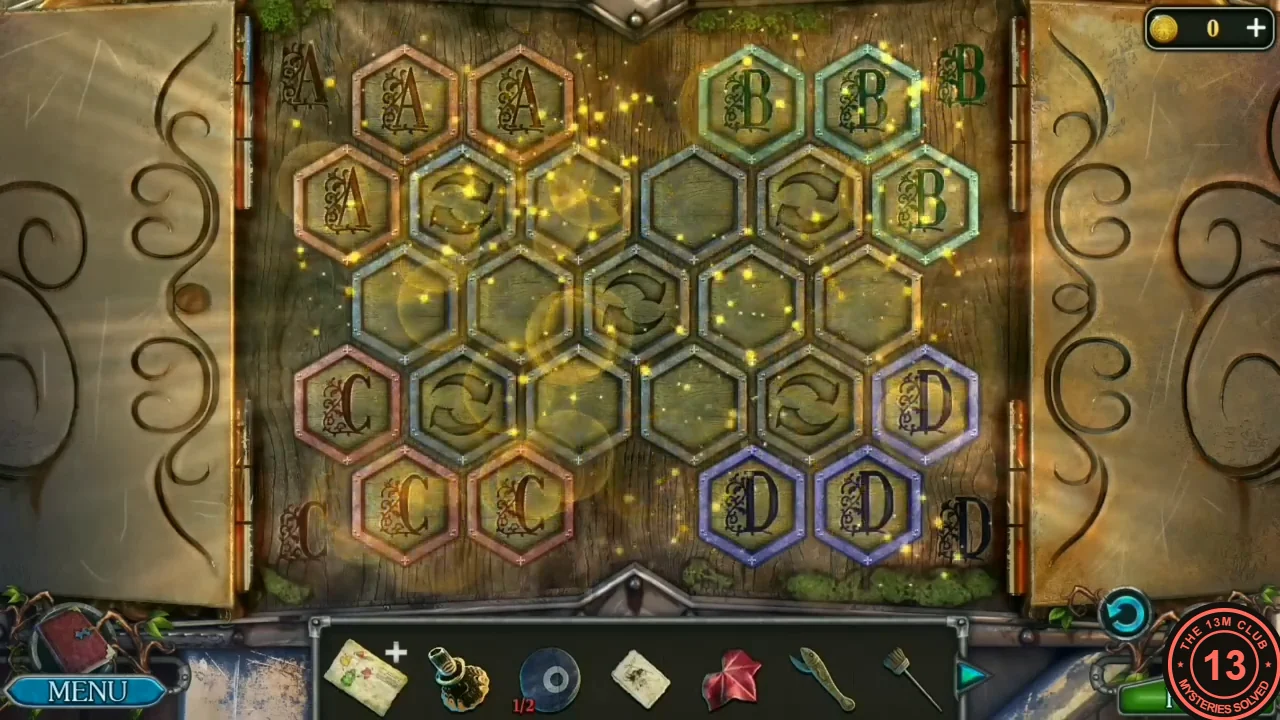
Solved: every letter is in the corner of its colour.
The Library: Find the Book About Griffins
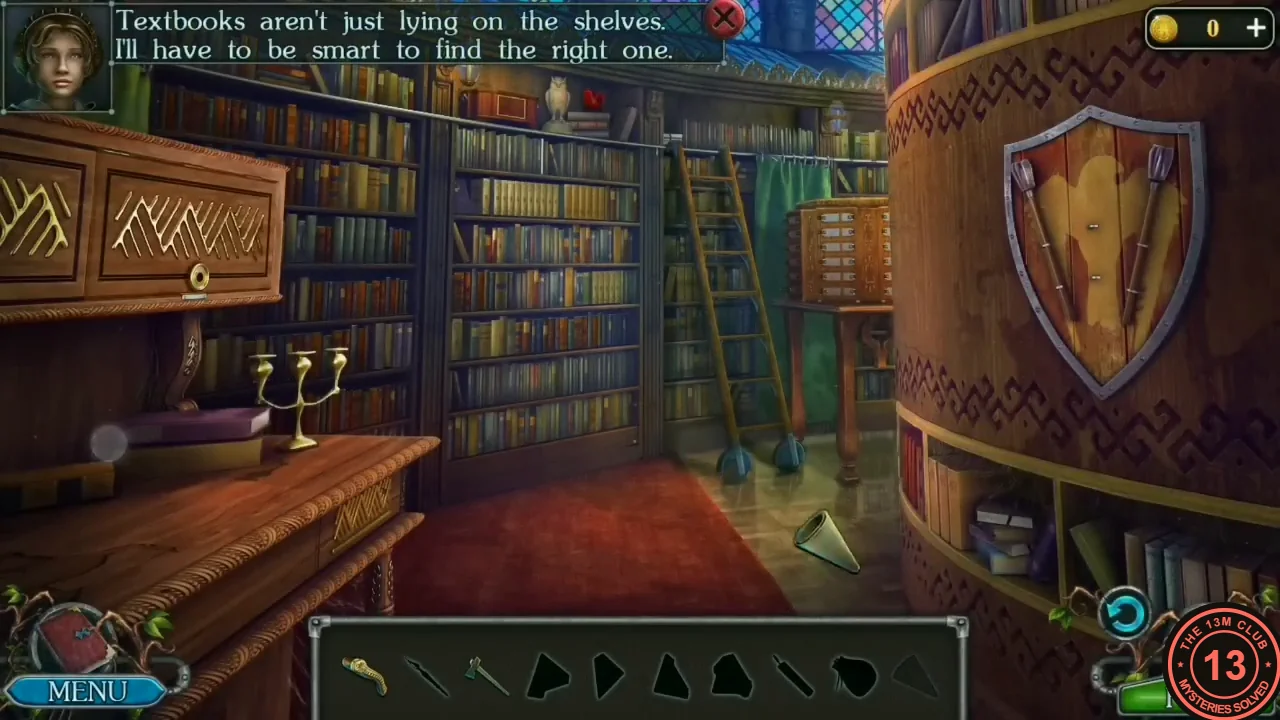
The library is an item-search scene: the bar shows dark silhouettes of the items to find and use. 'Textbooks aren't just lying on the shelves. I'll have to be smart to find the right one.'
- The library is a silhouette search: the item bar shows dark outlines, and each item you find fills its outline and can then be used in the scene ('The books aren't just lying on the shelves. I'll have to be smart to find the right one'). Take the Handle lying on the desk at the front left. Take the Axe hanging on the left side of the shield on the round bookcase at the right. Take the cone-shaped item lying on the front of the desk, left of the three-armed candlestick. Zoom into the zigzag-carved drawer above the desk and put the Handle on it; it opens. Inside, take the fan of brown Cards, the Pen lying on the purple book at the right, and the small triangle standing behind the big yellow book at the left: it is the Chip with a fire emblem. Click the wheel at the foot of the library ladder ('The ladder doesn't budge'; 'Thread tangled up the wheel, it won't budge'; 'Something is stuck'). In the wheel close-up, use the Pen on the gap under the bookcase at the left to hook out the Chip with a gun emblem lying there, then use the Axe on the red threads wound round the wheel to chop them away. Click the wheel: the ladder rolls along the shelves. Zoom into the top shelf at the upper left (now reachable): click the dark lantern at its left to take the Candle; the orange box with a triangular recess stands beside it. Then zoom into the back corner of the library behind the round bookcase and take the third orange triangle lying on the floor among the scattered books.
The Shelf Box Picture
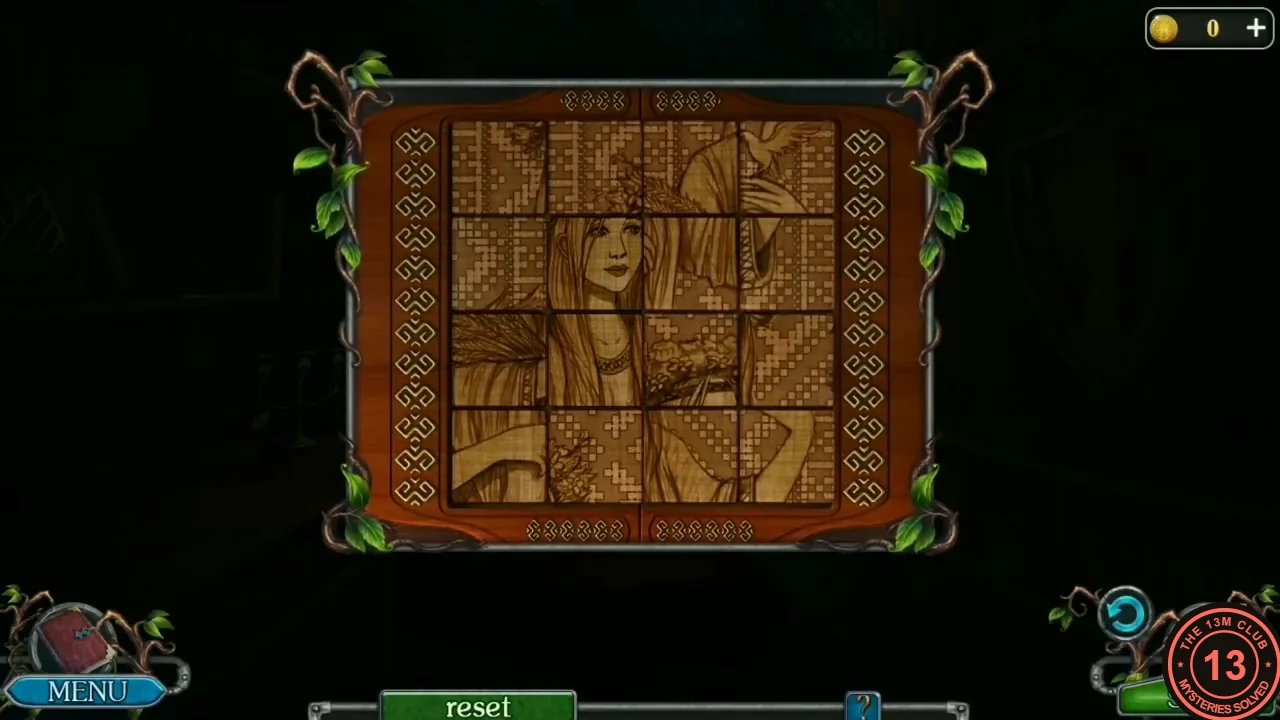
The box on the upper library shelf is a tile-swap picture.
- Zoom into the orange box on the upper shelf (the line 'The book about griffins should be in this closet, but I don't have the keys!' plays when you visit the back corner). Put all three triangular chips into the triangular recess in its lid: the Chip with a gun emblem, the Chip with a fire emblem and the third orange triangle from the floor (its tooltip also reads 'Chip with a gun emblem'). Puzzle: the lid becomes a 4x4 picture of a woman with a flower wreath; click two tiles to swap them until the picture is complete. The box opens: take the Powder flask (a dark pouch with a fuse).
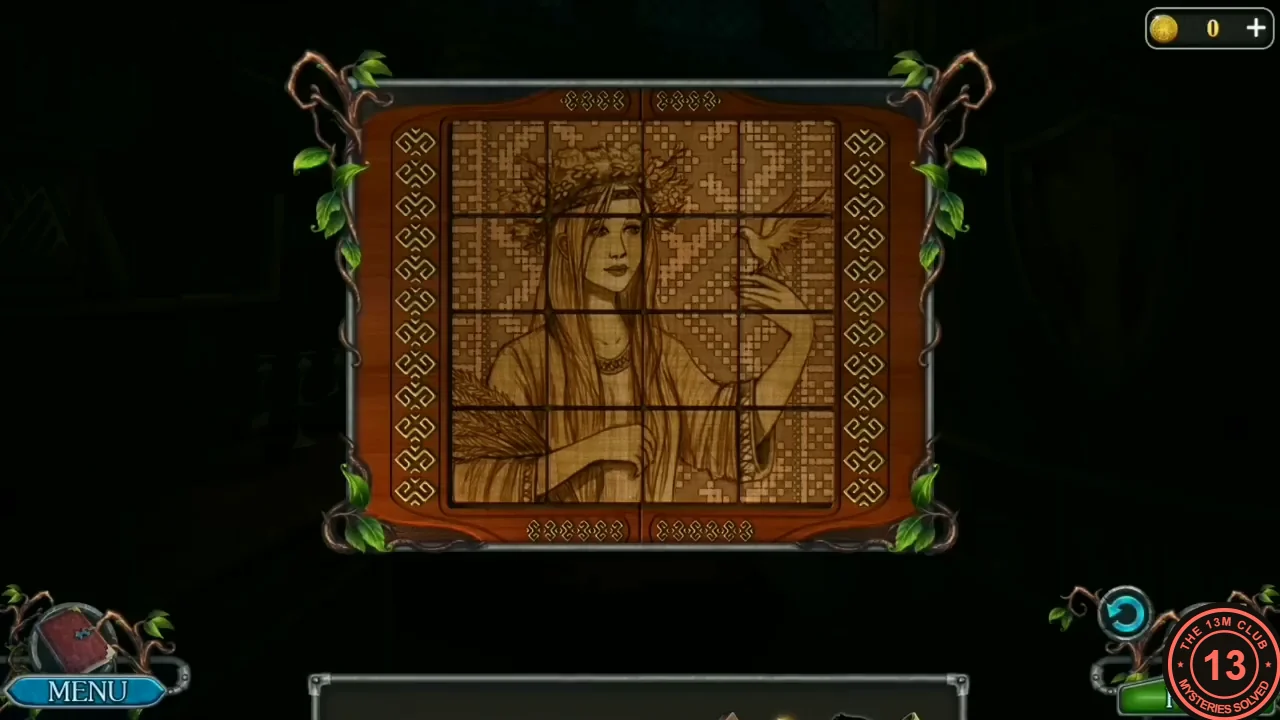
The completed picture.
The Griffin Cabinet Drawers
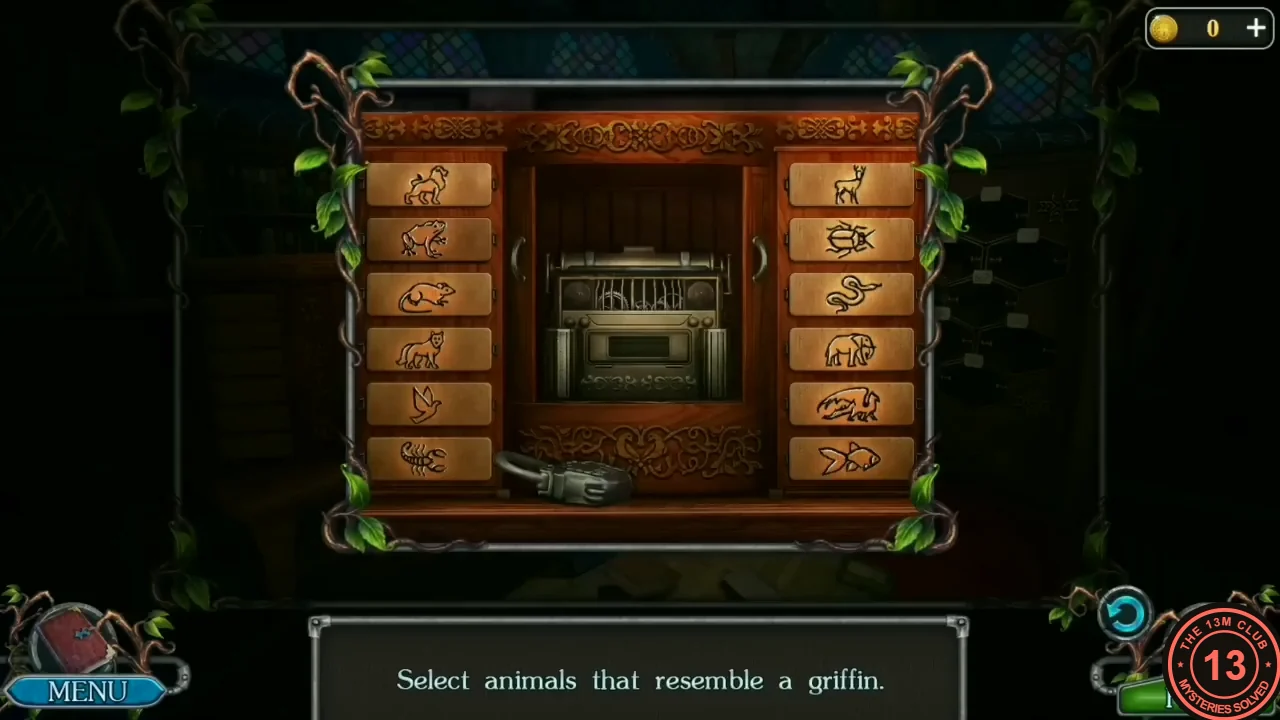
The padlocked cabinet in the back corner of the library opens on a wall of labelled drawers.
- Zoom into the padlocked cabinet in the back corner. Put the Funnel (the cone you found on the desk) into the padlock's keyhole, then use the Powder flask on it: powder pours in and a fuse is left hanging down. Use the Candle on the end of the fuse at the bottom: the padlock blows open and falls to the floor. Click the doors to open them; the twelve drawers on both sides have blank labels. Use the Cards on them: animal pictures appear on the labels. Puzzle: 'Select animals that resemble a griffin.' Click the Lion drawer (top left) and the Bird drawer (fifth on the left). A red-marked book then shows on the hexagonal wall shelves to the right of the cabinet: click it to take the Book about griffins.
Magic Ink and the Magic Circle
The griffin book sets Skarlett's goal: griffin feathers are rare because griffins live on floating islands in the mountains. First she needs magic ink for the flower circle on the panel beside the blackboard.
- Open the Book about griffins in the courtyard and take the Symbols note from it: 'That's what I'll do! I'll find a griffin feather! Then everyone will see that I am not a lagging student.'
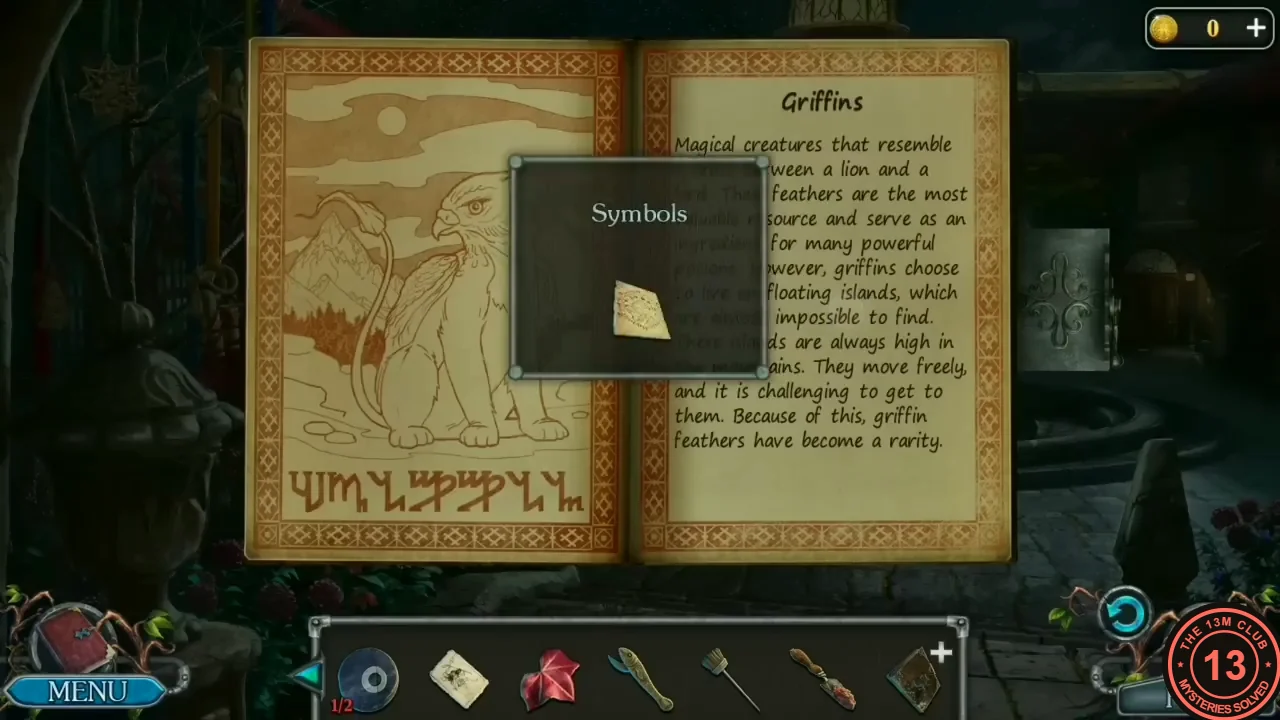
The Symbols note comes from the Book about griffins. - In the classroom, zoom into the top of the wooden pillar in the middle of the room, where its branches spread under the ceiling, and use the Broom on the cobweb wrapped round it: take the Plank that drops (a bluish triangular stone corner, 1/4). Zoom into the jar of eyes on the wall shelf left of the blackboard and use the Jar opener on it to take the Wooden eye (2/2). Zoom into the carved panel with roots and an eye on the front of the teacher's desk under the blackboard and put the Wooden eyes into it: the panel's eye swings open like a little door. Take the Acid (green bottle) and the Ring from behind it. Zoom into the red-framed glass display case at the upper left and put the Ring into the round socket at the top: the glass opens. Take the Pollen (a small purple jar beside the flower; 'The pollen from this flower turns ordinary ink into magical ink!'). Zoom into the inkwell on the front-right desk and use the Pollen on it: the ink turns purple. Take the Magic ink. Keep the Acid for later.
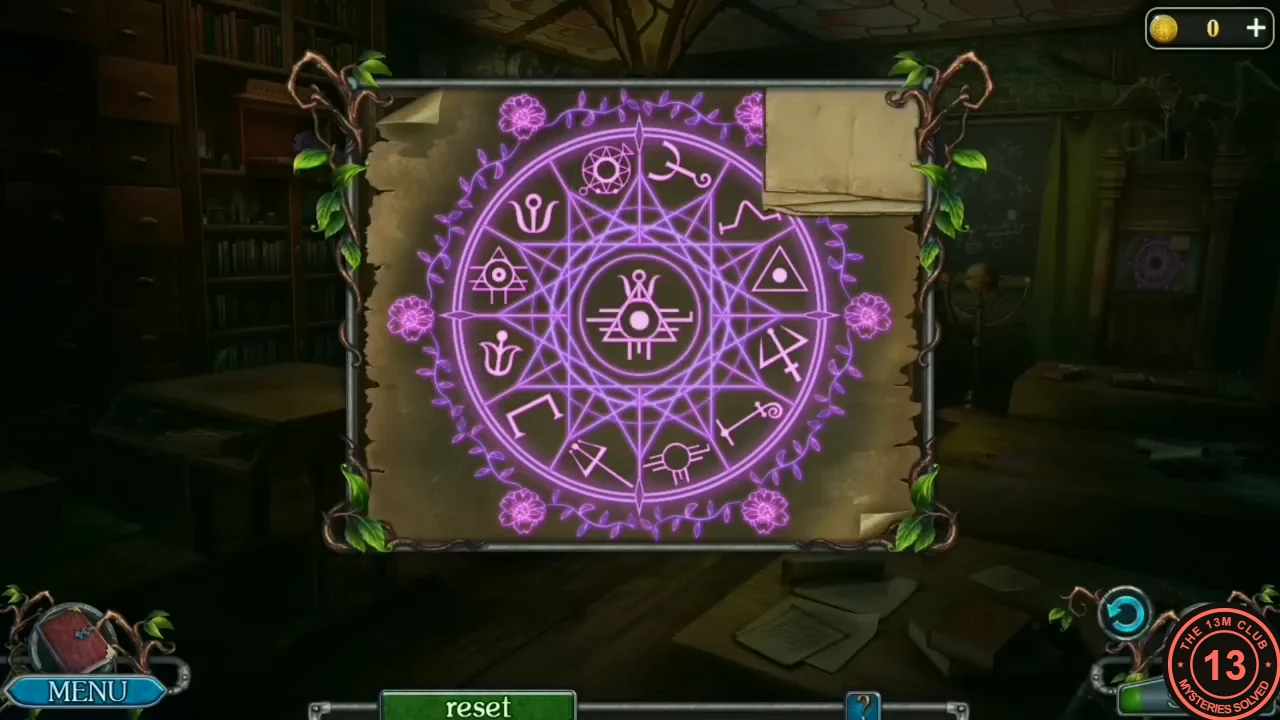
- Zoom into the empty flower circle on the tall dark panel just right of the blackboard and use the Symbols note (from the Book about griffins) on it: the note opens over the circle, then stays pinned at its top right corner. Now use the Magic ink on the circle; the quill draws a magic circle with 12 outer symbols. Puzzle: the symbol in the centre is built from several of the outer symbols; click every outer symbol that is part of it (each turns gold when selected). When all its parts are selected they fly into the centre, the centre turns gold and a new centre symbol appears. After four centre symbols the circle is solved. The reset button at the bottom clears your selection. Counting the outer ring like a clock, the outer symbols are: 12 circle with a star, 1 hook with a curl, 2 zigzag, 3 triangle with a dot, 4 crossed arrow, 5 key with a spiral, 6 circle on legs, 7 slanted triangle, 8 bracket, 9 lower tulip, 10 eye in a pyramid, 11 upper tulip. Our four centre symbols and their parts were: 1) circle on legs (6), triangle with a dot (3) and upper tulip (11); 2) four parts: circle with a star (12), slanted triangle (7), key with a spiral (5) and zigzag (2), the zigzag forming the little legs at the bottom of the centre symbol; 3) key with a spiral (5), eye in a pyramid (10) and hook with a curl (1); 4) bracket (8), crossed arrow (4) and lower tulip (9). If your centre symbol looks different, split it into all its parts (there may be three or four) and click the matching outer symbols.
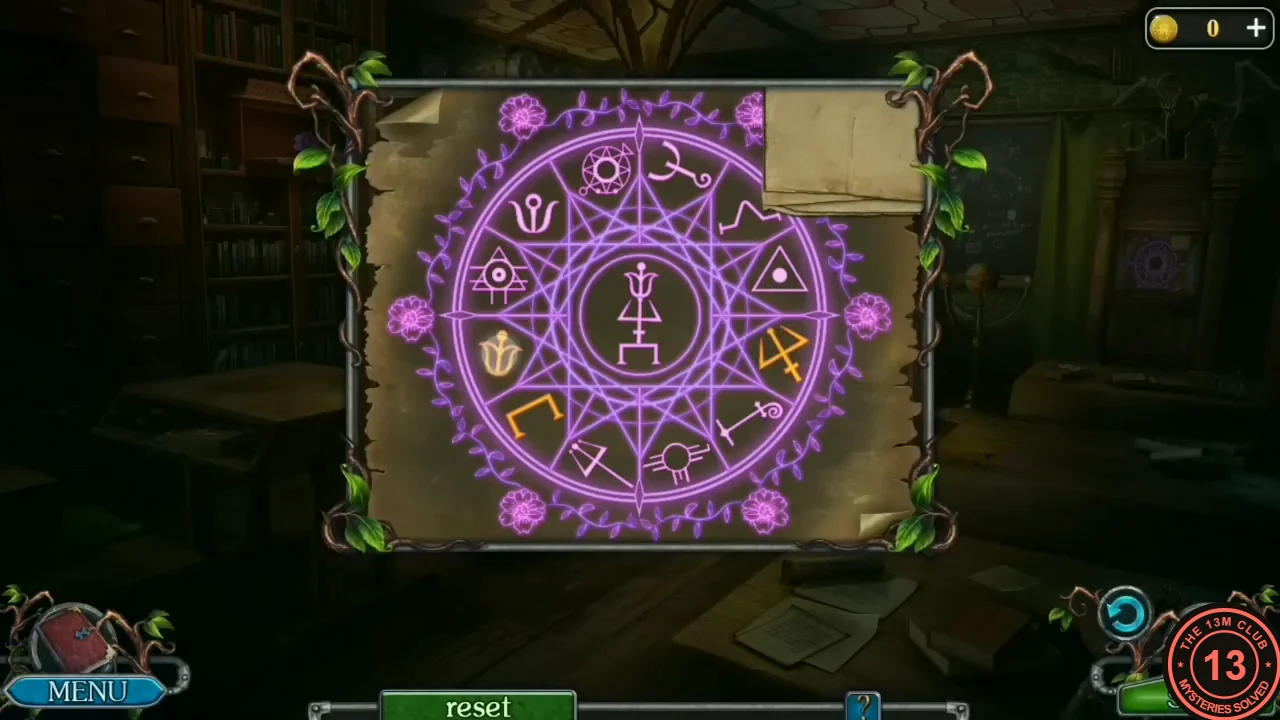
The fourth centre symbol in our game with its three outer parts selected in gold: the bracket (8 o'clock), the crossed arrow (4 o'clock) and the lower tulip (9 o'clock). - A panel by the blackboard slides open. Take the Plank (2/4) and the Reagent bottle from the shelves. Fill the Flask at the courtyard pond (Flask with water). Open the Growth potion recipe and add the Flask with water, the Red soil and the Vine leaf to the Reagent bottle to get the Growth potion.
The Fairy Figure, the Vine and the Orrery
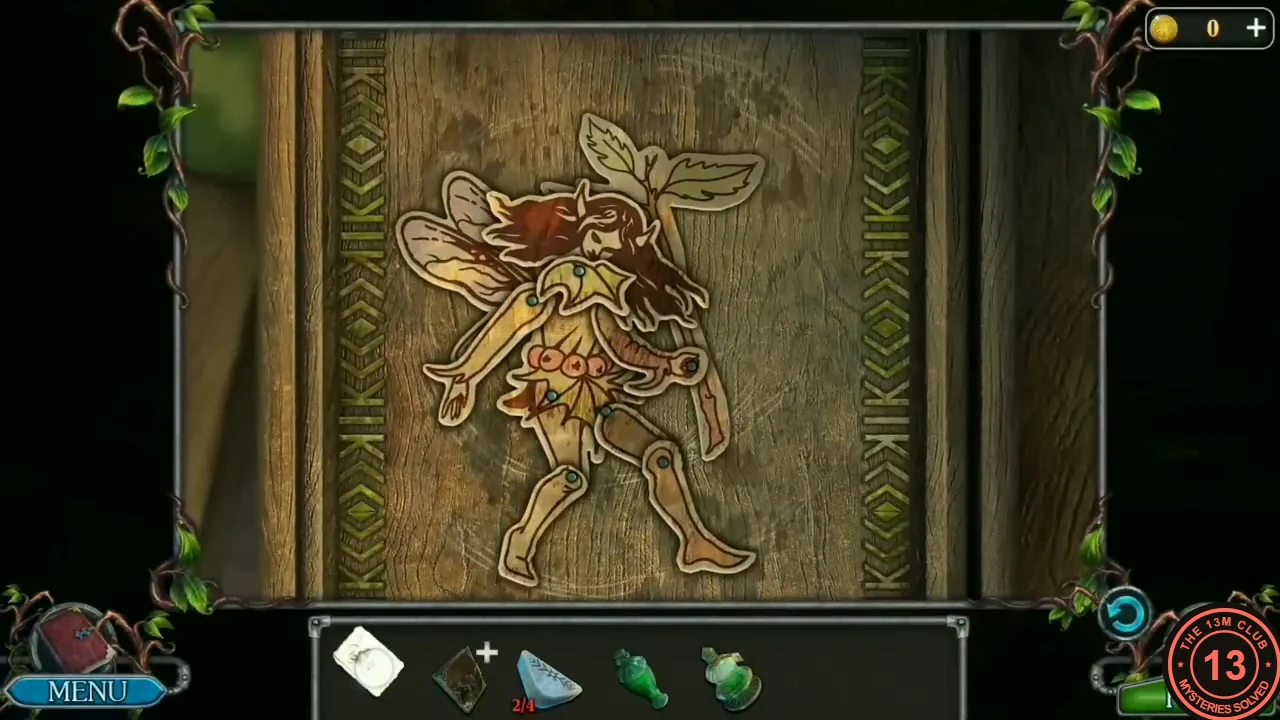
The remaining corner stones for the courtyard table are hidden behind a posable fairy figure, a vine and an orrery.
- Zoom into the shelf under the front-left school desk in the classroom: a flat wooden box lies there. Put the drawing of a fairy (the Clue) on it; the lid shows a jointed wooden fairy with the drawing pinned beside it. Puzzle: the fairy's head, wings, upper and lower arms and upper and lower legs are separate pieces joined at small blue pins. Click a piece to swing it one step round its pin; keep clicking each piece until the whole figure matches the pose in the drawing (see the image). The reset button restarts. When the pose matches, the figure glows and the box opens: take the Scissors.
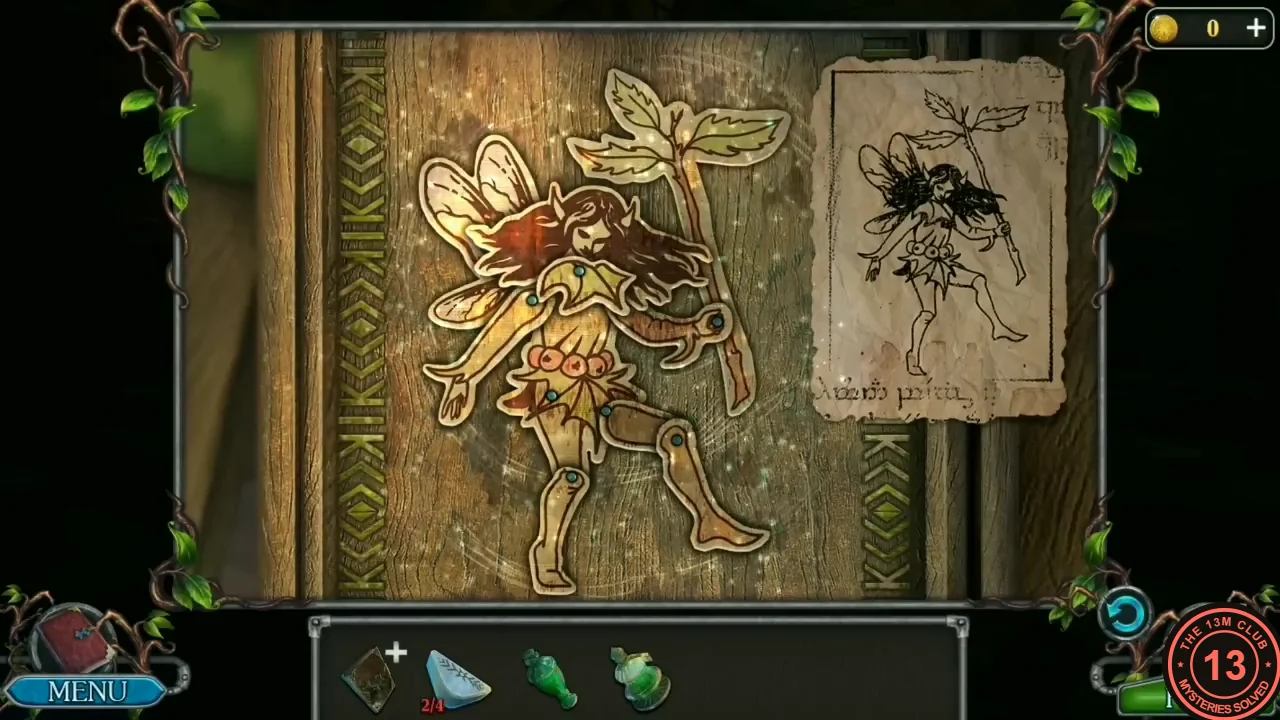
Solved: the figure matches the drawing on the right. - In the courtyard, zoom into the vine planter under the window and pour the Growth potion on it. The vine grows up the wall to a high ledge. Zoom into the ledge, cut the net with the Scissors and take the red sphere.
- In the classroom, zoom into the brass orrery standing just right of the teacher's desk under the blackboard and put the Planet (red sphere) on its empty arm. The planets line up and the big globe opens: take the Glove and the Plank (3/4) from inside it. With the Glove, click the floor under the middle school desk, just right of the purple-covered stool, to take the Net (it only shows in the item popup; we could not make it out in the scene itself). In the courtyard, zoom into the round pond: the last Plank is the pale stone corner lying under the water in the middle. Use the Net on it to scoop it out (4/4).
The Stone Table Pairs
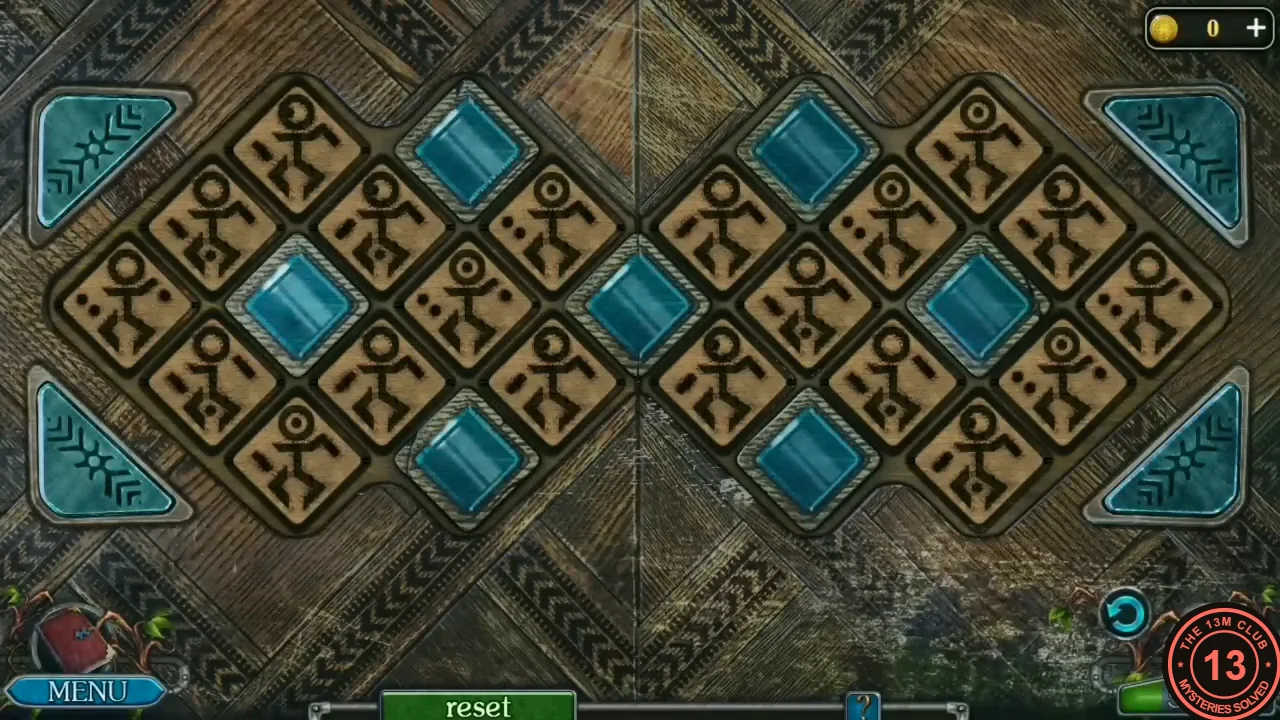
The four Planks complete the stone table in the courtyard, which holds a pair-matching puzzle.
- Zoom into the stone table in the courtyard: the four Planks fill its triangular corners. Puzzle: the board holds 20 wooden tiles with dancing figures (10 pairs) between seven fixed blue gems. Each figure appears exactly twice; the two copies have the same pose and the same dots beside the figure. Click two identical figures to remove both (non-matching clicks remove nothing). Compare the arm and leg positions and the number and placement of the dots carefully, because many figures differ only slightly. The twins can sit anywhere: in our solve the first pair was one tile in the upper-left part and one in the lower-right part, and another pair was the far-left and far-right tiles of the middle row. Remove every figure tile. The table opens a secret passage ('I can leave the school through this secret passage').
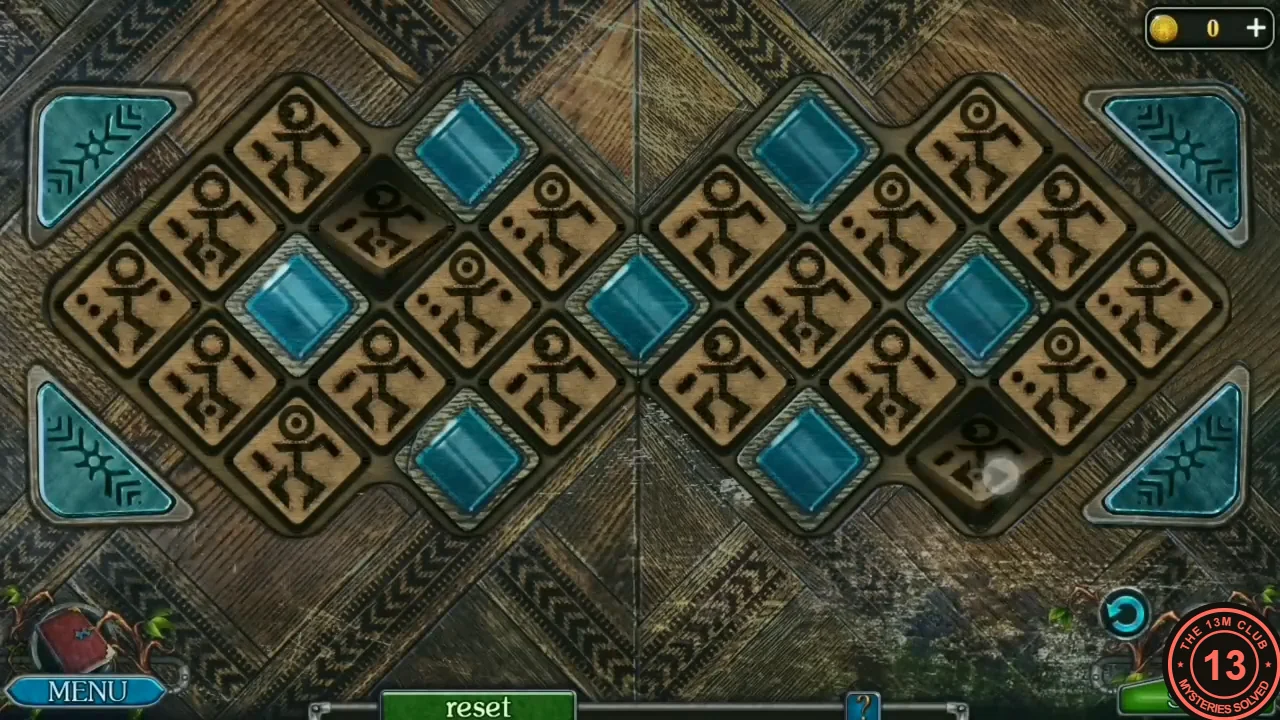
After the first pair: two dark gaps where the matching figures were.
The Secret Passage: Seven Apples
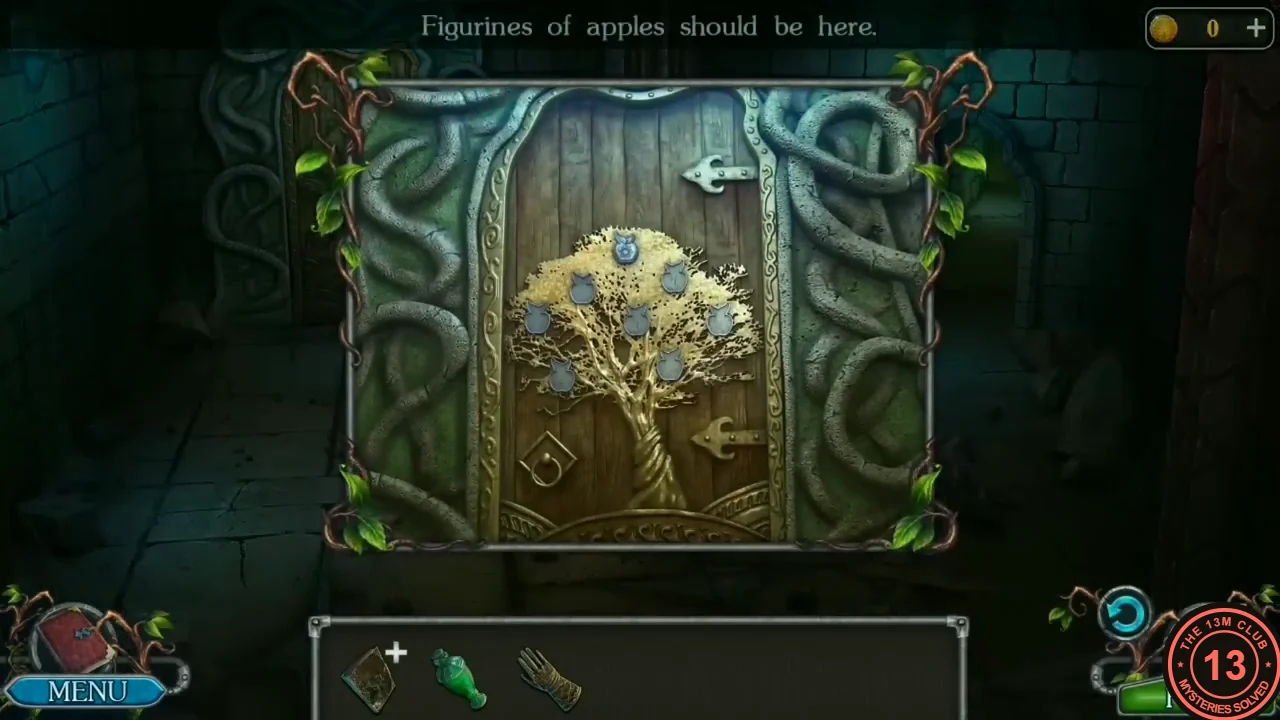
Under the school, a door carved with a golden tree needs seven apple figurines ('Figurines of apples should be here'). An opening high across the water is out of reach for now.
- The tree door in the entrance hall needs seven apple figurines ('Figurines of apples should be here'); the counter shows x/7. From the entrance hall, tap the floor ahead (between the tree door and the lit arch) to walk on into the water room: a pool in front, stacked stone blocks, a dark blue arch on the left across the water and a lit arch on the right ('How can I get to that passage opening?'). 1) The first Apple lies on the floor at the right, at the foot of the big rocks beside the red stone block. 2) Tap the bright opening high in the back wall to look into a cave with animal skulls: the second Apple sits at the base of the golden bird skull on the left rock. Go back. 3) Tap the middle of the water-room floor to walk on into the hall with the stairs: the third Apple is stuck in the boulders that fill the dark arch on the right of this hall. Go through the arch on the left of the hall into the corridor and take the Pickaxe from the rocks at the lower left. Tap the arch at the far end of the corridor to reach the dead end blocked by rubble and take the Board leaning across the boulders on the right. Back in the stairs hall, tap the stairs to climb to a chamber with three green beams and a round socket in the back wall (nothing to do there yet). Go back down, back to the water room, and put the Board across the water to the left arch.
- Cross the Board through the left arch into the cave junction (green-lit tunnel on the left, blue-lit tunnel on the right). 4) Tap the blue tunnel on the right: the fourth Apple sits on top of the pale middle rock on the ledge in the middle of this blue cave (4/7). Go back and tap the green tunnel on the left to enter the crystal grotto ('One apple is stuck inside the crystal'): use the Pickaxe on the big blue crystal on the right; it breaks and the fifth Apple drops out (5/7). Tap the bright light at the back of the grotto to climb into a sunlit crevice and take the Signet (a gold disc) lying on the ground. Back in the grotto, tap the green-glowing opening on the left to reach the pool: the sixth Apple sits on a small rock sticking out of the water right of centre (6/7). Return through the water room and the stairs hall to the beam chamber at the top of the stairs and put the Signet into the round socket on the LEFT wall (not the disc in the back wall). The beams go out and a device lowers from the ceiling holding the last Apple: take it (7/7). Go back to the entrance hall and put the seven apples into the tree door; it opens.
The Enchanted Forest: The Dryad and the Creeper
The secret passage leads Skarlett into a forest; according to her map the mountains where griffins live lie behind it. A dryad will not let a witch leave until the bloodthirsty creeper sprout is destroyed. A carved round dial on the tree face in the clearing is used much later.
- At the forest entrance ('According to the map, the mountains where the Griffins live should be behind it!'), zoom into the large speckled mound in the middle under the trees and take the Rune lying on its right side (Rune 1/3). Zoom into the tangled roots at the left of the path ('This is a predatory creeper. Witches use them to suck the life force out of others. Only acid and salt will destroy the sprouts'); new task: Find a way out of the forest. Behind the fallen log at the upper right, zoom into the mossy round stone: it is carved with a triangle with three empty sockets at its corners, which is where the runes will go. Optional: the hourglass on the big tree trunk at the upper left is a Morphing Object. Walk on along the path to the clearing: the dryad stops you ('I won't let you leave the woods, witch...'). A witch planted the sprout of a bloodthirsty creeper here and she cannot stop it. Skarlett answers that the roots must be doused with acid, which she has, and sprinkled with salt, and that she still needs something to dig the creeper up. The dryad offers to lend her a garden hoe from her house in the Valley of Sulfur Geysers, where several kinds of salt can also be found, and promises to let her pass once the sprout is gone. New task: Destroy the creeper.
- In the clearing (the tied-up Ent on the left, a carved-face tree trunk on the right, a glowing crystal cluster in the middle), optional: a straw doll is at the foot of the carved-face tree on the right, among the roots just above the fallen log; tap it. Zoom into the crystal cluster in the middle of the clearing and then into the glowing fiery crack at its foot ('It's a fire geyser! It's beautiful.'). Use the Glove on the crack to take the Coal.
- Zoom into the vine-hung passage at the back left of the clearing (the stone path behind the Ent's head; the dryad says the Valley of Sulfur Geysers lies behind it) and take the Branch lying at the foot of the big tree on the left of this close-up. Zoom into the cobwebbed burrow among the roots at the foot of the carved-face tree on the right (just left of the fallen log). Use the Branch on the cobwebs to wind them up (Branch with cobwebs) and take the Rune (2/3) that is uncovered in the burrow. Zoom into the crystal cluster and its fiery crack again and hold the Branch with cobwebs in the fire: it becomes a Burning branch. Use the Burning branch on the hanging vines in the passage close-up; they burn away. Go through the passage to the Valley of Sulfur Geysers.