List search: the make-up table
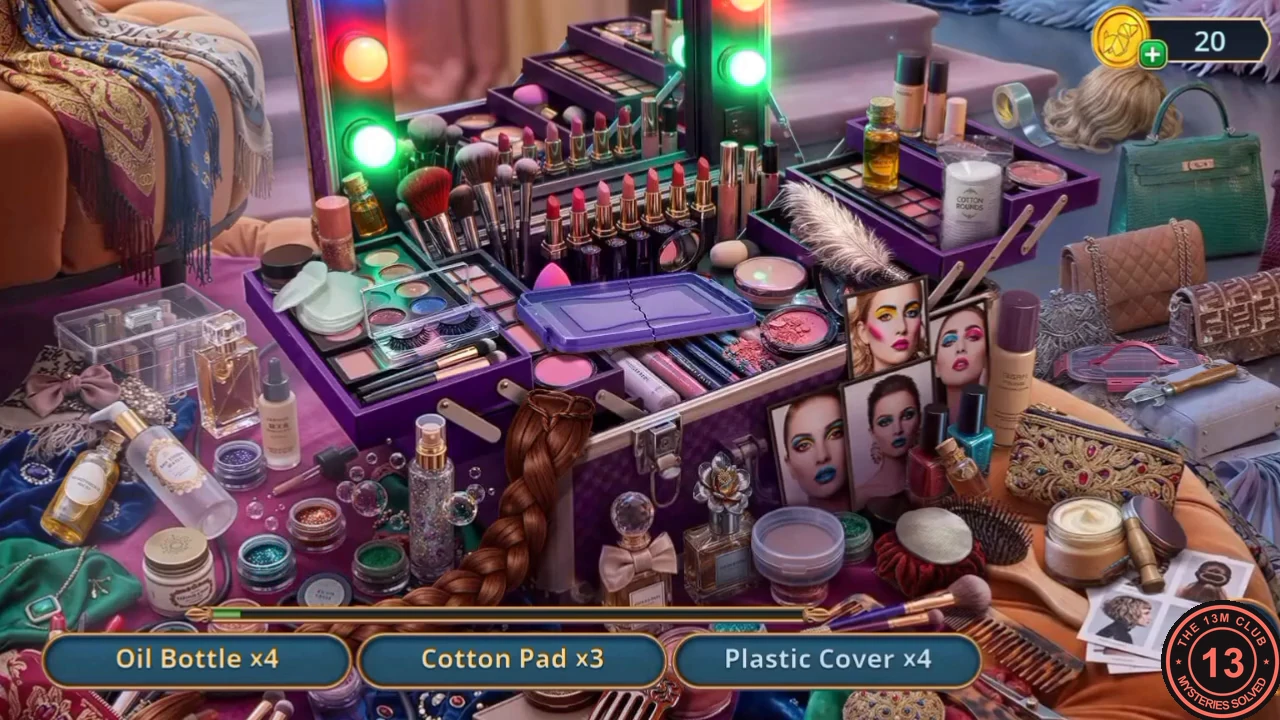
A list search: find four of each item shown at the bottom of the screen. The trimmer in the central tray is locked under plastic covers.
- Find the 4 Oil Bottles, 4 Cotton Pads and 4 Plastic Covers. Tapping the central tray only gives 'How can I remove this cover?' until all the Plastic Covers are found.
- Once the covers are gone, take the Trimmer from the tray.
Disk puzzle: the red box on the bust shelf
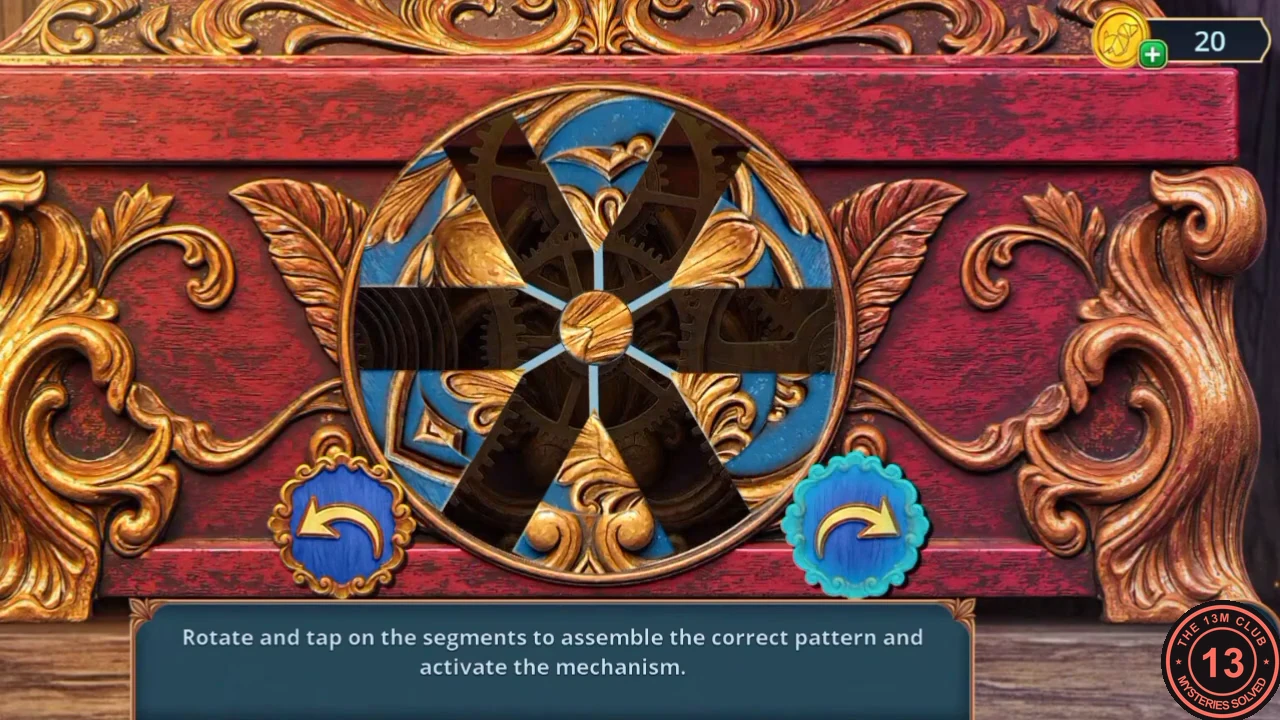
'Rotate and tap on the segments to assemble the correct pattern and activate the mechanism.'
- In Vivienne's Workshop, open the windowsill and use the Trimmer on the pink wig to get the Toy Woodpecker.
- Open the bust shelf and place the Toy Woodpecker on the red box to start the disk puzzle.
- Rebuild the golden leaf emblem on the blue disk. Use the two arrow buttons to rotate the segments and tap segments to move them into place, working from the centre outwards until the emblem stands upright and complete. You then receive the Horse Figurine.
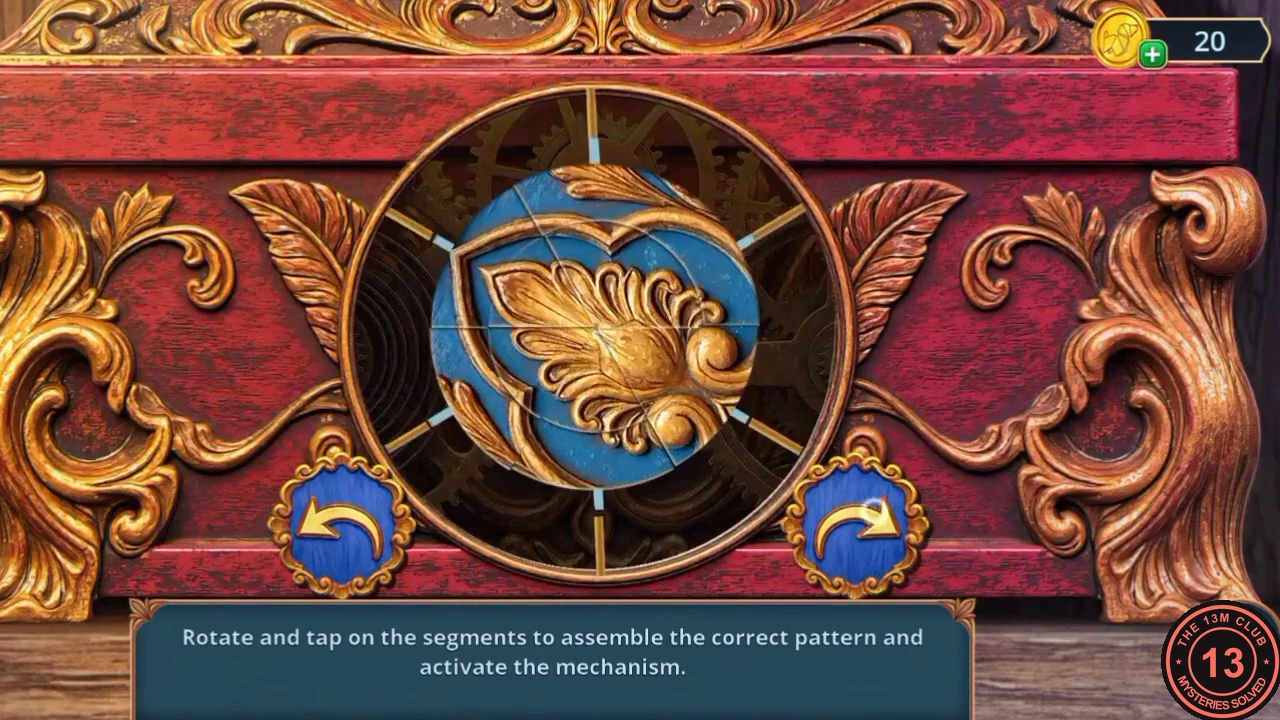
Solved: the golden leaf emblem is complete and upright on the blue disk.
Bottle puzzle: matching the eyeshadows
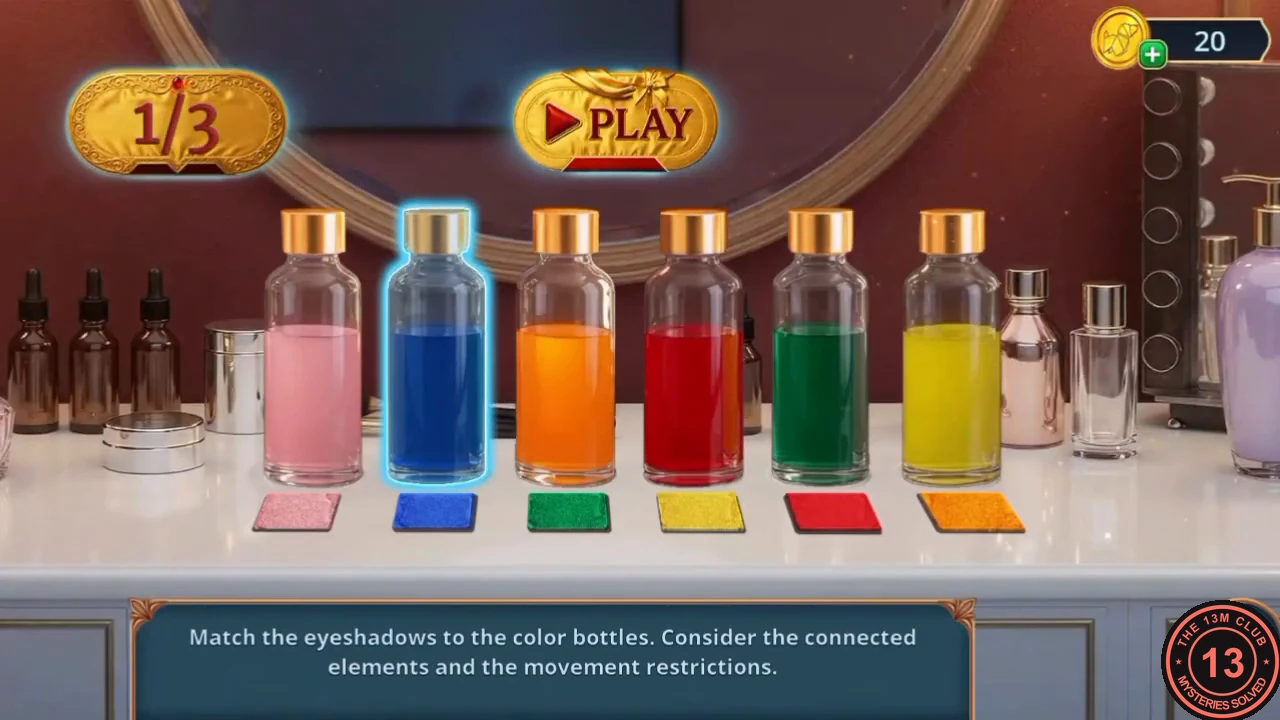
'Match the eyeshadows to the color bottles. Consider the connected elements and the movement restrictions.' You have three moves; swap two bottles by tapping one and then the other.
- In the Dressing Room, open the carved box on the vanity and put the Horse Figurine into its slot. Take the Razor Blade and the second Labels piece.
- Open the bottle shelf and place the Labels on the bottles to start the puzzle.
- Move 1: tap the blue bottle, then the pink bottle, to swap them. Move 2: tap the orange bottle, then the yellow bottle; they swap and the connected red bottle then trades places with the yellow one, leaving pink, blue, red, yellow, green, orange. Move 3: tap the green bottle, then the red bottle. All six bottles now match the eyeshadows below them and you receive the Acetone.
The blocked sink and the pipe
Back in the backroom where Vivienne woke up, the murky sink and the pipe she was cuffed to both hide useful items.
- Travel to the Backroom and open the sink. Pour in the Acetone and then add the Baking Soda; the foam clears the drain. Take the Acetylene Torch.
- Open the pipes where Vivienne was handcuffed and heat the left pipe with the Acetylene Torch. Take the Smoke Bomb from inside.
- Tap the laundry arch to start a riddle search.
Riddle search: the laundry room
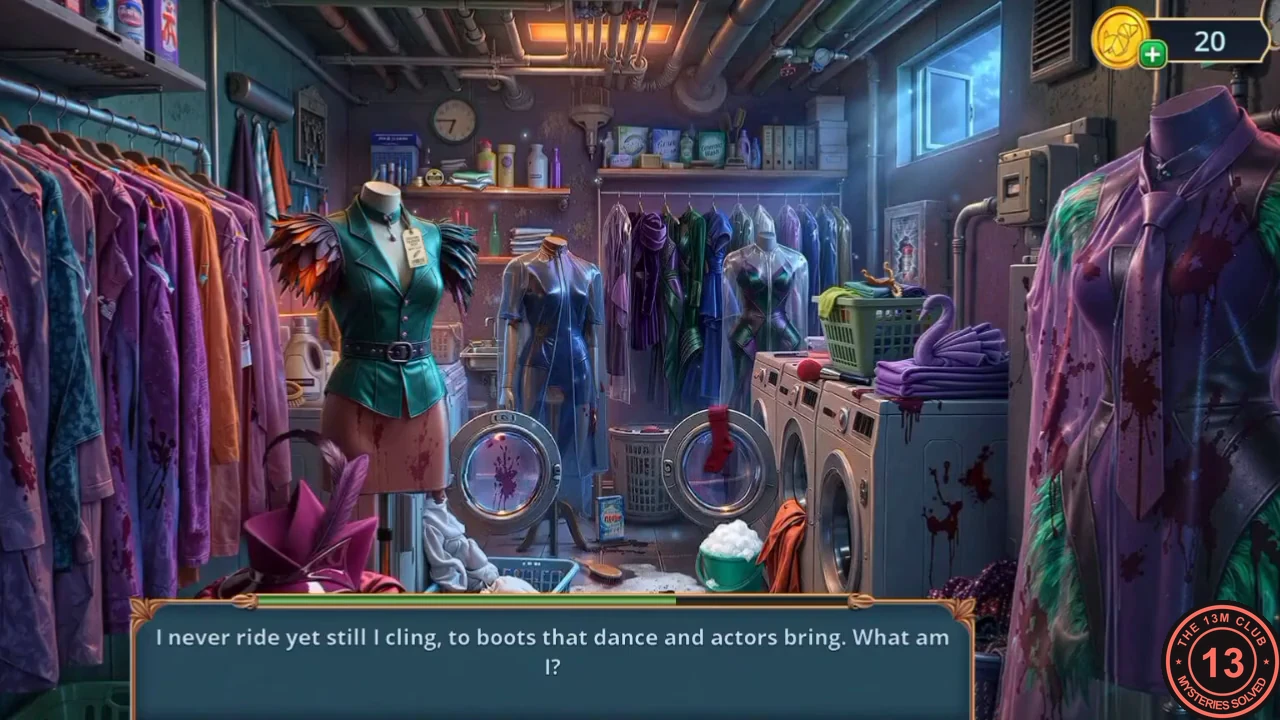
Each riddle at the bottom of the screen describes one object in the laundry room. Tap the matching object to get the next riddle.
- 'I have five fingers but no skin': the yellow rubber glove on the top shelf. 'I smooth the lines without a thread...': the iron on the wire laundry basket in front of the washing-machine drum. 'I hold things together but have no hands': the purple button on the magenta feathered hat at bottom left. 'I tie things together but cannot be tied myself': the rainbow rack of thread spools behind the blue mannequin.
- 'I protect what I cover, yet I'm often hit': the gold thimble in the bottom-right corner beside the purple sequined fabric. 'I measure your body but have no eyes': the yellow tape measure on the floor between the brush and the green bowl. 'I ring but have no voice': the brass bell on the wall at top left, above the clothes rail. 'I hide your things without a sound...': the purple pocket on the green mannequin's hip.
- 'I frame the neck in folds so wide...': the white lace jabot on the blue mannequin. 'I never ride yet still I cling, to boots...': the gold spur on top of the green laundry basket. 'I paint a face that's not quite true...': the red make-up brush on top of the washing machine, left of the basket. 'I name what's worn but stay unseen...': the paper tag at the green mannequin's neck. A chain with the Crown-Shaped Pendant appears; take it.
Fishing out the Electronic Pass
The Electronic Pass for the card reader is down the sink drain. The Crown-Shaped Pendant on its chain can fish it out.
- Open the now-empty sink and lower the Crown-Shaped Pendant on its chain into the drain to fish out the Electronic Pass.
- Open the door with the card reader and use the Electronic Pass on the reader. A peg-solitaire lock appears.
Peg solitaire: the card reader lock
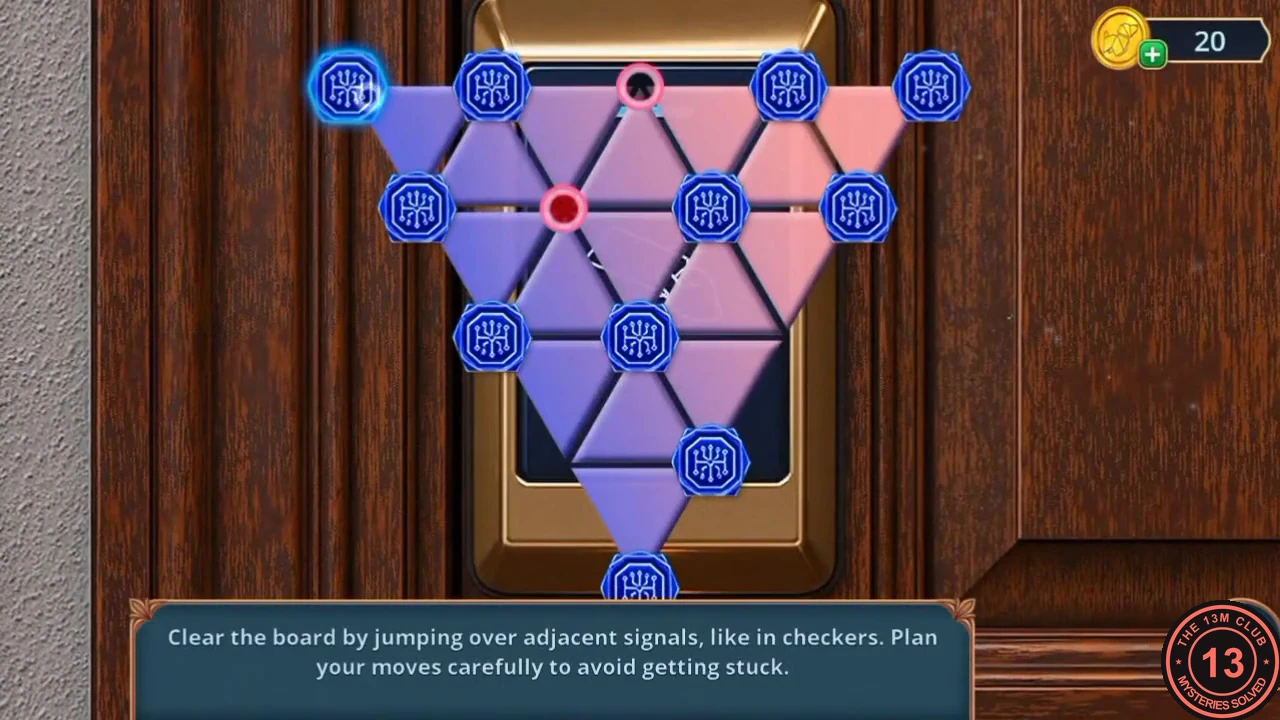
'Clear the board by jumping over adjacent signals, like in checkers. Plan your moves carefully to avoid getting stuck.' Jump one blue signal over a neighbouring one into an empty spot; the jumped signal disappears. Leave only one signal.
- Number the board from the top: row A has 5 spots, row B 4, row C 3, row D 2 and row E is the single spot at the bottom point, each counted from the left. At the start, A3, B2 (red dot), C3 and D1 are empty. Make these jumps: A1 to A3, A5 to C3, B1 to D1, C3 to C1, E1 to C3.
- Finish with D1 to B1, A4 to A2, C3 to A3, A3 to A1 and A1 to C1. One signal remains and the door unlocks.
Chapter 1 brooch locations
Brooches are the game's collectible: small gold 'M&J' emblems with coloured gems, hidden in locations and close-ups. Tap one to collect it. A banner says 'CONGRATULATIONS! You've found a Brooch!' and shows your collection total out of 140. Each brooch adds 2 or 3 to that total (shown in brackets below), so 55 brooches complete the collection, and 140/140 unlocks the achievement 'Inspiration Archive'. Chapter 1 has 15 brooches worth 37 in total. Pick each one up while you are in that place during the walkthrough. It is not confirmed whether a missed brooch can still be picked up on a later visit, so collect each one the first time you are there.
- Riverbank, at the very start: open the close-up at the base of the tree beside the raccoon. The brooch sits up among the roots, above the raccoon's head. (+2)
- Riverbank: in the close-up of the water by the shore (where you scoop out the Earring), the brooch lies on the sand in the bottom-left corner. (+3)
- Outside the Monique boutique: on the wet pavement at the foot of the red fire hydrant on the right, beside the hose. (+3)
- Outside the boutique: open the close-up of the fire hydrant and the bicycle. The brooch is at the top-right edge, beyond the bicycle saddle. (+2)
- Boutique reception: on the left end of the white computer desk, just right of the tall rose bouquet. (+3)
- Boutique reception: in the close-up of the aquarium on the reception counter (where you find the Camera Body), the brooch is in the bottom-right corner. (+2)
- Vivienne's Workshop, first visit as Will: on the purple patterned fabric on the cutting table behind the red dress, to the right of the cardboard box. (+3)
- Vivienne's Workshop: in the close-up of the blue bag with the daisy clasp, the brooch is in the dark open box to the right of the bag. (+2)
- Vivienne's Workshop, three hours earlier as Vivienne: on top of the small blue TV on the desk at the right, in front of the green dress. (+3)
- Vivienne's Workshop: in the shelf close-up with the bust in the hat (where you take the Nail Clippers), the brooch rests on the right side of the hat brim. (+2)
- Vivienne's Workshop: in the close-up of the sleeping cat on the windowsill, the brooch is at the right edge beside the pink wig. (+2)
- Dressing Room: on the small lit vanity table by the window, just left of the red-and-gold harlequin costume. (+3)
- Dressing Room: in the close-up of the coloured bottles on the make-up table (where you find the Bag of Silica Gel), top right beside the tall pump bottles. (+2)
- Backroom, while Vivienne is handcuffed: in the close-up of the pipes, the brooch sits on top of the horizontal pipe on the right, just above her hand. (+2)
- Backroom: at the top right, on the upper edge of the pink neon sign. (+3)
Chapter 1 results: decision points
At the end of each chapter the game totals the decision points from your dialogue choices (the buttons with a star badge) and shows three outcome cards marked 0, 4 and 10. The card for the highest mark your total reaches is highlighted. In Chapters 1 and 4 a top score adds to the closing scene. In Chapter 3 the recordings at 0 and at full points show the same scene. In Chapter 2 the 0-point recordings show only part of the full-points scene (see the Chapter 2 results). Gameplay continues the same way afterwards.
- Chapter 1 has five scored choices, worth up to 13 points: the officer at the start ('Do they know who she met before her death?' +2), Edgar's call (check the wardrobe +1), Edgar's text ('You can count on me.' +2), the colleague's news ('All right, I'll find a replacement...' +2) and the masked man in the mirror ('Call for help' +2 or 'Fight' +6, only one of them). The officer and wardrobe answers are free, so free answers reach at most 3 points; the other scored answers cost coins. Under 4 points the 0 card is highlighted: the masked man waits in the boutique and swings a bar, then phones someone from the laundry room ('Yeah. I found her... I'll be done with all of this soon.'). With 10 or more points Vivienne escapes him with a burst of steam and meets Will in the street. A total of 4 to 9 points earns the 4 card, for example the two free answers plus 'Call for help' (5 points). No public recording we could find scores in that range, so its scene is not described here. Chapter 2 starts the same way whatever your score.