The torn dress and the hidden pocket
You play as Vivienne in the show dressing room, on the day of Monique's show.
- Monique tells Vivienne she will present the crown jewel of the collection. Choose 'Interrupt Monique.' (60 coins, +2 decision points) or 'Stay silent.' (free). Monique then finds the dress torn and asks Vivienne to fix it. You receive the Dress Pattern and the task 'Fix the dress for the show'.
- Open the dress on the mannequin ('There's a terrible run in the dress. But what is it? A pocket? I need to check the pattern.'). Place the Dress Pattern on it. A hidden pocket appears: take the Music Flash Drive.
- Open the cart of fabric rolls on the right. The wheel is stuck ('The axle needs to be lubricated with something. I remember iron pencils have wax in them.'). Take the Flask from the cart for now.
The VIP lounge: speaker and floor safe
Go left from the dressing room into the lounge suite with the TV, the glass table and the mini fridge.
- Open the red speaker under the TV. Plug the Music Flash Drive into its USB port. The music blows the grille off: take the Sponge and the Lock Picks.
- Look at the mini fridge with the fruit basket ('Do you like sweets?'); nothing can be done there yet. Then open the floor safe under the glass table and take the Portable Blender. The safe has a keypad: 'Using powder, I'm sure I can reveal which buttons were pressed.' Put the small jar from the greenhouse basket on the keypad and dust it with the Blush Brush. The used buttons show fingerprints and the safe opens, revealing a hidden-object scene.
Hidden-object scene: the lounge safe
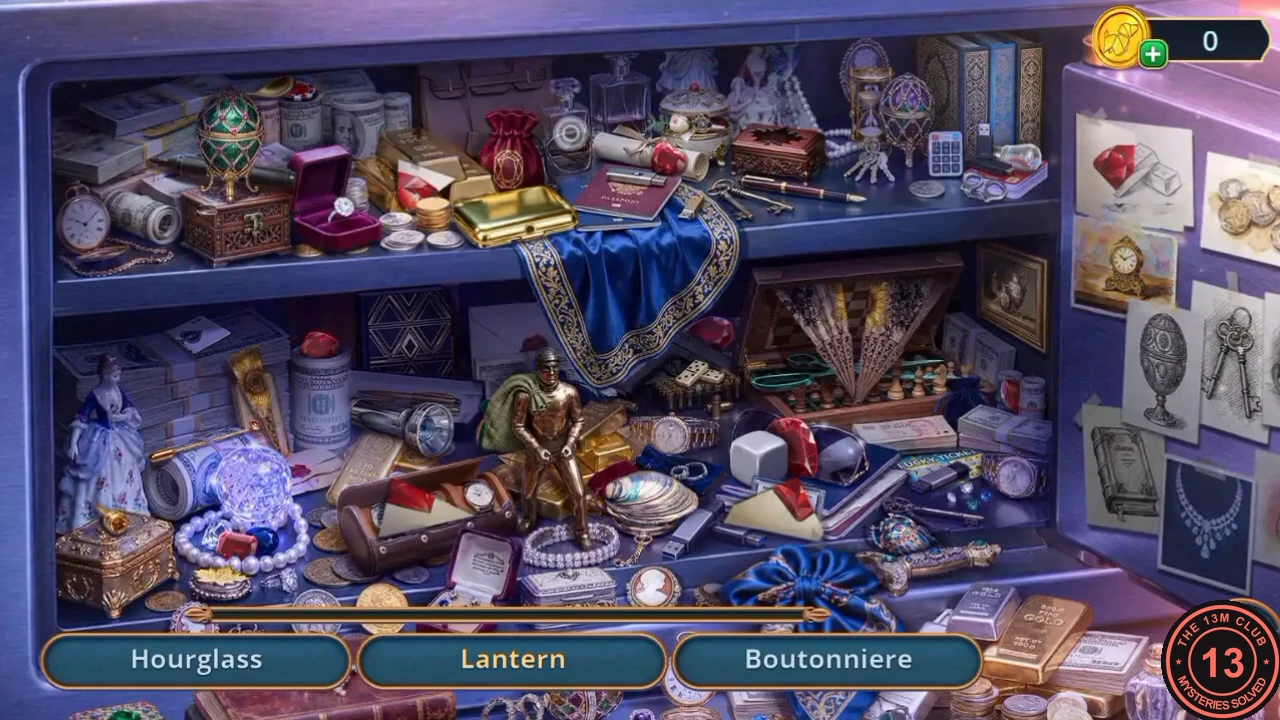
A list hidden-object scene inside the opened floor safe. The list at the bottom shows three names at a time and refills as you find them.
- Find the listed objects, for example the Hourglass, Lantern, Boutonniere, Dominoes, Playing Card, Tie Pin, Scarab Beetle, Six, Lottery Ticket, Sunflower, Casino Chip and Expensive Cigar. When the list is empty you receive the Jam.
The fridge and the technical corridor
The jam answers the fridge's question; the lock picks open the technical corridor.
- Open the mini fridge with the fruit again and give it the Jam. Vivienne now needs coconut flakes ('I need coconut flakes - how can I scrape them off?'). Take the Book from the fridge shelf.
- Go to the Technical Corridor (the room with the 'HIGH FASHION' sign). Open the electrical cabinet on the left and unlock its door with the Lock Picks. Take the Chisel. The switch inside needs a screwdriver ('A screwdriver would come in handy here.').
- Open the vent grille on the right and pry it off with the Chisel. Behind it the blue pipes leak air ('Air leak... How can I fix it?'). Take the Dielectric Screwdriver.
- The fuse box in the corridor is missing one block ('What's missing here?'); come back later. Open the electrical cabinet again and use the Dielectric Screwdriver on the switch. A panel puzzle starts.
Panel puzzle: the electrical cabinet
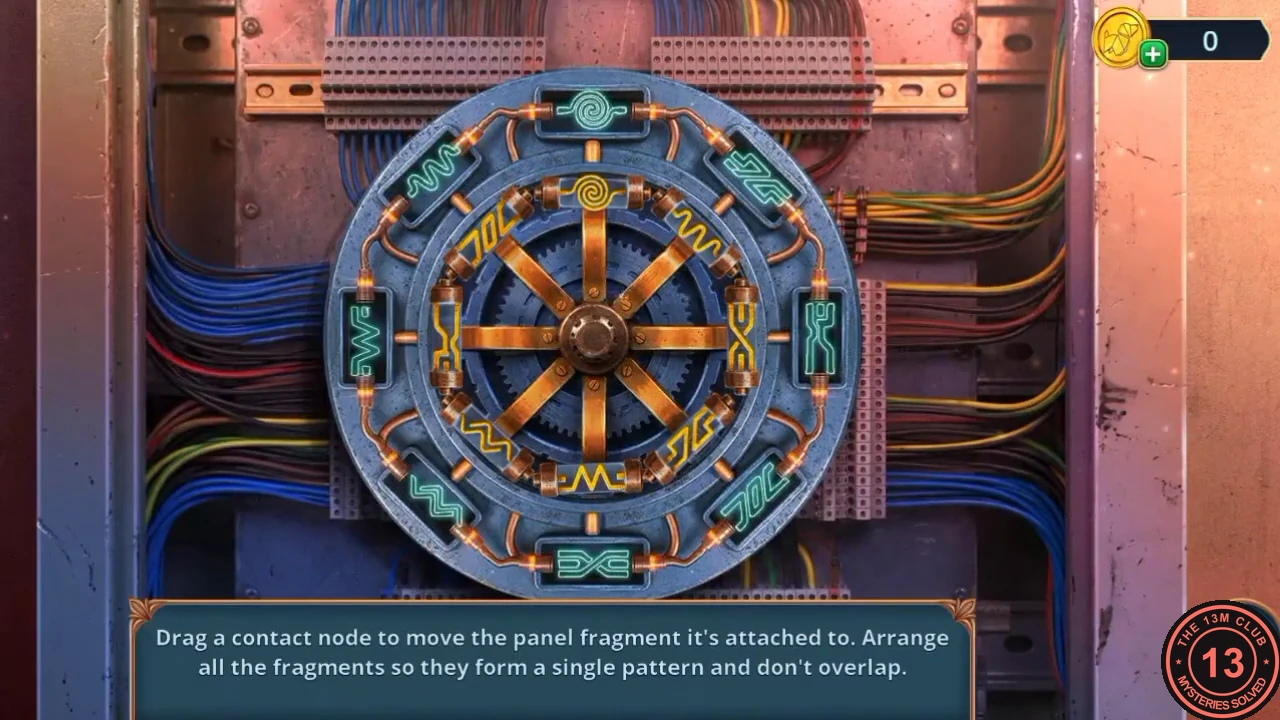
'Drag a contact node to move the panel fragment it's attached to. Arrange all the fragments so they form a single pattern and don't overlap.' Eight yellow fragments start on the inner ring; the outer ring shows eight cyan symbols (spiral, zigzags, an X shape, a W, a 'JOC' shape and a >< shape).
- Drag each yellow fragment by its contact node out to the outer slot that shows the same symbol: spiral at the top, the X shape on the right, the >< shape at the bottom, the W on the left, and the matching zigzag and 'JOC' shapes on the diagonals. Fragments that overlap are not accepted, so move one at a time into a free slot. When all eight sit on their matching symbols the pattern is complete and the doorway in the middle of the corridor opens to the Photo Studio.
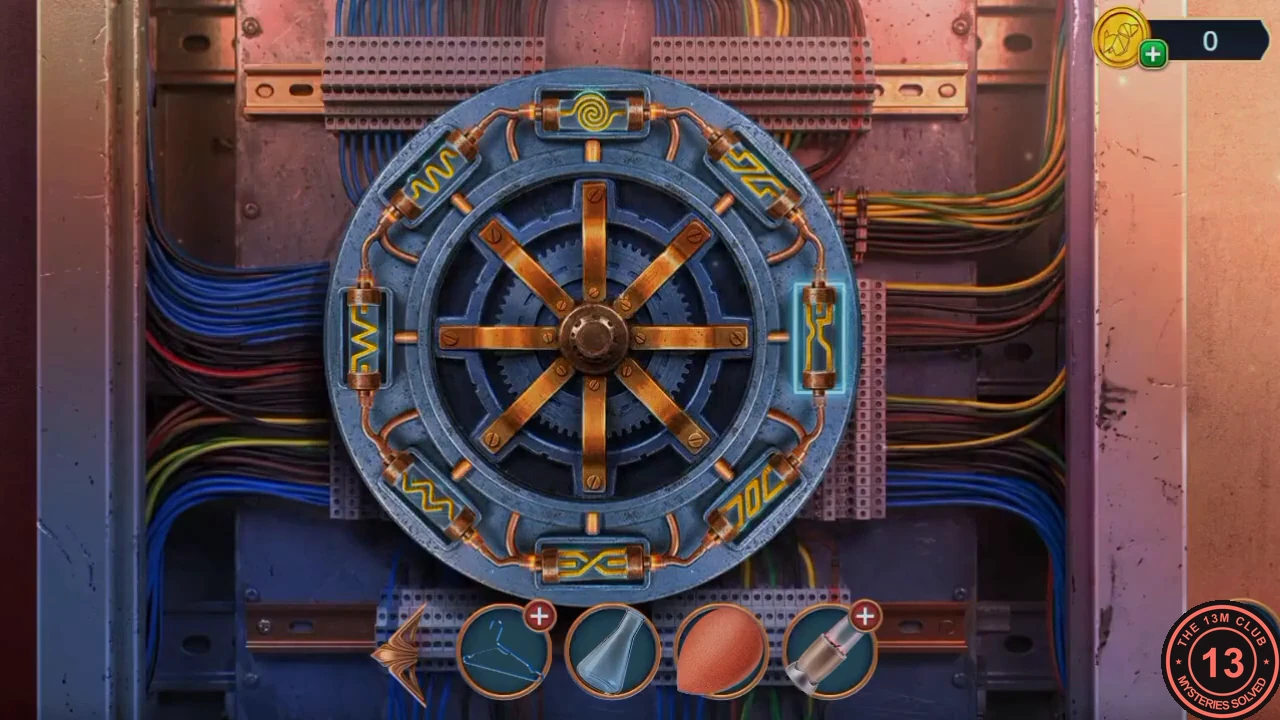
Solved: each fragment sits in the outer slot with the same symbol.
The Photo Studio: charging the phone
The studio has a Monique graffiti poster with a gap in its neon, a studio light wrapped in wires, an empty tripod and a suitcase with a wireless charger.
- Look around: the poster has a gap in its neon ('All the world's a stage... And I am its main photographer!'), the studio light is wrapped in wires ('I need something with a good grip to snip the wires.') and the tripod is missing its camera. Open the suitcase with the wireless charger and take the Camera. Put the phone with the flat battery from the greenhouse box on the charger and take the Charged Phone.
- Hold the Charged Phone up to the gap in the poster's neon. The phone's screen completes the neon 'Monique' sign and starts a hidden-object scene.
Hidden-object scene: the neon collage
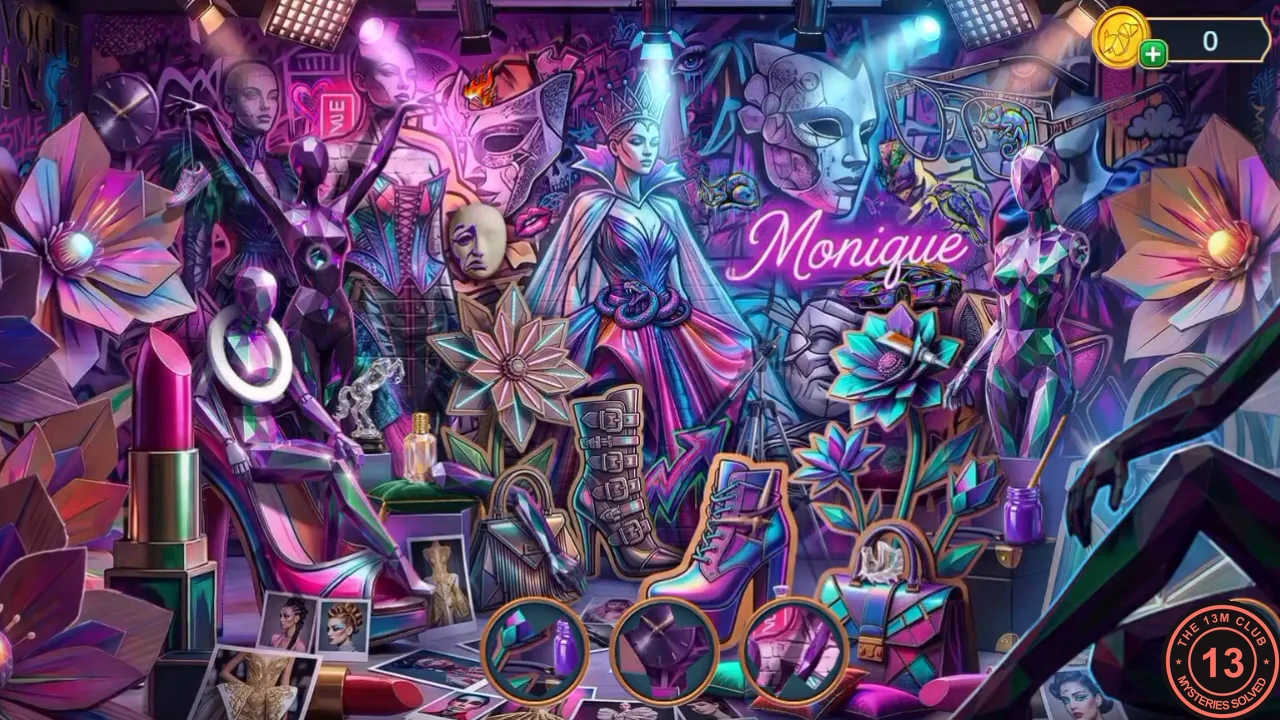
A silhouette hidden-object scene: the round slots at the bottom show item outlines instead of names.
- Find the objects whose outlines appear in the round slots at the bottom. At the end Vivienne photographs a wall of neon symbols with the phone: top row pink hexagon, green triangle, red circle; bottom row purple diamond, blue square, cyan X. You receive the Code (this photo).
The symbol suitcase and the corkscrew
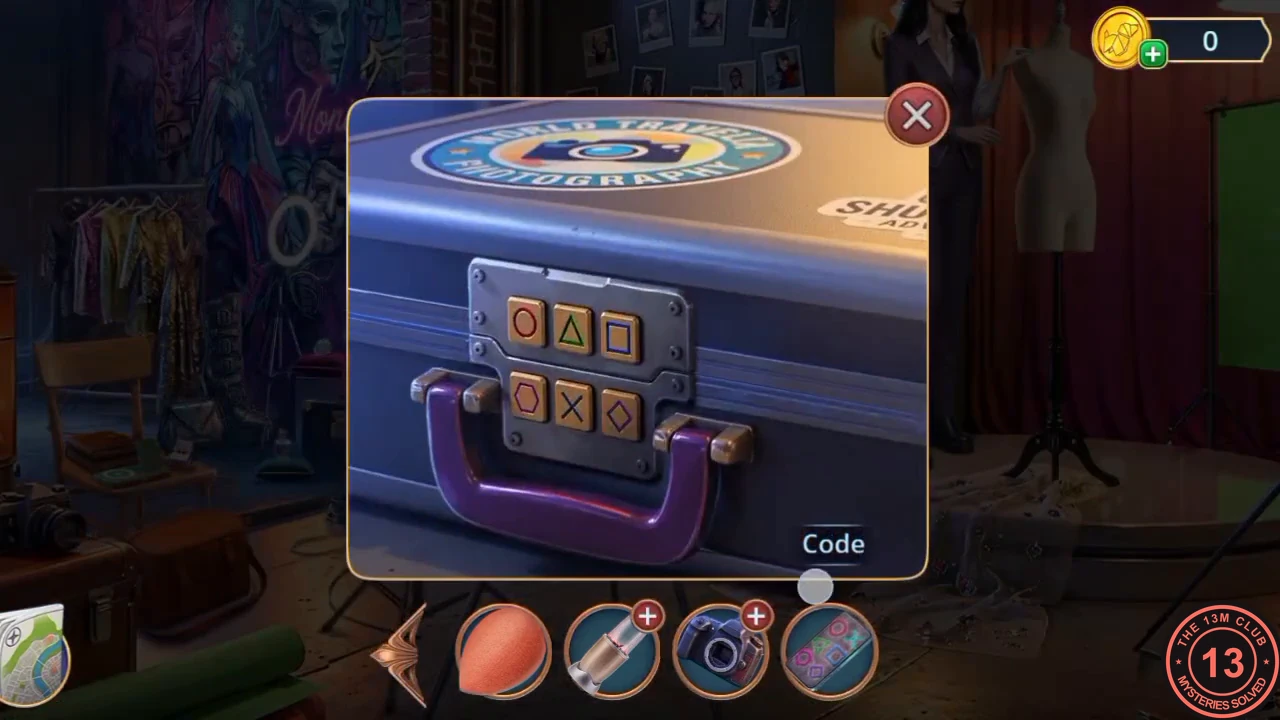
The suitcase on the studio floor (with the 'Shine...' logo) has six symbol buttons: top row circle, triangle, square; bottom row hexagon, X, diamond.
- Open the suitcase on the studio floor and place the Code on it. Press the symbol buttons in the order of the photo: hexagon, triangle, circle, diamond, square, X. The suitcase opens. Read the note ('REMOVE ALL EVIDENCE! ALL CAMERA RECORDINGS! IMMEDIATELY! MY DAUGHTER'S SHOW HAS TO GO ON. I'VE DONE TOO MUCH FOR HER TO STOP NOW!') and take the Corkscrew.CODEhexagon, triangle, circle, diamond, square, X
The stuck drawer and the cart wheel
The map now lists Show Dressing Room, VIP Lounge Backstage, Technical Corridor and Photo Studio. Travel to the Show Dressing Room.
- Open the vanity with the stuck drawer and pull it open with the Corkscrew. Take the Sewing Kit (red box) and the Pencil. A brooch is also here.
- Open the stuck wheel of the fabric-roll cart and rub the Pencil on the axle. A hanging puzzle starts.
Hanging puzzle: the fabric cart
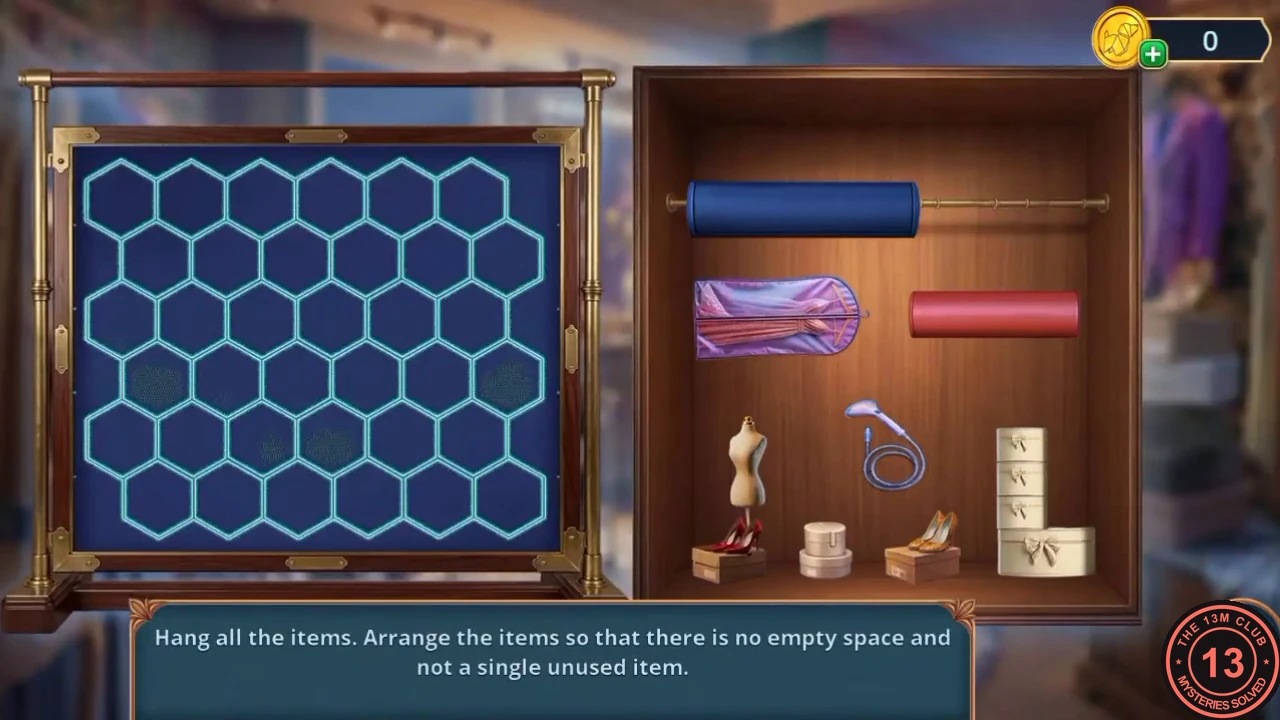
'Hang all the items. Arrange the items so that there is no empty space and not a single unused item.' Fabric rolls, a shoe, a small mannequin, a hanger and a stack of boxes must all fit on the cart's frame.
- Drag the items onto the frame so that every space is filled and no item is left over. One finished layout that works: purple roll top left, shoe and mannequin top right, red roll middle left, the hook and hanger in the centre, the stacked boxes on the right and the blue roll along the bottom. The cart rolls aside: take the Enzyme Powder and the Feather Boa.
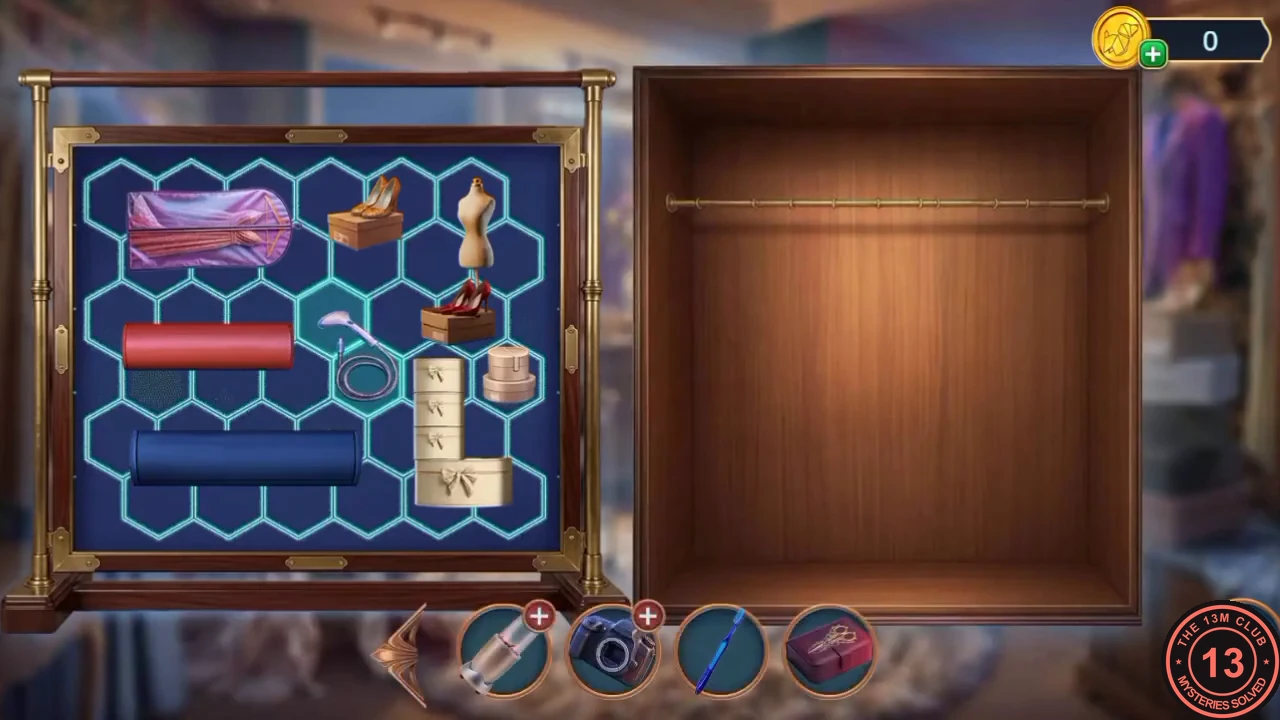
The finished layout described above: every space filled, nothing left over.
The props box, the fuse box and the air leak
Travel to the Technical Corridor.
- Open the PROPS box on the left (it is covered in red shavings) and sweep it clean with the Feather Boa. Take the Connector.
- Open the fuse box and fit the Connector into the gap. Throw the lever and take the Leather Strap.
- Open the leaking pipes behind the vent. Wrap the Leather Strap round the pipes and plug the hole with the Sponge. A fan puzzle starts.
Fan puzzle: the two rings
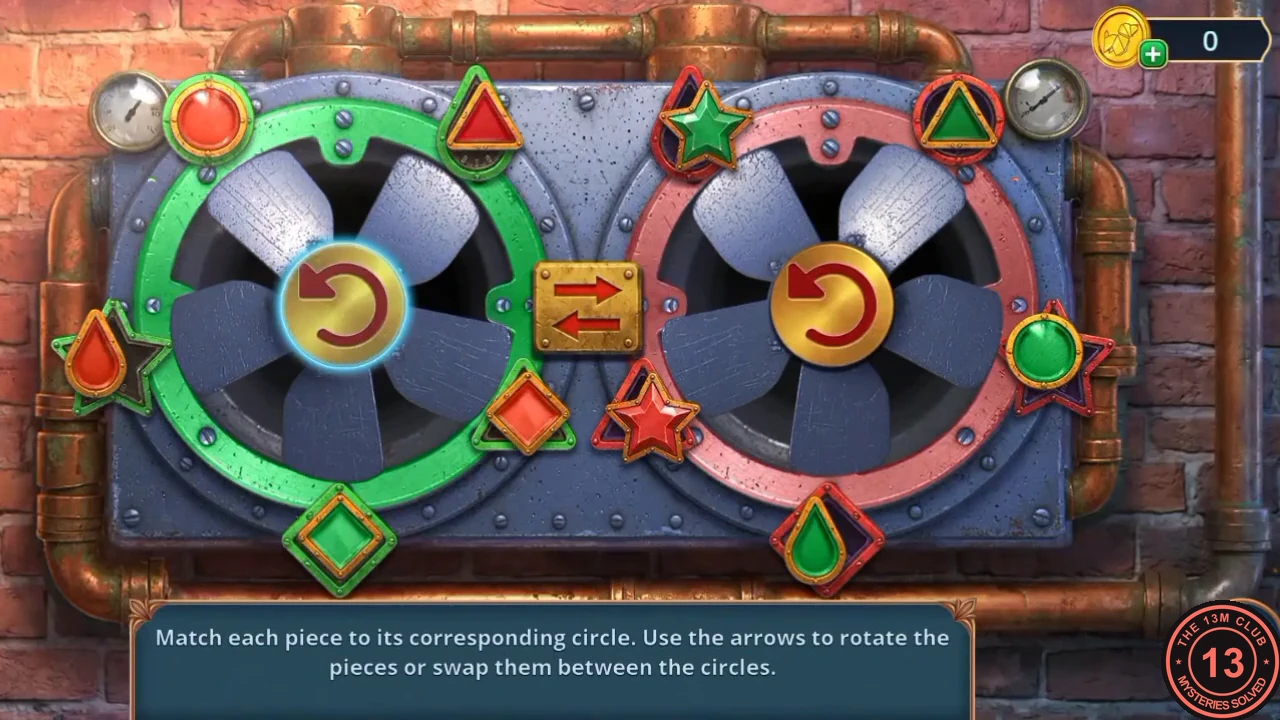
'Match each piece to its corresponding circle. Use the arrows to rotate the pieces or swap them between the circles.' A green ring and a red ring each hold six pieces, mixed green and red.
- Use the arrow in the centre of a ring to rotate its pieces, and the swap button between the rings to exchange the two pieces that face each other. Rotate a wrong-coloured piece of each ring into the swap position, swap, and repeat until every green piece is on the green ring and every red piece on the red ring. The leak stops: take the Nail Clippers.
The studio light and the polarizing filter
Travel to the Photo Studio.
- Open the studio light and cut the wires with the Nail Clippers. Take the Polarizing Filter.
- Open the neon poster again and hold the Polarizing Filter over it. A second hidden-object scene starts.