Vivienne's Workshop: the first decision
The story jumps back three hours and you now play as Vivienne. A colleague in a teal suit brings the news of Alice's death.
- Scored decision (signpost icon): answer the news about Alice. 'All right, I'll find a replacement. But after the show, we'll talk about giving me some credit!' costs 60 coins and is worth 2 decision points. 'I'll give it a try. But there aren't many models of that caliber.' is free and gives no points. The points count towards the decision total that decides the ending; see the Chapter 1 results at the end of this chapter.
- Open the shelf close-up with the bust and the egg-topped box and take the Nail Clippers. (The box asks 'What came first, the chicken or the egg?' and stays locked for now.) Take the Colored Light Filters (1/3) from beside the blue container.
- Open the close-up of the steam cleaner and mirror. Use the Nail Clippers to cut the red stitches on the gold jacket and take the Lighter and the Weights hidden in the seam.
- Open the grandfather clock close-up. Cut the ribbon on the clock face with the Nail Clippers and take the Propellers and the Lighter Fluid. Hang the Weights on the two empty chains to start the bird puzzle.
Clock puzzle: restore the bird
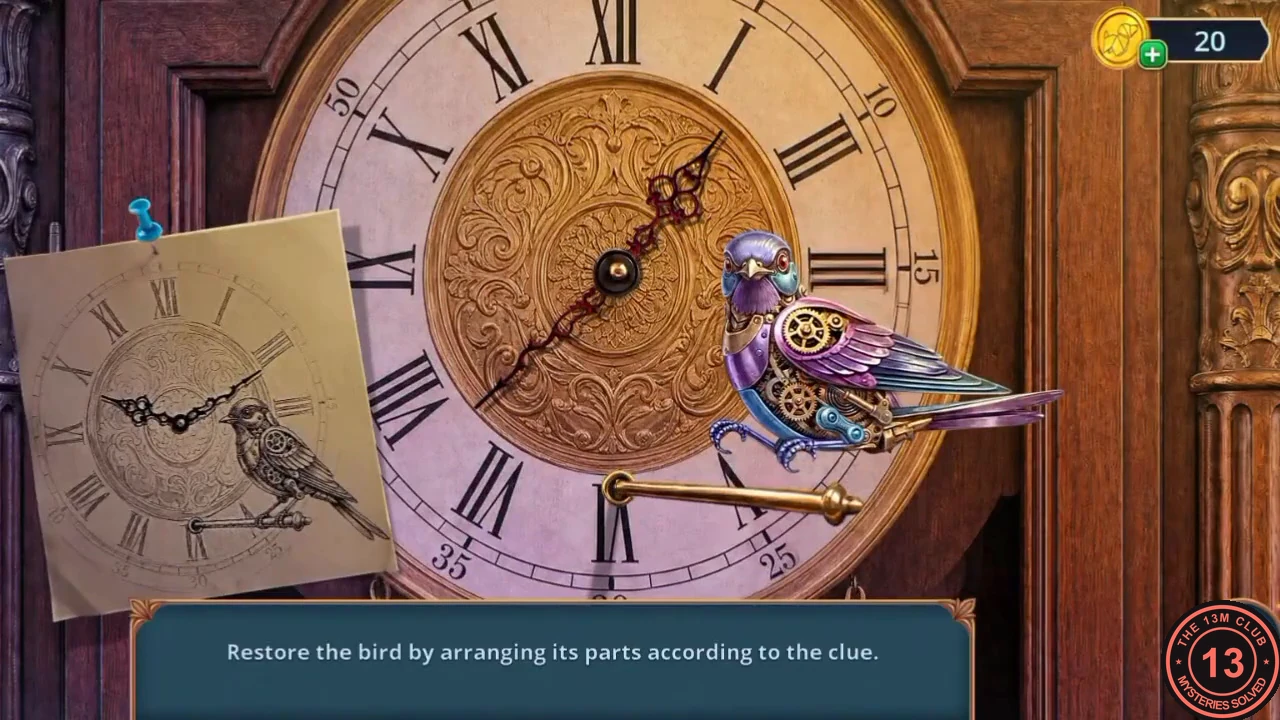
'Restore the bird by arranging its parts according to the clue.' A sketch pinned to the left of the clock shows how the clock hands and the mechanical bird should look.
- Tap the clock hands and the bird's parts to turn them, and match each one to the sketch. The hands form a V, at about ten past ten, and the bird sits on its perch as drawn. When everything matches, the bird comes to life and the clock face opens.
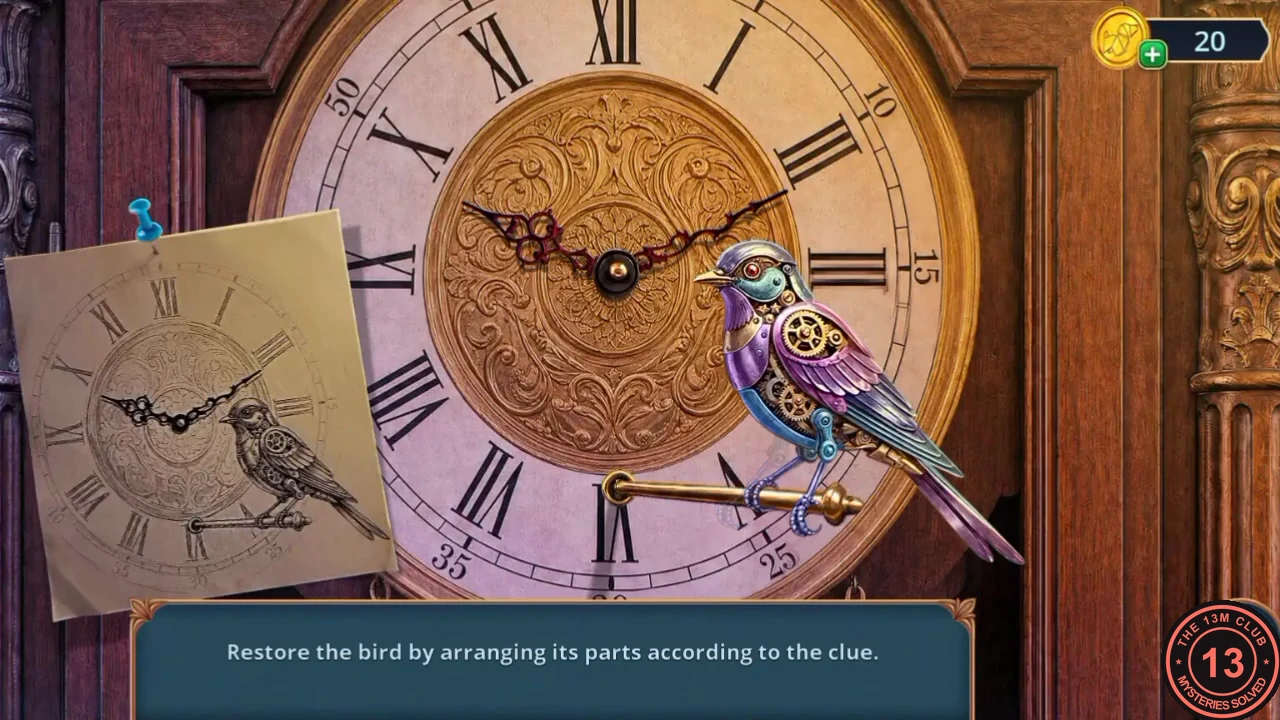
Solved: the hands form a V and the bird sits on its perch, as in the pinned sketch. - Take the Cotton and the Lip Oil from the opened clock.
Moving the cat
The cat on the windowsill is lying on something you need ('How can I move this cat from here? Maybe play with him?').
- Open the Lighter in your inventory and add the Cotton and the Lighter Fluid to get a working lighter.
- Open the bust shelf close-up and use the Lighter to melt the wax on the bust. Take the Laser Pointer and the second Colored Light Filter (2/3).
- Open the windowsill close-up and shine the Laser Pointer for the cat. It chases the dot and leaves. Take the purple Gripper and the Skateboard it was lying on.
The Dressing Room and the mirror lights
Sliding the Skateboard under the workshop's double door opens the way to the Dressing Room, where the last colour filter and Vivienne's wet phone are waiting.
- Open the close-up of the workshop's double door and slide the Skateboard under it. The door opens; go through to the Dressing Room.
- Open the vanity desk close-up (carved box and tulips). Take the Hose, then the blue lens, which is the last Colored Light Filter (3/3), and finally the Wet Phone ('Darn, my phone is wet, it won't turn on, I need to dry it out.').
- Open the close-up of the mirror lights beside the make-up table. Take the Sponge and the Glow Stick. Three bulbs are dull: 'I think this is an opportunity to add some bright colors to my life.'
- Place the Colored Light Filters (3/3) on the bulbs. They light up yellow, red and blue, and a search scene opens on the make-up table.
Fragment search: the make-up table
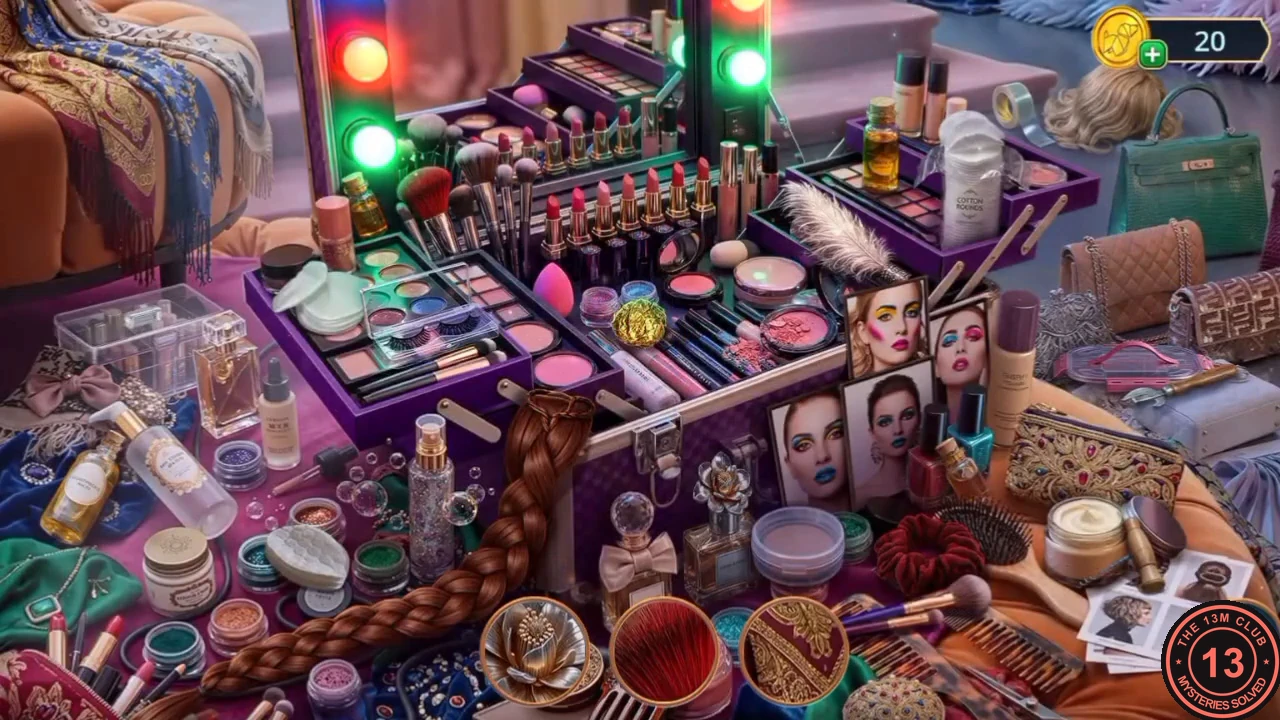
Round close-ups at the bottom of the screen show a small part of each object (for example a flower brooch, a quilted pattern or a false eyelash). Find the matching object on the table; each find is replaced by a new close-up until none are left.
- Find every object shown in the close-ups. When the last one is found you receive the Paperweight.
Drying the phone
Vivienne's phone is wet and will not switch on. Silica gel from the shelf of coloured bottles will dry it out.
- Open the close-up of the brown travel bag with the padlock. Smash the glass piggy bank beside it with the Paperweight ('Man, I don't have much of a nest egg...') and take the Bell Tongue and the Bag (a small drawstring pouch).
- Open the close-up of the shelf with the coloured bottles and use the Bag on the pile of blue crystals to get the Bag of Silica Gel.
- Open the Wet Phone in your inventory and put the Bag of Silica Gel on it. The phone dries, switches on ('Hello') and shows its unlock puzzle.
Phone unlock puzzle: the coloured beams
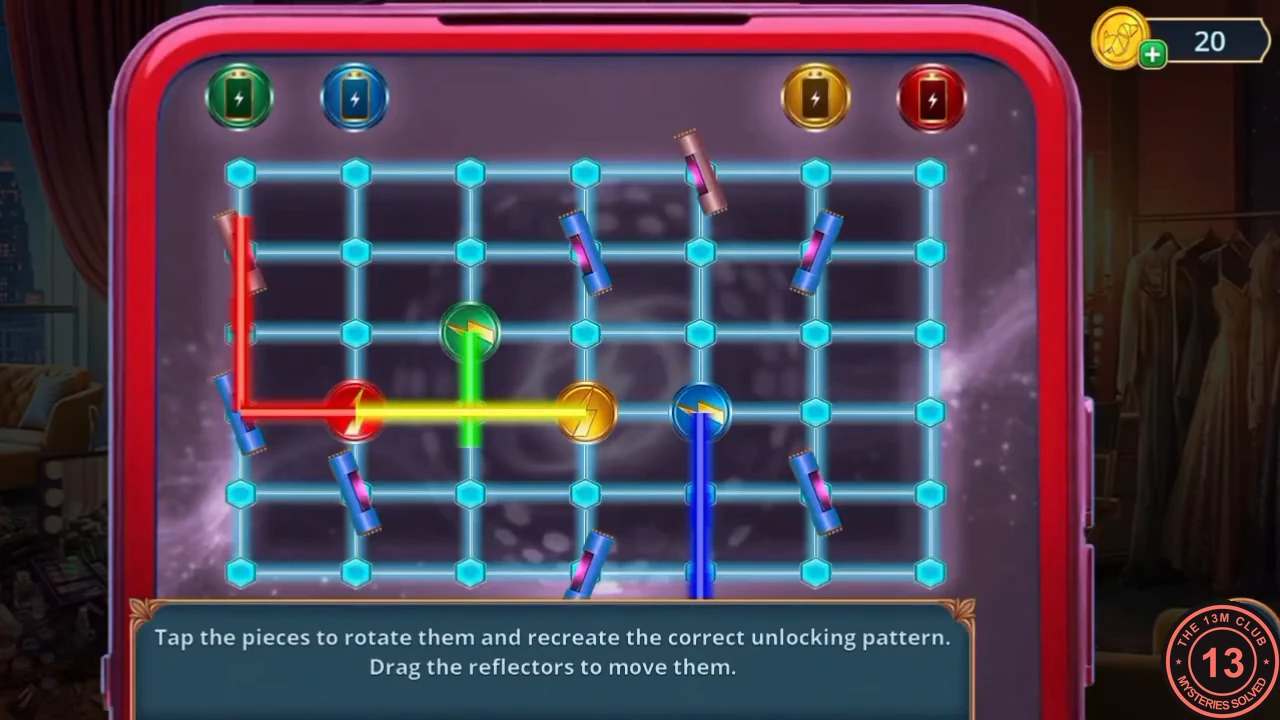
'Tap the pieces to rotate them and recreate the correct unlocking pattern. Drag the reflectors to move them.' Four coloured nodes in the grid send beams; four batteries along the top (green, blue, yellow, red from left to right) must each receive the beam of their own colour. The tilted tubes are reflectors that turn a beam around a corner.
- Route every beam to its battery without crossing the others. Green: from the green node go up one row, left to the first column, then up to the green battery. Blue: from the blue node go up to the top row of the grid, left to the second column, then up to the blue battery. Yellow: from the yellow node go down one row, right to the sixth column, then up to the yellow battery. Red: from the red node go down to the bottom row, right to the last column, then up to the red battery. Tap a node to aim its beam, and drag a reflector to each corner of these paths.
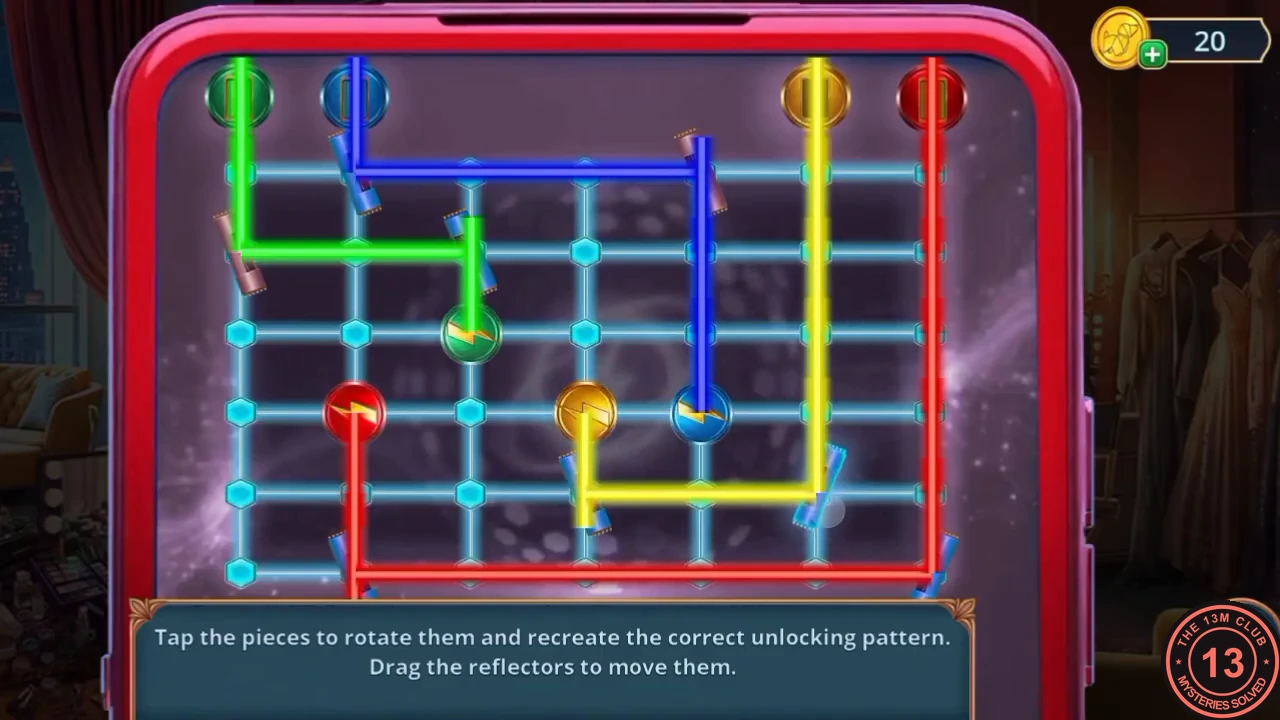
Solved: each beam reaches the battery of its own colour without crossing another.
The masked intruder and the handcuffs
While Vivienne phones for help, a masked man appears behind her. She wakes up handcuffed to a pipe and has to free herself.
- Vivienne dials 911 and sees a masked man behind her in the mirror. Choose how she reacts: 'Get confused' (free, no decision points), 'Call for help' (30 coins, +2) or 'Fight' (60 coins, +6). Every option ends the same way: she is knocked out.
- Vivienne wakes up handcuffed to a pipe ('Where am I... Oh, shoot, I'm tied up - I've got to get out of here fast!'). New tasks: report to the police and get out of the studio. Use the Lip Oil on her wrist so the hand slips out of the cuff.
The Backroom: building the quadcopter
The Backroom door is locked with a card reader. Build a quadcopter from the parts you are carrying and fly it at the shelf with the cleaning products.
- Open the close-up of the locked door with the card reader. Take the Labels (1/2) and the Quadcopter Frame. The red can beside the door is too heavy to move ('Ooh, it's heavy! I need to put something under it.').
- Open the Quadcopter Frame in your inventory and fit the Propellers and the purple Gripper into the two empty slots to get the Quadcopter with Gripper.
- Open the close-up of the shelf with the cleaning products and use the Quadcopter with Gripper on it to start the flying mini-game.
Quadcopter mini-game: keep the drone balanced
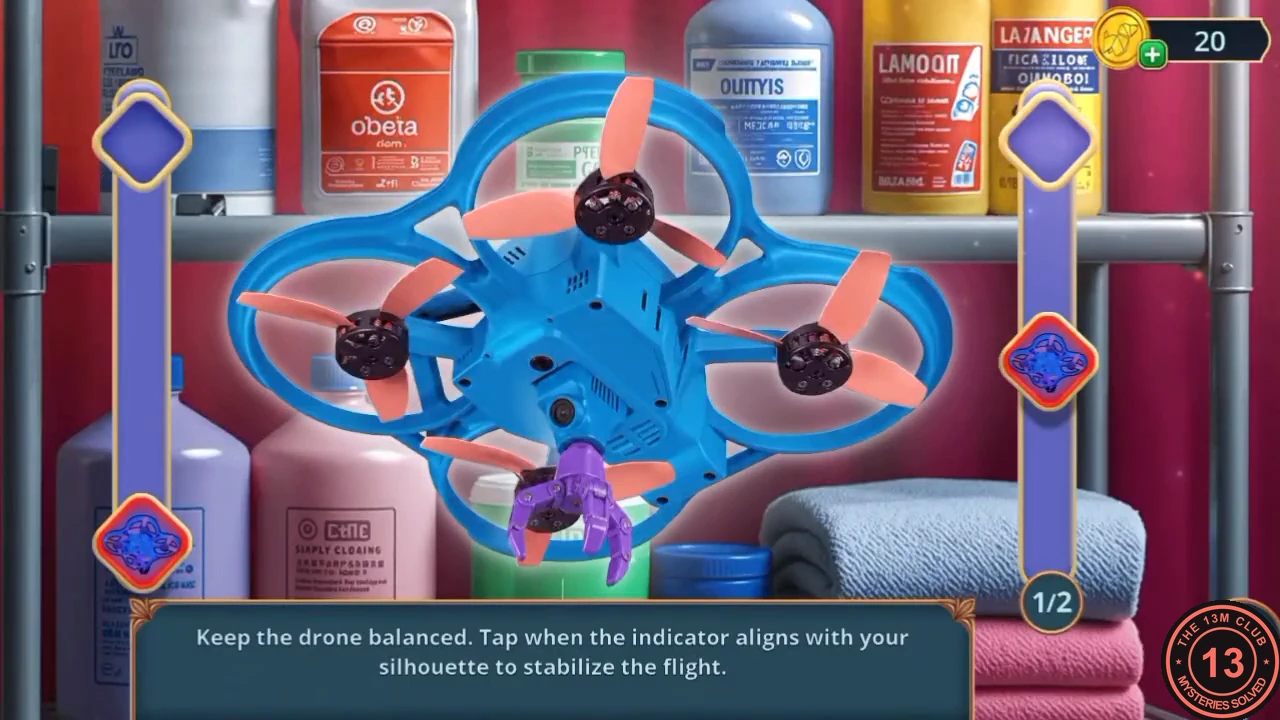
'Keep the drone balanced. Tap when the indicator aligns with your silhouette to stabilize the flight.' A marker slides up and down a bar on each side of the drone; the game has two rounds (1/2 and 2/2).
- Tap START. Watch the moving marker and tap at the moment it lines up with the drone silhouette on the bar. Do this for both rounds. The drone then flies up the shelf and knocks a Metal Pipe down into the room; pick up the Metal Pipe.
Clearing the steam
Steam hides the laundry room behind the arch. Free the Button from under the heavy red can and use it to switch on the fan.
- Go back to the door close-up and push the Metal Pipe under the heavy red can. It tips aside; take the Button behind it.
- Open the wall switch with the fan symbol, put the Button in the empty socket and press it. The fan clears the steam from the laundry room behind the arch and a differences search opens there.
Differences search: the laundry room
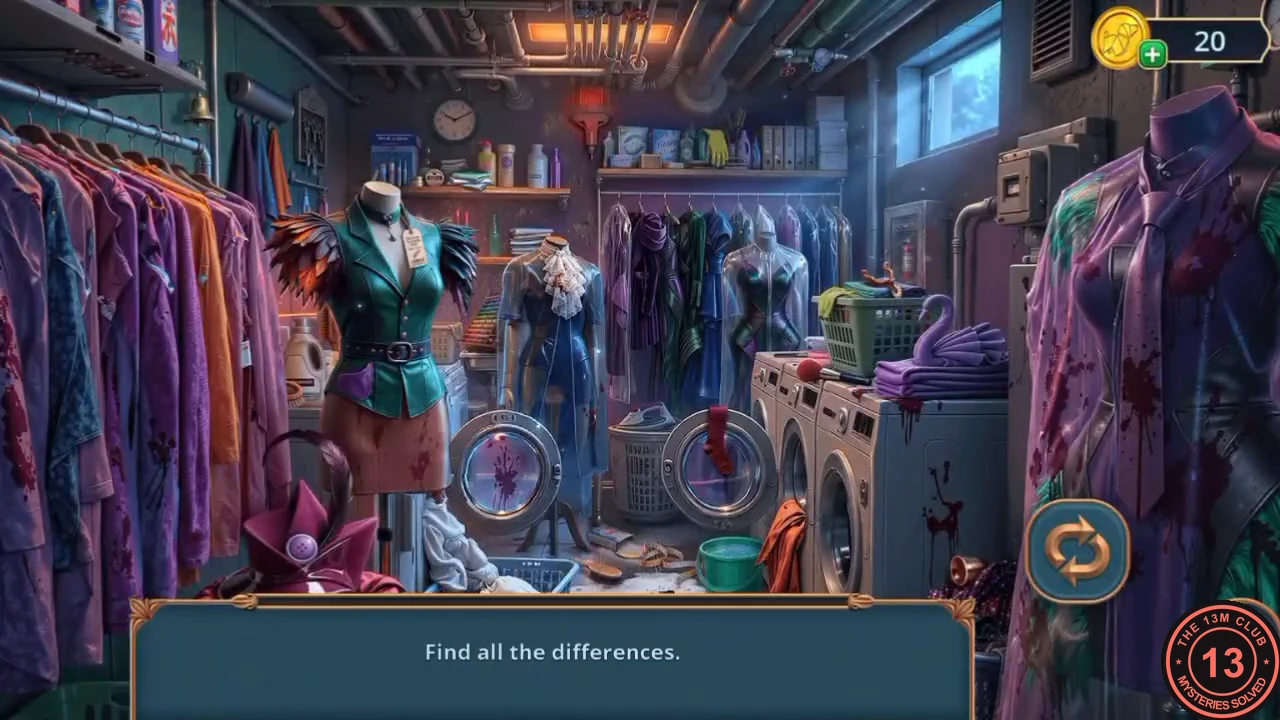
'Find all the differences.' The picture switches between two versions when you tap the round arrows button on the right; tap each spot that changes.
- Compare the two versions and tap every change. The marked spots include the hooks on the left wall, the wall clock, the top shelf, the laundry basket and the folded purple clothes on the washing machine, the collar of the mannequin on the right, the hat at bottom left, the washing machine drum, the floor near the drum, the green bucket and the side of the right-hand washer. When all are found you receive the Liquid Iron.
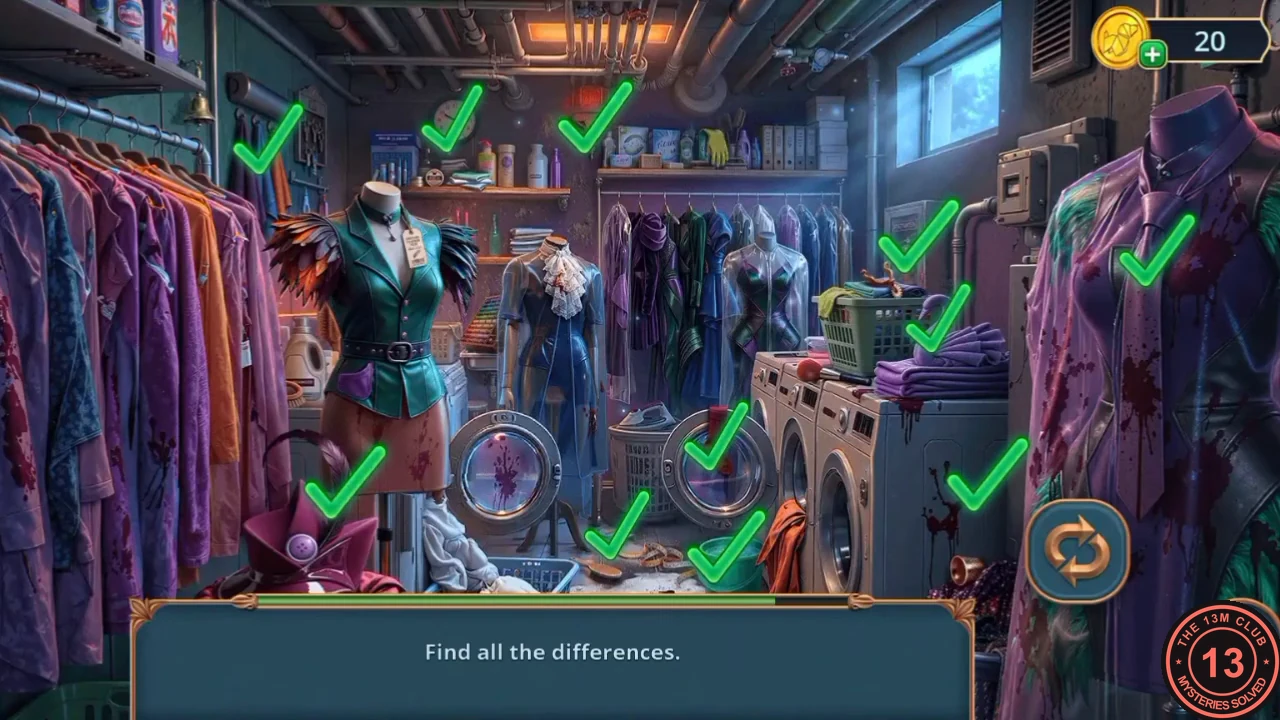
Where the differences are: each green tick marks one spot to tap.
The steam code and the luggage padlock
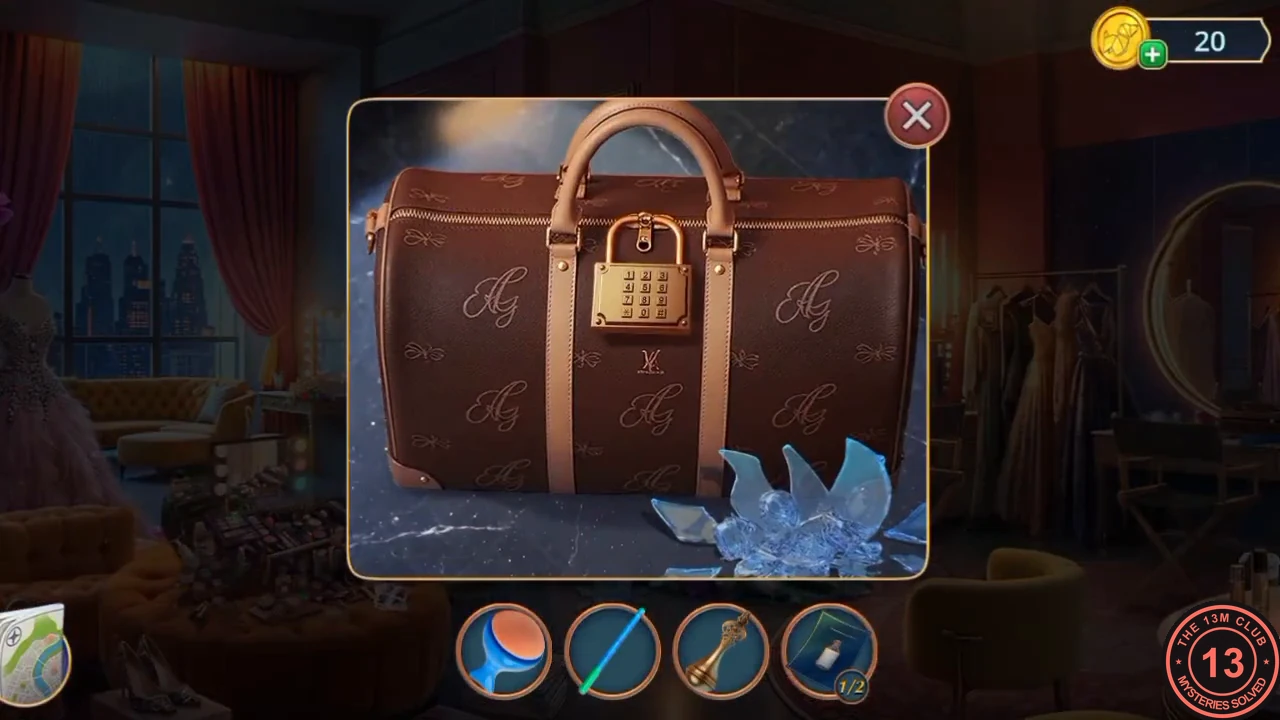
With the Liquid Iron you can bring the steamer in Vivienne's Workshop back to life and read a hidden code on the mirror.
- Open the map and travel to Vivienne's Workshop. Tap the steamer and mirror on the right-hand table and pour the Liquid Iron into the steamer. The steam reveals the code 158 on the mirror; Vivienne remembers it automatically.
- Go to the Dressing Room and open the luggage zoom (the brown bag with the padlock). Enter 1-5-8 on the padlock to open the bag and take the Baking Soda.CODE158
- Tap the make-up table in the Dressing Room again ('I should check it again.') to start a list search.