The mansion gate, the mailbox and the magpie
The moped brings Vivienne to the locked gate of Monique's house. The mailbox, a griffin statue and a windmill-shaped birdhouse with a magpie stand in front of it.
- Open the griffin statue on the right. Its claws hold a red flag: take the Mailbox Flag.
- Open the mailbox and attach the Mailbox Flag. The mailbox opens; open the parcel inside and take the Glitter. The parcel itself is stapled shut and can't be opened yet.
- In the mailbox, put down the Regular Stone and sprinkle the Glitter on it. Take the Shiny Stone.
- Open the windmill birdhouse with the magpie and give it the Shiny Stone. The magpie swaps it for its treasures: take the Phoenix Feather (1 of 3) and the Pin.
- Open the Doctor's Bag in your inventory and use the Pin to pick its stuck lock. A packing puzzle starts.
Packing puzzle: the doctor's bag
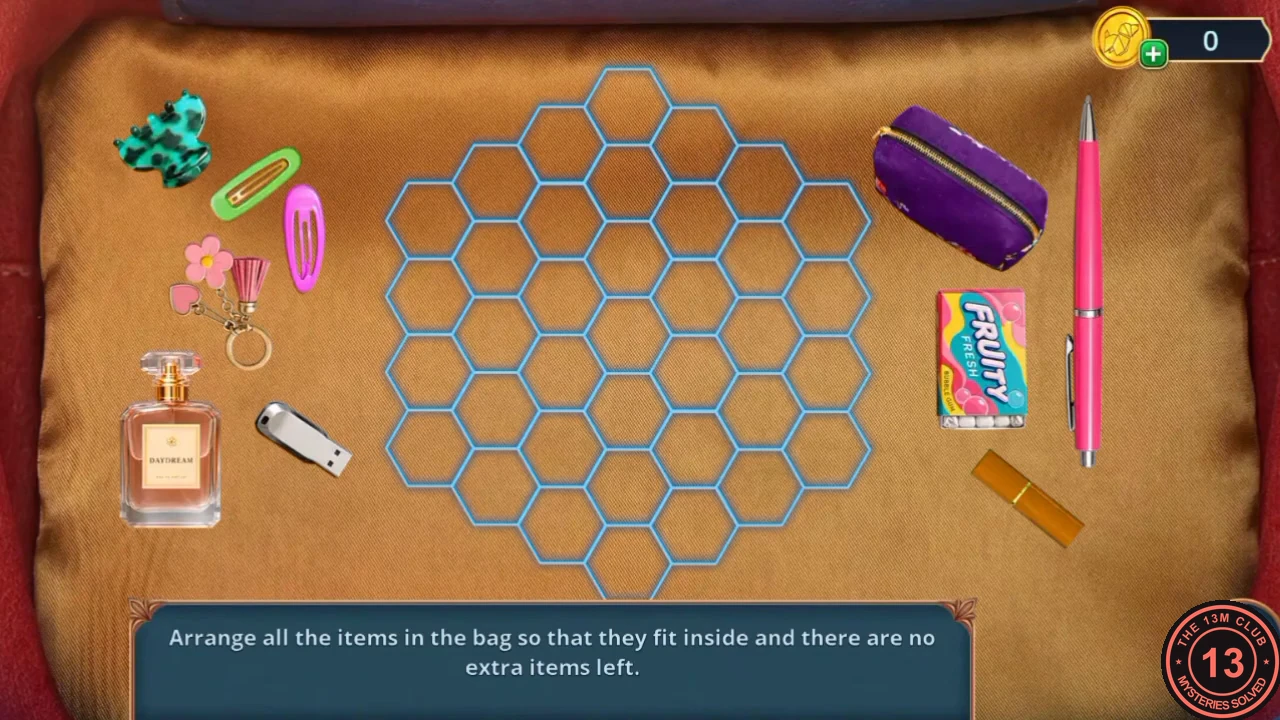
'Arrange all the items in the bag so that they fit inside and there are no extra items left.' A honeycomb outline sits in the middle with ten items around it: a green bow, two hair clips, a flower key ring, a perfume bottle, a USB stick, a purple pouch, a pack of Fruity gum, a pink pen and a gold lipstick.
- Drag every item into the honeycomb so that no cell is left empty and nothing overlaps. One arrangement that works: the pink pen lies upright through the middle, the Fruity gum sits upper left with the green bow and USB stick above it, the purple pouch fills the lower left, the perfume the right side, and the flower key ring, hair clips and lipstick fill the gaps. The bag opens; take the Invitation from Monique.
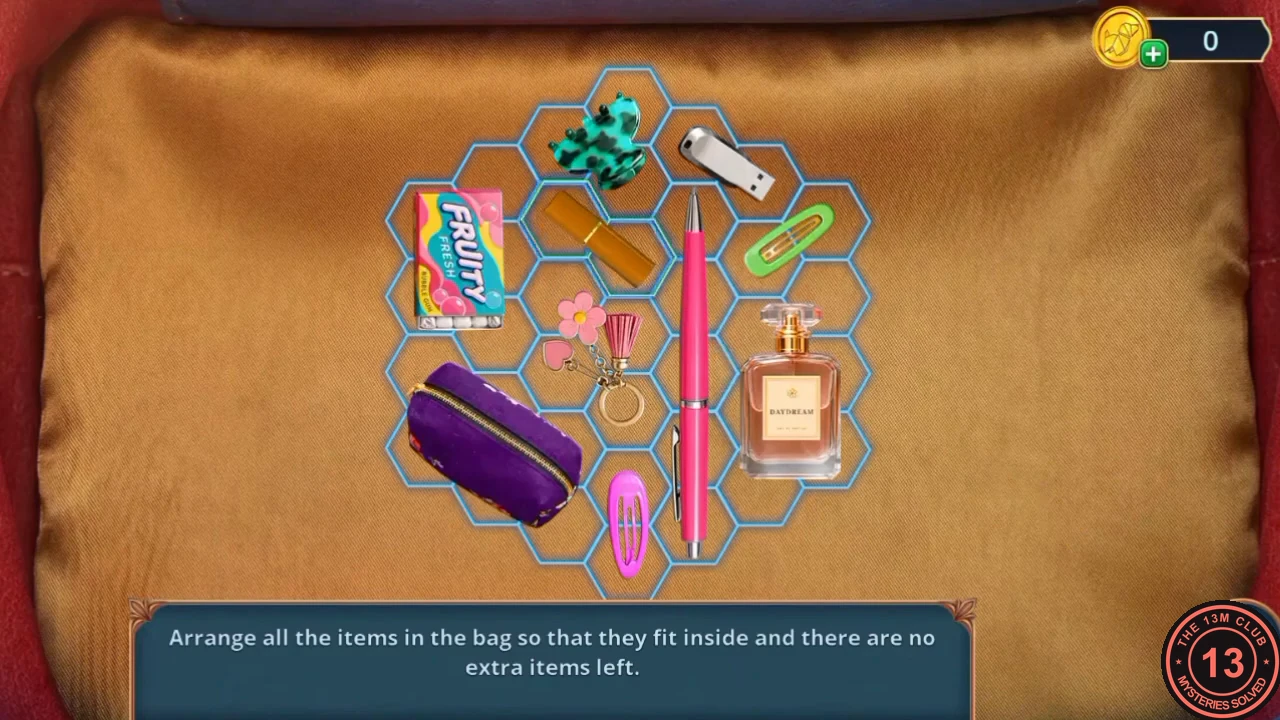
One arrangement that works: all ten items fill the honeycomb.
Through the gate to the greenhouse
Monique's invitation opens the gate and leads into the greenhouse beside the house.
- Open the intercom by the gate and hold the Invitation from Monique against the reader. The gate opens; go through to the greenhouse.
- Open the flower bed on the left. A haze of pollen hides it: wave the Hand Fan to blow it away. A list search starts.
List search: the flower bed
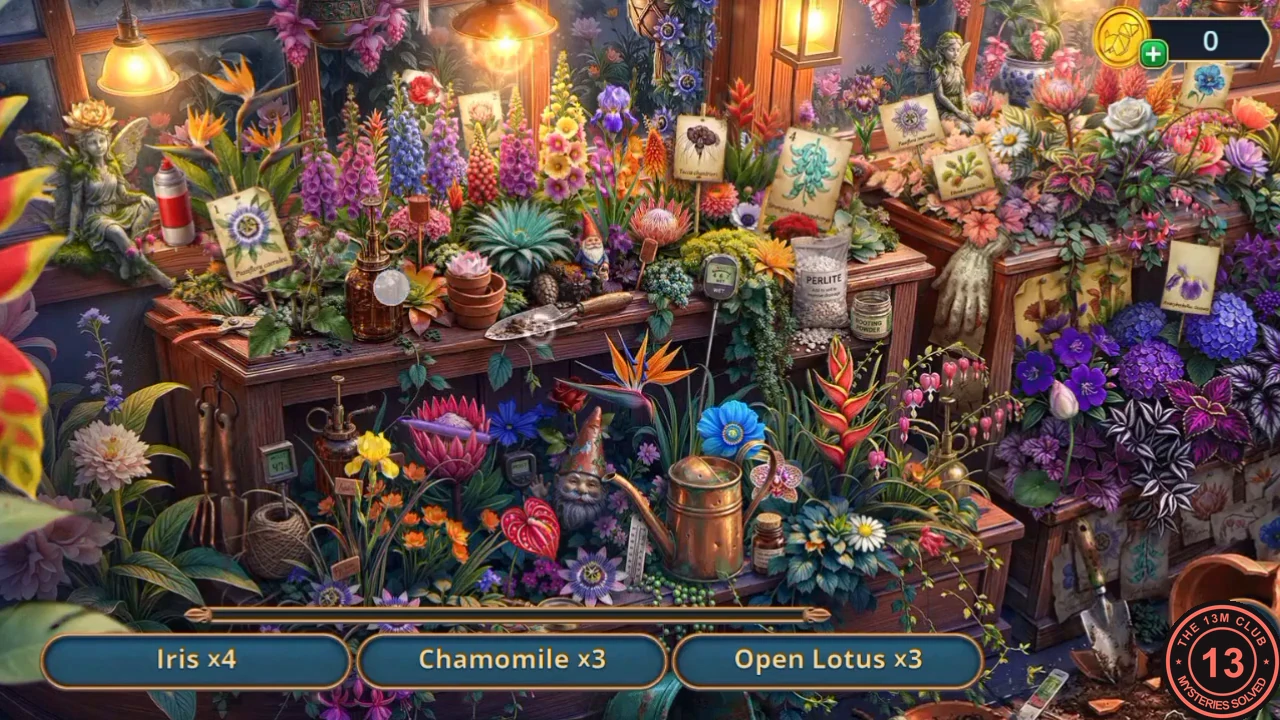
A list search among the flowers. The list asks for several of each kind: Iris x4, Chamomile x3, Open Lotus x3 and Red Roses x3.
- Find all the flowers on the list. Some are hidden: move objects aside to see what is behind them ('I bet if I move this away, I'll see something more pleasant.'), and only red roses count ('I don't want white! I need red!'). When the list is done the search gives the Moon Morning Glory.
The moon flower and the spare key
A plaque by the telescope reads 'He was in love with the moon'.
- Open the telescope table in the greenhouse. Take the Screw and the Coffee Holder, and read the plaque: 'He was in love with the moon.'
- Place the Moon Morning Glory on the stand on the table. The flower opens; take the Spare House Key.
- Use the Spare House Key on the door of the house and go into the living room.
- Will texts a photo of a cufflink marked 'S.W.' and asks if Vivienne knows anyone with those initials. 'No, but I'm sure I've seen a cufflink like that somewhere before...' costs 60 coins; its button shows one star, but the chapter summary credits it with 2 decision points. 'No, I don't.' is free and worth none. A new task asks you to find clues in the house.
The coffee machine and the UV lamp
The living room's coffee machine is missing a part.
- Open the coffee machine. Take the Blood Pressure Monitor and the Telescope Magnifying Lens (1 of 2). Fit the Coffee Holder; the machine brews and you can take the UV Lamp.
- Open the coffee table and shine the UV Lamp over it. A list search starts.
List search: the coffee table
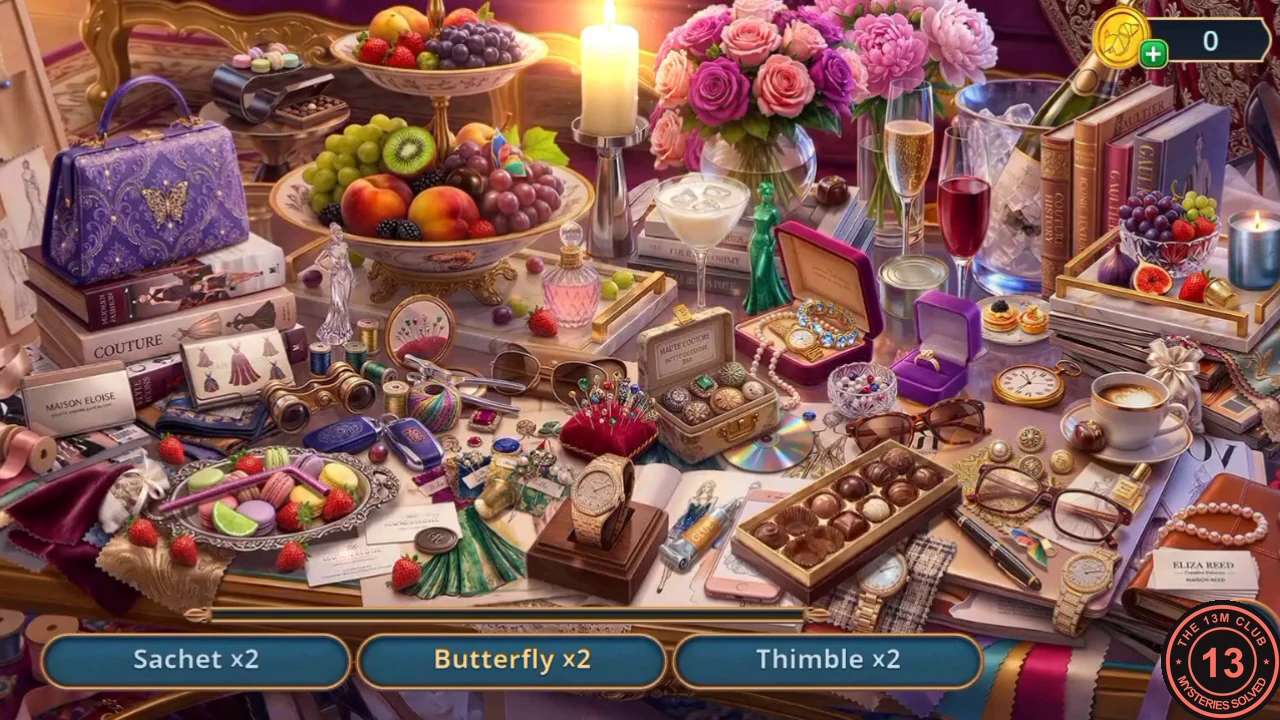
A list search on the cluttered coffee table, two of each item: Sachet, Butterfly, Thimble, Shrimp, Lime, Box of Candy and more.
- Find every pair on the list. The search gives the Knight Figurine.
The dragon clock and the broken vase
A trace of blood leads to a locked room upstairs.
- Open the dragon clock beside the aquarium and put the Knight Figurine in its empty place. The clock opens; take the Sticky Clothing Roller.
- Go up to the second-floor hallway ('A trace of blood... I definitely need to get into this room!'). Open the broken vase on the floor and take the Mattifying Wipes. Roll the Sticky Clothing Roller over the shards; take the Electronic Key and the pink Microcurrent Massager (it needs a power source).
- Open the card reader on the locked door and use the Electronic Key. A circuit puzzle starts.
Circuit puzzle: the office door
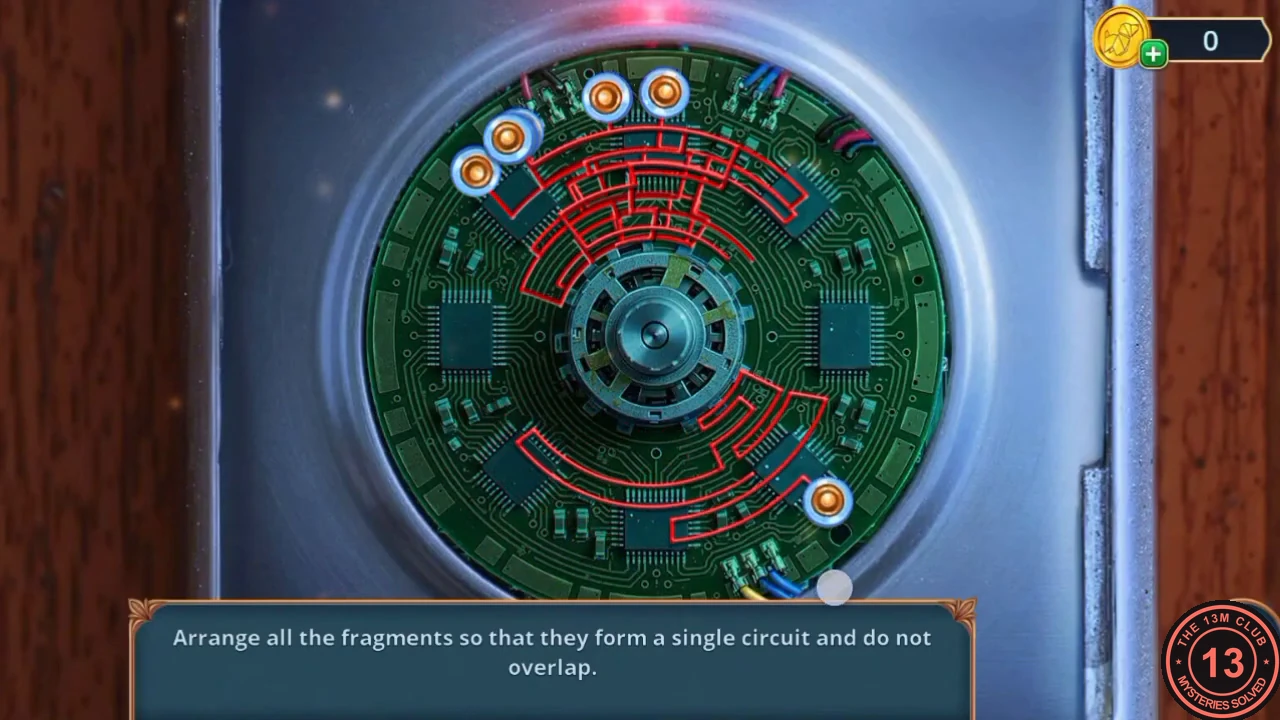
'Arrange all the fragments so that they form a single circuit and do not overlap.' Eight curved circuit fragments start stacked at the top of a ring. Each has an orange knob: drag the knob around the ring to swing that fragment about the centre. Overlapping fragments turn red; a fragment that sits clear turns blue.
- Drag the fragments apart one at a time until all eight lie round the ring end to end, none of them red, as in the solved picture (the eight knobs spread evenly round the rim). The door opens into Monique's office.
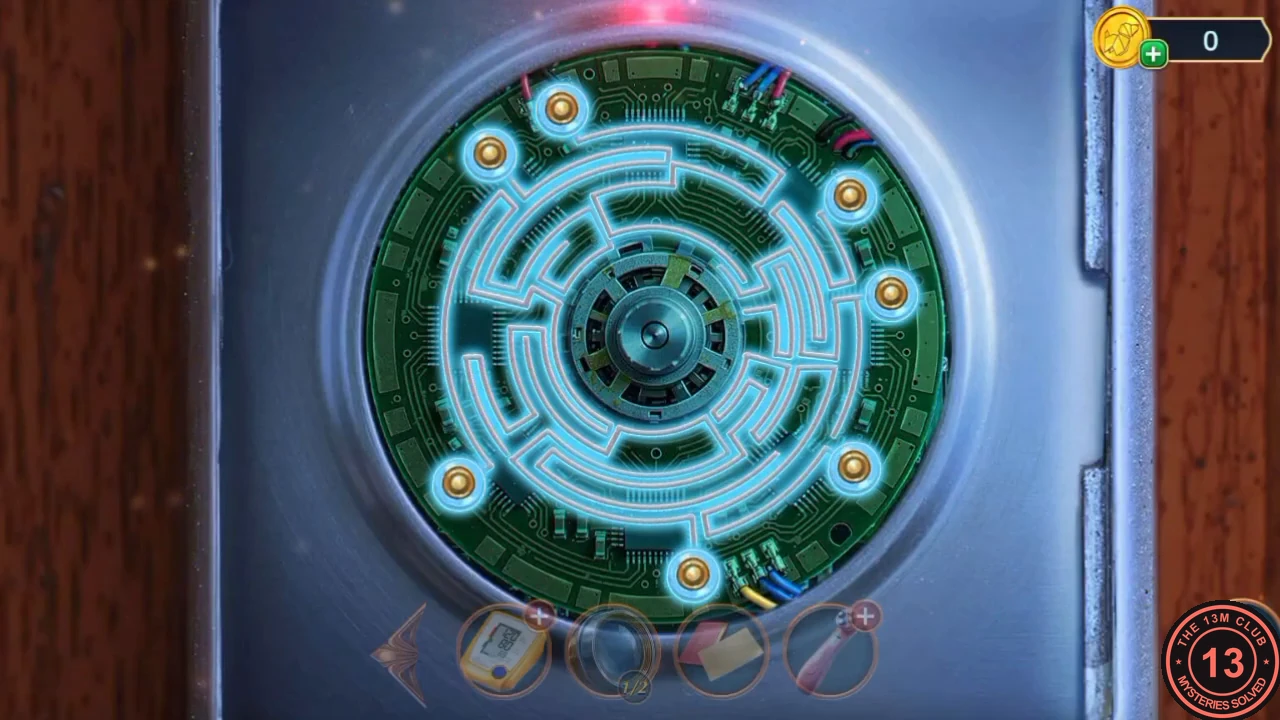
The solved circuit: eight fragments round the ring, none of them red.
Monique's office: the stamped imprint
Monique's office has a bookcase with a raised pattern on one panel, a billiard table with a toolbox, a computer desk and a portrait above a bead stand.
- Open the orange toolbox on the billiard table and take the Broken Figurine. (The toolbox is missing a screw; that comes later.) Open the computer desk and take the Books and the Sealed DVD Box.
- Open the bookcase panel with the raised pattern. Brush the pink make-up tube over the pattern to coat it with purple paint, then press the Mattifying Wipes on it. Take the Imprint.
- Open the bead stand under the portrait and set the Imprint in its slot. A drawer opens: take the second book (Books 2 of 2).
- Open the bookcase again and put the Books on the shelf. A pattern puzzle starts.
Pattern puzzle: the bookcase knot
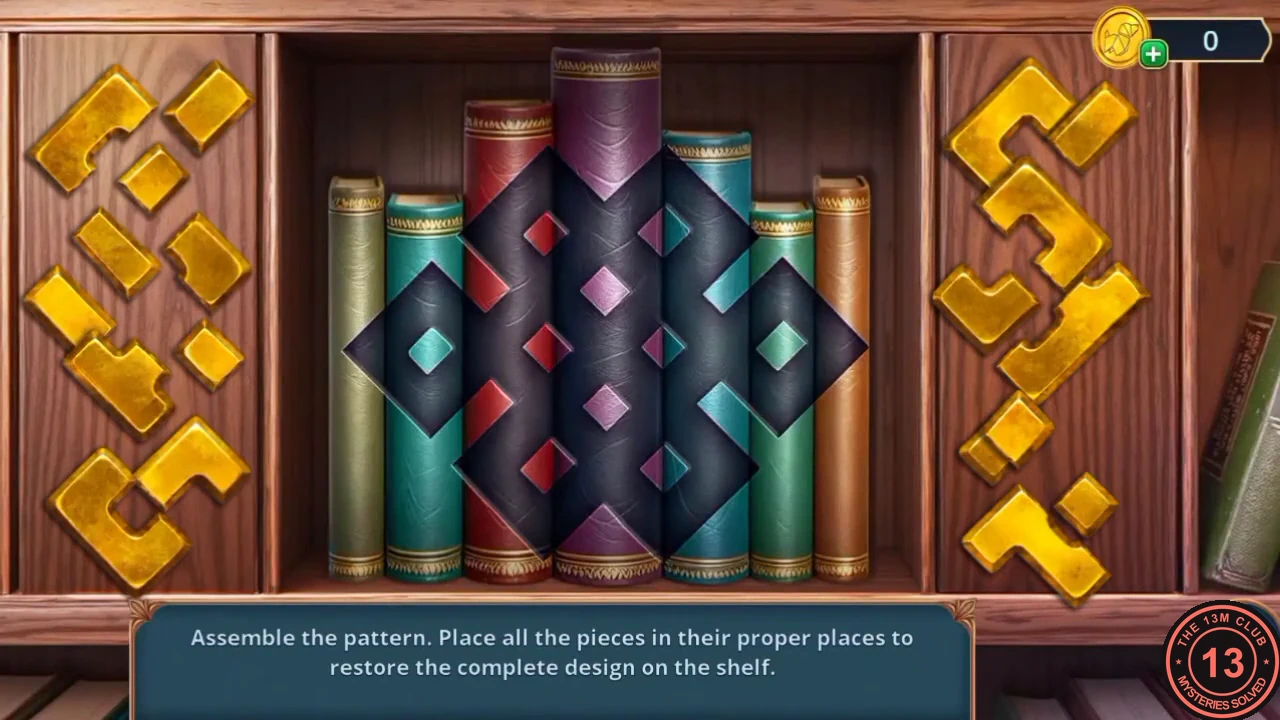
'Assemble the pattern. Place all the pieces in their proper places to restore the complete design on the shelf.' Gold pieces lie on both side panels and a dark knot outline covers the books.
- Drag each gold piece onto the part of the outline it matches until the whole gold knot is complete (see the solved picture). The shelf opens: take the Phoenix Feather (2 of 3) and the Boomerang.
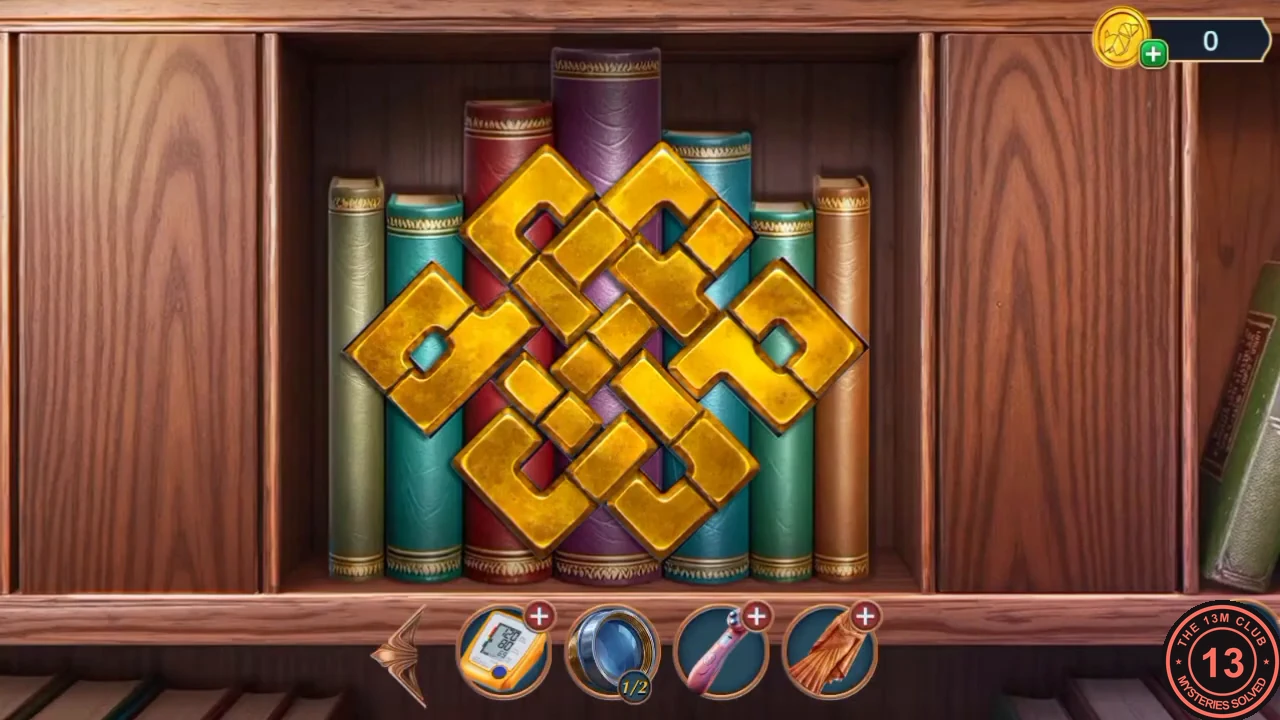
The solved pattern: the gold knot completely covers the outline.
The chipmunk's phone
Back in the courtyard outside the theatre, a chipmunk has made itself comfortable on the moped's toy box.
- Travel to the Courtyard (the street with the 24-hour shop). Open the tree and throw the Boomerang at the acorn in its branches. Take the Acorn.
- Open the toy box on the moped and give the Acorn to the chipmunk. It scampers off the phone it was sitting on. Read Monique's message on the screen and take the Phone with Smart House App.
- Travel to the Second Floor Hallway and open the robot vacuum's dock in the bottom right. Use the Phone with Smart House App and tap START VACUUM CLEANING. A route puzzle starts.
Route puzzle: the robot vacuum
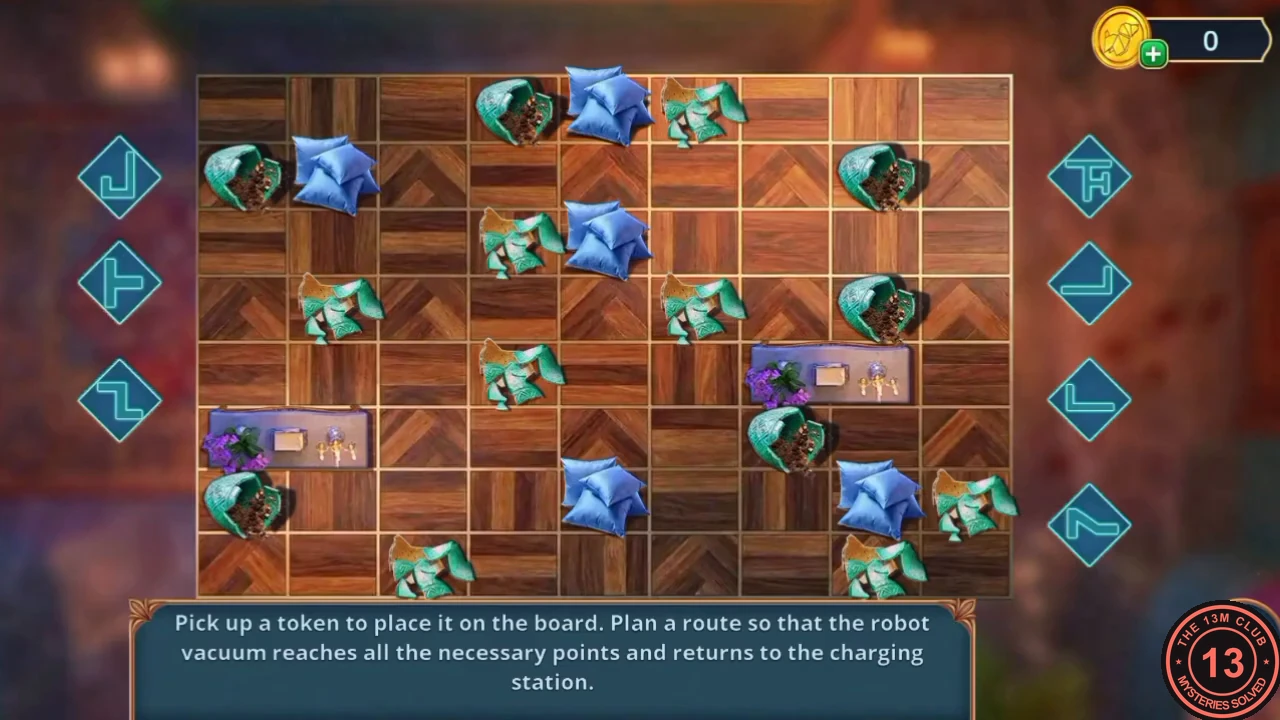
'Pick up a token to place it on the board. Plan a route so that the robot vacuum reaches all the necessary points and returns to the charging station.' The floor is a grid 9 columns wide and 8 rows high, with piles of dirt and leaves to clean, cushions and two small tables in the way, and seven route tokens beside the board: three on the left (a hook, a T-junction and a Z-bend) and four on the right (a double T, a corner turning up, a corner turning right and a step).
- Counting rows from the top and columns from the left, place the tokens like this: double T in row 2, column 3; step in row 2, column 6; corner turning up in row 4, column 6; T-junction in row 5, column 1; Z-bend in row 6, column 5; hook in row 7, column 6; corner turning right in row 8, column 2. The green route then joins every pile and the vacuum cleans the floor.
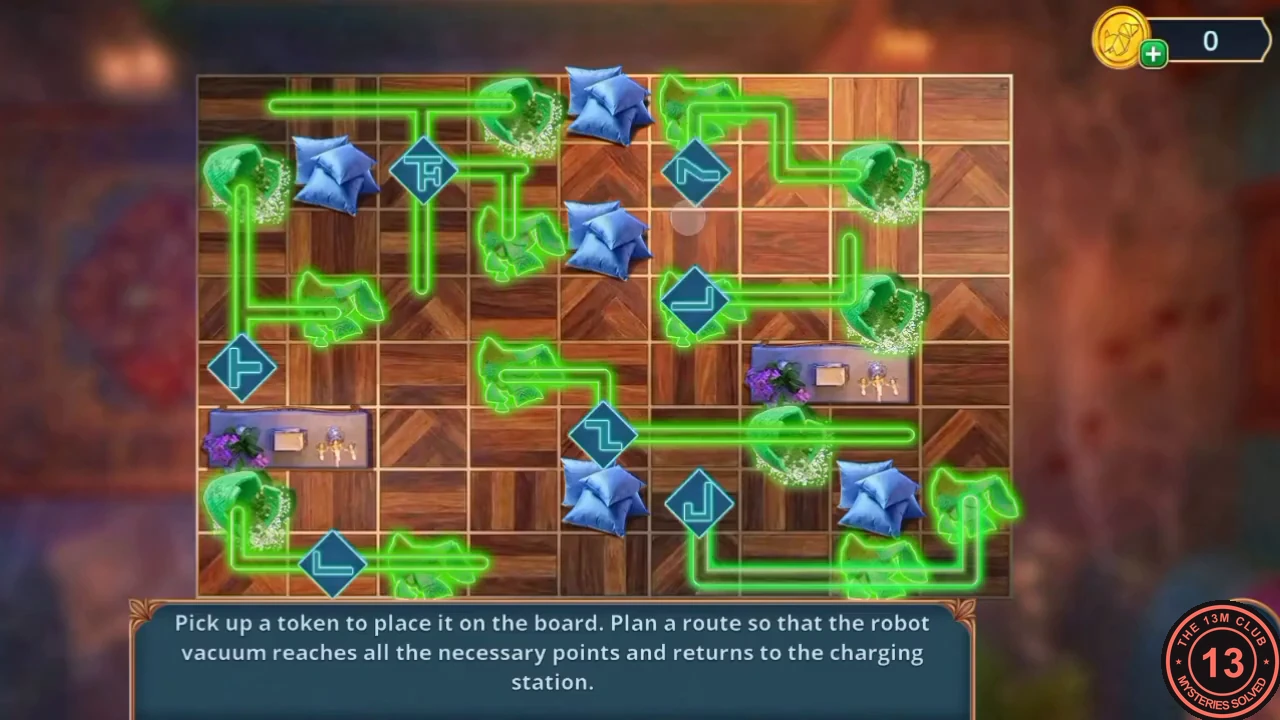
Solved: with all seven tokens placed, the green route joins every point.