Main Street
If someone silenced Mabel, Vivienne needs to know who and why. Start outside the Hollow Creek Police Department.
- Outside the police department, tap the Reporter's Token lying on the pavement in front of the bench (76/140).
- Zoom into the bench with the pigeon on the blue case. Take the Origami Book and the Reporter's Token in the bottom right corner of the close-up (78/140).
- Open Mabel's bag (from the storeroom box) in the inventory. Cut the tape around it with the Bloody Butcher Knife and take the Telescopic Pointer.
- Zoom into the town map board and mailbox. Take the Reporter's Token (80/140). The map's glass is locked for now ("I need to open this glass somehow... And I need a clue, too"). Put the Gear from the Back Alley into the mailbox's round window to start the gear puzzle.
Mailbox Gear Picture
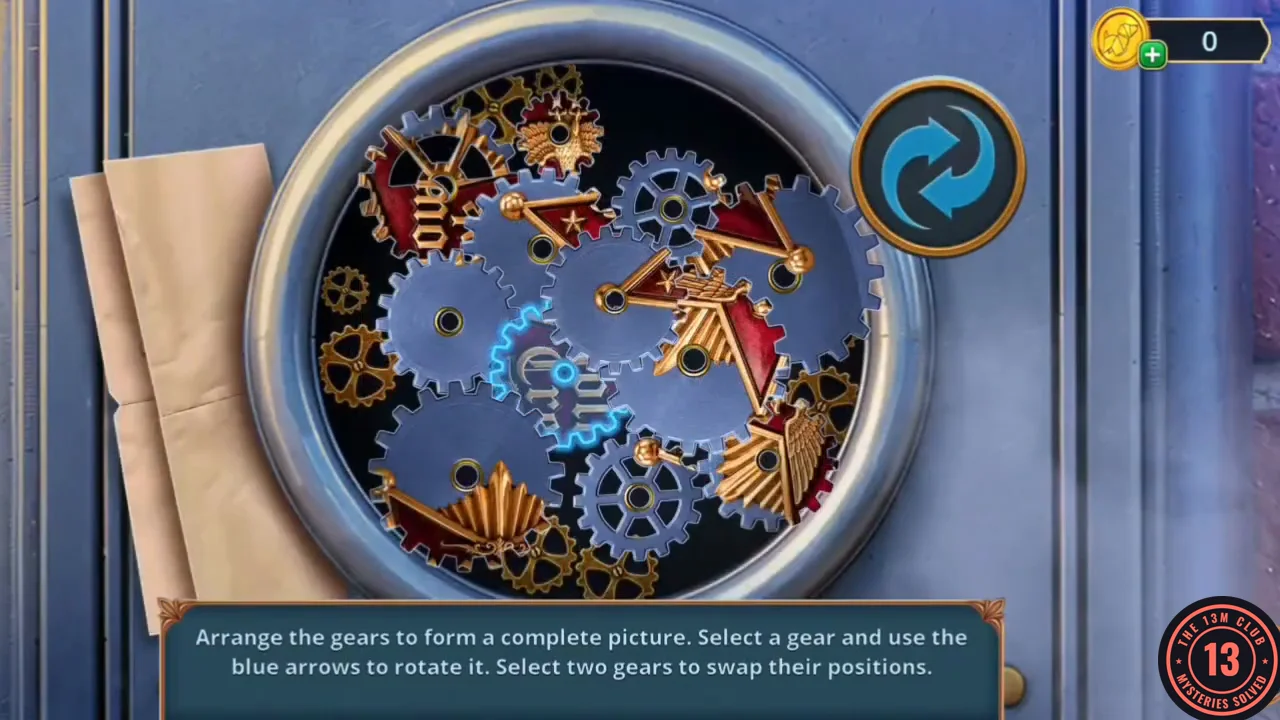
Arrange the gears to form a complete picture. Select a gear and use the blue arrows to rotate it; select two gears to swap them.
- The gear pieces each hold a fragment of a picture. Tap two gears to swap them, or select one and use the blue arrow to rotate it. The hint paper on the left shows the goal, the red Hollow Creek star badge with an eagle. When every piece is in place and upright, the mailbox opens; take the Button.
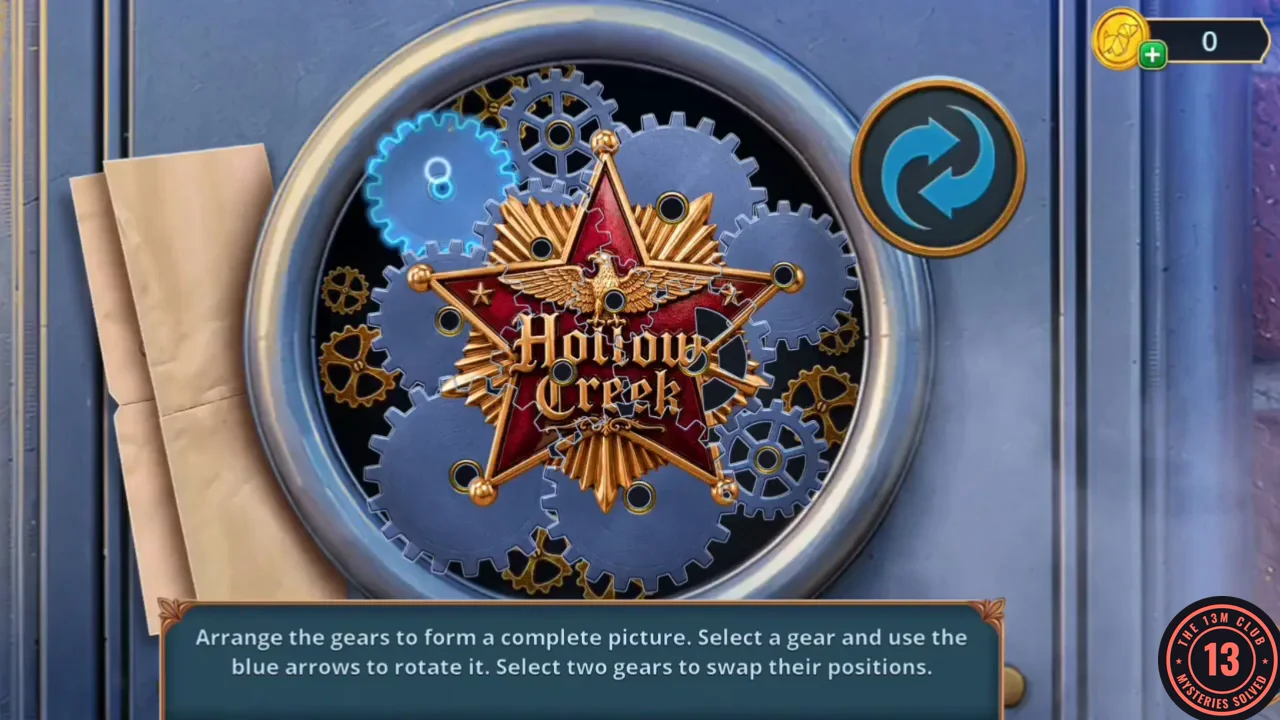
The completed picture: the Hollow Creek star badge. - Zoom into the station door marked "Sheriff Cole" and fit the Button into the empty buzzer socket, then press it. The door opens.
Front Office
The sheriff insists Eleanor left town on her own.
- Talk to the sheriff. Decision: "Bring up Mabel and the Blue Spoon." (60 coins, +2) or "Ask for report." (free, 0). This walkthrough takes the free option. The report is suspiciously clean.
- In the front office scene, tap the Reporter's Token on the stack of books next to the goldfish bowl, to the left of the grey filing cabinet (82/140).
- Zoom into the small desk by the hamster cage. Take the Telephone Cord and the Reporter's Token (84/140). The knight figurine has "an empty spot right next to" it.
- Go outside and zoom into the bench. Prod the pigeon with the Telescopic Pointer so it moves off the blue case, then take the Second Figurine. Back inside, place it in the empty spot beside the knight. Both knights raise their arms and you can take the Key.
- Outside, zoom into the chained gate to the right of the station and unlock its padlock with the Key. Go through into the Police Yard.
Police Yard and the Radio
Lucas has slipped into the locked yard.
- Talk to Lucas. Decision: "Ask how he got through the locked gate." (60 coins, +2) or "Ask what he's doing here." (free, 0). This walkthrough takes the free option.
- In the Police Yard, tap the Reporter's Token on the ground at the foot of the brick wall, just right of the steps (86/140).
- Zoom into the blue hand truck and crate. Take the red Canister of Gas, then zoom into the wheel and take the Lock Picks (1/2) and the Hook ("This wheel can still do some good. With the right tools, that is."). The crate's nails are in the way: pull them out with the Metal Comb (from the cuckoo clock in Chapter 2; keep the comb, it is needed again later), then take the Nails and the Police Recording.
- Zoom into the radio desk and take the Reporter's Token (88/140). Vivienne notes the microphone cord is damaged. Replace it with the Telephone Cord, then put the Police Recording reel on the tape recorder. The TRANSMIT button lights up.
Police Radio Frequency
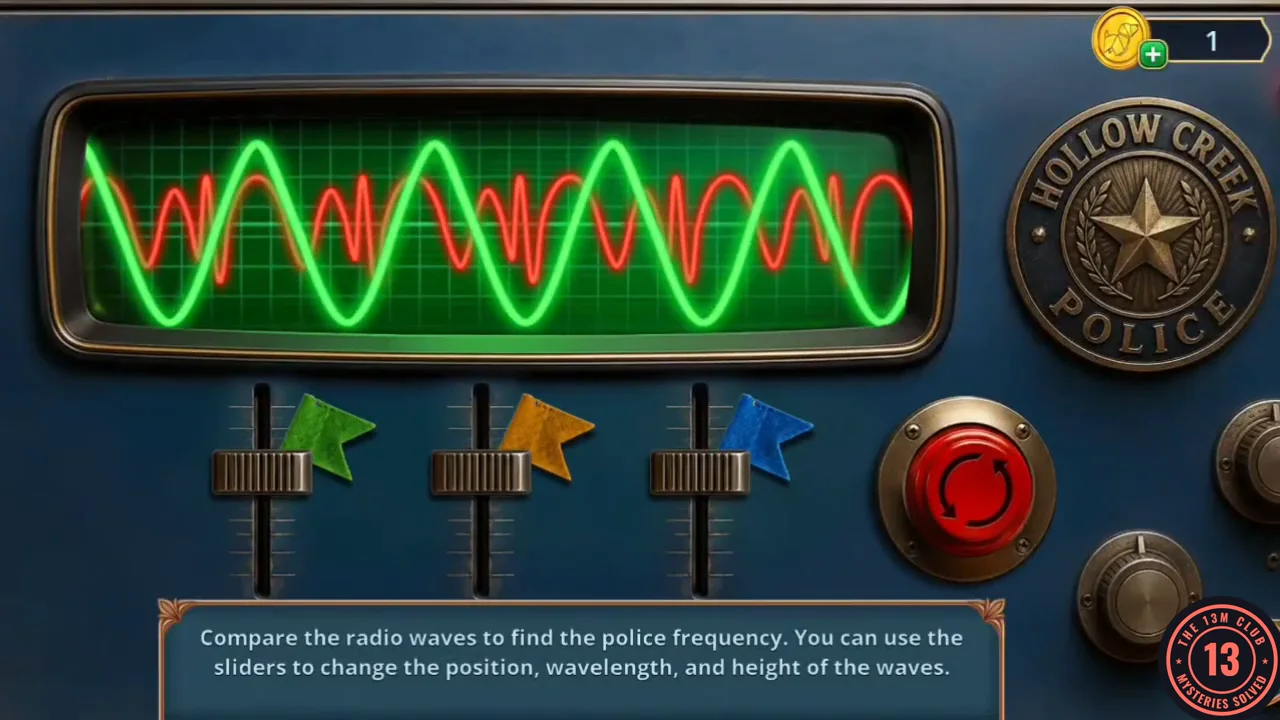
Compare the radio waves to find the police frequency. The sliders change the position, wavelength and height of the waves.
- Move the three sliders (green, orange, blue) until the green wave lies exactly over the red target wave. In the solved state, each slider sits level with the coloured flag beside it: green about two-thirds of the way down, orange just below the middle and blue in the upper third. The red button resets the sliders.
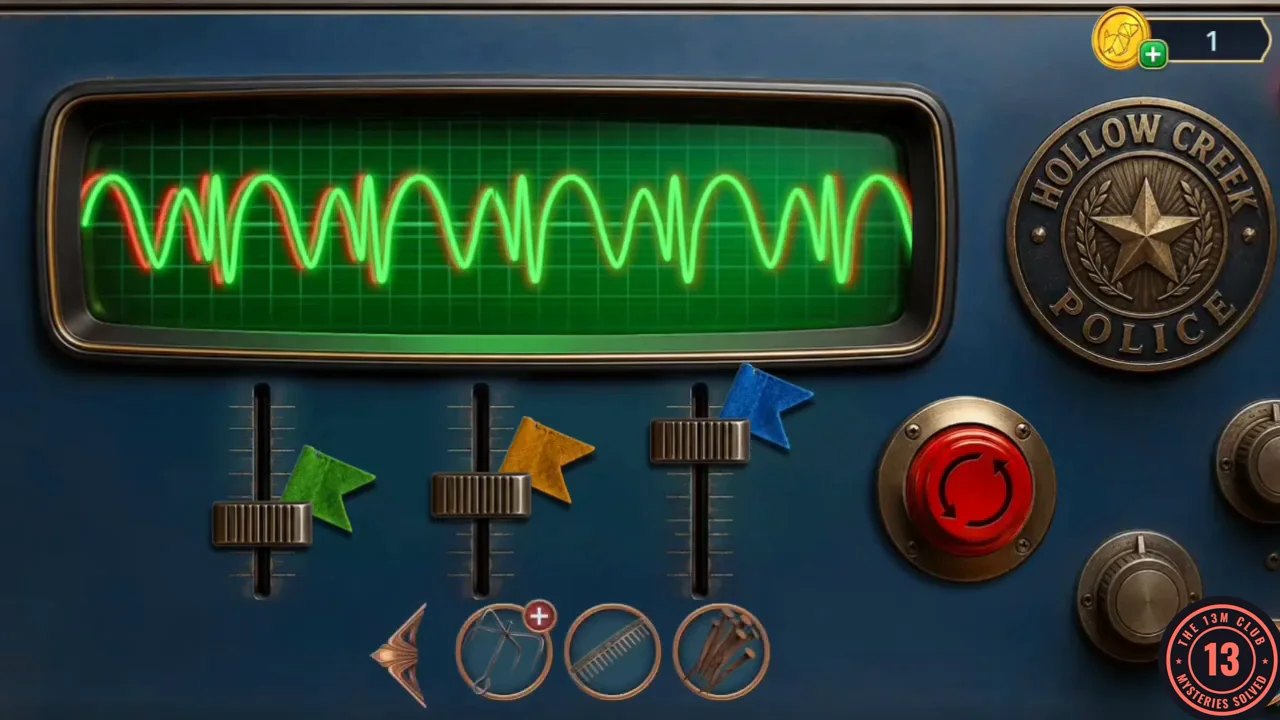
Solved radio: the green wave covers the red target wave. - Press Play to broadcast the fake call about the old bridge. The sheriff drives off.
Front Office Desk
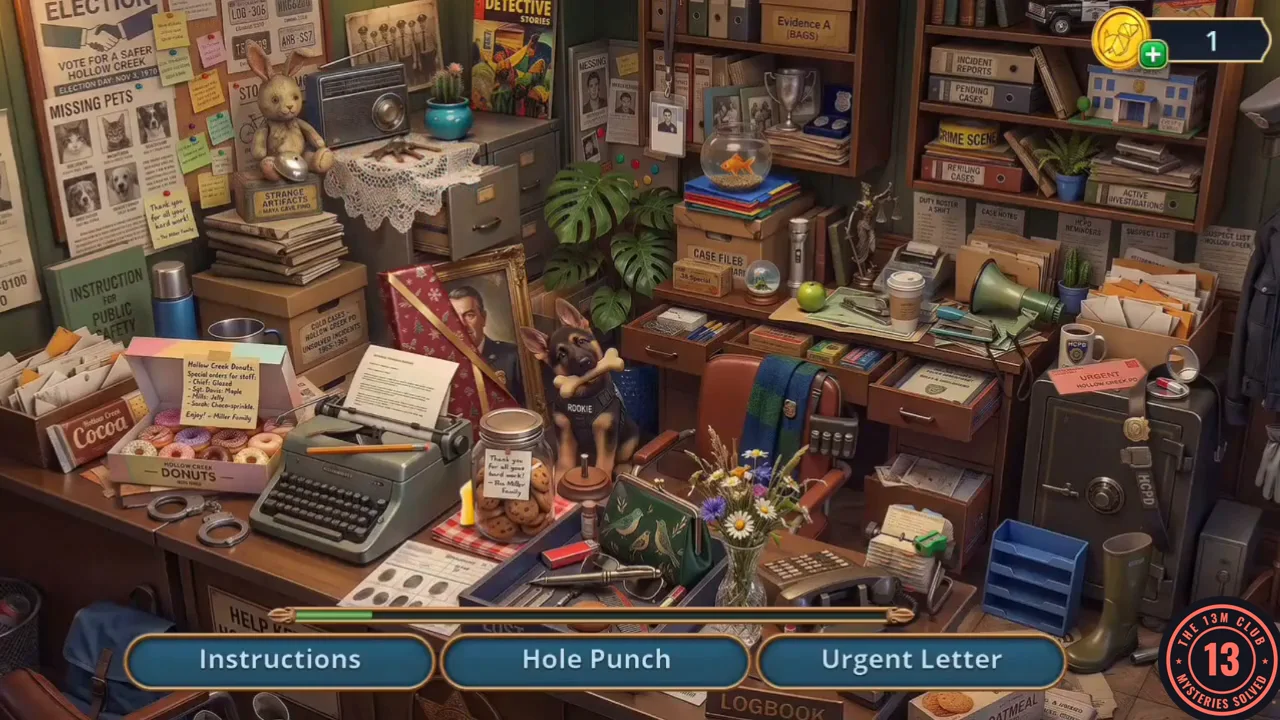
Find the listed items on the sheriff's front desk.
- With the sheriff gone, tap the cluttered front desk. Three names at a time are listed at the bottom; each one you find is replaced by the next. The list includes Instructions, Duster, Urgent Letter, Hole Punch, Badge, Coffee, Flag, Dog Toy, Goblet and Bell. When the list is empty you receive the Cheese.
- Zoom into the hamster cage by the knights and put the Cheese in. The hamster comes out of its house; take the second Lock Pick from inside (Lock Picks 2/2). Use the Lock Picks on the keyhole of the door marked SHERIFF.
Sheriff's Office Lock Pick
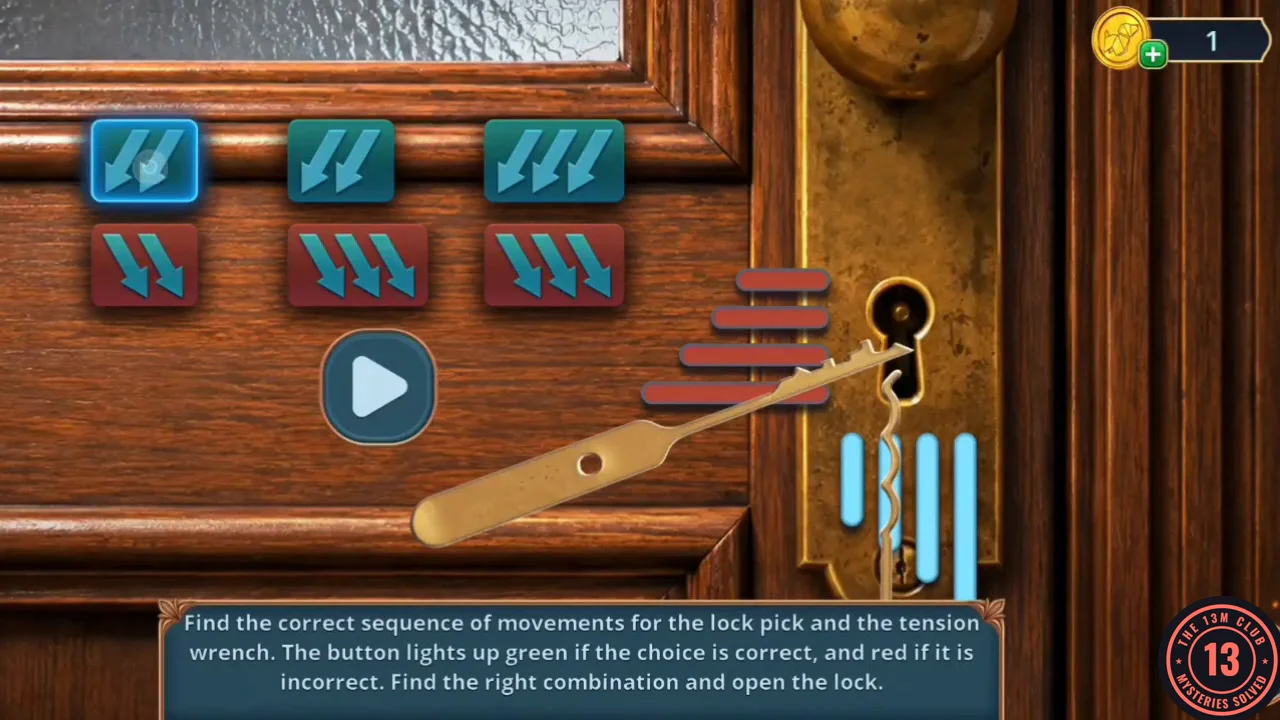
Find the correct sequence of movements for the lock pick and the tension wrench. The button lights green for a correct choice and red for a wrong one.
- The three columns are the three moves. In each, the teal tile on top sets the lock pick (1–3 arrows) and the red tile below sets the tension wrench (1–3 arrows); tap a tile to change its number of arrows. Press Play: correct tiles light green and wrong ones red. Example solution, left to right: pick 2 / wrench 3, pick 3 / wrench 2, pick 2 / wrench 1. If yours differs, keep the green tiles and change the red ones.
Sheriff Cole's Office
The office is as neat as his report.
- Zoom into the window behind the desk. Raise the blinds and take the Reporter's Token (90/140) from the sill. The window "won't stay open on its own", so prop it up with the Telescopic Pointer. Take the Manicure Scissors and the Cap Token (a police cap badge) from the ledge outside; mind the cactus.
- Zoom into the side table under the town photo, move the folder aside and take the Extension Cord.
- Zoom into the closet door to the right ("Something's supposed to go in this slot"). Put the Cap Token into the star-shaped slot under the handle. The door opens on a cluttered storage closet.
Evidence Closet
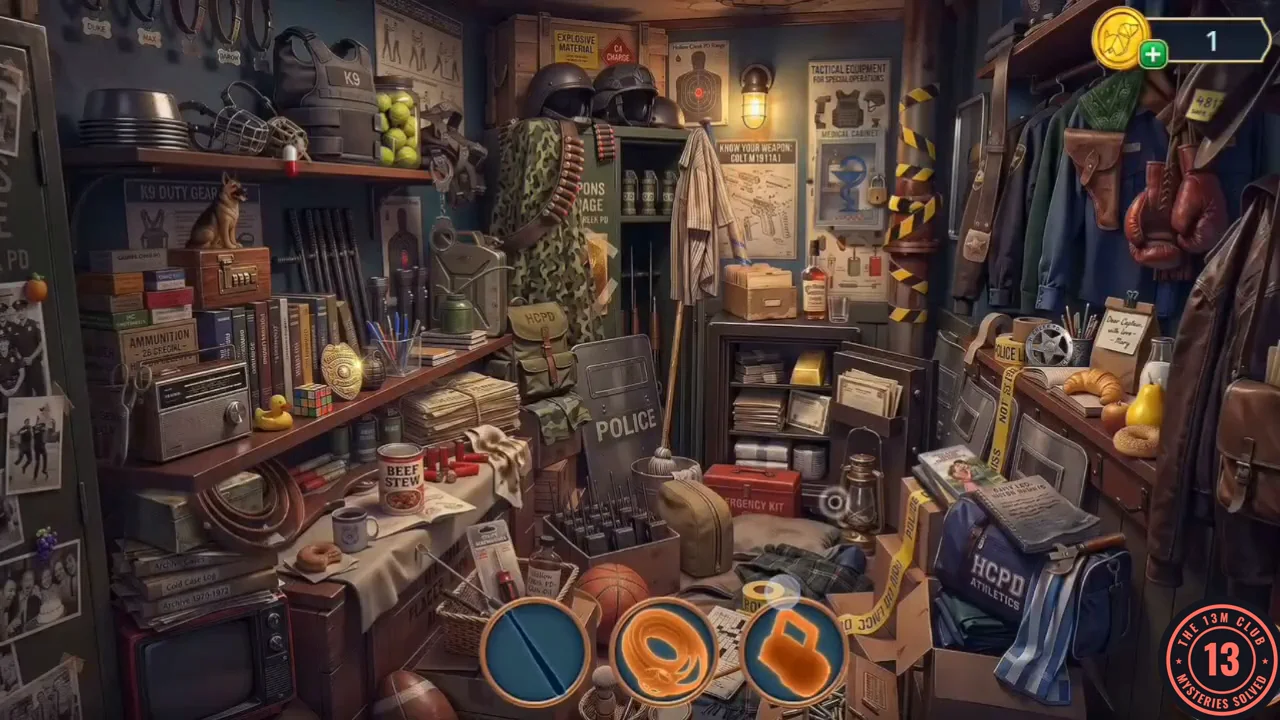
Find the objects shown by the icons.
- Three silhouette icons at the bottom show what to find (shapes such as a stick, a ring, a padlock and a dress); each found object is replaced by a new icon. The closet scrolls left and right, so check both sides. When the list is empty you receive the Sheriff's Hat.
Into the Station Hallway
Lucas shows Vivienne a way in through the fire escape.
- In Sheriff Cole's Office, zoom into the bust on the desk and tap the Reporter's Token at the bottom left of the close-up, on the Hollow Creek Herald (92/140).
- In Sheriff Cole's Office, zoom into the bust on the desk and put the Sheriff's Hat on it (the bust is still "missing... some kind of official badge"). Take the Newspaper from the desk. Open the Origami Book in the inventory and add the Newspaper to fold a Paper Dove.
- Outside, zoom into the bench and set the Paper Dove on the armrest. The pigeon flies over to it, leaving a brick on the blue case. Push the brick aside with the Telescopic Pointer, then take the Brick and the Corkscrew. Vivienne notes that the case's lock matches the emblem on the police car.
- In the Police Yard, zoom into the motorbike and take the Planks from under its wheel. Vivienne would "love a ride on this puppy, but it needs fixing first. And a key". Leave the Canister of Gas by the bike.
- Zoom into the radio desk ("I wish I could open this drawer like a bottle!"). Twist the Corkscrew into the drawer knob, pull it open and take the Wrench, the Mechanical Timer and the Sandwich. Back in the yard, give the Sandwich to Lucas. In return he gives you a boost up the fire escape.
- Someone appears at the hallway window. Decision: "Freeze in fear" (free, 0), "Duck" (30 coins, +2) or "Hide by the window" (60 coins, +6). This walkthrough takes the free option.
- Wedge the door open with the brick and enter Evidence Storage.
Evidence Storage Shelves
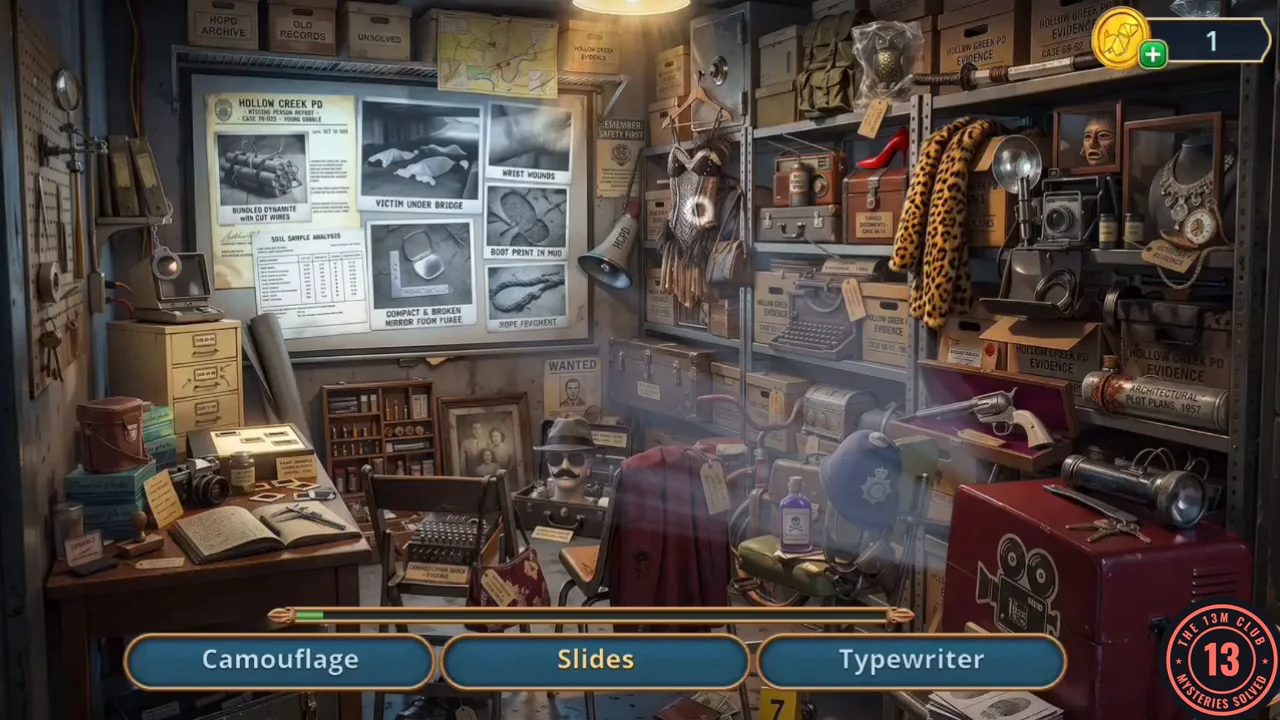
Find the listed objects on the evidence shelves.
- In Evidence Storage, tap the Reporter's Token on the desk in the middle of the room, to the right of the papers (94/140).
- In Evidence Storage, zoom into the A–F file cabinet by the brick wall. Take the Clothespin, the Reporter's Token at the top right of the close-up (96/140) and the Can of Red Paint. Plug the Extension Cord into the wall socket, then zoom into the purple slide projector on the left and connect it to the cord. The projector lights up the evidence wall.
- Three names are listed at a time; each found object is replaced by the next. The list includes Camouflage, Slides, Ruler, Typewriter, Handcuffs, Building Plan, Mask, Lens and Dress. When the list is empty you receive the Evidence Locker Code (2745): "That code might finally get me into the evidence box."CODE2745
Eleanor's Belongings
Open the evidence cage that holds Eleanor's things.
- Zoom into the evidence cage at right and enter 2745 on the pink combination padlock. Take the Eleanor's Belongings evidence bag from under the blue duffel and open it in the inventory: take the Negative Film and the red strap. "There's still film in the camera. Eleanor wouldn't have left it here for the cops to find."CODE2745
- Zoom into the A–F cabinet, hook the red strap through the jammed drawer's handle and pull it open. Eleanor's case file shows the report was signed before anyone knew she was missing. Take the Talc and the Sheriff's Badge from the drawer.
- Return to Sheriff Cole's Office and pin the Sheriff's Badge on the bust. A drawer opens in its base; take the Sheriff's Leather Glove. Zoom into the window and use the glove to lift the cactus, then take the Shaving Brush.
- In the front office, zoom into the keypad lock on the door. Sprinkle the Talc on the keys, then dust them with the Shaving Brush to show the fingerprints. The clue card appears.
Darkroom Keypad
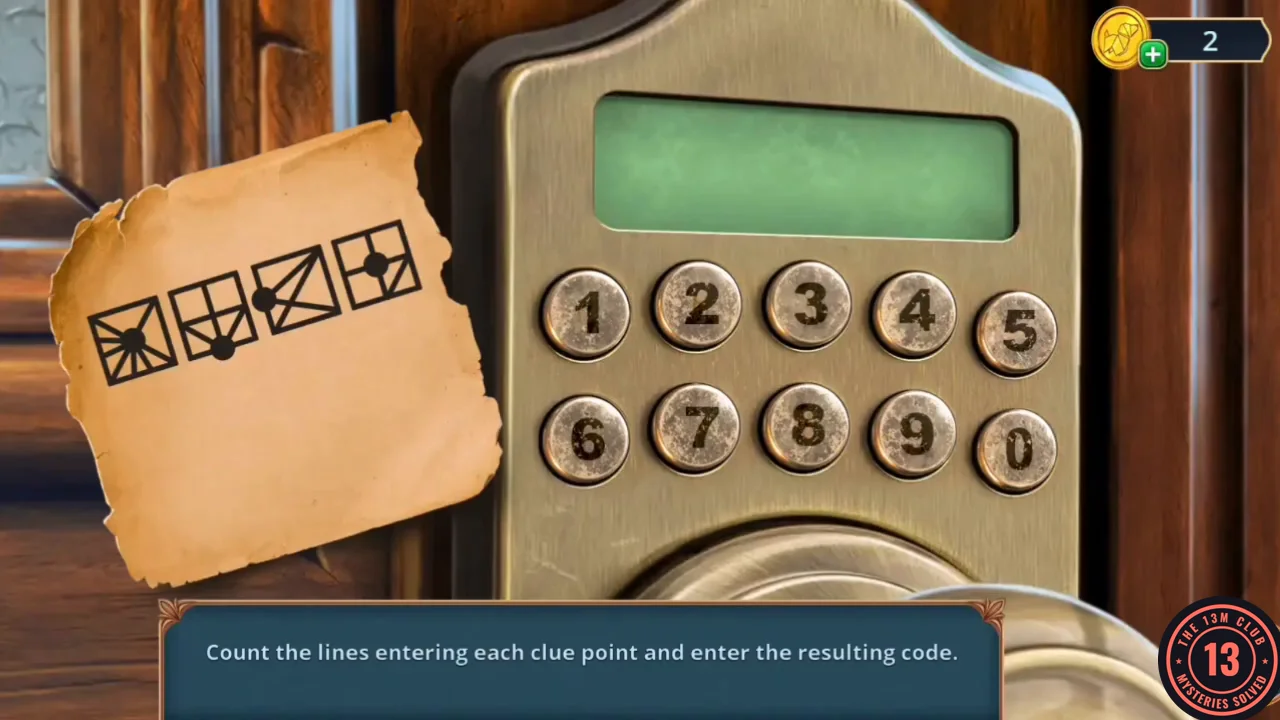
Count the lines entering each clue point and enter the resulting code.
- Each of the four squares on the clue card has a black dot. Count the lines that run into that dot and enter the four counts in order. In the version this guide follows, the card gives 8 (first square, dot in the middle), 5, 4 and 4, so the code is 8544. If your card looks different, count your own lines.CODE8544