Parking Lot and Pharmacy Street
Collect what you need around the parking lot and the pharmacy.
- In the Parking Lot, zoom into the boarded-up hollow in the big tree ("What should I try next?"). Lever the boards off with the Bottle Opener and take the Key from the hollow; a kitten watches from a branch above. Zoom into the manhole cover and take the Reporter's Token (128/140). Push the Key into the cover's slot and lift it, then take the Coin from the drain.
- On Carson Street, zoom into the souvenir shelf in the pharmacy window ("Price 1" sign). Put the Coin on the plate and take the Souvenir Mug, then take the Reporter's Token lying in the plate (130/140). Zoom into the planter with the dachshund and the garden gnome ("That empty patch beside him makes me wonder where his partner went"). Dig the empty patch with the Souvenir Mug and take the Saw Blade.
- Open the Chainsaw in your inventory: it has two empty part slots. Fit the Saw Blade into the first slot. The second part is still missing, and other items are rejected ("No blade... yet. And once I find one, how will it fit?"), so keep the Chainsaw for later.
Water Tower Junk Pile (Second Search)
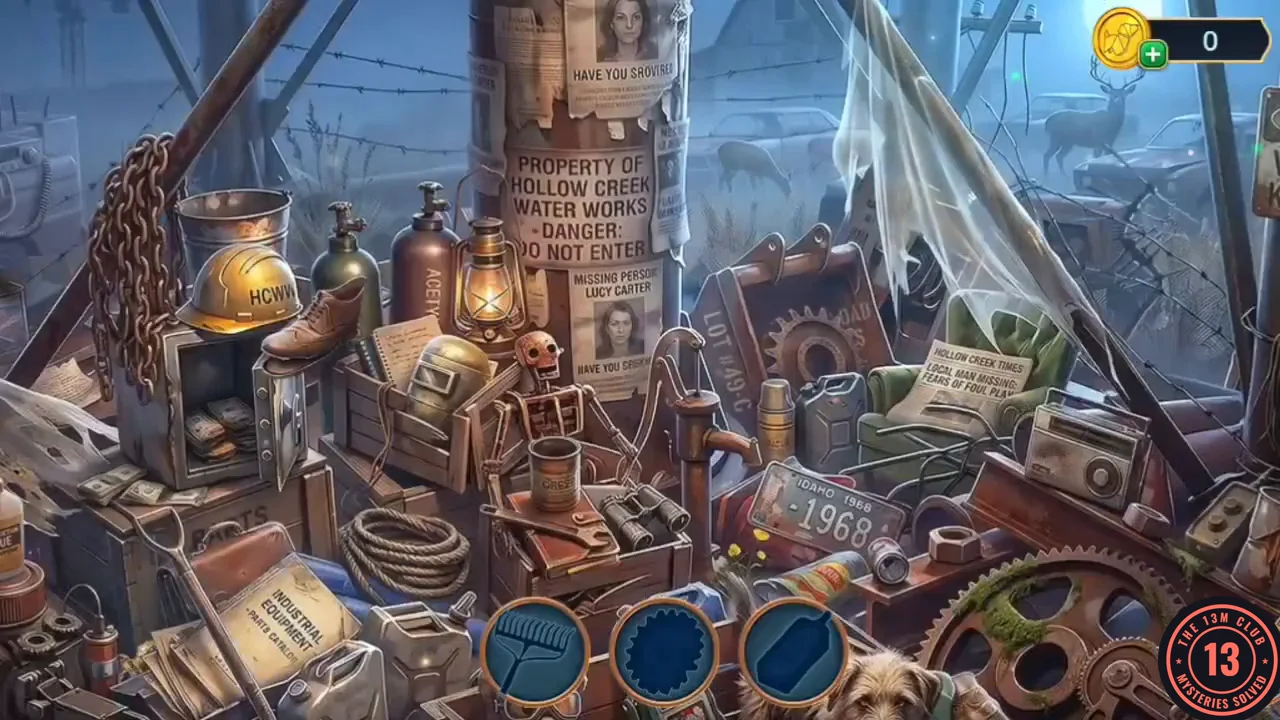
Vivienne spots something she missed at the water tower.
- Return to the Water Tower: "Wait... there's something there. How did I miss that?" Search the sparkling junk pile again. This time the tray at the bottom shows silhouettes (the first is a rake), and you find the scattered objects that fill each one; the scene scrolls sideways. When the pile is cleared you receive the Fibula, a jewelled turtle brooch.
Lawnmower Path
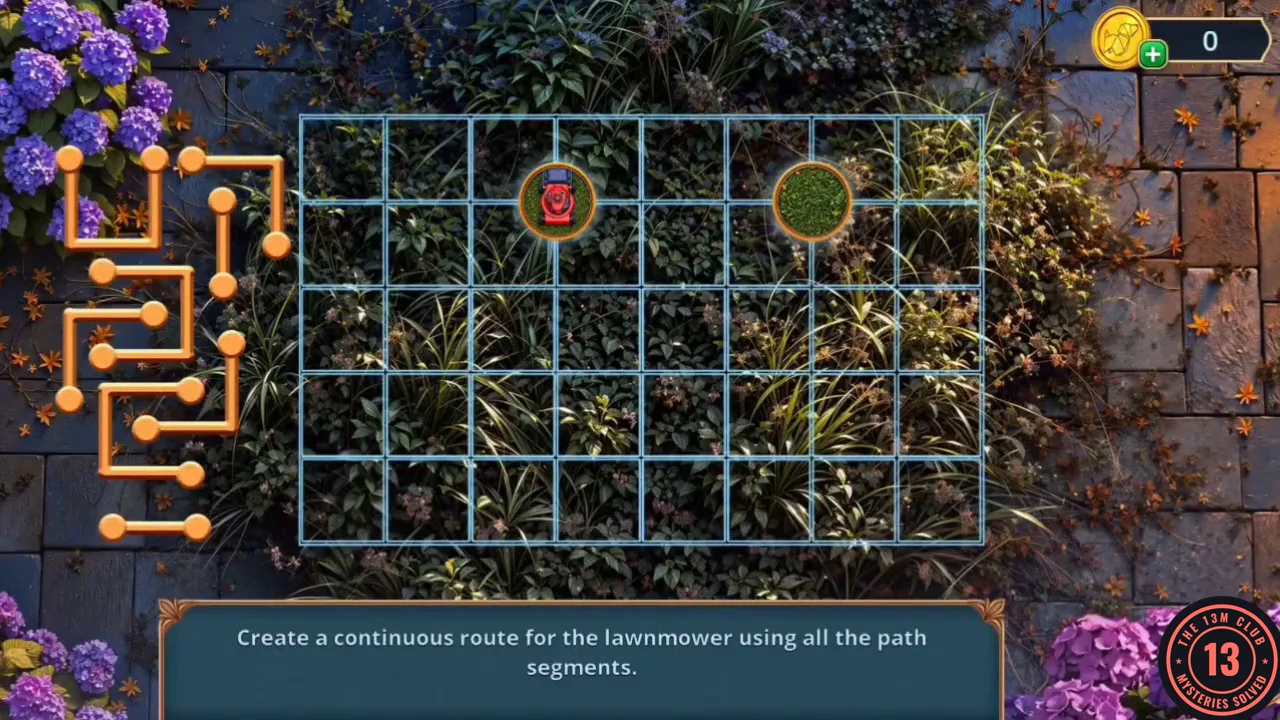
Create a continuous route for the lawnmower using all the path segments.
- At the Water Tower, zoom into the padlocked teal door marked "Danger, do not enter" and press the Fibula into the padlock. The task "Find the old road to the water tower" is completed. Go through into the Abandoned Pavilion. Zoom into the red lawnmower and the wooden box with three round holes in its lid ("...not a single one moving. There has to be something that fits all three"). The mower's "engine looks fine. Just missing the lever". Zoom into the lion fountain: take the Reporter's Token (132/140), a torn photo of Sheriff Cole and the Lever from the basin. The Chainsaw still lacks a part ("I'll try something else"). Fit the Lever to the lawnmower.
- In the Abandoned Pavilion, zoom into the red lawnmower and the wooden box and tap the Reporter's Token at the bottom right corner of the box, among the roses (134/140).
- The mower sits on a grid intersection at the top left of centre, the green patch at the top right. Drag the orange segments from the left onto the grid lines so they form one continuous route that uses every segment. One working route, in grid-line steps from the mower: down 1, left 2, down 1, right 2, down 1, right 1, up 2, right 1, down 1, right 1, up 1, right 1, up 1, then left 1 into the green patch.
- The mown grass reveals the Canned Food and the Cutters by the box. In the Parking Lot, zoom into the bicycle's rear rack and cut the yellow clamp with the Cutters. Open the parcel and take the Racket and the Solvent.
Lobby Portrait Cells
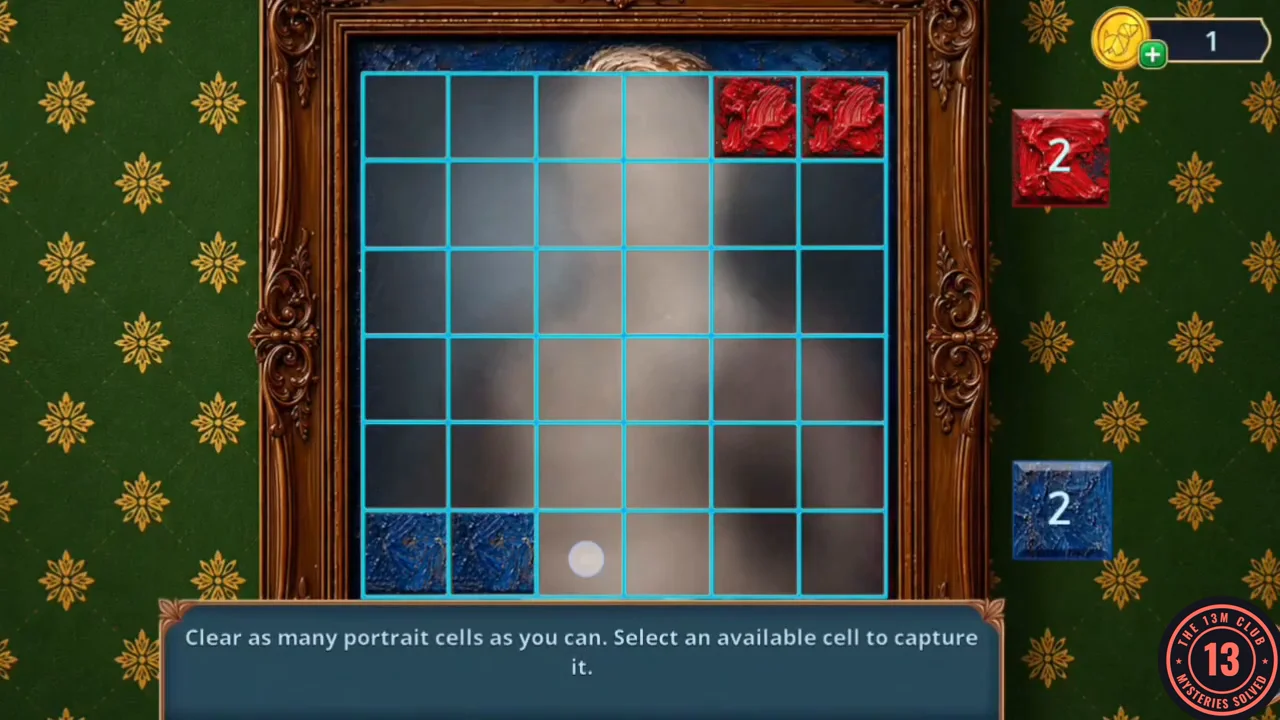
Clear as many portrait cells as you can. Select an available cell to capture it.
- In the Parking Lot, zoom into the empty deck-chair frame under the tree ("The frame's still solid. Just missing the seat"). Fit the Deck Chair Fabric. A kitten sits high in the tree and ignores you: "He's not reacting. Maybe I should call him by his name."
- In the club lobby, zoom into the painted-over portrait beside the clock. Pour on the Solvent and scrub with the blue brush to start the puzzle.
- You play blue, starting from the bottom row; the opponent plays red from the top right. On your turn, tap a highlighted cell next to your area to capture it. Cells shown in green are taken along with it. The counters on the right show each side's total. Keep expanding toward the largest open areas; one winning game ended 23 blue to 13 red.
- The cleaned portrait shows Mrs. Vale holding a cat, with the plaque "Mrs. Vale and «King»": "Now I know the cat's name and can call him."
Barrel Boards Cut Marks
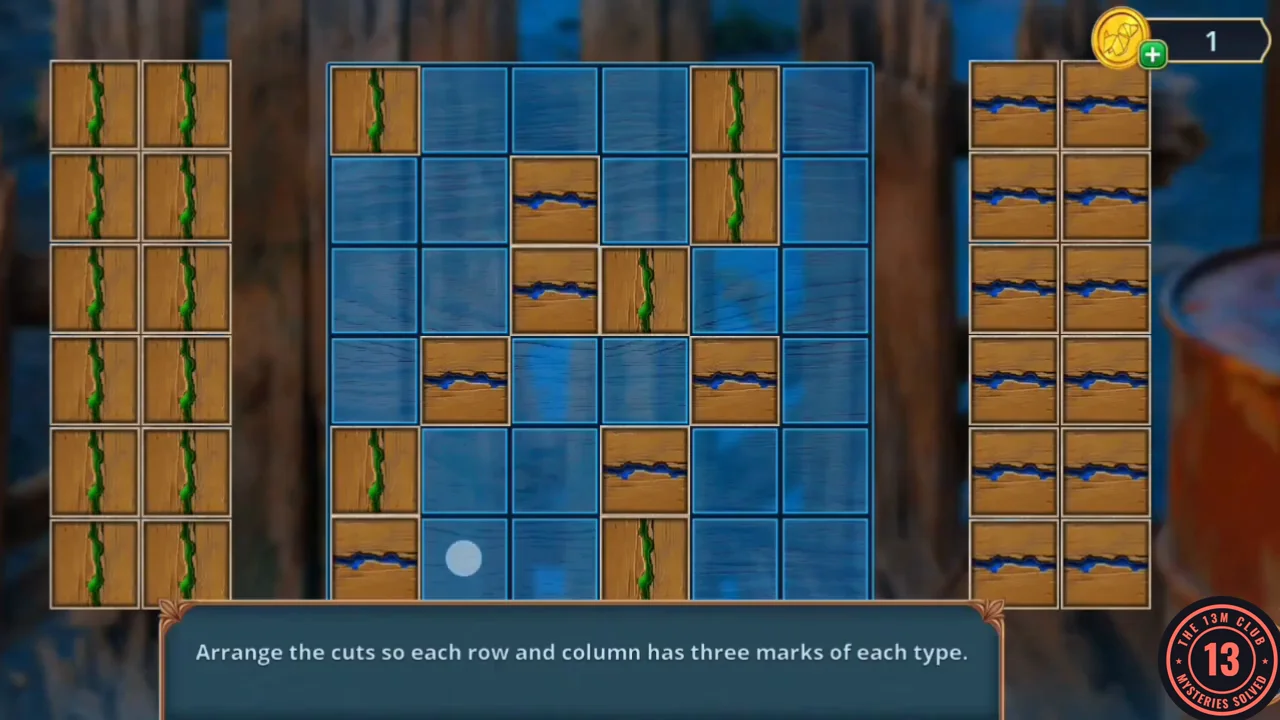
Arrange the cuts so each row and column has three marks of each type.
- In the Parking Lot, zoom into the tree and call "King! Jump - don't be afraid!": the kitten jumps down onto the chair, and an achievement for getting him out of the tree unlocks. Take the Glue (a ZIP-ZAP tube), the Bust Parts (a round silver piece, 1/2) and the Screw (a hex nut).
- Open the Chainsaw in your inventory and fit the Screw into the second slot; the chain bar attaches and the Chainsaw is ready. At the Water Tower, zoom into the HOLLOW GREEN barrel and use the Chainsaw on the wooden boards behind it.
- Fill the 6 × 6 grid with green vertical cuts (V) and blue horizontal cuts (H) from the stacks at the sides. Twelve tiles are fixed at the start, and each row and column must end with three of each. Example solved grid, rows top to bottom: 1) V H V H V H; 2) V V H H V H; 3) H V H V V H; 4) H H V V H V; 5) V V H H H V; 6) H H V V H V. The boards fall away: take the blue-and-gold tile behind them (the first Mosaic Piece, 1/2) and the Spur.
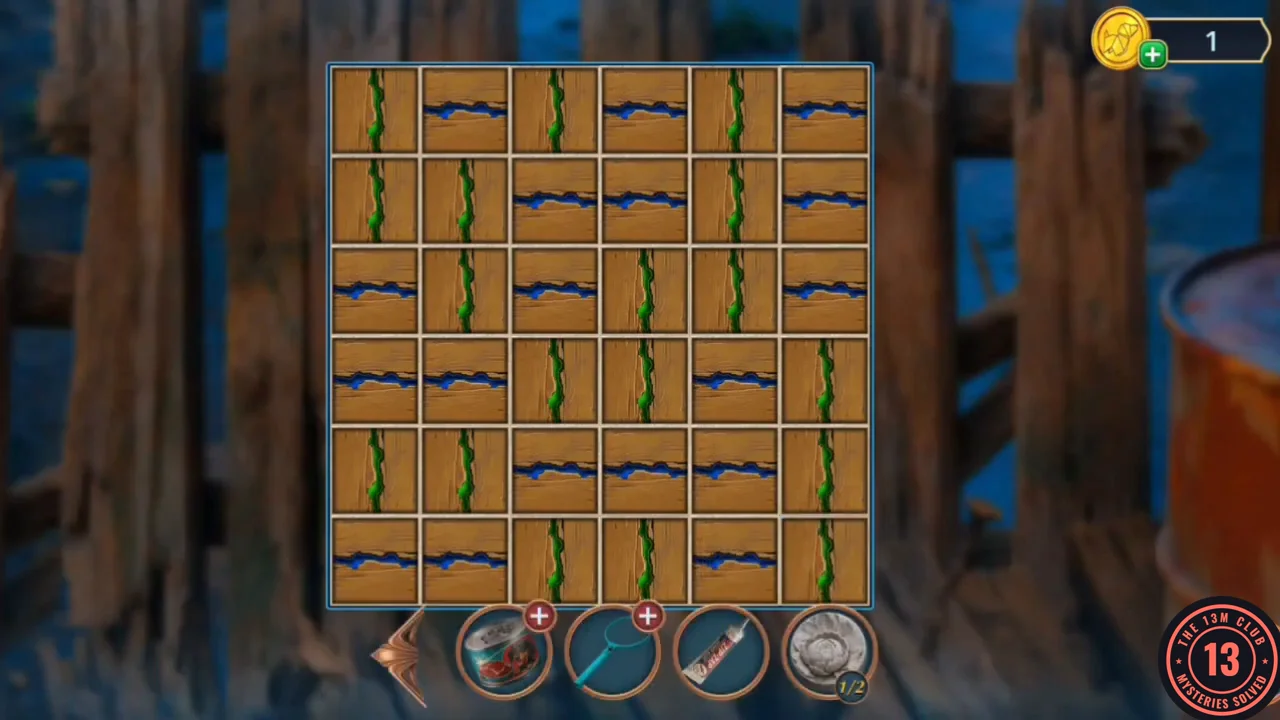
The example solved grid given above.
Pavilion Table Differences
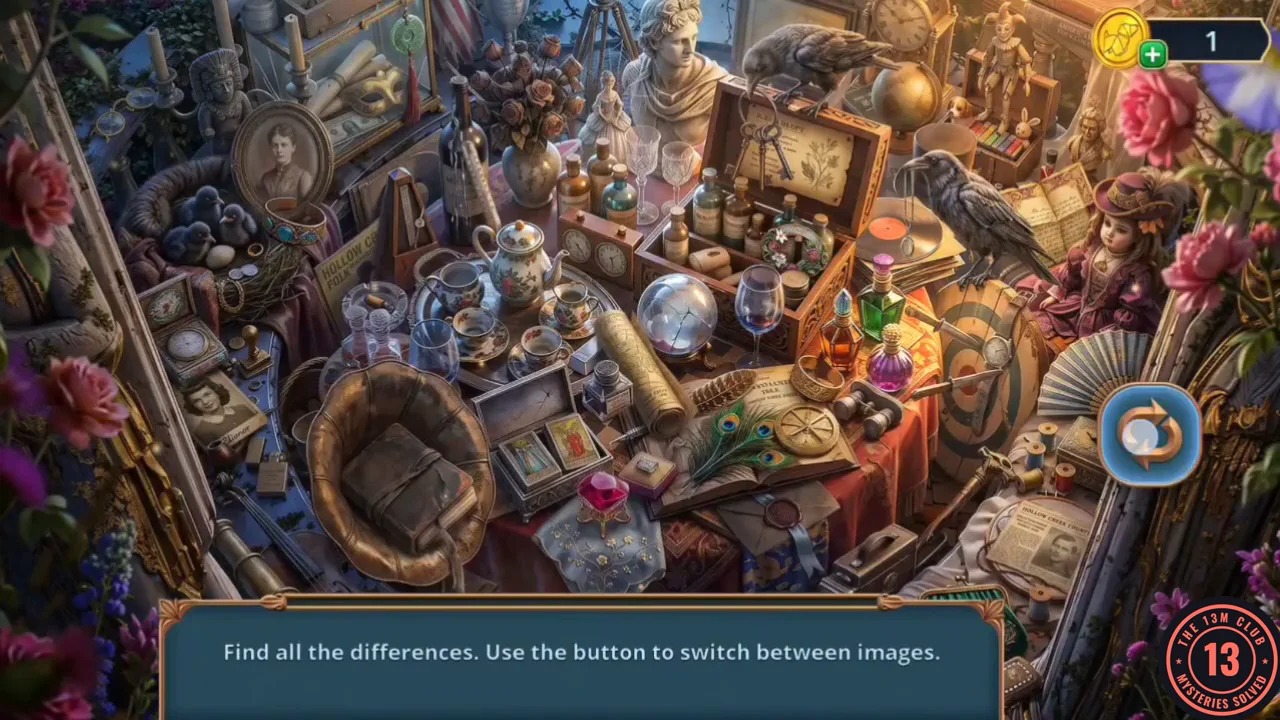
Find all the differences. Use the button to switch between images.
- In the Abandoned Pavilion, the box by the lawnmower still has three holes ("There has to be something that fits all three"), so leave it for later. Open the Canned Food in your inventory by prising the lid with the Spur. The fox under the pavilion table won't eat it ("I hate when that happens"). On Carson Street, put the open can in front of the dachshund. When it finishes eating, pick up the dachshund. Back in the pavilion, release it at the fox: the dog chases the fox away and the table opens.
- Tap the round arrow button to flip between two versions of the cluttered table, and tap each object that differs; found ones get a green tick. The differences are the scroll case top left, the birds' nest, the spectacles by the photo, the alarm clock, the herbarium box, the wine glass, the gramophone horn with its book, the dart board, the pocket watch and the newspaper at the bottom right. A quick-finding achievement can pop up. Afterwards the last silhouette in the tray reveals Sheriff Cole's POLICE ORDER: incidents near the old water tower are kept at district level and not sent to headquarters. You receive the Ball.
Lion Fountain Mosaic
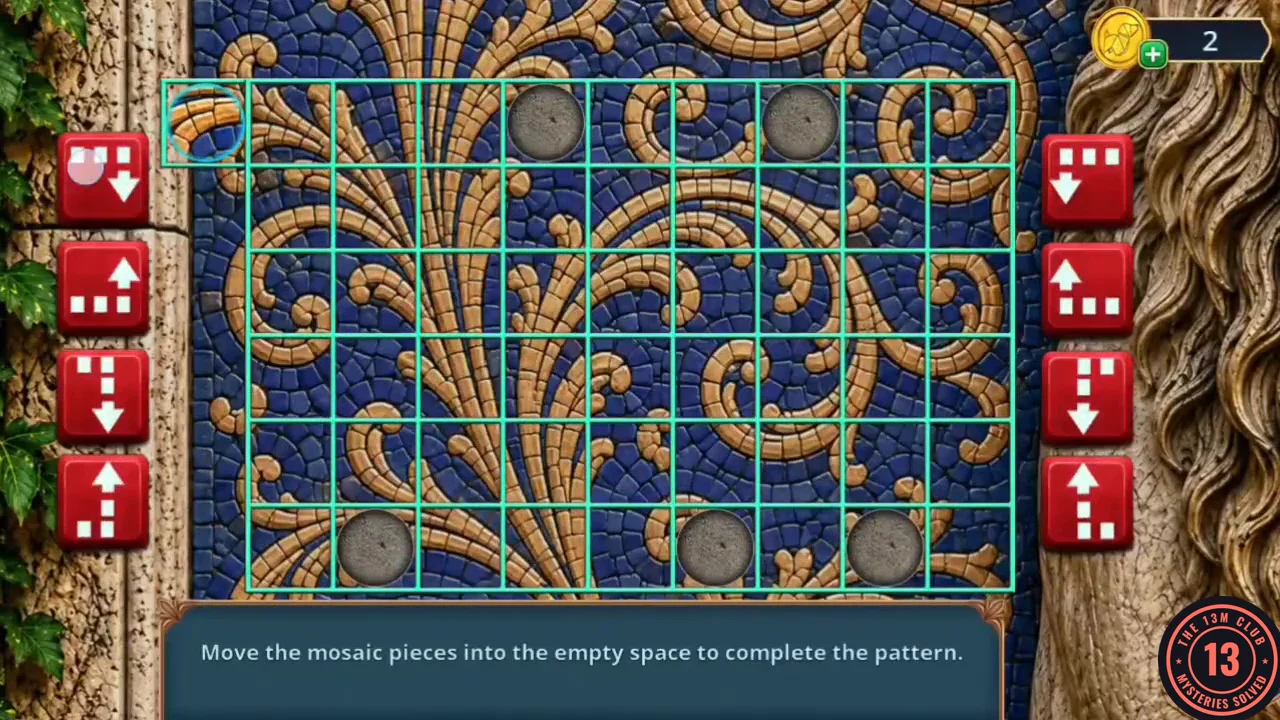
Guide the loose mosaic pieces, one at a time, into the five empty sockets. Each red button moves the active piece along the dotted path printed on that button; the rows and columns of the board never shift.
- In the club lobby, zoom into the gramophone table and hang the Ball in the empty slot of the Newton's cradle. The drawer underneath opens; take the Globe Part, the second blue-and-gold Mosaic Piece (2/2) and the Scotch Tape. In the pavilion, zoom into the lion fountain ("Two pieces are missing. Let's see where they went") and fit both mosaic pieces into the panel above the basin.
- A loose mosaic piece starts outside the grid at the top left, and there are five grey empty sockets on the board. Each red button moves the active piece along the dotted path printed on it, as shown by its arrow. Choose buttons so the piece lands exactly on an empty socket; the next loose piece then appears at the top left. Fill every socket so the gold swirls continue the pattern. The fountain slides open onto a hidden passage into the Garden Circle library.
Garden Circle Library
Vivienne calls Mrs. Vale to tell her the Garden Circle is still active.
- Decision: "Then help me." (60 coins, +2) or "I'll manage." (free, 0). This walkthrough takes the free option. Mrs. Vale warns you not to go back the way you came.
- In the library scene, tap the Reporter's Token on the stack of books to the left of the white bust on the right-hand bookshelf (136/140).
- Zoom into the globe on the library's round table and fit the Globe Part. The globe opens. Read the G.C. paper inside: "Not just reports, but instructions. They decided who disappeared, and Auntie became a problem they needed gone. All under the excuse of 'preserving our reputation.'" Take the Garden Gnome from the open globe. Next to it on the table is a casting setup with three slots; place the Form (the blue star mould) in the middle slot. The other two slots stay empty for now.
- Zoom into the knight statue beside the wall safe and take the Reporter's Token (138/140). Zoom into the bookshelf with the white bust and take the Reporter's Token (140/140); a G.C. invitation to a "Charity Evening" lies there. Vivienne: Eleanor "wasn't invited, but she came anyway. She wanted to know who was really calling the shots. And it cost her everything."
Garden Gnome Rings
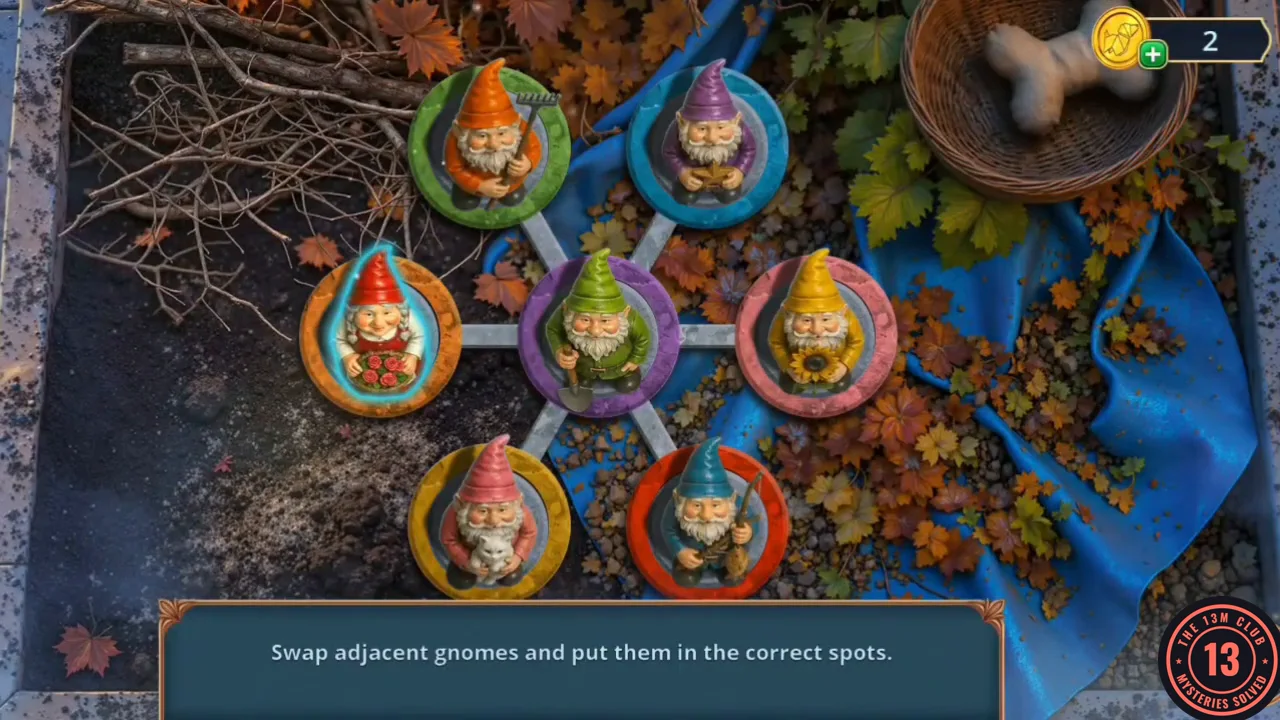
Swap adjacent gnomes and put them in the correct spots.
- On Carson Street, put the Garden Gnome in the empty patch of the dachshund's planter next to its partner to start the puzzle. Seven coloured rings are linked like a hexagon around a centre ring. Tap two gnomes joined by a line to swap them, and get each gnome onto the ring that matches its hat. Solved layout: green top left, blue top right, orange left, purple centre, pink right, yellow bottom left, red bottom right. The planter gives you the Wooden Horseshoe.
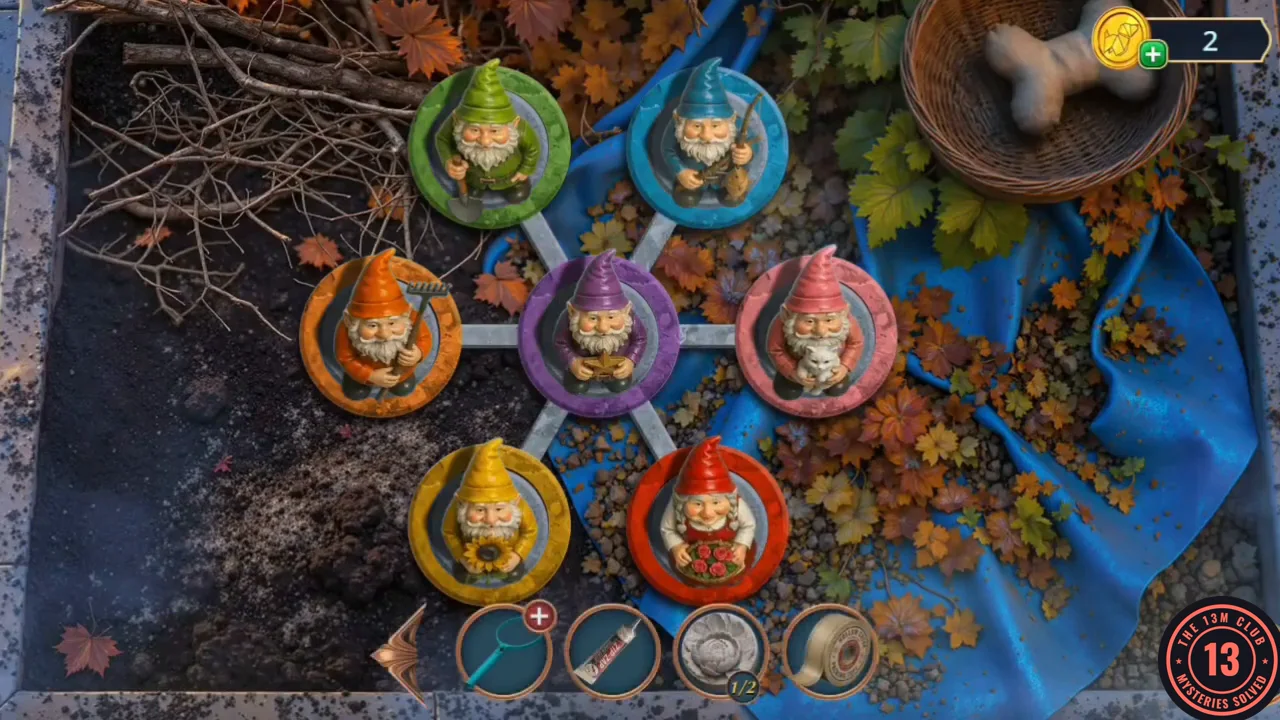
Solved gnome layout: each gnome on the ring of its hat colour.
Pavilion Combination Riddles
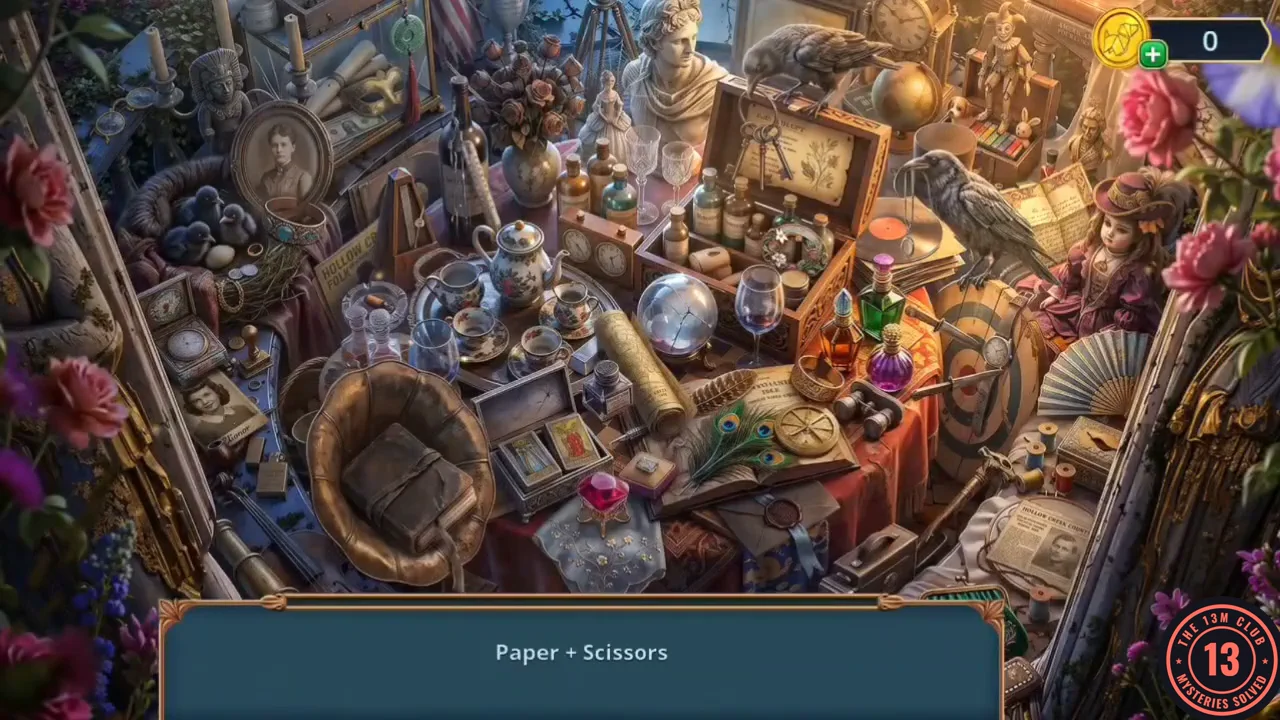
Each clue combines two materials; find the object made from them.
- In the Parking Lot, zoom into the birdhouse. Hang the Wooden Horseshoe on its front and fix it in place with the Glue. The birdhouse floor drops open; take the net mesh. Open the Racket in your inventory and add the mesh and the Scotch Tape to make the Homemade Scoop Net. At the Water Tower, climb to the tank hatch and fish out the floating COLLINS packet with the net; you receive the BOOKSHOP Bag. In the Motel Storeroom, zoom into the wall-fan shelf with the loose wallpaper and set the Bag there. It can't be used yet ("I hate when that happens"), so leave it.
- Vivienne: something is "hidden here. I should take another look around the gazebo." Zoom into the pavilion table again. Each clue at the bottom names two materials; find the object made of them. In the order they came up here: Paper + Scissors: the newspaper clipping lying on the embroidery hoop beside the spools of thread (bottom right). Film + Wood: the oval wooden-framed portrait photo in front of the stone idol (top left). Paper + Wax: the wax-sealed envelope with a ribbon, under the open book with the peacock feathers. Glass + Cigarette: the glass ashtray with a cigarette, beside the HOLLOW CREEK FOLK leaflet. Glass + Mercury: the thermometer leaning against the wine bottle next to the metronome. Metal + Ring: the ring of keys hanging on the open recipe box below the raven. Paper + Ink: the handwritten open letter between the raven and the doll on the right. Metal + Enamel: the round enamelled flower piece standing among the bottles in the open wooden chest. Paper + Pencil: the rolled-up sketch paper between the inkwell and the crystal ball. Paper + Thread: the string-tied notebook inside the gramophone horn. Metal + Glass: the wristwatch hanging on the dart in the dartboard. Film + Paper: the signed photo of Eleonor on the blue cloth below the pocket-watch box (left). The last tray item is a silhouette of a lighter: it appears inside the gramophone horn where the notebook was. Tap it to receive the Lighter.
Garden Circle Dinner Photo
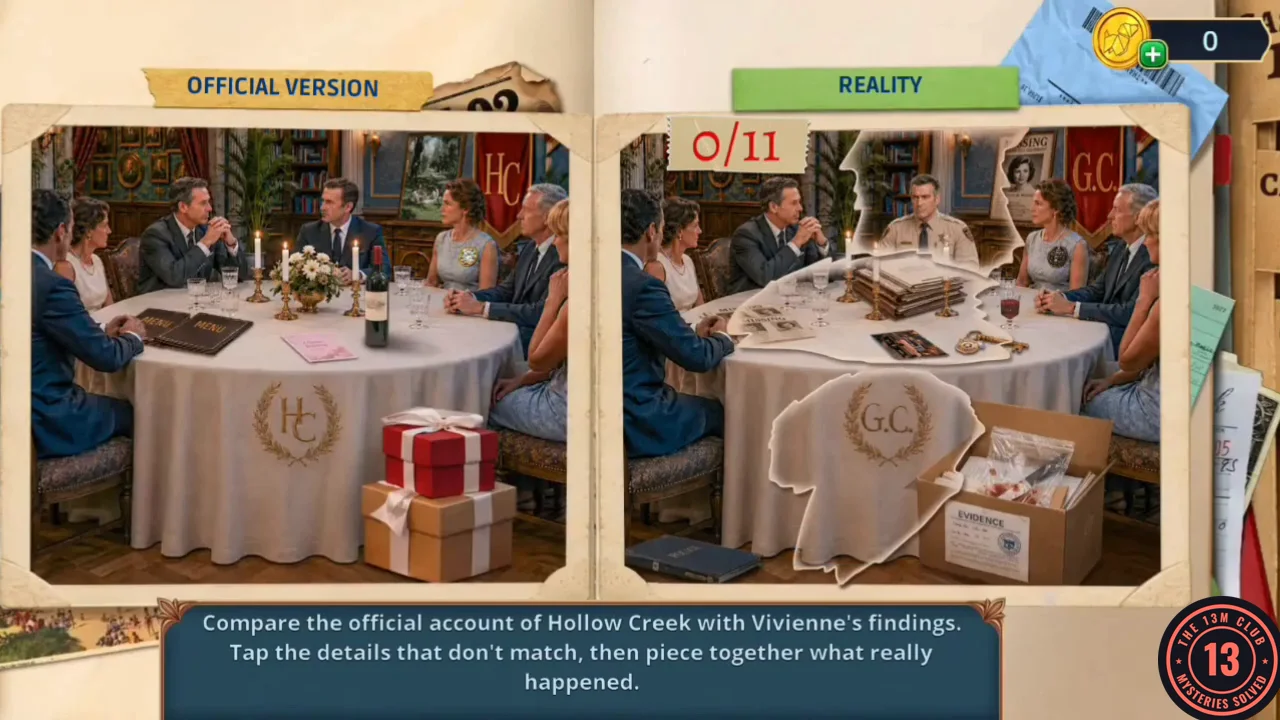
Compare the official photo with reality and find the 11 differences.
- In the library, zoom into the bookshelf with the white bust. Light the candles with the Lighter; the melting wax frees a brass dial stuck in it. Take the Safe Dial. Zoom into the wall safe beside the knight statue and fit the Safe Dial; the safe opens. Take the papers and the Oil Can. The comparison opens.
- Compare the "Official Version" of the Garden Circle dinner photo with "Reality" and tap the 11 details that differ. The differences: Sheriff Cole in uniform at the head of the table (a man in a suit in the official photo); the MISSING poster on the back wall; the woman beside Cole; the stack of police files in the centre; the candle and wine-bottle area; the papers at the left of the table; the photos on the table; the gold item by the right-hand guests; the G.C. monogram on the tablecloth (H.C. in the official photo); the EVIDENCE box in place of the gift boxes; and the dark file on the floor at the bottom left. Result: "The official photo from that evening had been doctored. Cole was part of the Garden Circle, and their private meetings involved police files and missing persons cases. Eleanor found the original photo and uncovered the club's ties to the police."
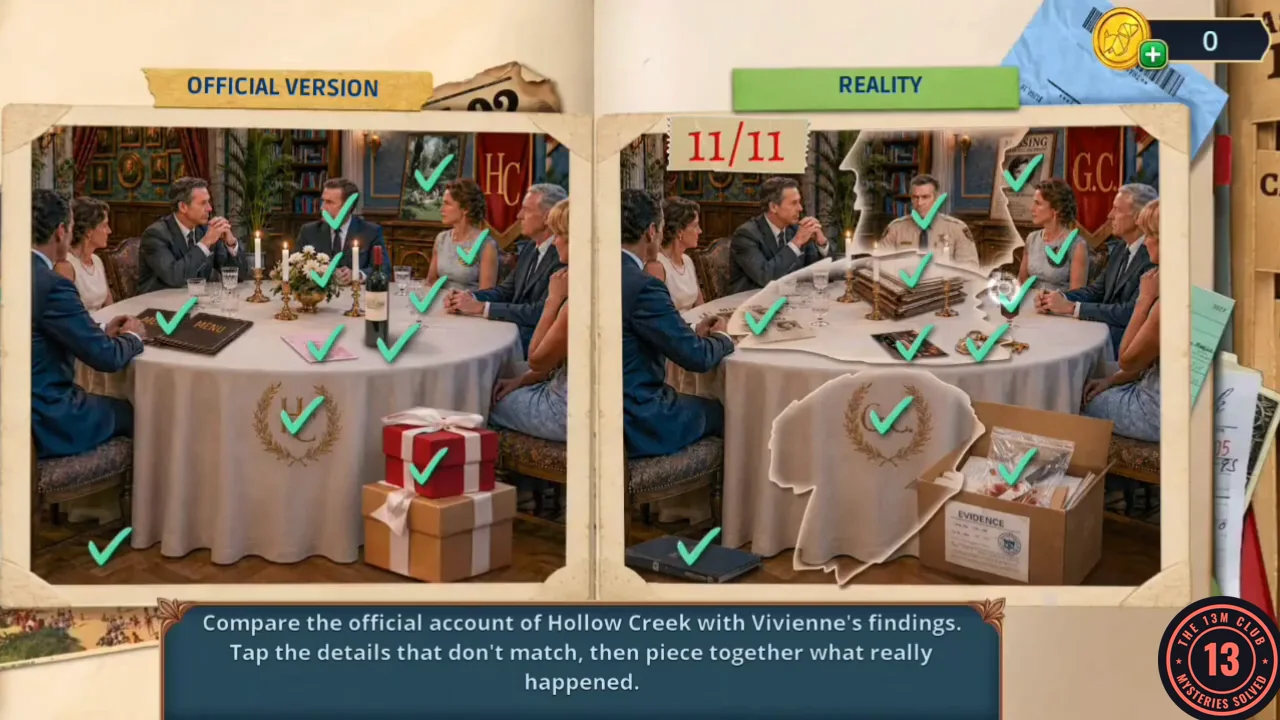
All 11 differences found in the dinner photo. - At the safe, decide: "Get out now" (free, 0), "Capture its essence" (30 coins, +2) or "Gather all the evidence" (60 coins, +6). This walkthrough takes the free option, and Vivienne leaves with the files.
Library Wall
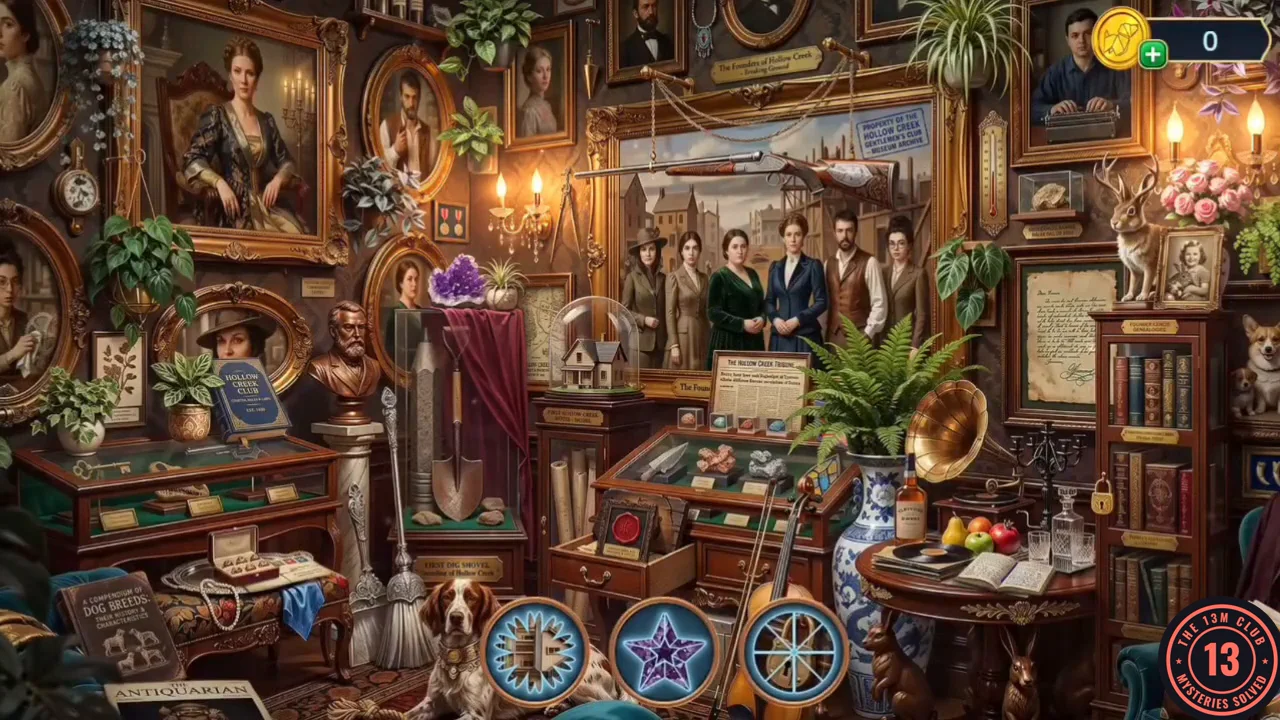
Find the objects shown by the icons on the library wall.
- Go to My Room at the motel. Zoom into the steaming window by the typewriter ("The window's not closing until I get that thing unstuck"). Take the Water bottle, oil the stuck window with the Oil Can and shut it. The steam clears; take the Knife. The typewriter is "missing half its parts. No carriage, no levers, not even the keys"; fit the Carriage from the lobby gramophone drawer. Zoom into the jacket on the floor by the broken alarm clock, cut open the zipped pocket with the Knife and take the Comb.
- In the Abandoned Pavilion, zoom into the wooden box by the lawnmower and push the three-pronged Comb into its three holes. The box opens; take the Portrait. In the library, zoom into the empty oval frame between the plants and the bronze bust, and hang the Portrait (a woman in a wide-brimmed hat). The library wall becomes a hidden-object scene. Find each object shown as an icon in the tray, then the last silhouette. You receive the Toggle Switch.
- Zoom into the brass lamp on the bookshelf beside the white bust and fit the Toggle Switch into its base. The lamp lights up, showing a keychain hanging from its pull chain. Take the Keychain with Suction Cup.
Pharmacy Herbs
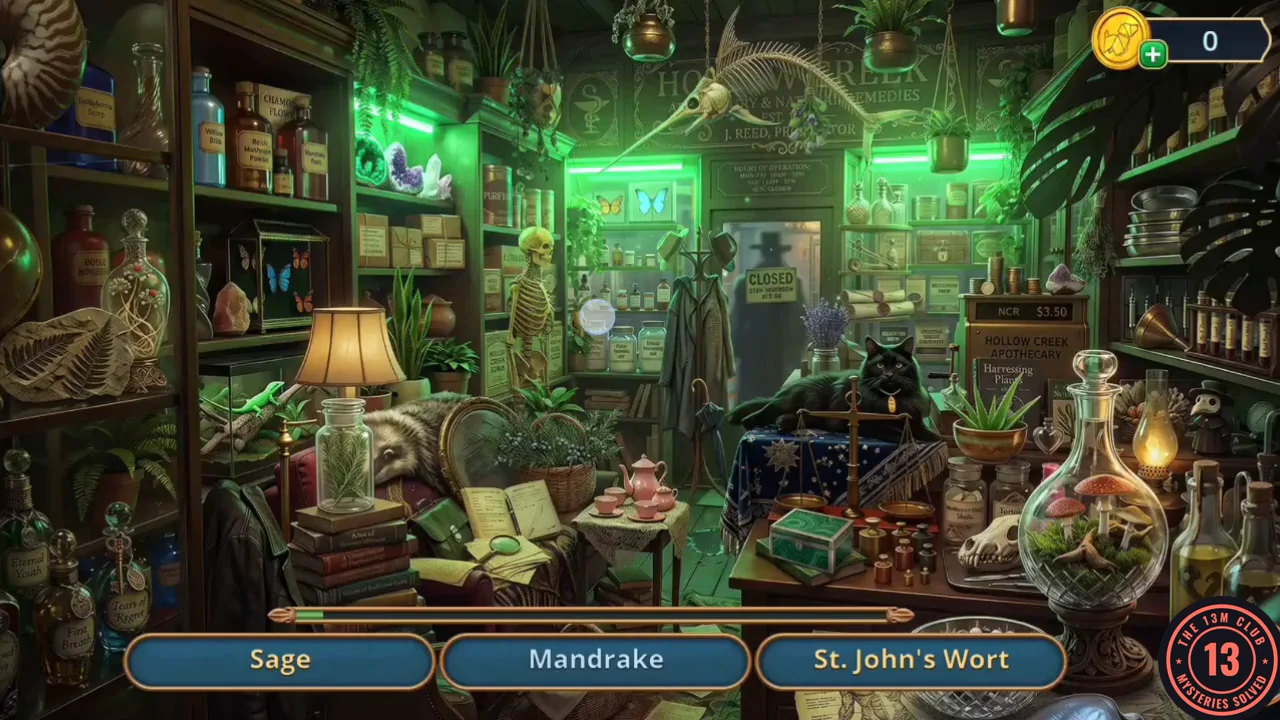
Find the herbs named in the list; new names appear as you find them.
- In My Room, zoom into the nightstand. The drawer has no handle ("Can't pull it open like this. I need something with enough grip"), so stick the Keychain with Suction Cup to it and pull. Take the Toy (a wind-up tiger) from the drawer. Zoom into the jacket by the broken alarm clock and use the Toy on the clock debris. Then take the Arrow (1/2), a purple clock hand, from the room. On Carson Street, tap the sparkling pharmacy doorway to open the herb scene.
- Three herb names are shown at a time; each one you find is replaced by a new name. The twelve names: Mint, Mandrake, St. John's Wort, Sage, Juniper, Chamomile, Rosemary, Thyme, Lavender, Aloe, Ginseng and Belladonna, plus a final silhouette. You receive the Antiseptic.