The Forest Camp and the Wolf
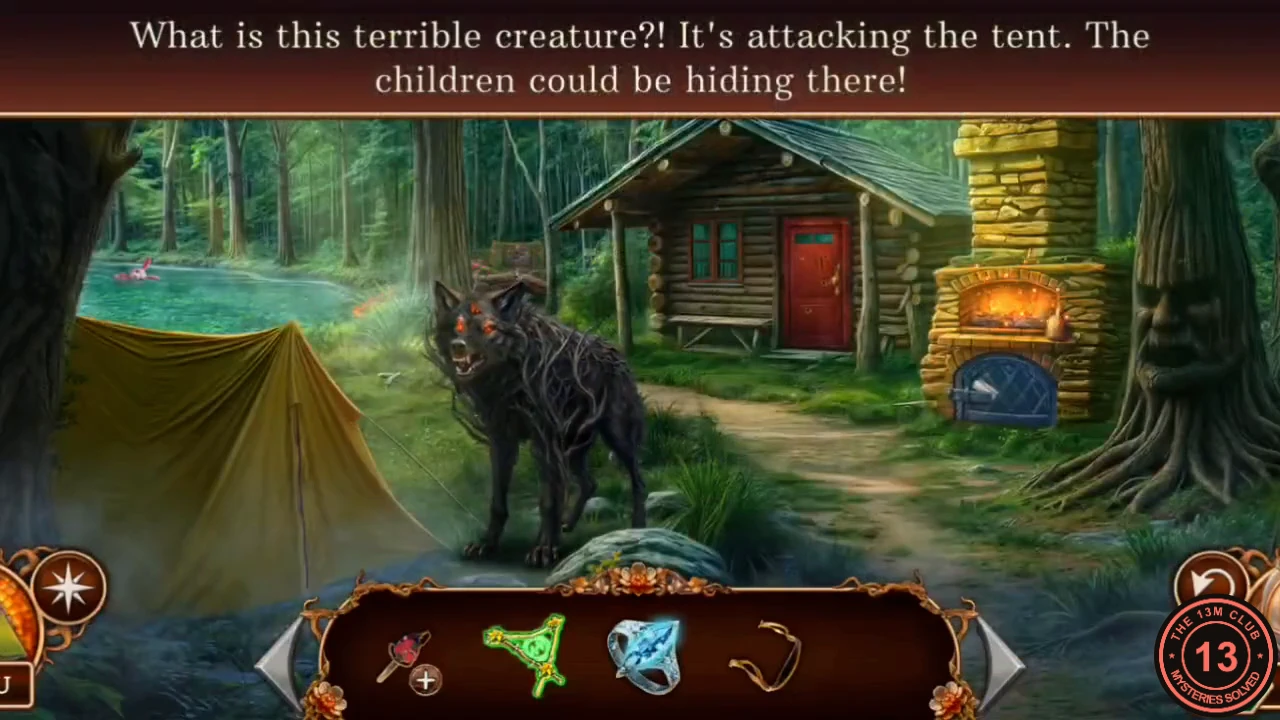
A black wolf is circling the tent, so a weapon comes first.
- Arrive at the forest camp. The wolf attacks the tent and you need a weapon. Zoom into the pond and take the Smooth stone. Zoom into the cabin door: it needs a key.
- Zoom into the fire by the camp. Take the Slingshot base and the Empty flask, read the police notebook and collect the morphing object.
- Open the Slingshot base in the inventory. Add the Rubber band and the Smooth stone to make a Slingshot.
- Use the Slingshot on the wolf. It runs off.
- Zoom into the fallen log and take the Pinned figurine. Open it in the inventory and take the Pin.
- Use the Pin on the tent zipper. Summer and Tommy come out and talk to you. Take the Colored marbles from them. New task: return the toy.
- Use the Colored marbles on the pond to start the puzzle.
Pond: Float the Stuffed Rabbit Ashore
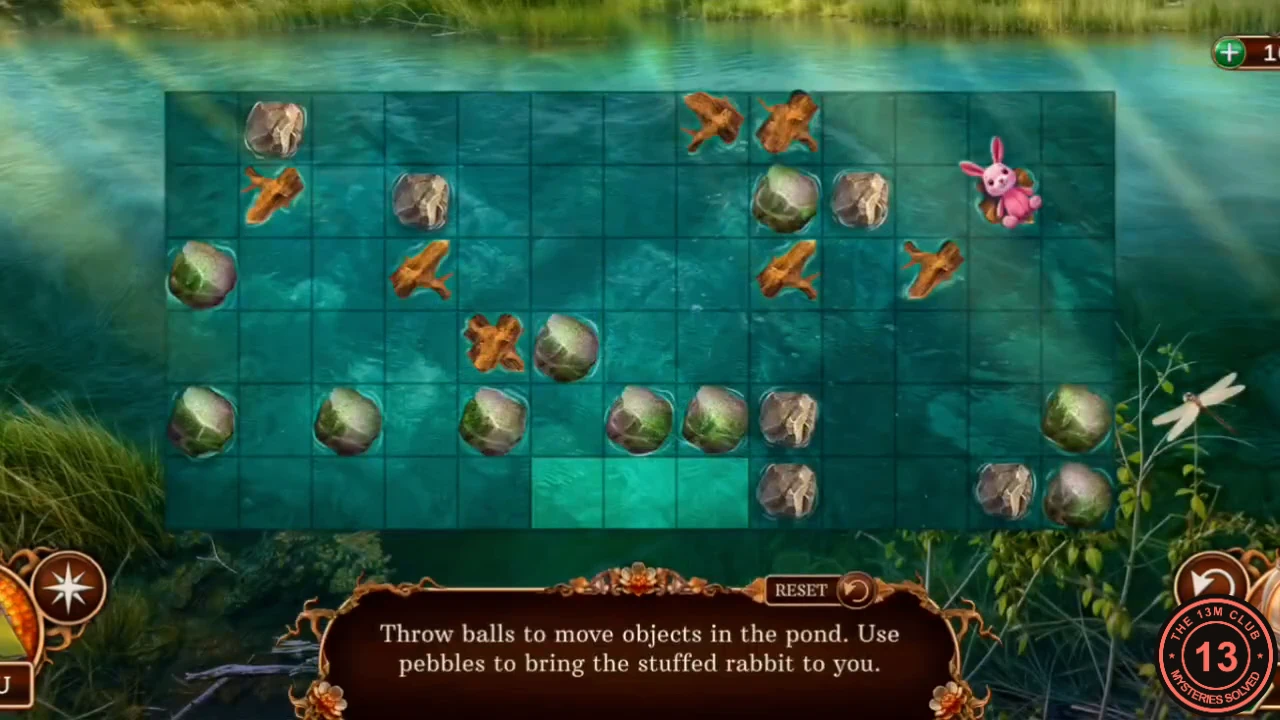
The rule: throw balls to move objects in the pond and use the pebbles to bring the stuffed rabbit to you. A splash pushes the things next to it directly away, both straight and diagonally.
- Tap a water cell next to the rabbit, on the side opposite the way you want it to go. Move it left along the middle of the pond, then down to the green cells of the bottom row. One working path (counting columns from the left and rows from the top on the 13 by 6 grid): start at column 12, row 2, then 12/4, 7/4, 8/3, 7/2, 5/2, 5/4, 4/5, 5/6 and finally 7/6. Moved pebbles can block a splash, so use Reset if they do.
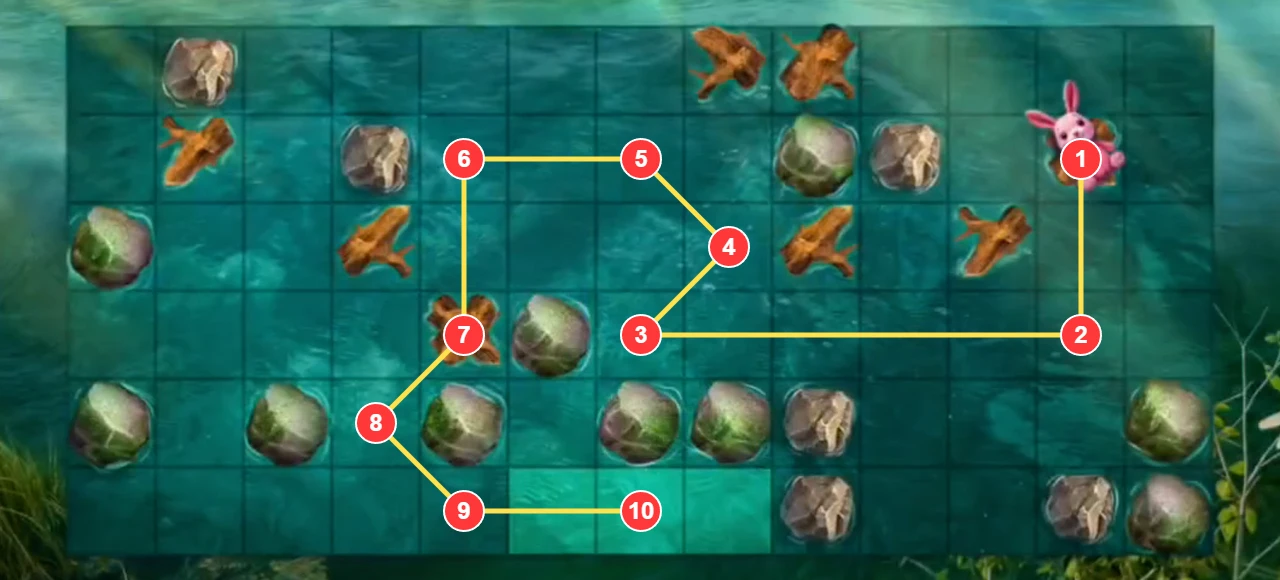
The path from step 1 drawn on the starting layout. Number 1 is the rabbit and number 10 is a green cell. This is one working route for the rabbit. You still choose each splash, and the logs and stones get pushed around too, so the board will not stay like this picture.
Rebuild the Hunter's Key
The cabin key snaps in the lock, and casting a new one takes several items.
- Give the Plush bunny to the children. Summer hands you the Hunter's key found in the tent. New task: take the children to the lodge.
- Use the Hunter's key on the cabin door. It snaps in the lock and you get Half key (1/2).
- Zoom into the tent and take the Pliers and the Plaster. Look at the backpack: part of its clasp is missing. Come back to it later.
- Use the Pliers on the cabin door's keyhole and take Half key (2/2).
- The Plaster is too dry to take a key imprint. Teleport to the cave, zoom into the well and use the Empty flask to get a Flask with water.
- Open the Plaster in the inventory. Add the Flask with water, then the Half key, to get a Key mold.
- At the camp fire, place the Key mold and use the Pinned figurine on it. The metal melts into a Restored key.
- Open the cabin door with the Restored key and go inside. New task: find blankets and food for the children.
Collect the Box Pieces
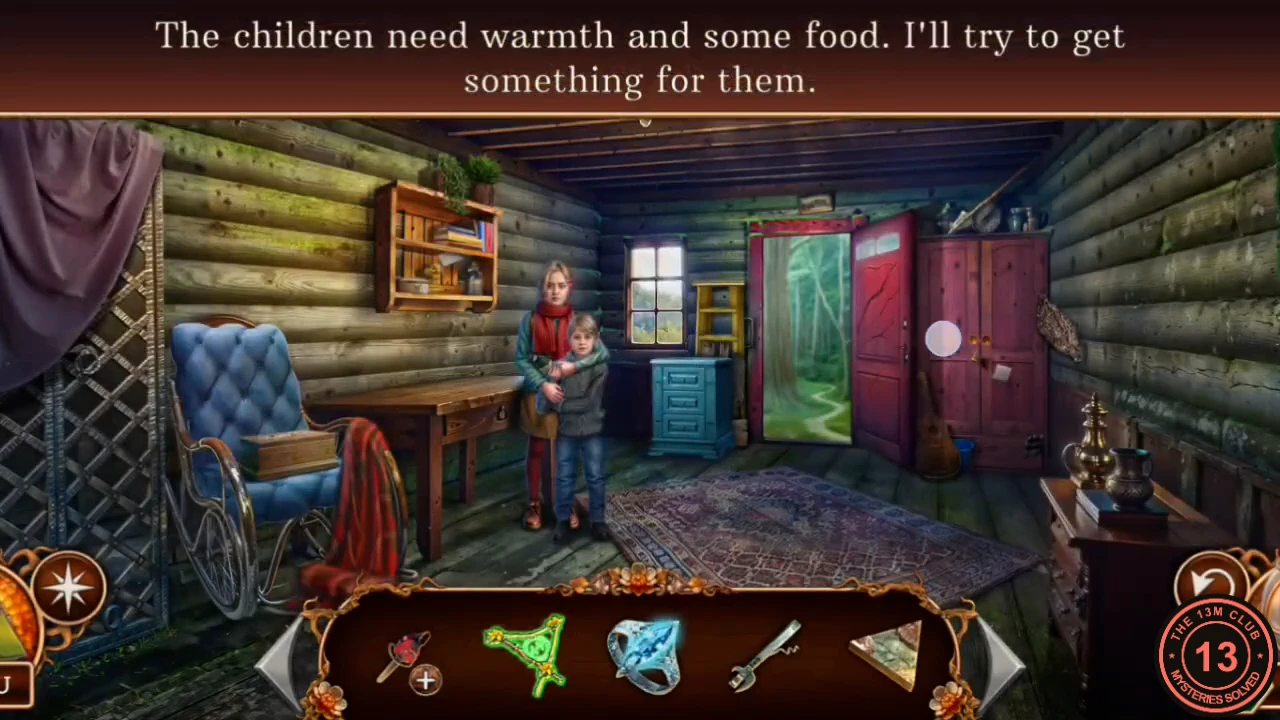
The animal box on the blue wheelchair holds a useful figure, but two of its pieces are missing.
- Zoom into the wheelchair on the left and move the blanket aside. Take the Can opener and look at the wooden box: its puzzle is missing a couple of pieces. Collect the morphing object by the wreath on your way out.
- Zoom into the wall shelf. Collect the morphing object, then take the first Puzzle piece. A ceramic pot here has a broken lid; the detective notes that an animal should be on it.
- Zoom into the red wardrobe. Take the second Puzzle piece and read Jessica Burnwood's note. It says people with strong souls are being kidnapped.
- Use both Puzzle pieces on the box on the wheelchair to start the puzzle.
Wooden Box: Animal Faces
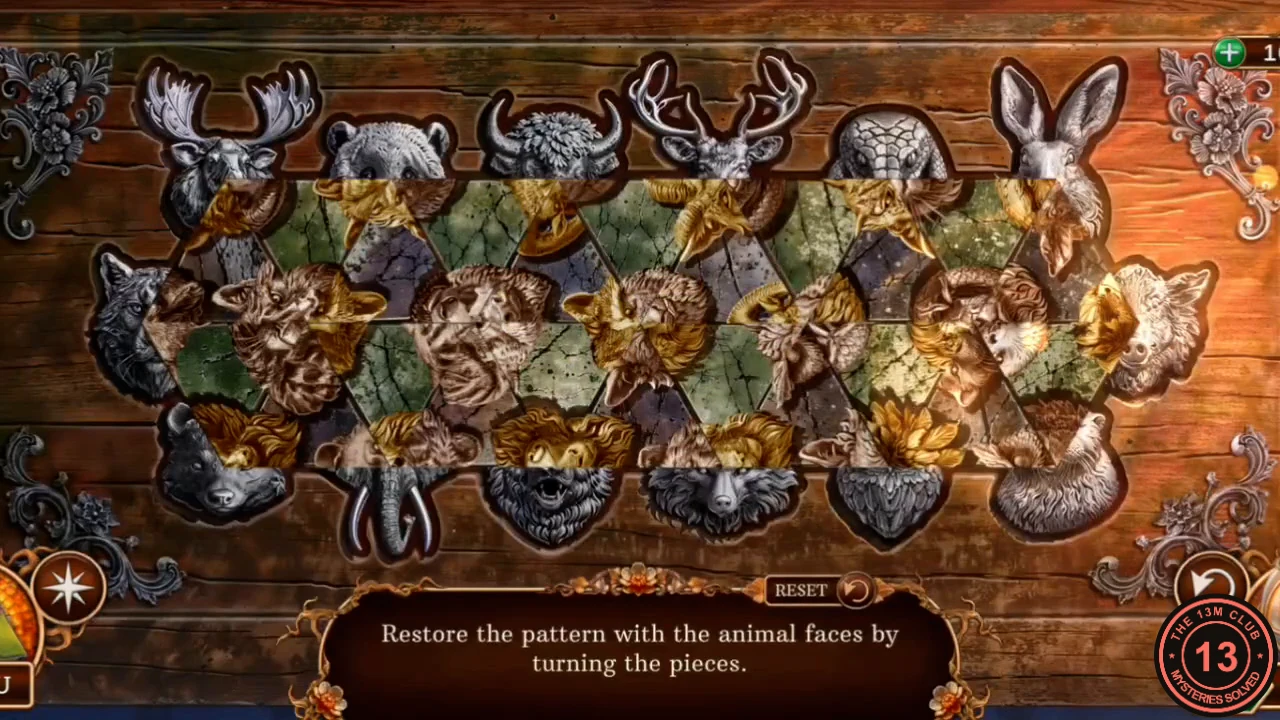
The rule: restore the pattern with the animal faces by turning the pieces. Each turn affects a linked group of face halves. This is a long rearrangement, so an exact move list is not practical. Use the finished layout in step 1 as the target.
- Work one face at a time and turn pieces until each upper half matches its lower half. Finish with the moose, panda, bison, stag, snake and hare on top, lynx, wolf, raccoon, ram, lynx, eagle and boar in the middle, and bear, elephant, grizzly, wolf, owl and otter at the bottom. Use Reset if the board gets worse.
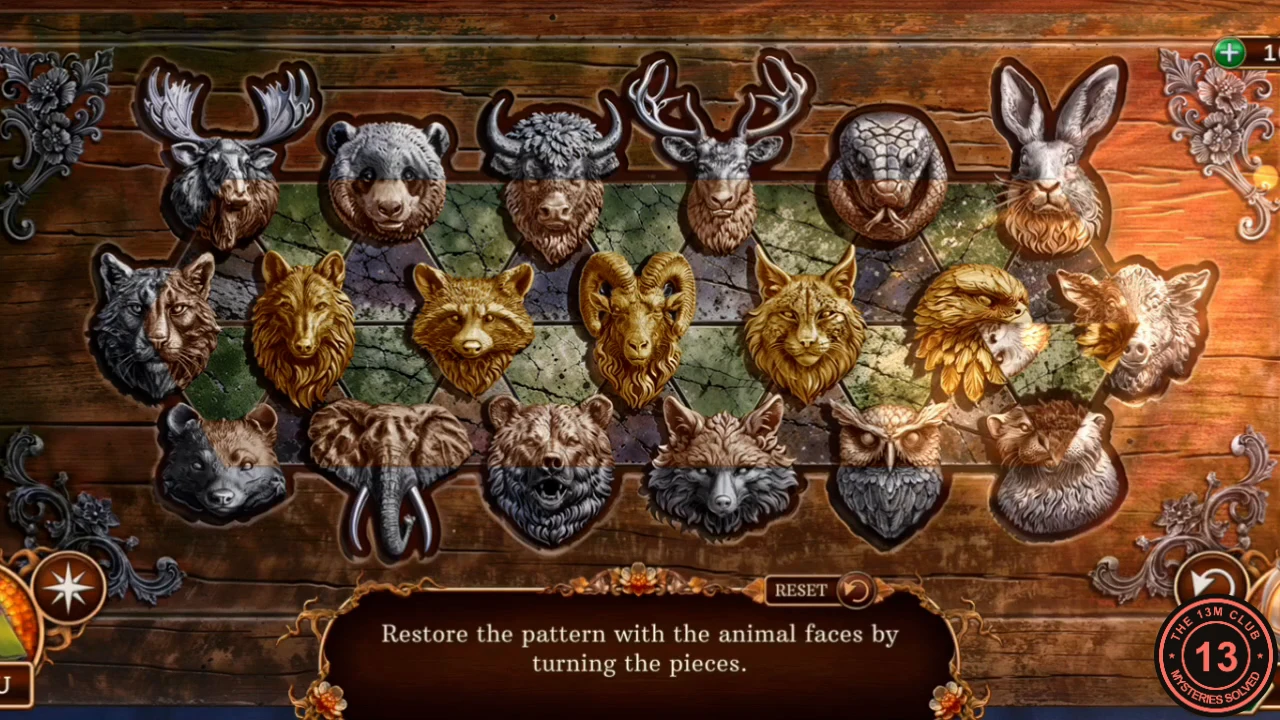
The finished box, with every animal face complete. - Take the Golden deer from inside the box.
Blankets and Peaches
The golden animal fits the lodge pot. The items inside open the way to food and to the wardrobe.
- On the wall shelf, use the Golden deer on the pot's lid. Lift the lid and take the Cabinet handle and the Toaster lever.
- Teleport to the diner kitchen. Use the Toaster lever on the toaster on the table and take the second Cabinet handle that pops out.
- Zoom into the open Faun cabinet on the kitchen wall. Use the Can opener on the can and take the Canned peaches.
- Back in the lodge, use both Cabinet handles on the red wardrobe. The doors open onto a shelf search.
Wardrobe: Find 18 Silhouettes
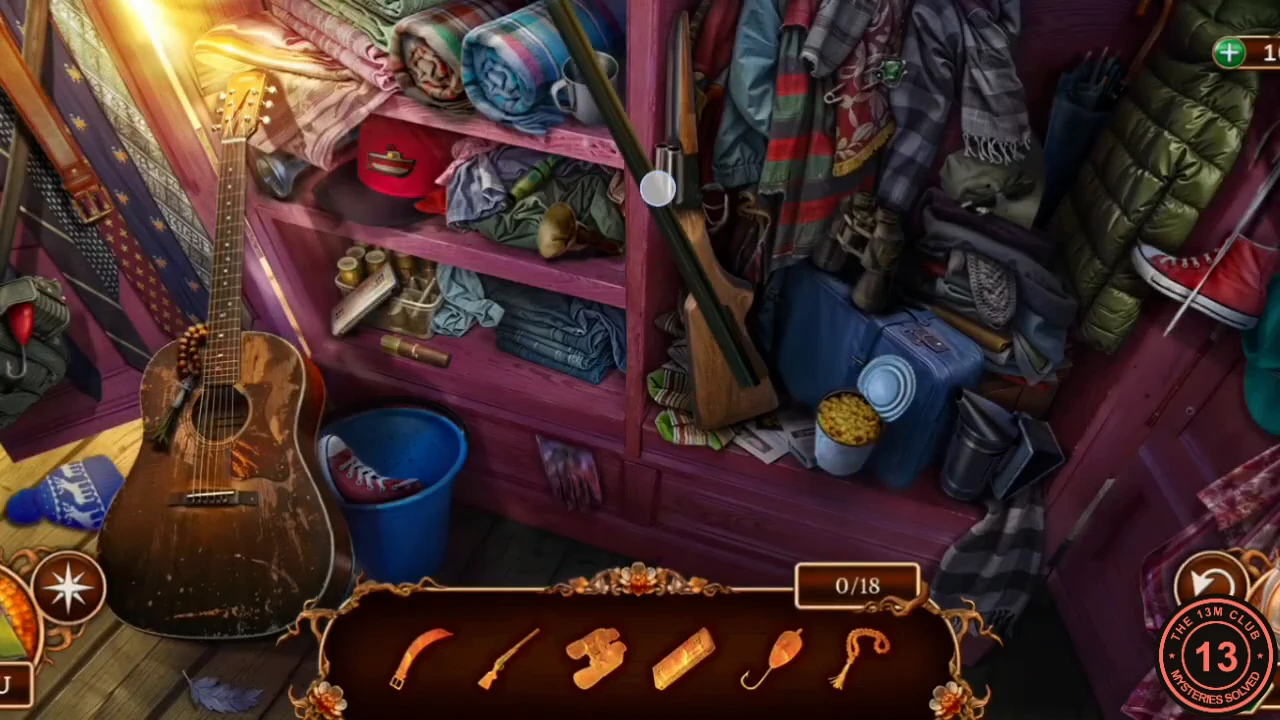
This is a hidden-object scene. The bottom bar shows the outline of each thing to find, and the counter runs to 18.
- Find these 18. The bar shows six outlines at a time and refills, and the scene is wider than the screen, so the view slides as you go. Drag the loose rifle barrel from among the ties at far left onto the rifle stock in the cupboard to complete the rifle. Drag the sneaker from the blue bucket to the red sneaker hanging at far right to make the pair. Then tap the leather belt among the ties, the flat ribbed case in the tray on the lower shelf, the binoculars on the suitcase, the umbrella at upper right, the red fishing lure on the green bag at far left, the prayer beads on the guitar neck, the safety pin on the scarf, the corn can with its lid in front of the suitcase, the blue mitten on the floor at left, the gray knit hat on the clothes behind the suitcase, the flashlight under the blanket shelf, the emblem on the red cap, the rolled blankets on the top shelf, the brass horn and the green tube on the middle shelf, and the metal smoker with bellows to the right of the suitcase.
- Take the Warm blankets.
The Children's Gift and the Fuel Can
With the children fed, they hand over two important items and tell you to look for their mother.
- Give the Warm blankets and the Canned peaches to the children. They explain that their mother is a police detective who went missing. Take the Amulet half from Tommy.
- Keep talking. They found half a charm, and picking it up brought them here. Take the Dungeon key that they found under the carpet. New task: look for the mother of the lost children.
- In the cave, use the Dungeon key on the iron grate. Take the red Fuel can and collect the morphing object behind the bars. The chest in this nook is a hydra with its heads missing, so it stays shut for now.
- Open the Chainsaw in the inventory and add the Fuel can to get a working Chainsaw.
Open the Way to the Trellis Gate
The fallen log hides a gate with a chip puzzle whose central gear is missing.
- Zoom into the fallen log and use the Chainsaw on it. A trellis gate appears. Take the Patterned tile from the gate's puzzle and note the empty gear socket.
- Teleport to the dungeon rubble and use the Patterned tile on the unusual chest. Take the Decorated shaft and the gold Mechanism switch, and read the note about an ancient artifact.
- Back at the gate, place the Mechanism switch in its socket to start the chip puzzle.
Trellis Gate: Move the Chips
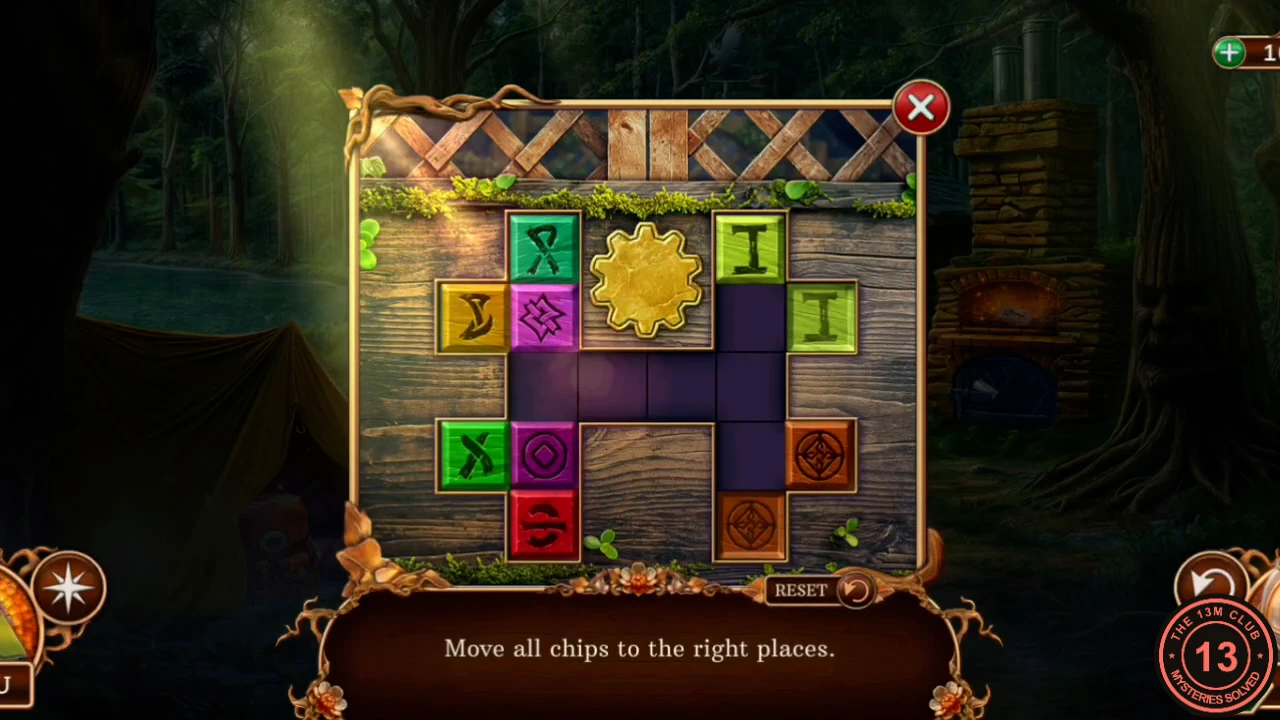
The rule: move all chips to the right places. Chips slide along the purple channel into the pockets around it. The puzzle needs a sliding order with some free cells, so use the target layout in step 1 rather than a move list.
- Slide one chip at a time, parking the rest in side pockets. Target layout: top-left column dark green X, left upper pocket teal R, left lower pocket red, bottom-left column yellow. Top-right column magenta star, right upper pocket lime I, right lower pocket purple ring, bottom-right column orange.
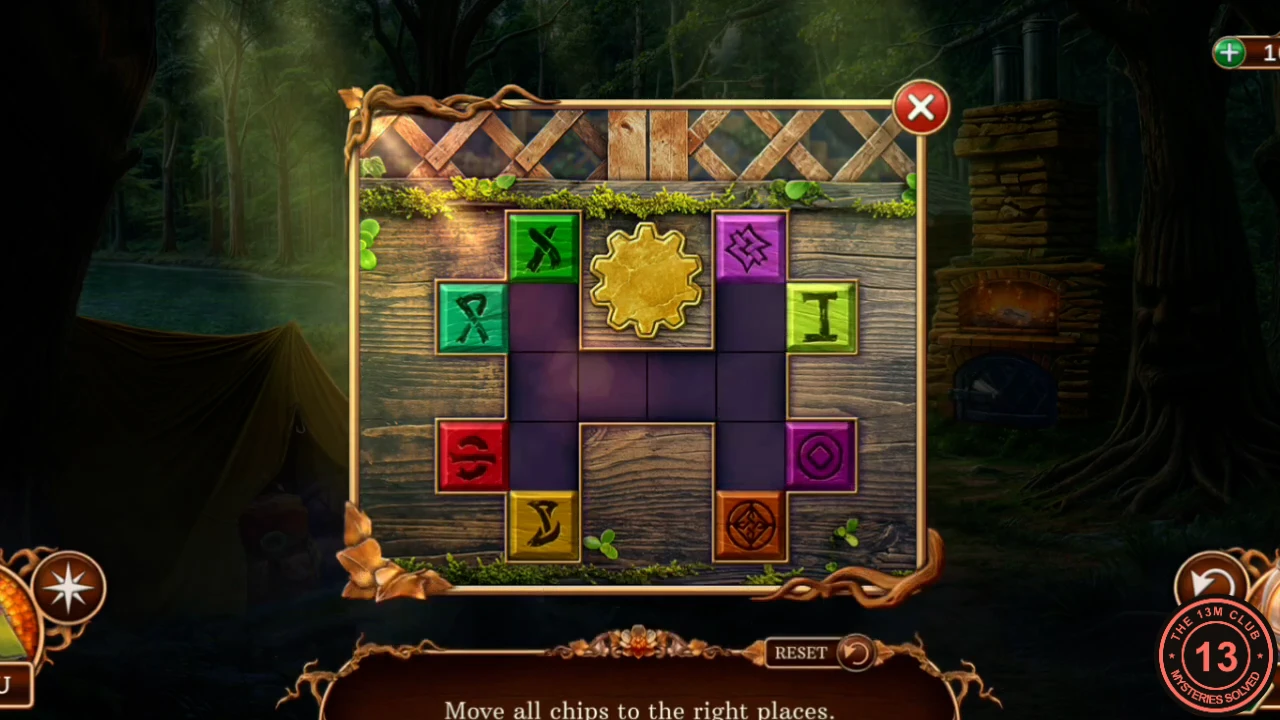
The target layout, with all eight chips in their places.