Great Tree: Clear the Brambles
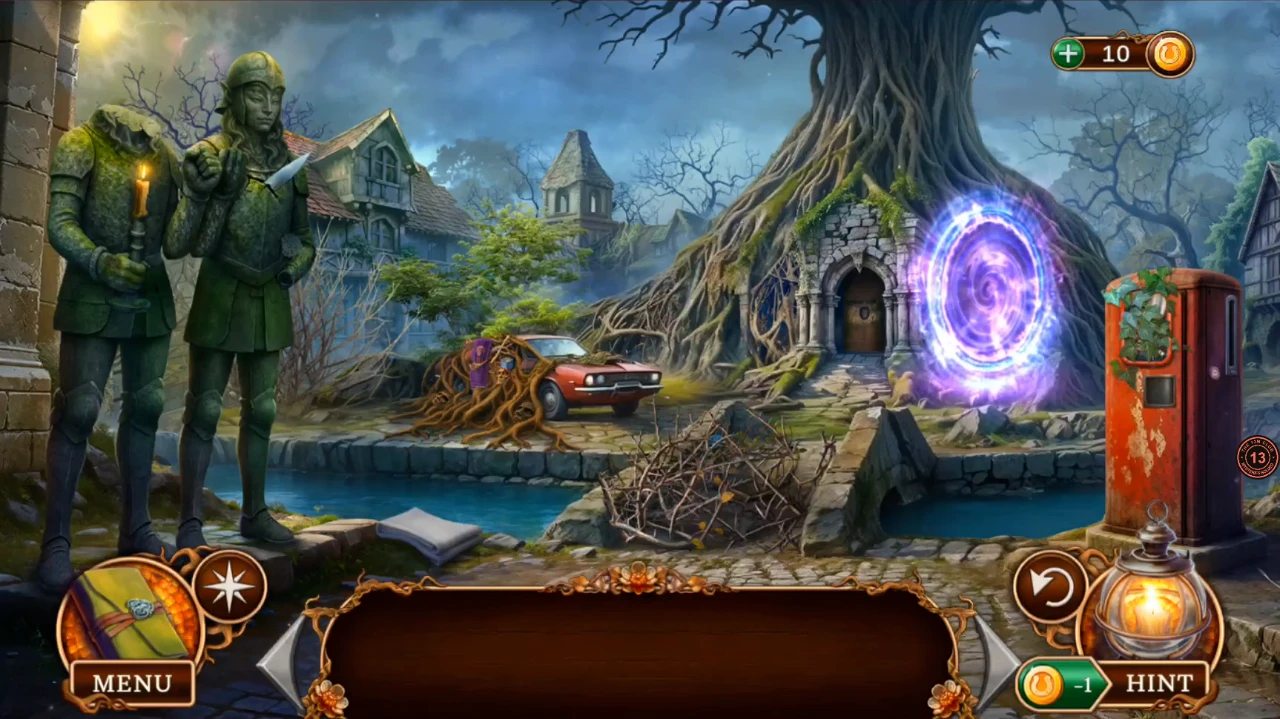
The portal you opened does not lead home. You land beside a huge tree with the task Get to the portal. The bridge is blocked by brambles.
- On arrival, pick up Rag 2 in the Great Tree scene.
- Zoom into the brambles on the bridge and take Iron Coins (1/3). The brambles cannot be removed by hand yet.
- Zoom into the two green statues. The right statue holds a sharp blade you should not grab bare-handed: use Rag 2 on it to get the Blade, then take the Guard's Candle from the left statue.
- Zoom into the red fuel station and use the Blade to cut away the ivy. Take the Pocket Mirror and the Aerosol from the compartment behind it.
- Back at the brambles, use the Aerosol and then the Guard's Candle on them. The flame burns the bridge clear.
Great Tree: The Portal Vision and the Mask Door
With the bridge open you can reach the portal, but it only shows you what is coming.
- Zoom into the fallen car's root and purple monkey banner and take the Alchemical Cube.
- Zoom into the door in the tree trunk, which has a mask-shaped recess, and take the Trident beside it.
- Open the Alchemical Cube from the inventory to see it. It needs a key, so leave it for now.
- Go through the portal. Watch the vision of worlds falling apart; the portal disappears and the task becomes Examine the huge tree.
- Zoom into the loose stone on the bridge and use the Trident to lever it up. Take the Fuel Nozzle from underneath. A blue rose grows above this spot; you cannot cut it yet.
- Use the Fuel Nozzle on the fuel station. The panel opens: take the Ancient Mask.
- Place the Ancient Mask in the recess on the tree-trunk door. A carved relief puzzle opens.
Great Tree Door: Find the Encrypted Elements
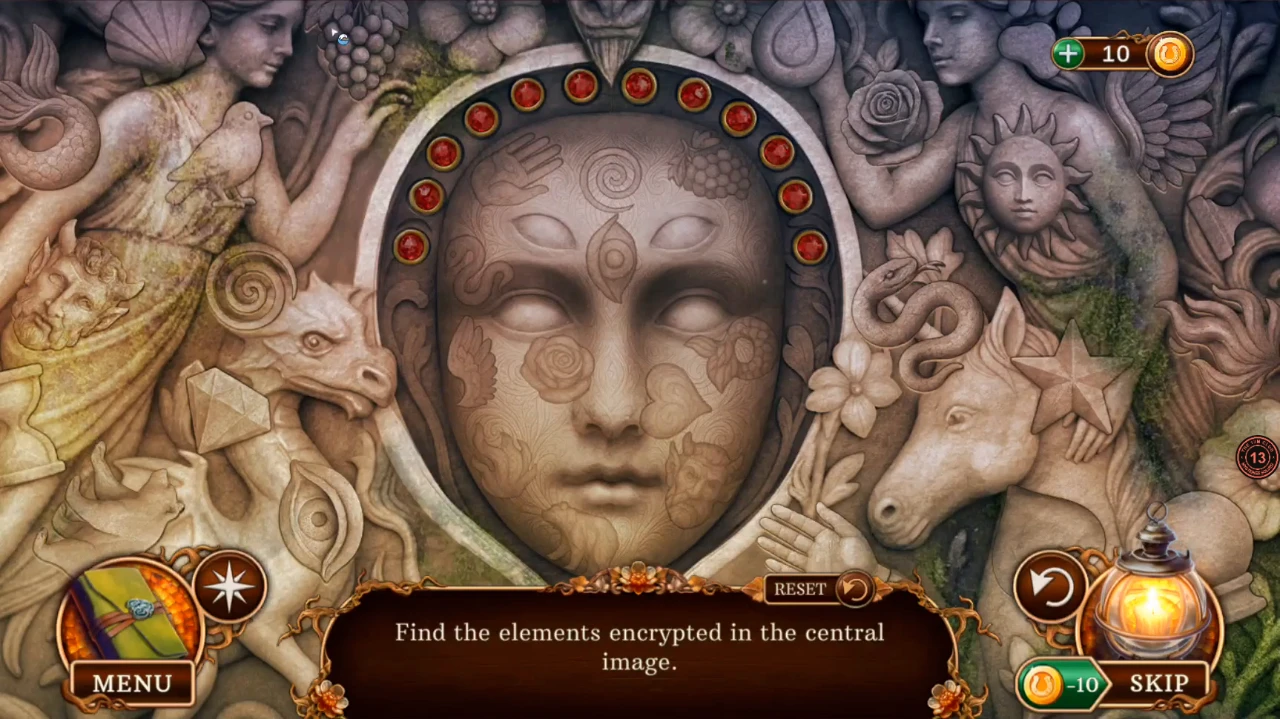
Prompt: Find the elements encrypted in the central image. Twelve shapes are outlined on the stone face, and each one is hidden in the carved relief around it. Twelve red lights on the arch count your finds.
- Compare the outlines on the face with the carvings around it and tap each matching carving: hand, spiral, grapes, snake, eye, wing, rose, ring-tailed shape, flame, horned face, bear and heart. A found shape darkens in the relief and turns green on the face.
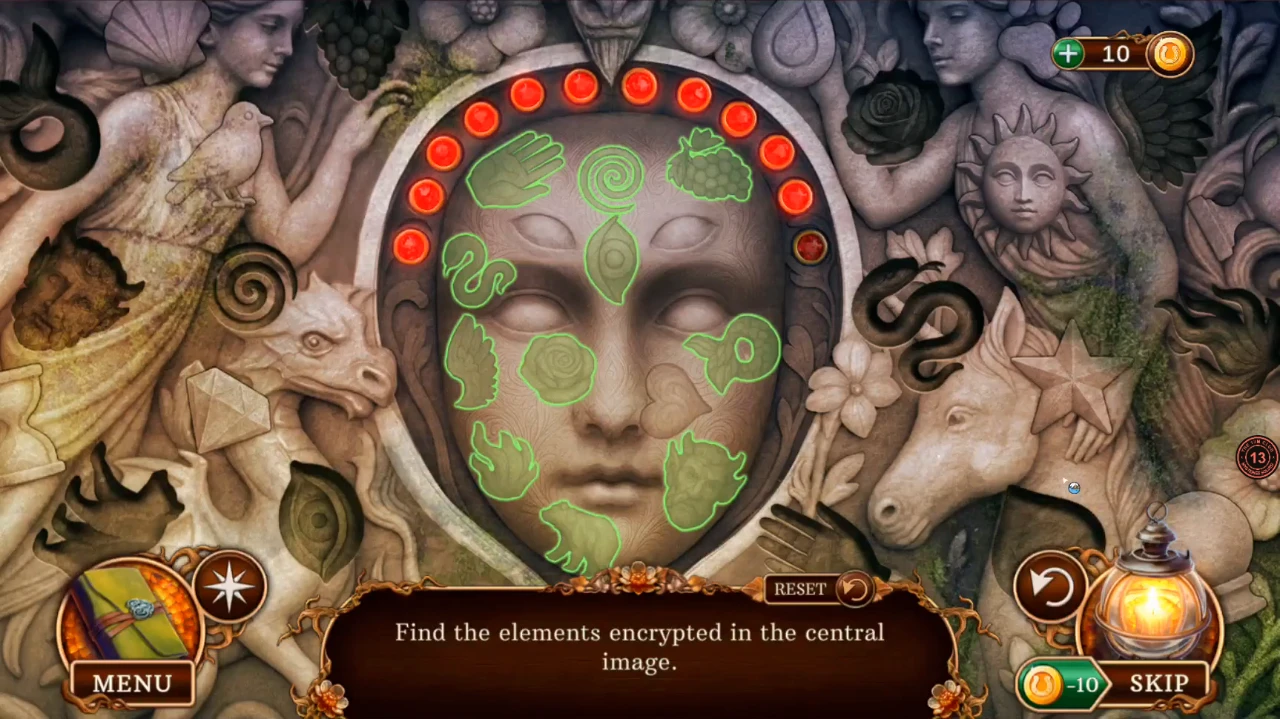
Near the end, with eleven shapes found and eleven lights on. Only the heart on the cheek is left. Found carvings have gone dark in the relief.
Tree Roots: Meet the Mistress
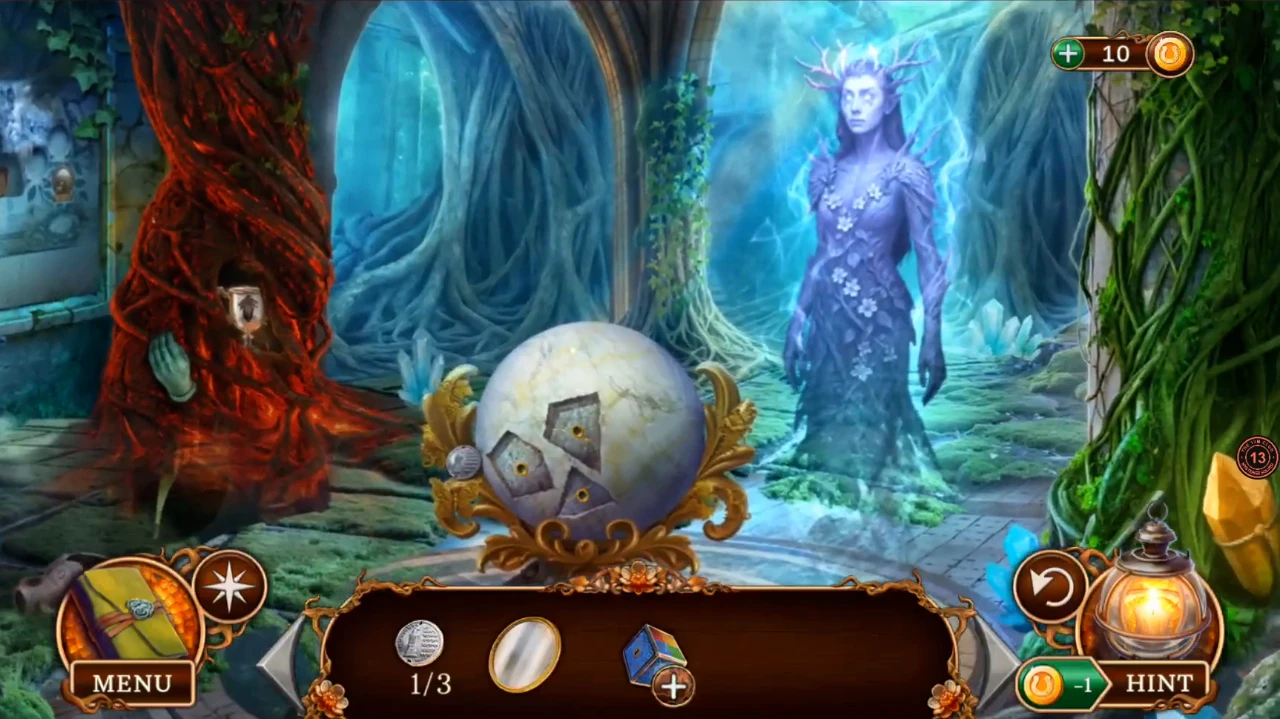
Behind the door is a hall of colored roots, a cracked sphere on a stand and a fairy spirit.
- Talk to the spirit, who introduces herself as the Mistress. She explains that returning the fruits to the Great Tree's roots opens the treasured portal, and hands you a Sphere Fragment. The task becomes Fix the Sphere of Worlds.
- Zoom into the sphere: take Iron Coins (2/3) from it.
- Zoom into the green roots on the right and take the Jeweler's Hammer. The amber crystal in them cannot be taken yet.
- Zoom into the gray hollow root on the left and take the Guard's Helmet. The detective notes that something is stuck in the root and could be cleaned out.
- Zoom into the red roots and take the Guard's Hand. A goblet is still held inside them.
- Zoom into the iced-over wall panel at the upper left and take the Rusty Crest from the book.
Great Tree: Open the Bridge Box and Dress the Statues
Take your finds back through the door to the Great Tree scene.
- Zoom into the opened gap in the bridge. Put the Rusty Crest on the metal box, then strike it with the Jeweler's Hammer. Take the Spoon and the Old Hook from inside.
- Zoom into the statues. Put the Guard's Helmet on the headless one and the Guard's Hand on the other. The statue gives you another Sphere Fragment.
Loosen the Car Root and Clean the Gray Root
The car root gives up a brush once you find a lever, and the brush frees what is stuck in the gray root.
- Zoom into the roots around the car and the monkey banner. They need something used as a lever: the Old Hook is rejected. Use the Spoon instead and take the Cleaning Brush.
- Return to Tree Roots, zoom into the gray hollow root and use the Cleaning Brush. A sphere fragment shows inside the hollow but you cannot reach it by hand.
- Use the Old Hook on the hollow. Take the Sphere Fragment and the red Alchemical Stone that falls out.
Sphere of Worlds: Find the Listed Items
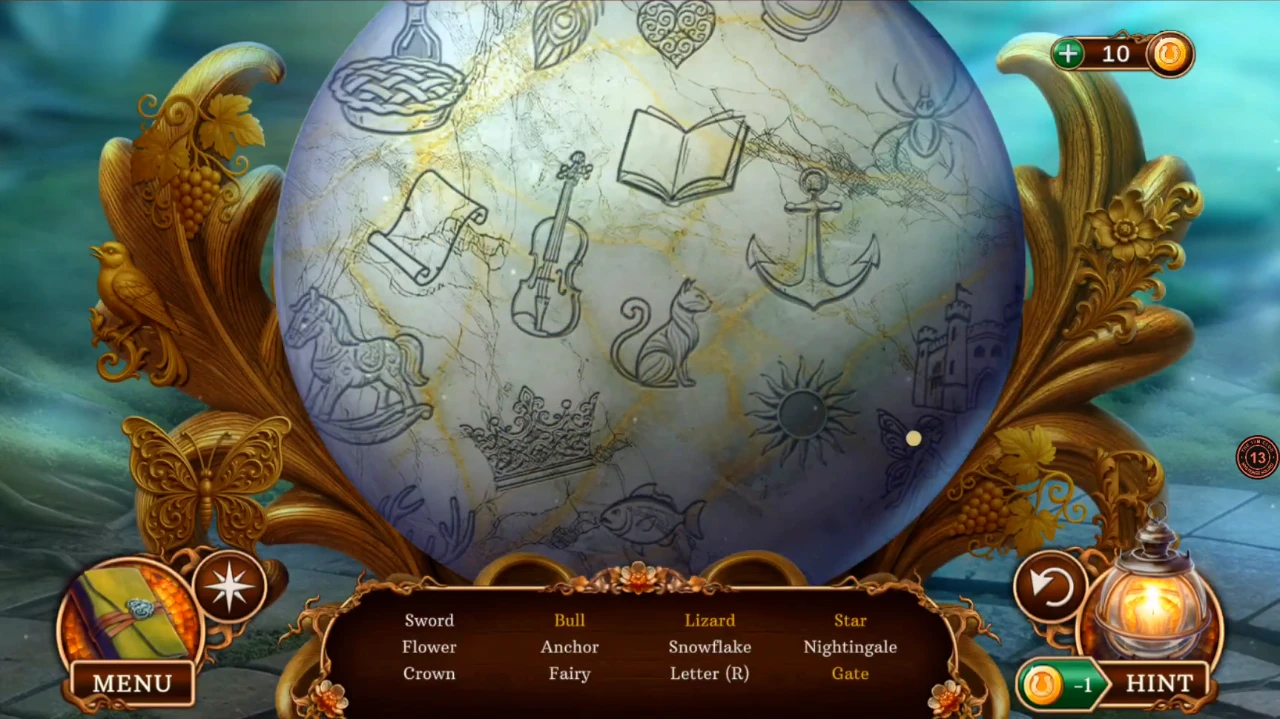
All three fragments restore the sphere. It then becomes a globe of outlined pictures that you turn by dragging.
- Zoom into the sphere and place all three Sphere Fragments in its gaps. The sphere glows and the puzzle opens.
- Drag the globe to turn it and tap the twelve listed outlines: Sword, Bull, Lizard, Star, Flower, Anchor, Snowflake, Nightingale, Crown, Fairy, Letter (R), Gate.
- A green portal opens above the sphere and the task becomes Find the fruit of the Great Tree. Go through it into the City Ruins.
City Ruins: A Drink for the Lost Spirit
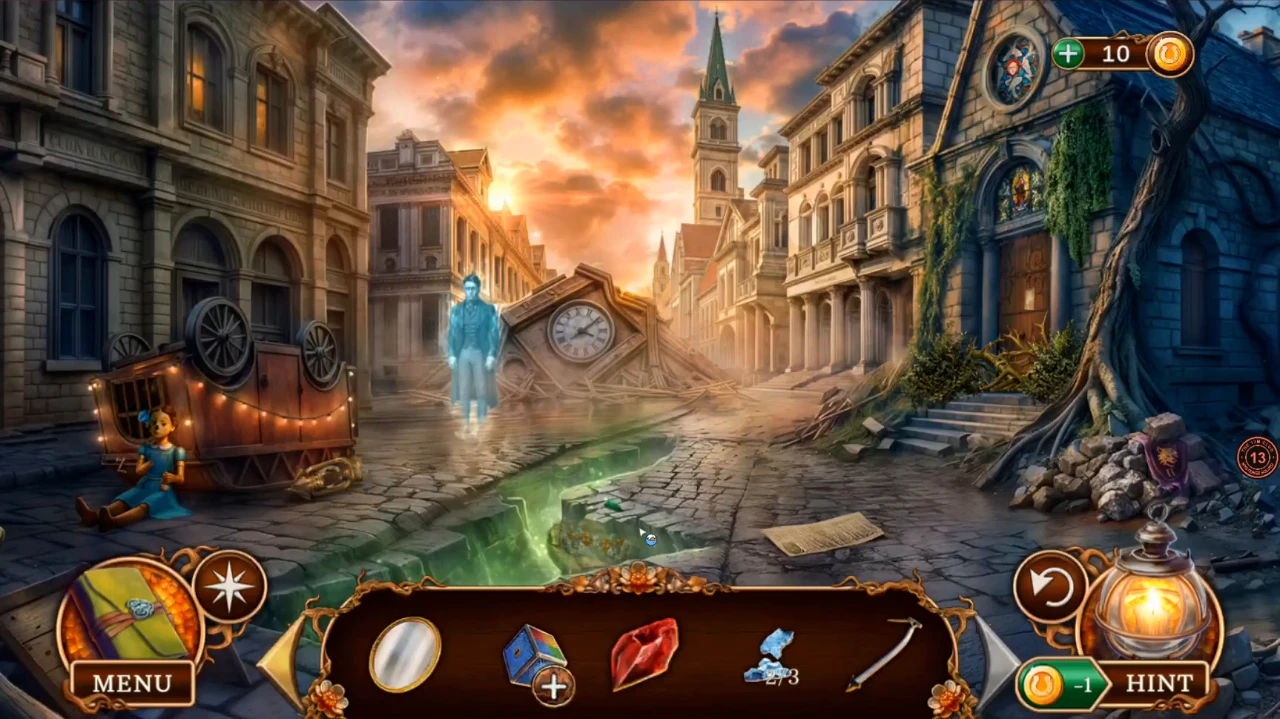
The ruined street holds a thirsty ghost, a doll, a cleft in the road and a locked box. The ghost can no longer drink, because any liquid turns to ice around him.
- Talk to the Lost Spirit. He admits he is not destined to leave and hands you Chunks of Ice (1/3).
- Zoom into the rock pile at the lower right, beside the wolf banner, and take the Ice Pick.
- Zoom into the paper on the street. Take Chunks of Ice (2/3) from the twigs and read Fabian's note: his alchemist's cube turns three iron items into one gold item when a special stone is added.
- Zoom into the broken doll on the left: take the Winding Handle. The doll needs missing parts, and a blue rose in its hair must wait.
- Zoom into the green-lit cleft in the road and take the Green Crystal. The rest of what fell in cannot be reached yet.
- Zoom into the rock pile again and tap the rocks: a round lidded box slides out. No item is needed. It has a coin slot that ordinary money does not fit.
- Travel to the Great Tree and use the Winding Handle on the fuel station's slot. Take Iron Coins (3/3) and the Silver Ornament from the drawer that opens.
- In Tree Roots, zoom into the red roots and put the Silver Ornament on the goblet.
- Zoom into the iced-over wall panel and use the Ice Pick on the icicles. Take Chunks of Ice (3/3).
- Back at the red roots, use the Chunks of Ice on the goblet. The roots let go of it: take the empty cup.
- At the Great Tree, use the cup on the river to get the Cup with Water.
- Give the Cup with Water to the Lost Spirit in the City Ruins. He thanks you and gives you the Cube Key before vanishing.
Alchemical Cube: Roll the Ball to the Finish
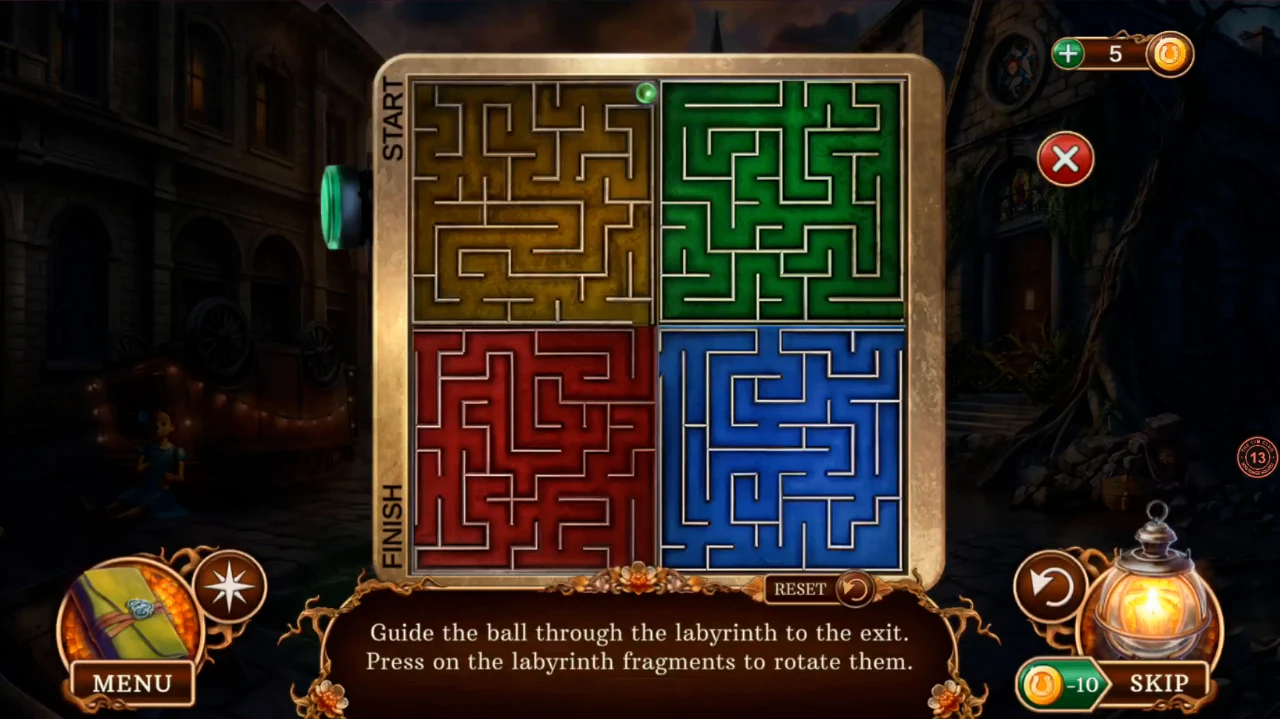
Prompt: Guide the ball through the labyrinth to the exit. Press on the labyrinth fragments to rotate them. Four colored mazes form one board, with the ball entering at START and leaving at FINISH on the left edge.
- Open the Alchemical Cube from the inventory and turn the Cube Key in its lock. The lid lifts: drop in the three Iron Coins and the red Alchemical Stone, as Fabian's note describes. The labyrinth on the lid opens.
- Tap a colored square to turn it a quarter turn, then press the green button on the left of the board to release the ball. It runs along the corridor until it stops; after a failed run it returns to START, so adjust the squares and try again. Line up the corridors yellow to green, green to blue, blue to red, and red to FINISH.
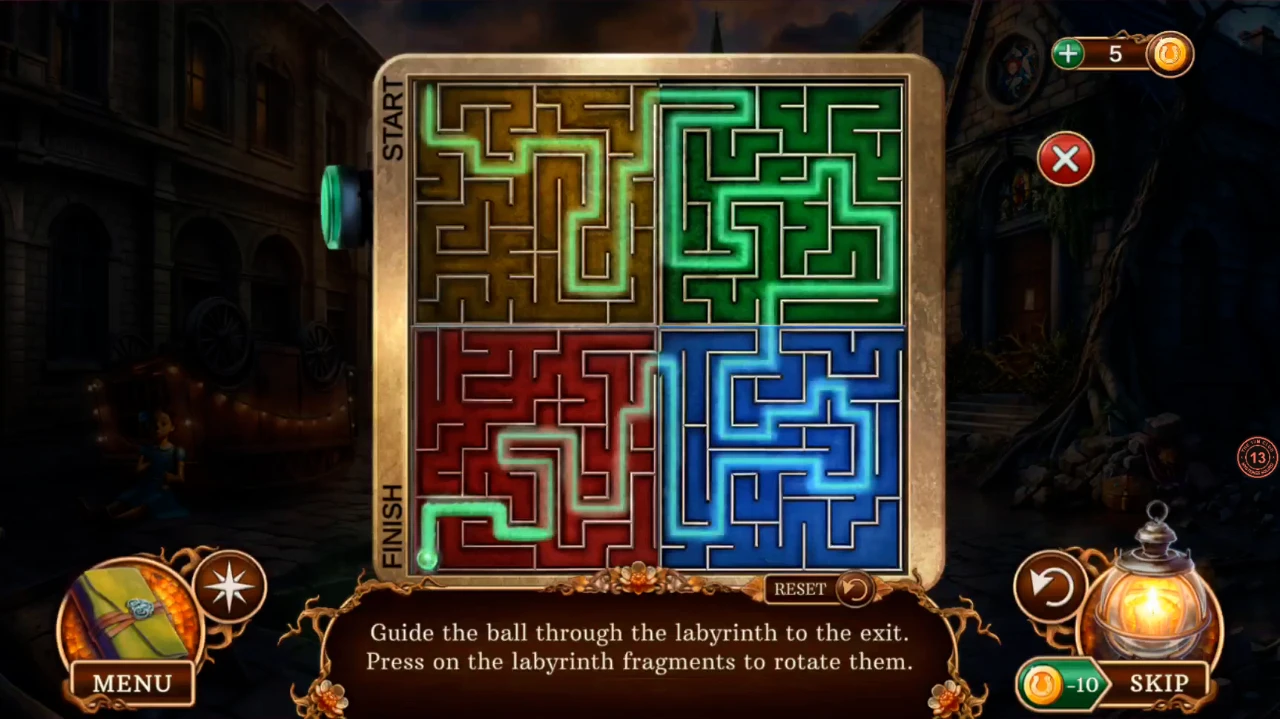
A completed run: the glowing line shows one board layout that carries the ball from START to FINISH. - The cube turns the iron into a gold coin. Take the Rare Coin.
The First Fruit: Heal the Gray Root
The Rare Coin fits the box in the rocks and gives you the first fruit.
- In the City Ruins, put the Rare Coin in the slot of the box in the rocks. Take the Saw and the Golden Fruit. Leave the purple bag: its thick fabric needs something else to cut it, and the Saw will not do.
- At the Great Tree, zoom into the car root and use the Saw on the woody stem. Take the Axe Handle.
- In Tree Roots, zoom into the gray hollow root and use the Golden Fruit on it. The root heals and turns green.
- Talk to the Mistress. She thanks you, says another victim will lend a helping hand to get inside, and gives you the Marionette Hand. The task becomes Enter the crypt.
Mend the Doll and Build the Axe
The broken doll in the City Ruins holds more than it first shows.
- Zoom into the doll in the City Ruins and attach the Marionette Hand.
- At the Great Tree, zoom into the car root again and take the Straight Branch.
- Back at the doll, use the Straight Branch on her face as a new nose. You receive the Torn Rope and the Blunt Axe.
- Open the Axe Handle in the inventory and fit the Blunt Axe to it.
- In Tree Roots, zoom into the green roots and use the Torn Rope on the amber crystal. Take the Yellow Crystal and the Sharpening Stone.
- Open the axe in the inventory and use the Sharpening Stone on the blade to get the Lumberjack's Axe.
Open the Way to the Crypt
The door on the right of the City Ruins is barred by branches and holds out a wooden hand once they are gone.
- Zoom into the City Ruins door and chop the branches with the Lumberjack's Axe. The door swings open on a wooden hand.
- Give the Pocket Mirror to the wooden hand. The way into Faun's Crypt is open and the task becomes Find the second fruit of the Tree.
Faun's Crypt: First Finds
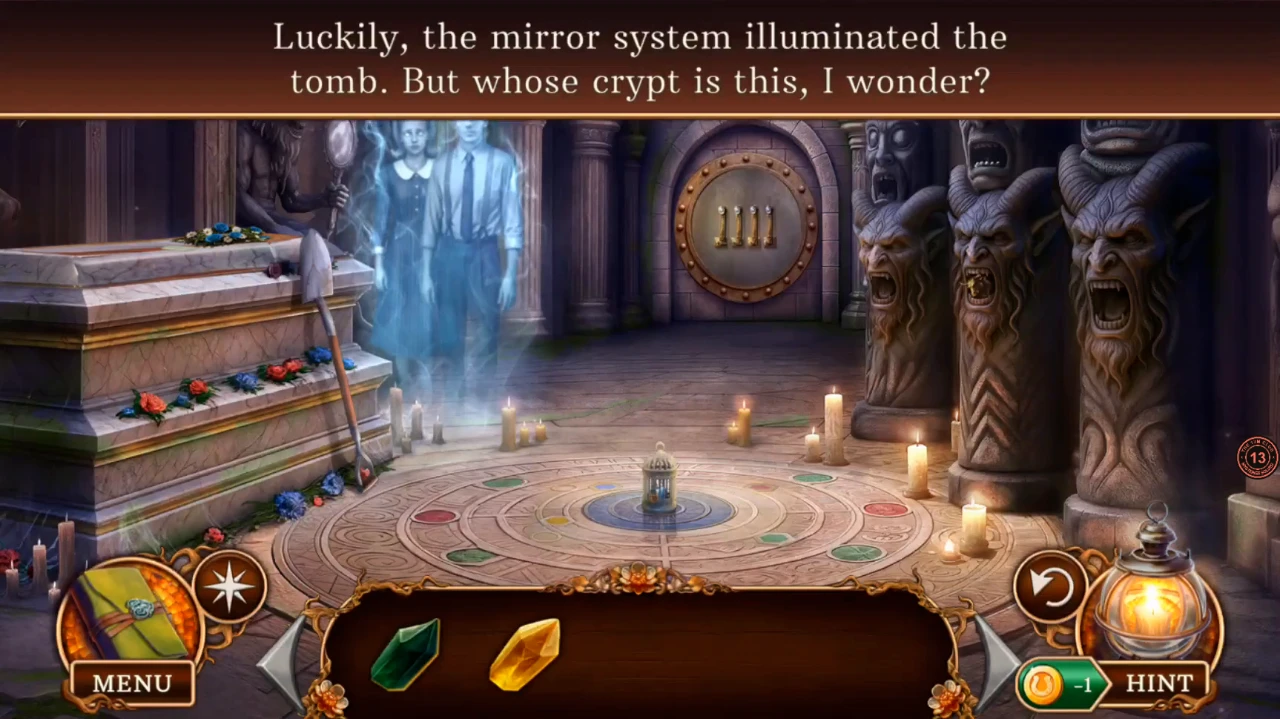
Two spirits are hiding here. They failed to break the Faun's totem and take you for him until they see you.
- Enter the crypt and talk to the spirits, who recognize you as the human who freed them and hand you the Awl. They wanted to break the Faun's totem and failed.
- Zoom into the sarcophagus on the left. Take the Shovel and read Linda's note: she kept some gunpowder to avenge her family. The funeral wreath is missing flowers.
- Zoom into the totem on the right and take the Bull Head from its jaw.
- Zoom into the round floor and take the Frozen Cage from its center. Note the four colored marks around the circle.
- Zoom into the round door at the back. Its four knockers have lost their heads. Take the Dirty Key from the base of the first one.
- At the Great Tree, zoom into the car root and use the Awl on the red gem. Take the Red Crystal.
- Still at the Great Tree, use the Dirty Key on the river to wash it. You get the Plain Key.