Morphing Objects: Chapter 1
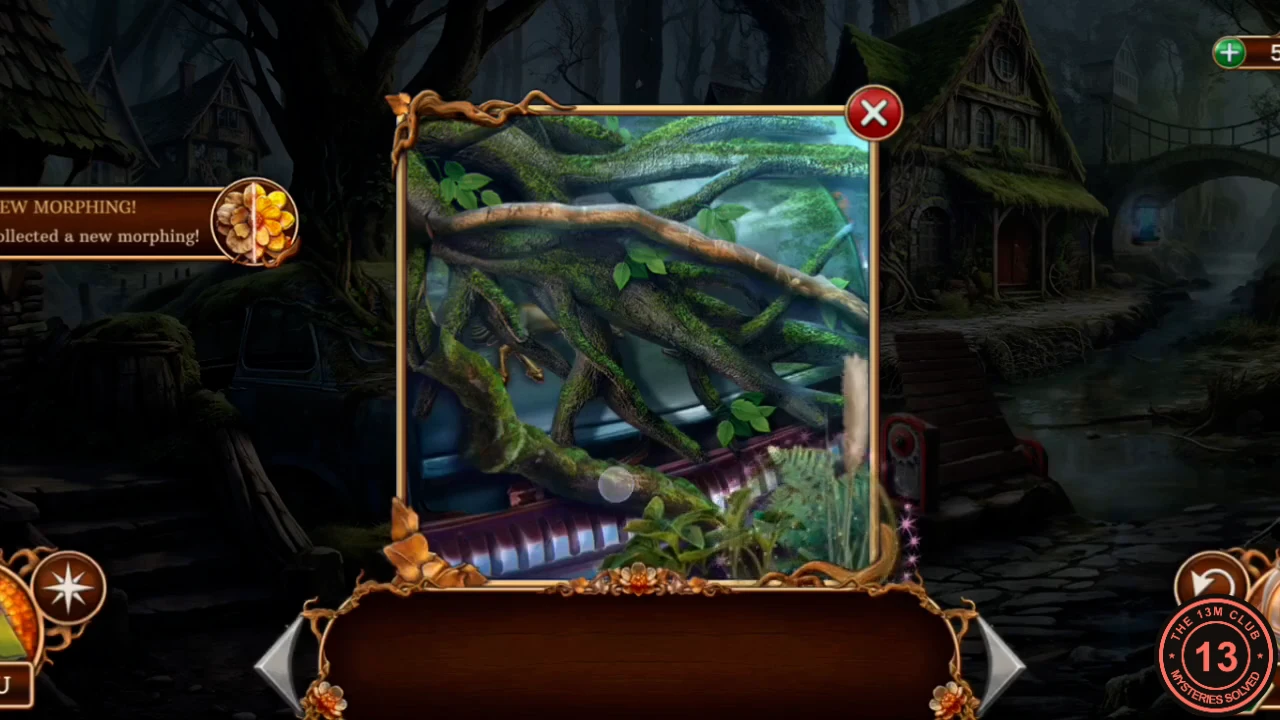
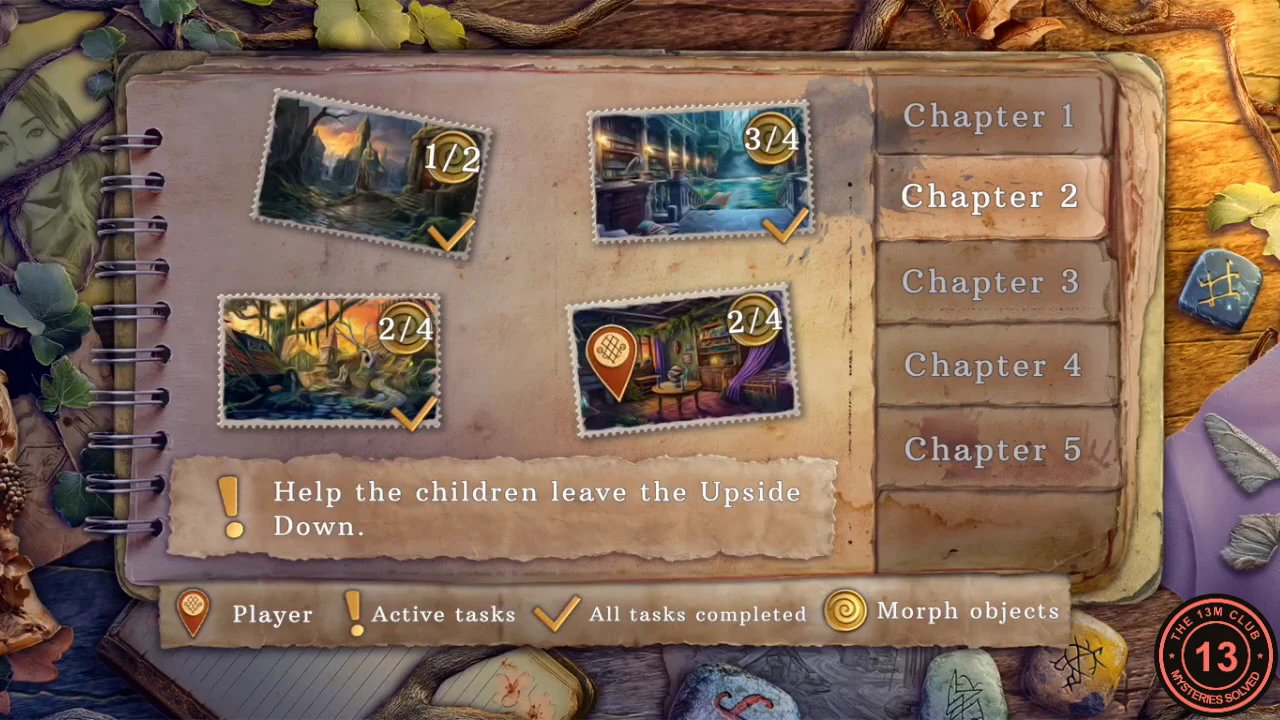
Morphing objects are optional. Each one is a small object that keeps changing shape; tap it to collect it, and a New Morphing message appears while sparkles circle the spot. Open the Map to check progress: a coin counter on a location shows how many you have found there. The main route never depends on them, and this guide cannot say whether collecting them all earns a reward. Collect them before you enter the final portal, because no way back after the ending was seen.
- Town entrance (3): the feather inside the car trunk and the spider by the bridge lever.
- Town entrance, third object: the roots on the riverbank to the right of the bridge, in the main view.
- Tavern (2): the spoon behind the candles on the middle table.
- Tavern, second object: the food on the table at the far left, by the fireplace, in the main view.
- Town street (2): the middle figurine behind the grindstone.
- Town street, second object: the weathervane on the roof to the left of the hanging cage, in the main view.
- Shop (2): the scratch marks on the box and the poster on the shelf.
- Alchemist's room (2): the flower on the mirror frame and the crystal ball.
Morphing Objects: Chapter 2
These four locations belong to the Old Square, the library, the swamp and the house at the top of the swamp stairs.
- Old Square (2): the mushrooms in the debris on the ground.
- Old Square, second object: the vine hanging on the column at the left of the library door, in the main view.
- Library (4): the books on the railing and the lotus flower next to the raft.
- Library, third object: the bookmark near the water, in the zoom on the steps.
- Library, last object: the beetle on the left of the frame, in the zoom on the mirror on the stairs.
- Swamp (4): the clock and the bug on the gnarled tree.
- Swamp, third object: the blueberry on the sunken roof, in the roof zoom.
- Swamp, last object: the lily pad in the water behind the altar, in the main view.
- House at the top of the stairs (4): the fruit on the bookcase shelf.
- House, second object: the bug on the windowsill, in the flower pot zoom.
- House, third object: the mask on the wall between the window and the bookcase, in the main view.
- House, last object: the feather on top of the pillow, in the pillow zoom on the bed. Look for it when the Prophetess sends you back to this house.
Morphing Objects: Chapter 3
These five locations cover the diner street, the diner, the kitchen and the first dungeon rooms.
- Diner street (3): the embellishment on the carriage door.
- Diner street, second object: the gouge marks at the top of the creepy root, in the root zoom.
- Diner street, third object: the doughnut above the diner sign, in the main view.
- Diner (4): the crumpled paper on the counter and the leaf on the tree creature's table.
- Diner, third object: the owl on the root on the wall, to the right of the back door, in the main view.
- Diner, last object: the car on top of the ventilation controls, at the upper right of the fan zoom.
- Kitchen (1): the plant above the stove.
- Sewer channel (3): the spider on the chest and the snail on the mossy wall.
- Sewer channel, third object: the skull in the green water, in the main view.
- Dungeon room with the fire pot (2): the circle on the wall to the right of the stained-glass window, in the main view.
- Dungeon room, second object: the embellishment on the front of the fire pot, in the pot zoom.
Morphing Objects: Chapter 4
These five locations cover the cave, the forest camp, the lodge, the garden and the Faun's altar.
- Cave behind the round door (3): the fern in the well and the cup in the barred cell.
- Cave, third object: the urn on the ground at the foot of the rockfall, in the main view.
- Forest camp (2): the lumber on the oven.
- Forest camp, continued: the weathervane in the room view.
- Lodge (2): the wreath on the wall and the calendar on the shelf.
- Garden (4): the basket on the ground, the orange in the berry bushes beside the blue box and the caterpillar on the apple tree above the statue. The last is the leaf on the bird totem, which you can reach only after the totem opens.
- Faun's altar (2): the hand in the ice crystal and the gold emblem on the altar.
Morphing Objects: Chapter 5
These six locations are all inside the labyrinth and the Prison of Souls.
- Labyrinth entrance (1): the beetle on the statue.
- Hall of steps (1): the leaf on the eagle statue.
- Crossroads (2): the plant next to the birdcage.
- Crossroads, second object: the rose on the front of the pedestal, in the zoom on its lid.
- Prophetess's corridor (1): the base of the candlestick on the table, in the zoom on the cracked mirror.
- Crystal room (2): the bookmark on the shelf.
- Crystal room, second object: the blue crystal on the statue's headdress, in the statue zoom.
- Prison of Souls (2): the flower on the arch.
- Prison of Souls, second object: the small crystal at the lower left of the zoom on Minastor.
Morphing Objects: Chapter 6
These five locations belong to the final chapter, Escape the Upside Down.
- Great Tree (1): in the portal area, right after the portal vision ends.
- Tree Roots (1): the vase on the ground.
- City Ruins (1): the teddy bear near the overturned carriage.
- Faun's Crypt (2): the gargoyle on the wall, then the section of floor in the ritual circle, in the floor zoom.
- Secret Garden (2): the snail on the flowers in the zoom beside the note, then the skull on the tree trunk.