Cameo Gate and the Swamp
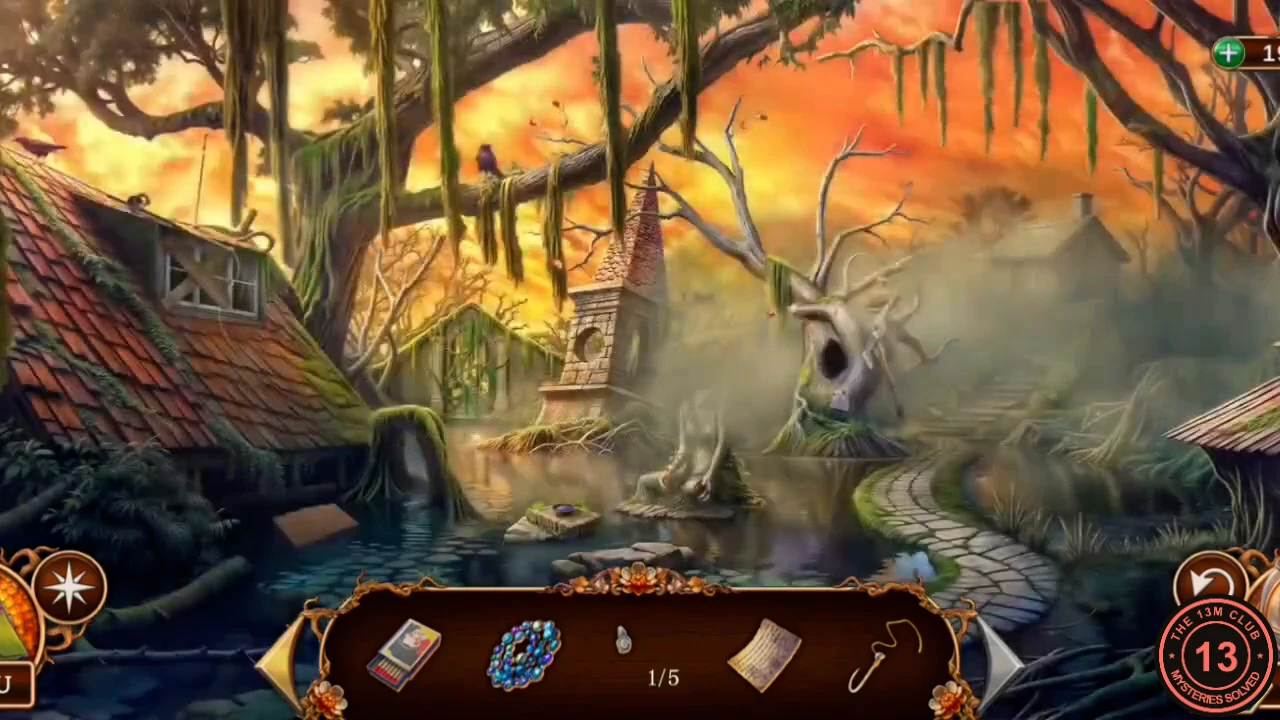
The two cameos open the Old Square gate into the swamp, where the gremlin Yon gives you a scrap of an old drawing.
- In the Old Square, use the Lord's cameo and the Lady's cameo on the gate. The gate opens onto the swamp.
- Enter the swamp. Yon the gremlin talks to you, warns you to look for the Seer's hut and gives you the Drawing fragment.
- Open the note with the plus mark in the inventory and add the Drawing fragment. It becomes the Librarian's notes, which you will need later.
- Zoom into the sunken house's roof. Take the Hook on a line. The blue boat-shaped drawer there is locked with an owl-shaped lock.
- Look at the ancient altar with the purple bowl. It needs something placed on it later. Then zoom into the stone statue with the discs in its hands and take Stone fingers 2/5.
- Zoom into the old tree. Take the Axe from the trunk and read Linda's note to Joseph. Open the nest in the tree and use the Hook on a line on it to get Blue gems 1/3. The hook stays with you.
- Look at the misty stairs on the right, which need something to dispel the mist. Zoom into the roots on the path and take the Owl amulet from the vines. The roots block the way into the deepest part of the swamp.
- Back at the roof, use the Owl amulet on the drawer's lock and take the Carving knife.
- Use the Axe on the roots to clear the path and enter the marsh.
Marsh Silhouette Search
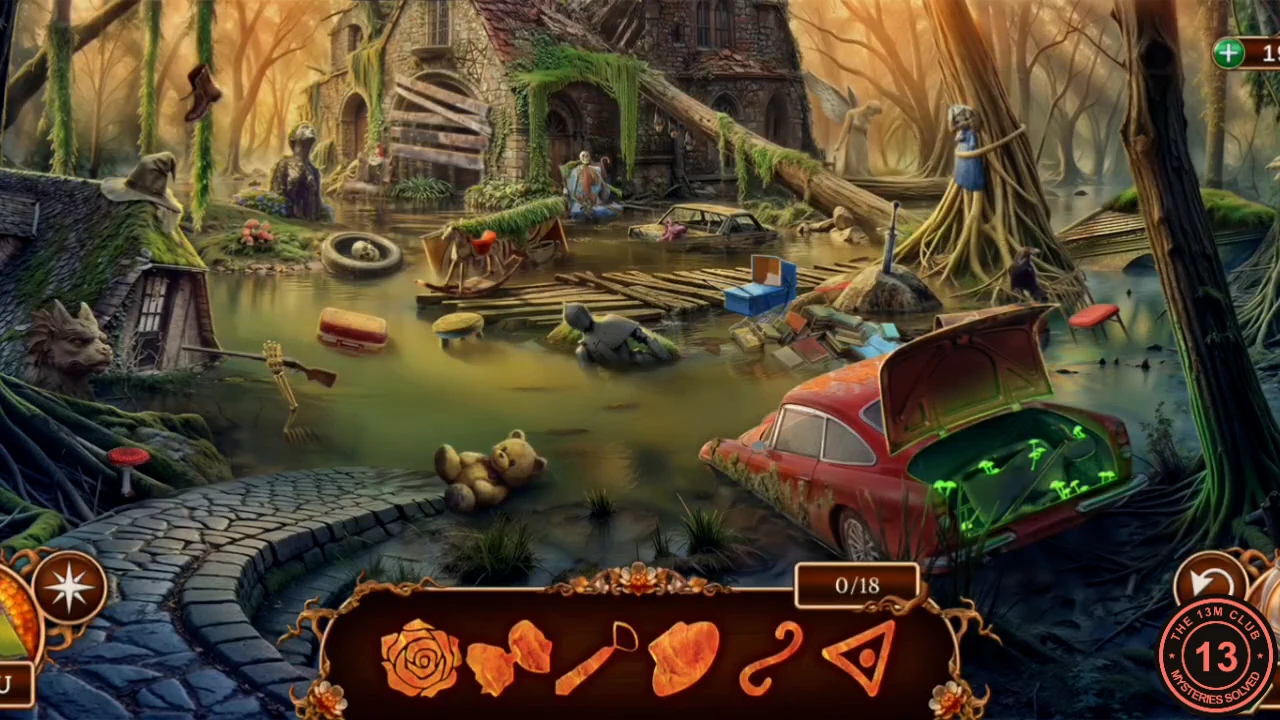
This scene has no written list. The rule: find the object matching each orange silhouette in the bar. There are 18, and new silhouettes replace the ones you find.
- Find these 18 objects. The bar shows six outlines at a time and refills, and an object counts only while its outline is showing, so come back to it if a tap does nothing. Zoom into the dark statue at the back left for the S-shaped mark on the left of its chest, the rune on its forehead and the triangle on the right of its chest. Zoom into the skeleton in the blue armchair by the house door for its red tie and the gray hat on its knee. Zoom into the blue case on the floating boards for the pink bow on the rabbit and the rose on the purple cover. In the main view, tap the boot hanging in the tree at upper left, the teddy bear in front of the path, the rocking horse at the left end of the boards, the rifle held by the skeleton hand at left, the doll tied to the big tree, the sword in the rock at its foot, the crow beside that tree, the hammer in the glowing car trunk, the planks nailed over the arch of the house, the wing of the angel statue behind the fallen trunk and the knight's armor half sunk in the water. At 18/18, Great Work appears and you get the Idol.
Carve the Idol, Fish for Fingers
The Carving knife and the Hook on a line now open three old spots.
- In the Old Square, zoom into the debris and use the Carving knife on the unfinished figurine. Take the finished idol. The knife stays with you.
- In the library, use the Carving knife on the raven's eye to get Blue gems 2/3.
- Zoom into the steps by the water and use the Hook on a line to fish out Stone fingers 3/5.
- Go back to the tavern and zoom into the counter with the two recesses. Place both Idols. Take the Artist's kit and Stone fingers 4/5 from the compartment that opens.
Painting: Draw the Right Symbols
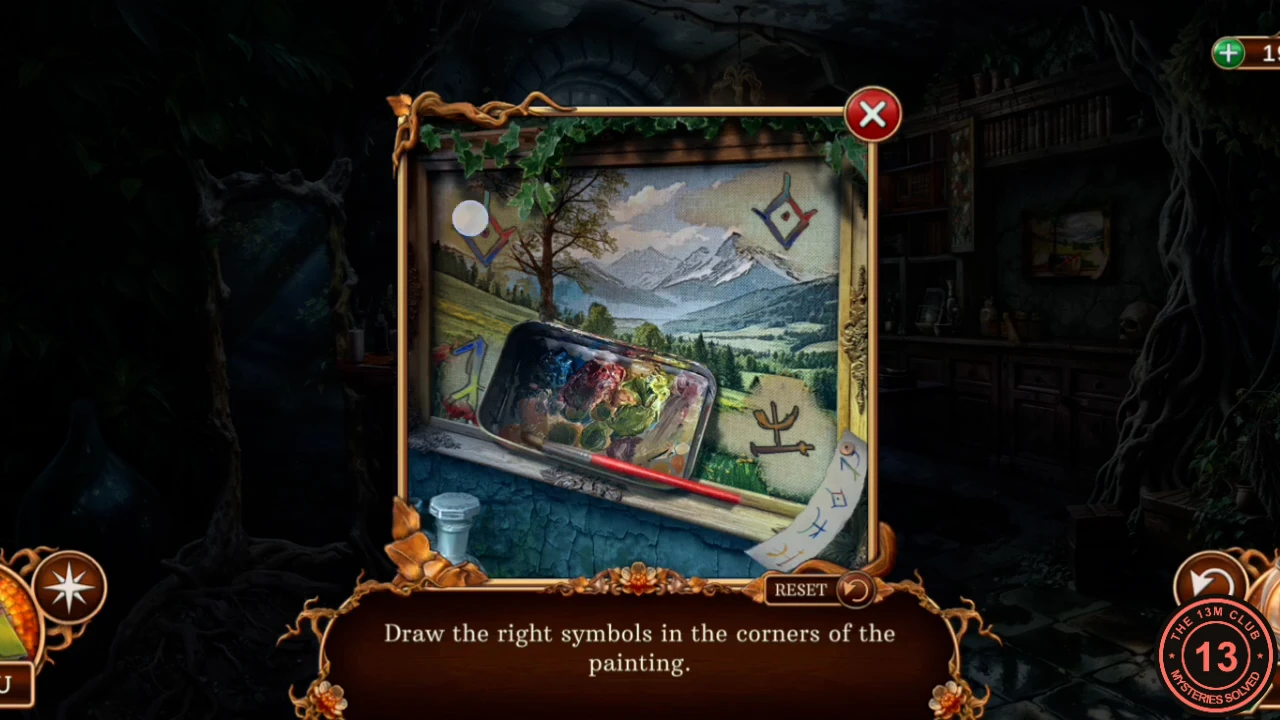
The painting in the alchemist's room hides the last blue gem. The rule: draw the correct symbol in each corner of the painting, using the torn strip stuck to the frame as your clue.
- Zoom into the painting in the alchemist's room, read the torn strip with four symbols and use the Artist's kit on the painting.
- Tap a corner to repaint its symbol until each corner shows the right one. Bottom-left: the orange-and-red symbol, first on the strip. Top-left: the green-and-blue crossed symbol, second on the strip. Top-right: the diamond with a dot, third. Bottom-right: the blue-and-green hook symbol, fourth.
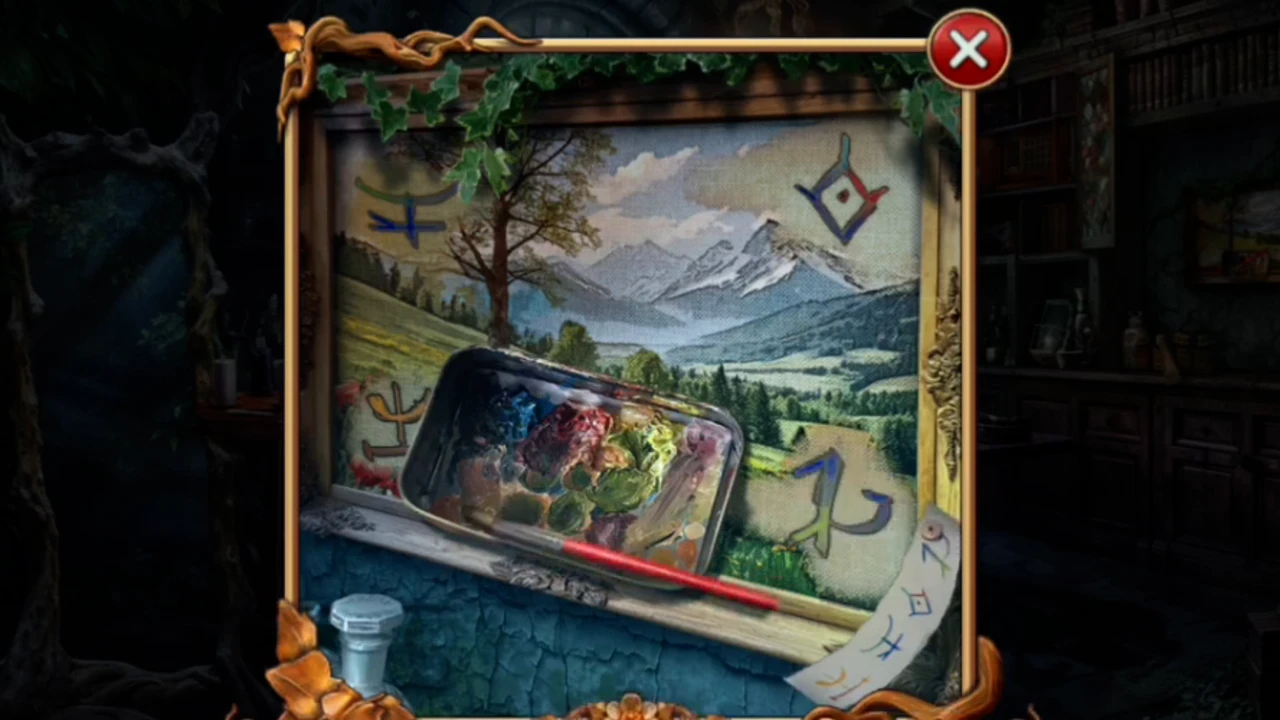
The finished painting, with the four symbols from the torn strip in their corners. - Take Blue gems 3/3 revealed behind it.
Stone Disc and Flutes
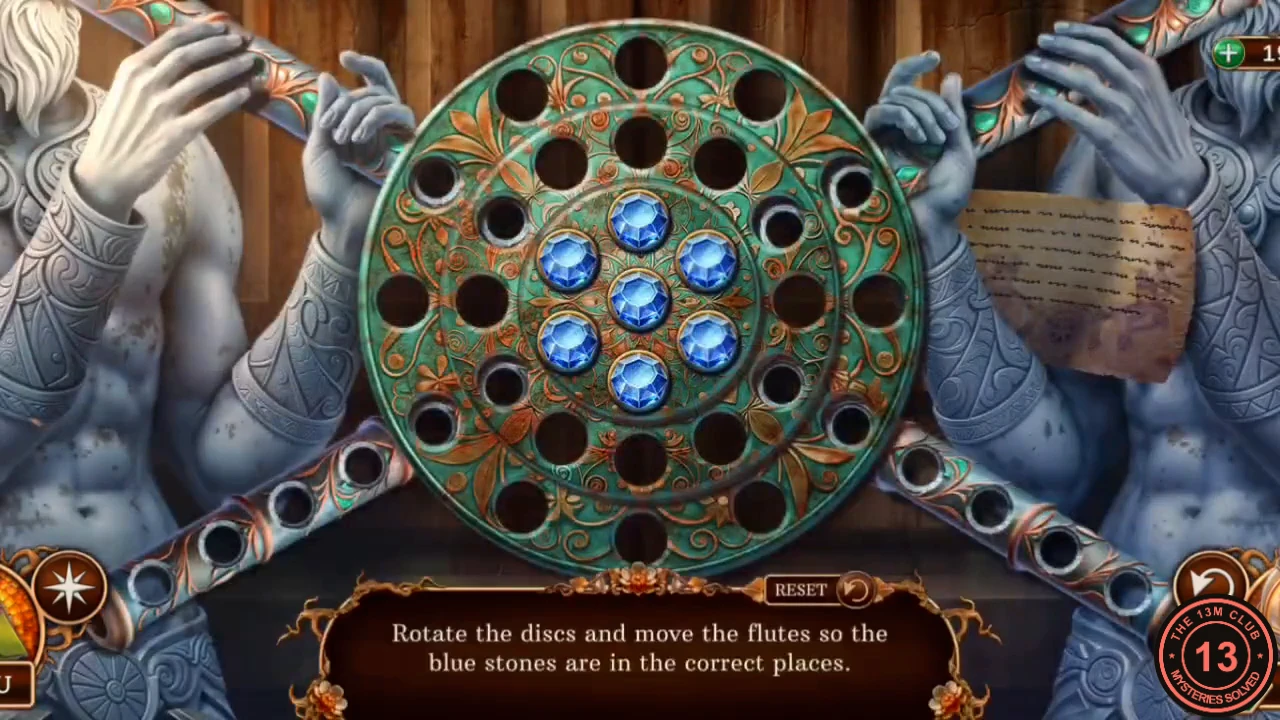
The rule: rotate the discs and slide the two flutes so the seven blue stones reach their correct places. This puzzle is long, so work toward the solved layout rather than a move list.
- Cross to the far side of the library and use the Blue gems on the disc held by the stone figures to start the puzzle.
- Tap a ring of the disc to rotate it and tap a flute to slide its holes along the disc. A stone moves between ring and flute where their holes line up. Solved state: the inner ring holds stones in five of its six holes, with the top hole and the center empty, and the middle ring holds stones at about ten and two o'clock. Use Reset if the stones get too scattered.
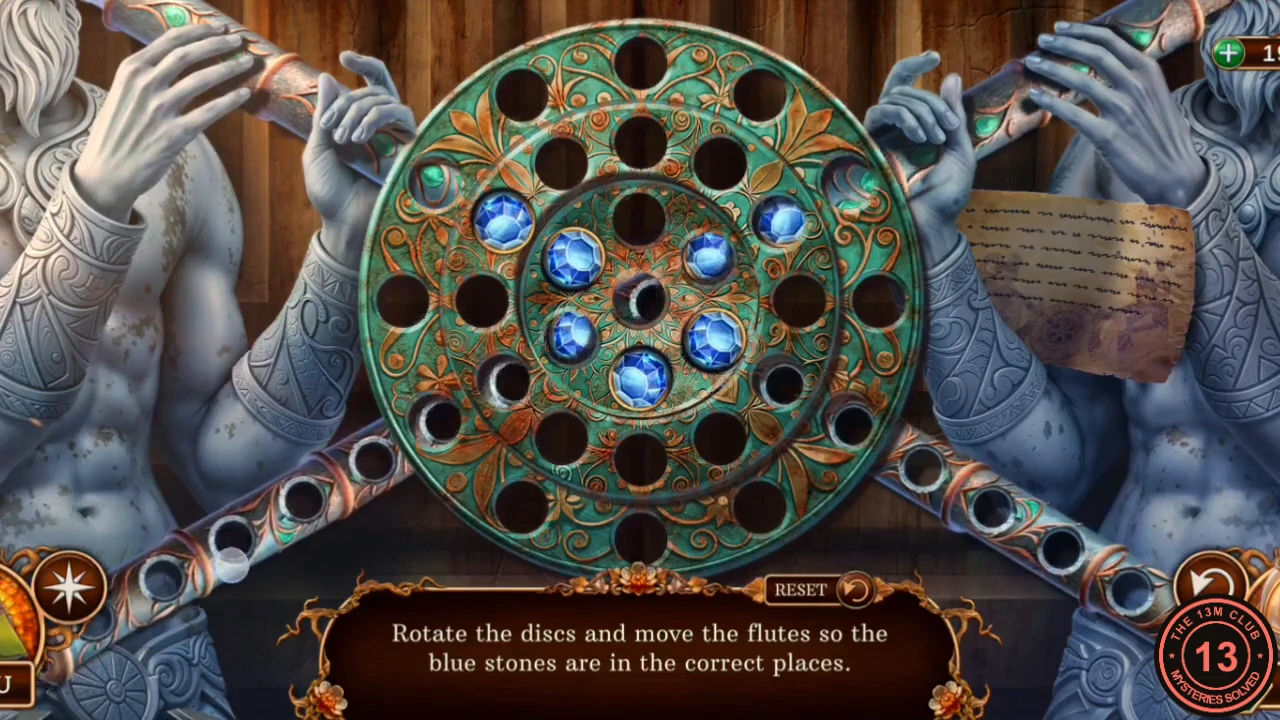
The solved disc: five stones in the inner ring with its top hole empty, and two in the middle ring. - Take Stone fingers 5/5 from the bookshelf compartment. New task: find the shard of the broken one.
Statue's Hand: Five Rings
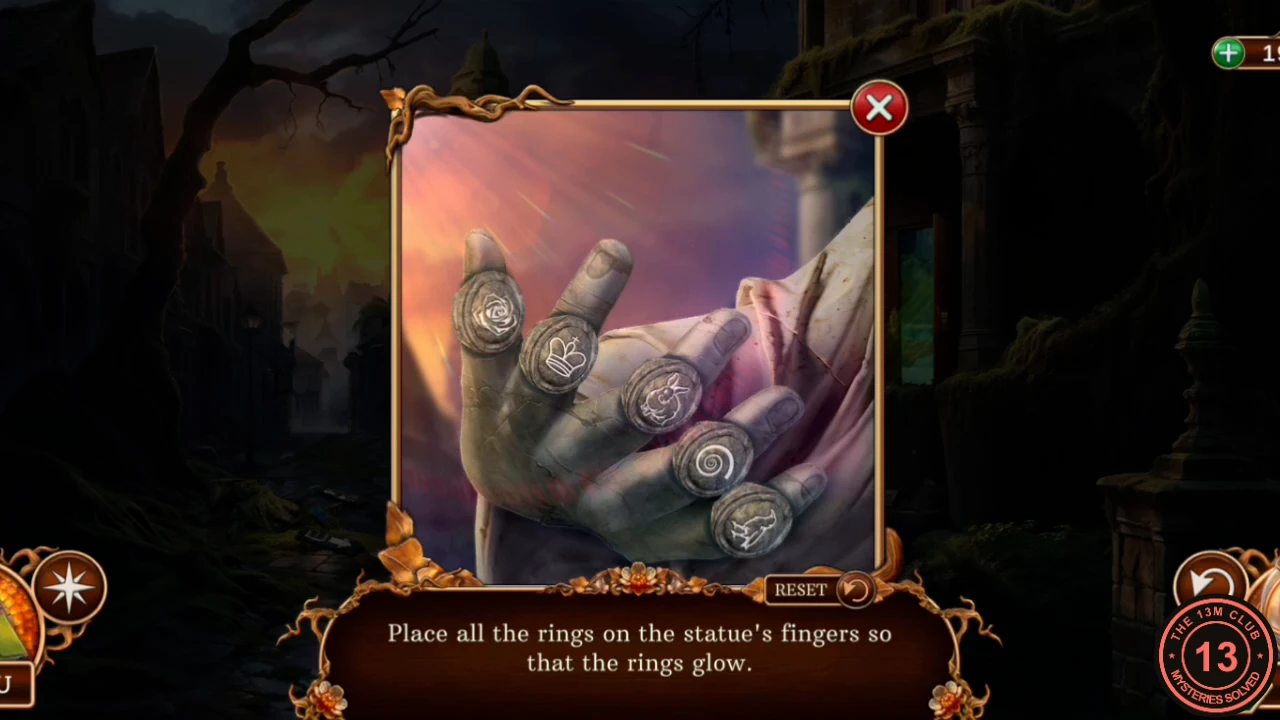
The rule: put all the rings on the statue's fingers so that they glow. Tap two rings in turn to swap them.
- In the Old Square, zoom into the outstretched hand of the statue and use the five Stone fingers on it to start the puzzle.
- Swap the rings into this order, from the topmost finger on the left round to the lowest: spiral, crown, raven, rose, rabbit.
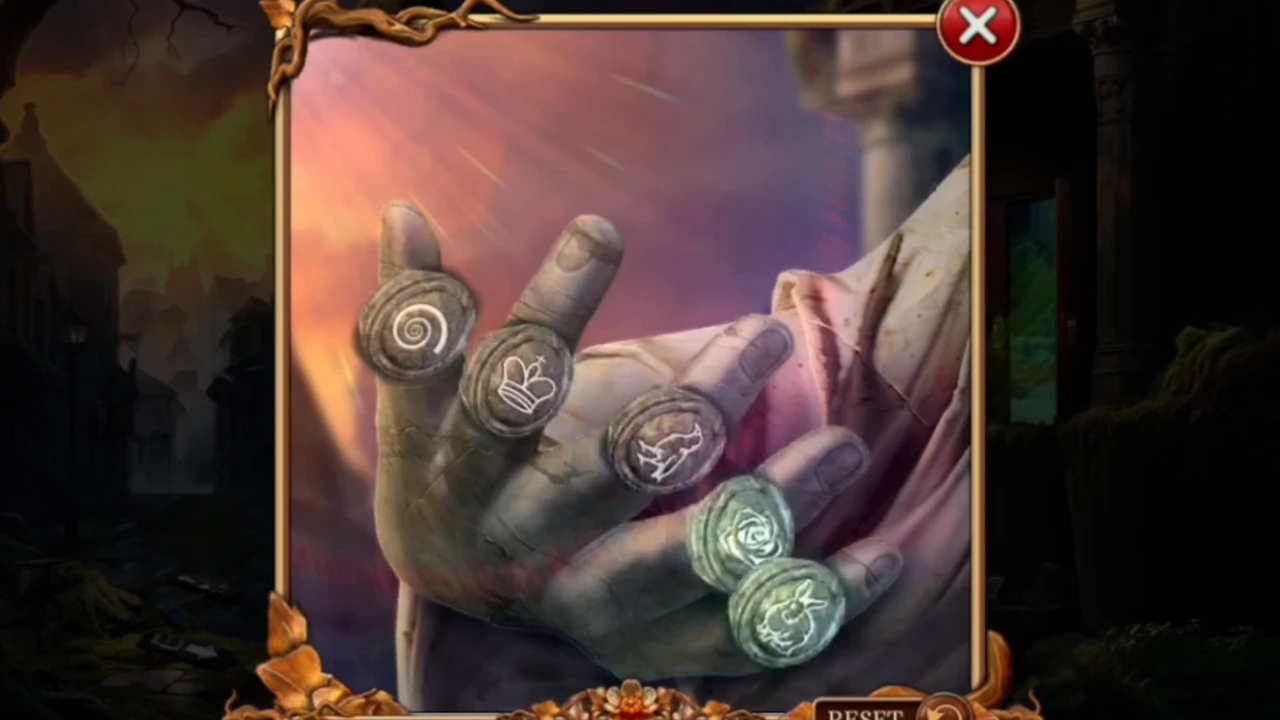
The rings in their finished order, glowing on the fingers. - Take the Entangled Cryptex from the hand.
Cryptex: Connect the Energy
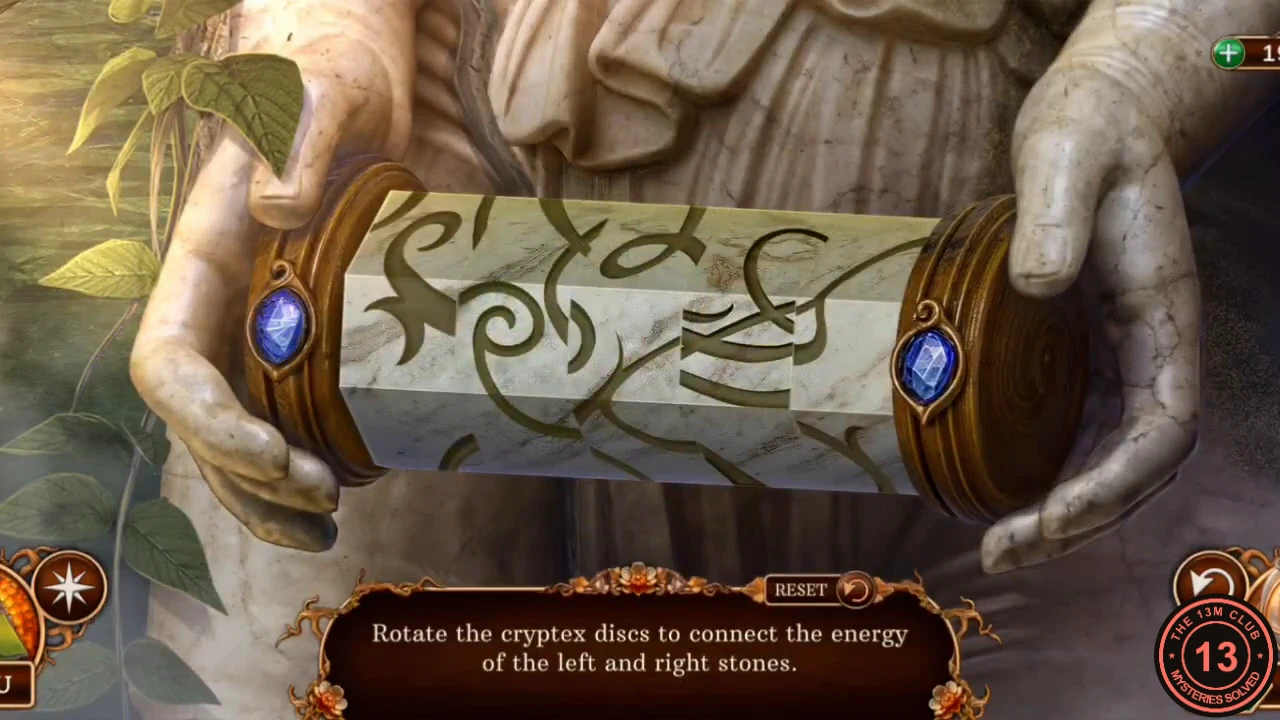
The vines must be cleared before the cryptex can be turned. The rule: rotate the cryptex discs so the lines link the left stone to the right stone.
- Open the Entangled Cryptex in the inventory. The detective suggests freezing the plant, but the Tree token does the job: drag it across the vines until the cryptex is clean. It becomes the Cryptex.
- In the swamp, zoom into the stone statue holding the two discs and use the Cryptex between its hands.
- Rotate the bands until the curling lines form one continuous path between the two stones, as shown in the solved image. Take the Shard of Spirit.
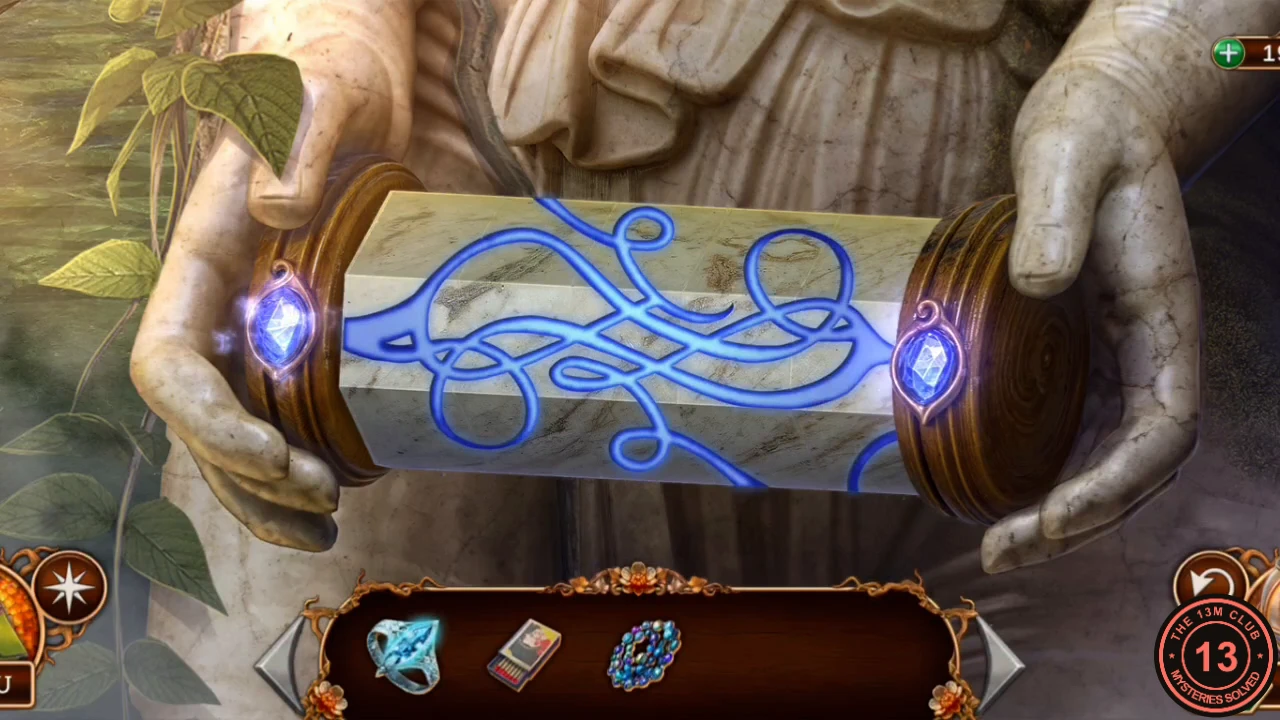
The solved cryptex: the curling lines run unbroken from one stone to the other.
Free the Spirit and Clear the Mist
The shard frees the Spirit and gives you the fire you need for the misty stairs.
- Cross to the Spirit in the library and give it the Shard of Spirit. It is freed and hands you the Torch of spectral fire. New task: speak with Amanda.
- Return to the swamp. After Yon's warning, zoom into the misty stairs and use the Torch of spectral fire to burn away the mist.
- Climb the stairs on the right. You reach a house that looks just like Amanda's in the real world.
Amanda's Shopping List
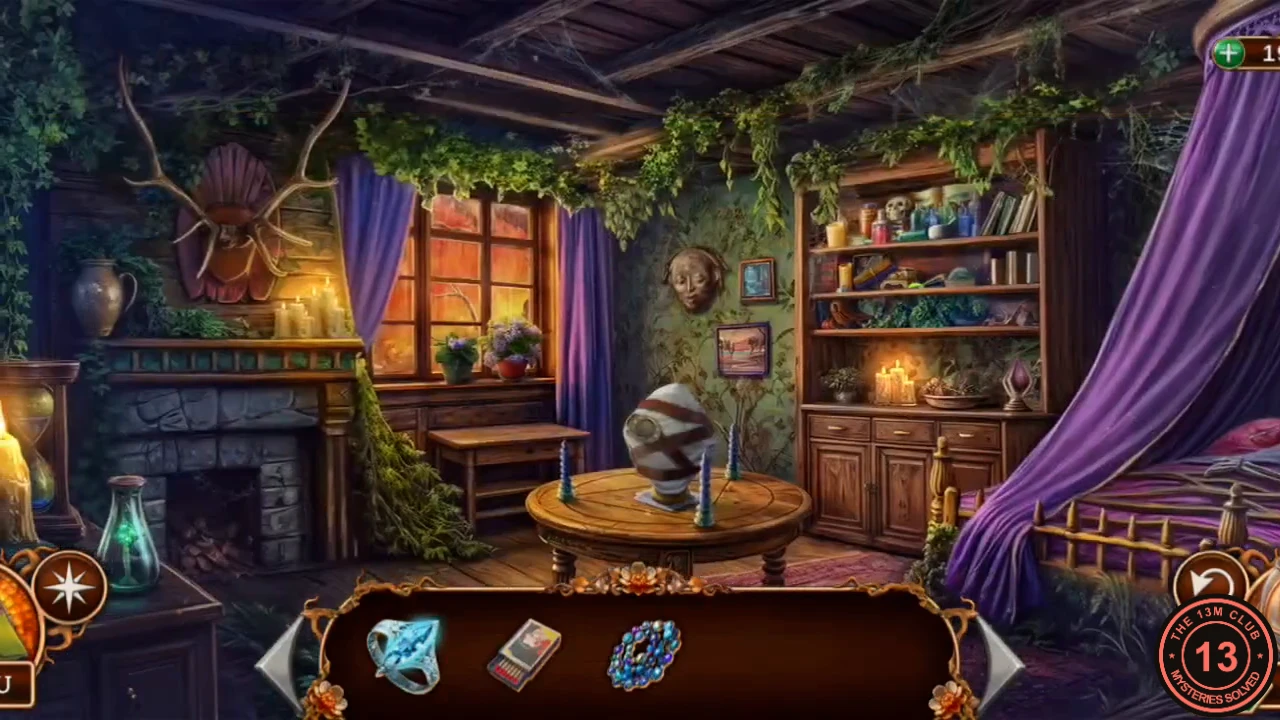
Amanda's lookalike house is a safe place to talk. She tells you to make a protective amulet from materials found in the Upside Down.
- In the house, zoom into the flower pots on the windowsill and take the Amulet of All-seeing lying there. You need a shovel for the flowers themselves, so ignore them for now.
- Zoom into the round table in the middle of the room. Pull the cloth away with the Amulet of All-seeing to uncover the mirror, then use the Box of matches on the candles and place the Astral beads on the frame. Amanda appears.
- Listen to Amanda. She explains the amulet and gives you the bag with its list. New task: create an amulet.
Gather the Eight Ingredients
Everything goes in Amanda's bag. Open the bag in your inventory and drag each item on to it as you find it. The items are scattered across the Upside Down.
- At the windowsill take the Wisteria flower.
- Zoom into the bookcase. Take all four Measuring cups (1/4 to 4/4) and the Crescent locket from the shelves.
- In the swamp, zoom into the stone stairs and take the St. John's wort stem from the plants beside them.
- Open the bag and drop in the Wisteria flower, the Measuring cups and the St. John's wort stem.
- Zoom into the hollow tree in the swamp and collect the three Fallen branches from around it. Add them to the bag. The hollow itself is too dark to examine without a lantern.
- In the library, zoom into the raven's box. Take the Scales and both Weights from the shelf behind the raven.
- Zoom into the cracked mirror on the library stairs and take the Sacred candle stub from under it.
- At the altar in the swamp, take the Otherworldly salt in the purple bowl.
- Open the bag and add the Scales, the Weights, the Sacred candle stub and the Otherworldly salt. When the list is complete the bag ties itself up as Materials for the talisman.
Mix the Talisman of Wrongside
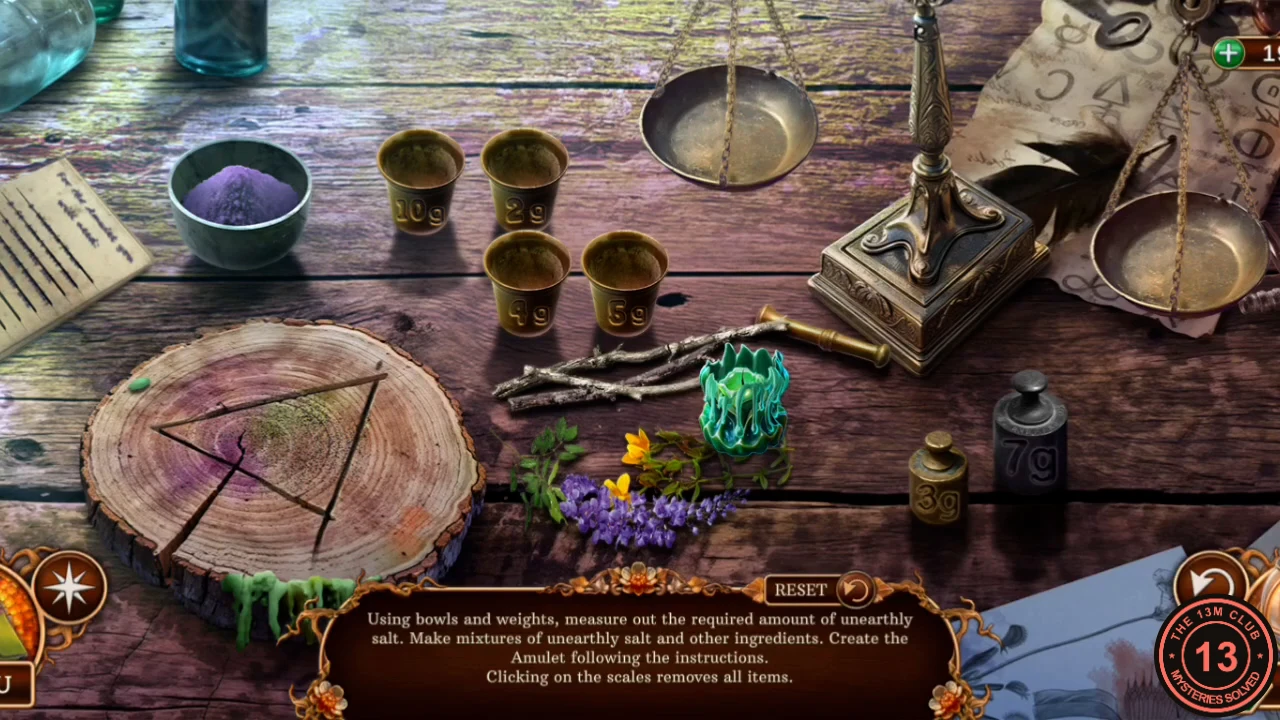
This is a fixed recipe on a balance scale. There are four cups marked 10 g, 2 g, 4 g and 5 g and two weights, 3 g and 7 g. The rule: when the pans balance, a cup on the left pan fills exactly to its marked amount if you tap the salt bowl. Tapping the scale clears everything off the pans; salt stays in the cups.
- In the alchemist's room, zoom into the lab table and use the Materials for the talisman on it. Read the recipe book to its end.
- First 10 g mix: put the 10 g cup on the left pan and both weights on the right pan. Drag the salt bowl to the cup to fill it. Tap the scale to clear the pans. Add the Wisteria to the 10 g cup and grind with the pestle.
- Pour the 10 g cup over the branches. Drag the branches to the triangle on the wood slice, then drag the St. John's wort stem on to them. The Y shape and flowers show the amulet's base.
- Second mix of 9 g: put the 7 g weight on the right pan and the 2 g and 5 g cups on the left. Fill them from the bowl (that is 7 g of salt in two cups). Clear the pans.
- Put the 4 g cup and the 3 g weight on the left pan and the 7 g weight on the right. Fill the 4 g cup from the bowl. Clear the pans. The 5 g and 4 g cups together hold your 9 g.
- Put the Sacred candle stub in the empty 10 g cup, then tap the 5 g cup and the 4 g cup to pour them in. Grind with the pestle. Pour the 10 g cup over the amulet on the wood slice. Leave the 2 g cup alone. Take the Talisman of Wrongside.