Fix the Cart Wheel
The way onward is blocked by a cart with a broken wheel, and you need tools to repair it.
- Zoom into the broken cart in the street. Take the Poker and the Merchant's amulet from around it. The wheel needs tools.
- In the tavern fireplace, use the King's ring on the fire to freeze it out. Use the Poker in the cold hearth and take the Steel wedge.
- In the shop's supply crate, use the Merchant's amulet on the lock. Take the Sledgehammer.
- At the cart, use the Steel wedge and then the Sledgehammer to fix the wheel. The path to the Old Square opens.
Old Square: Clear the Way to the Library
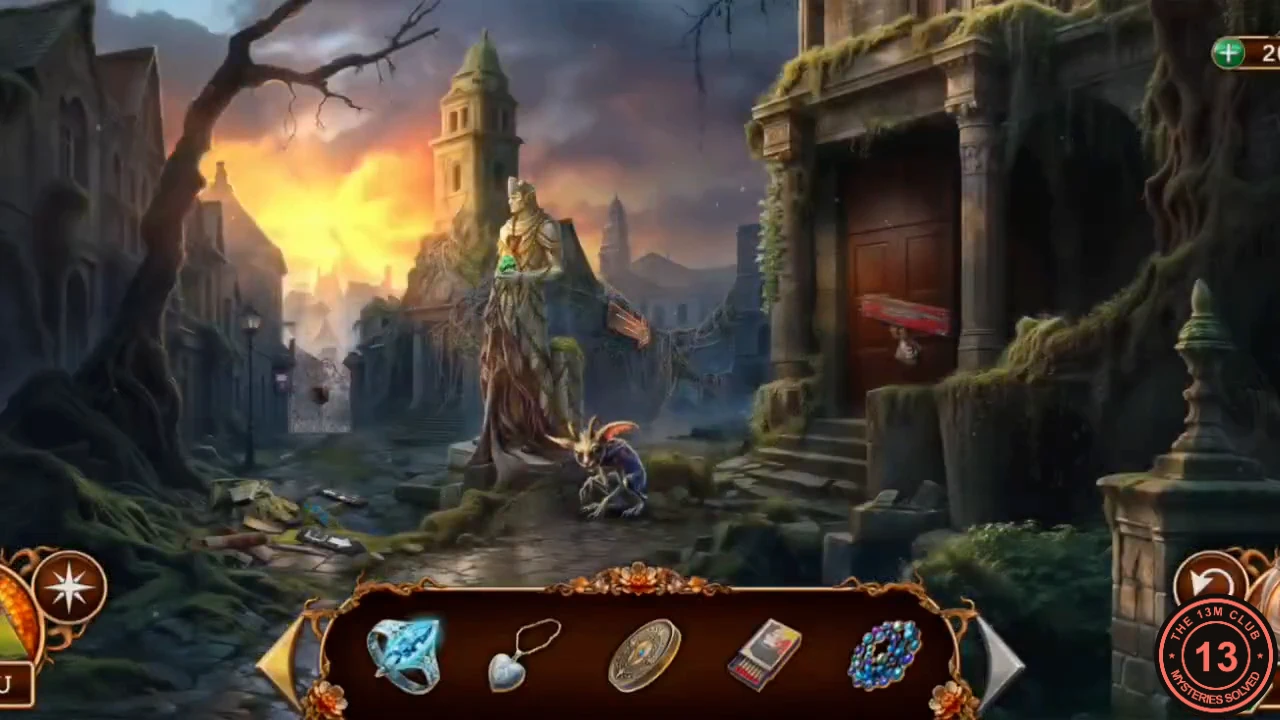
The Faun's creature slips into the library. You need the Pattern plate from the mailbox to work the library door.
- Arrive in the Old Square and watch the creature run into the library. New task: get into the library.
- Zoom into the debris on the ground. Take the Crowbar and the Half of a note. The boards and the idol figure here need tools you do not have yet.
- Zoom into the fallen statue and use the Heart locket on it. Take the Rusty key. The rope here needs something to cut it, so come back later.
- Zoom into the library door. Take the Insecticide sprayer, read the note to Linda and use the Crowbar on the red boards. The door stays locked because half of its pattern is missing.
- Zoom into the gate and mailbox on the left. Use the Insecticide sprayer on the bugs on the grille, then the Rusty key on the mailbox. Take the Pattern plate. Sticky resin covers the lock of the gate: you need something to collect it with.
Library Door: Four Ornament Wheels
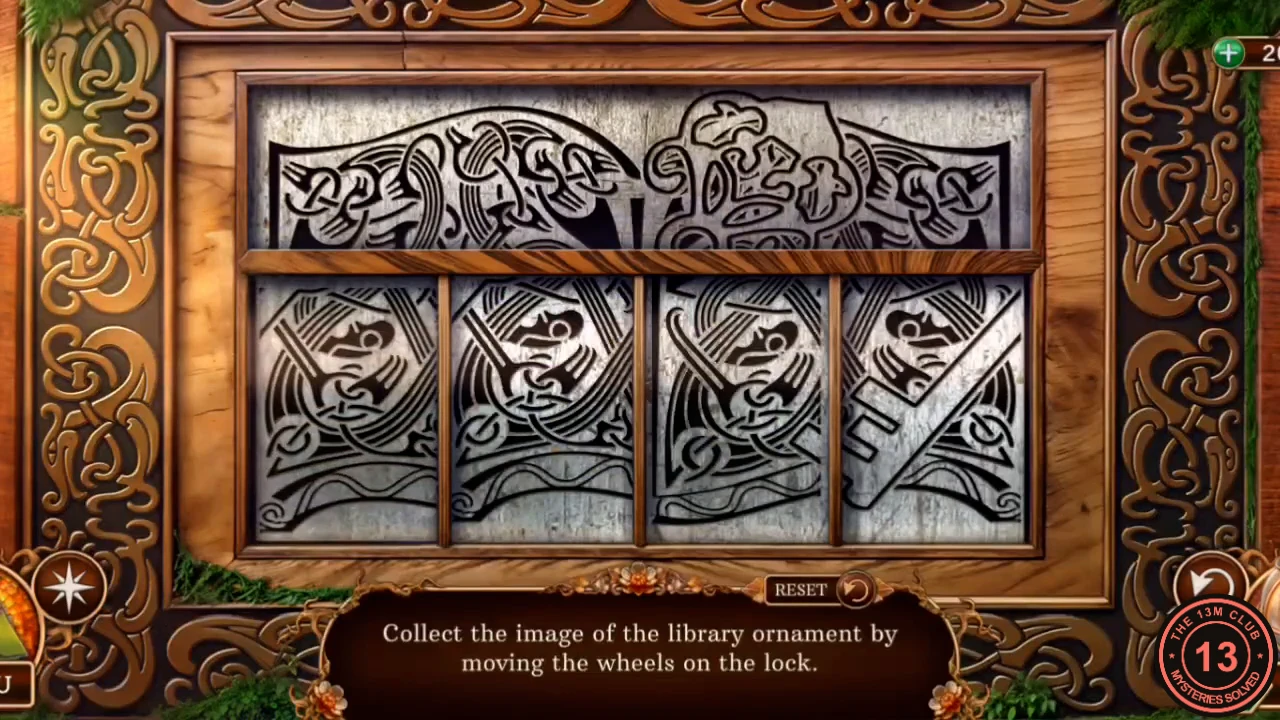
The rule: turn the four wheels on the lock until the lower row completes the library ornament shown on the top strip.
- Use the Pattern plate on the library door to open the wheel lock.
- Tap each of the four columns to spin it to the next picture. Set them to the solved view shown below this step, comparing each column with its neighbors until the curved lines join up into one ornament.
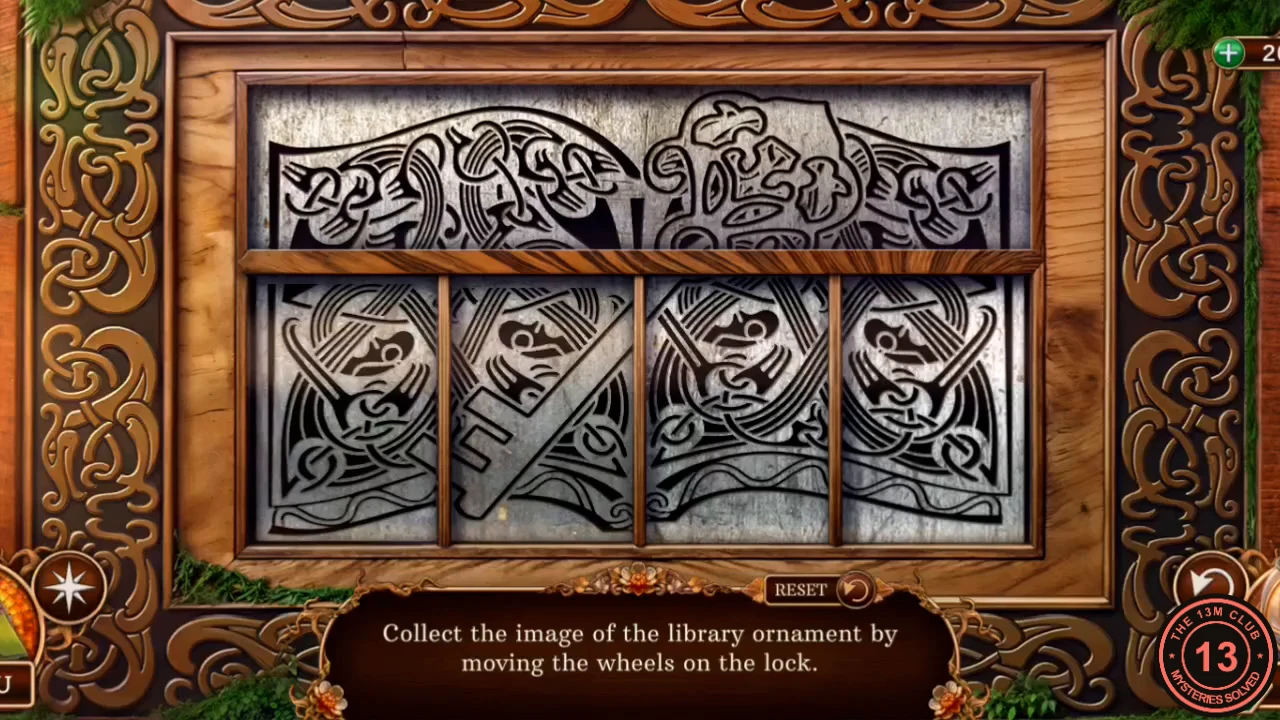
The solved wheels: the four columns join into one ornament matching the top strip.
Library: Repair the Raft
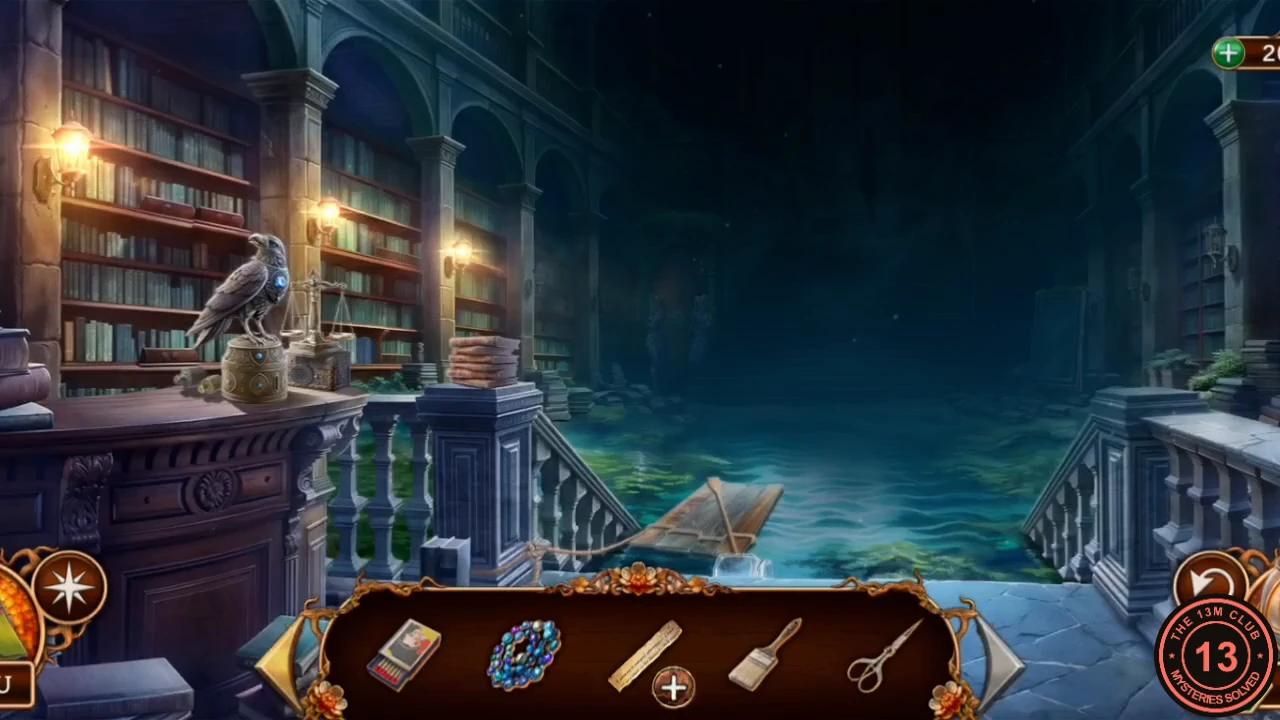
The library is flooded. A chained ghost waits on the far side and the raft is missing planks, rope and a coat of resin.
- Enter the library and see the chained ghost across the water. New task: repair the raft.
- Zoom into the raven on the box on the left. It wants something shiny: use the Golden coin on it and take the Scissors. Leave the blue stone in its eye for later, as it needs something sharp. The box itself needs a locket with the correct image.
- Zoom into the raft at the foot of the steps. Take the Empty vial and the Lady's cameo. The raft should be coated with resin.
- Return to the fallen statue in the Old Square and use the Scissors on the rope. Take the Coil of rope.
- At the gate, use the Empty vial on the resin, then the Scissors to scrape it in. Take the Vial of resin. Note that two cameos are missing from the gate.
- Zoom into the debris in the Old Square and take the Wooden planks.
- Back in the library, fix the raft: place the Wooden planks, tie them with the Coil of rope and coat them with the Vial of resin. The raft floats and carries you across.
Library Stairs: Third Ritual
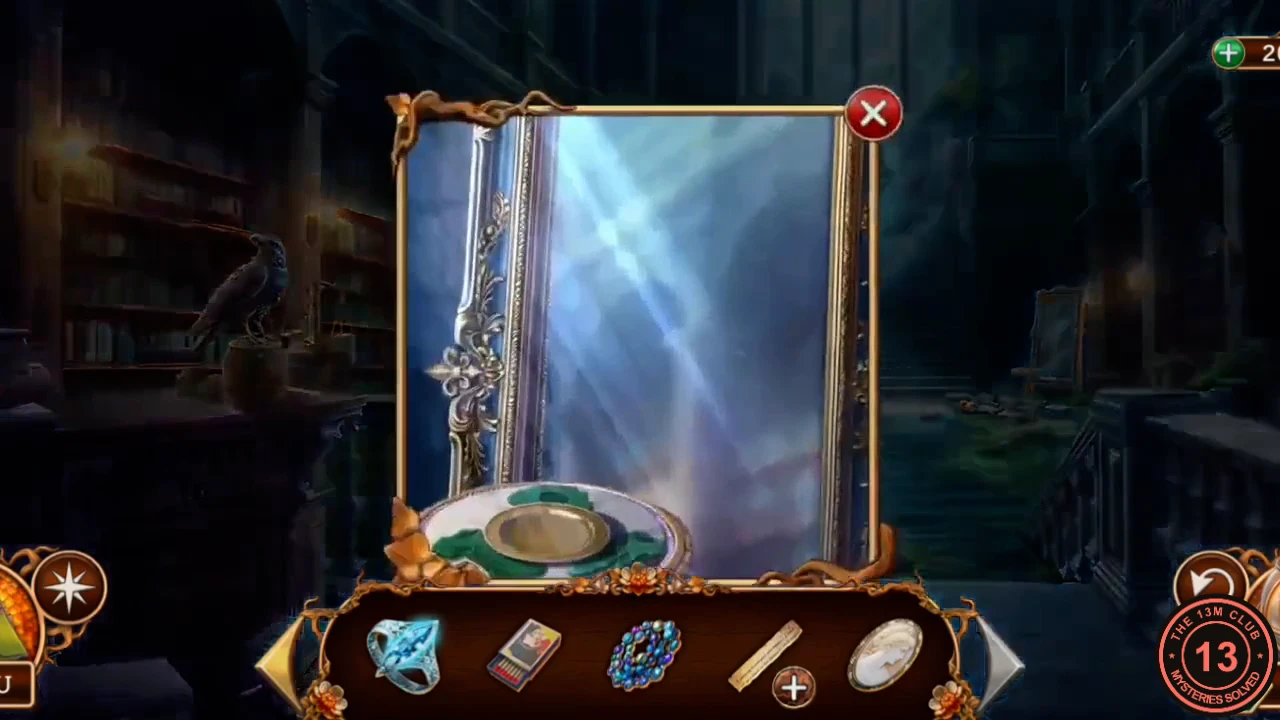
The shackled ghost is the one you met in the frozen town. To understand how to free it you must reach Amanda again.
- Talk to the Shackled Spirit. New task: contact Amanda.
- Zoom into the disc held by the stone statue on the far side. It is missing blue stones. Take the Torn instructions here and use them on the Half of a note in your inventory.
- Look at the mirror on the stairs. It needs candles and Astral beads.
- In the Old Square, zoom into the fallen statue and take the three Sacred candles from the vines (1/3, 2/3, 3/3).
- At the mirror, place the Sacred candles and the Astral beads, then light the candles with the Box of matches. Amanda tells you the Upside Down is the Faun's hunting ground and that you should free the ghost near you. The Faun cracks the mirror. New task: learn how to release the ghost.
Library Steps and the Alchemist's Cabinet
The creature leaves a book on the steps, and the Spirit points you toward the first stone fingers.
- Watch the creature on the library stairs. Then zoom into the book on the steps, read it and take the Wasp amulet. Something glints in the water below, but you need a way to hook it.
- Talk to the Spirit again. It tells you to seek the stone fingers of the King and Queen and hands you the Shelf key. New task: find stone fingers.
- Go to the alchemist's room and use the Shelf key on the stained-glass cabinet. Inside, use the Wasp amulet on the small wooden door with the matching wasp-shaped recess to start the tile puzzle.
Cabinet Tile Grid
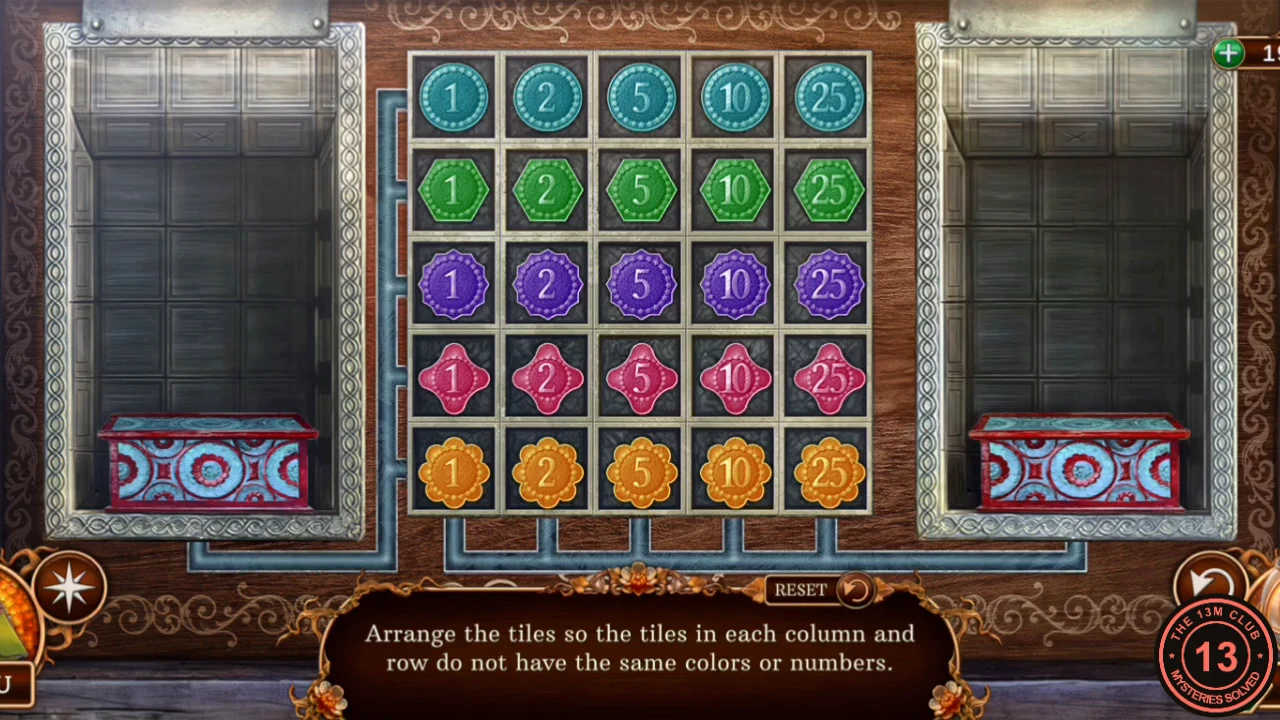
The rule: arrange the tiles so no column or row repeats a color or a number. Swap two tiles by tapping them in turn. Expect every row to start as one color running 1, 2, 5, 10, 25.
- Swap tiles until the grid matches this solved layout. Row 1: teal 25, orange 10, pink 5, purple 2, green 1. Row 2: green 10, teal 5, orange 2, pink 1, purple 25. Row 3: purple 5, green 2, teal 1, orange 25, pink 10. Row 4: pink 2, purple 1, green 25, teal 10, orange 5. Row 5: orange 1, pink 25, purple 10, green 5, teal 2.
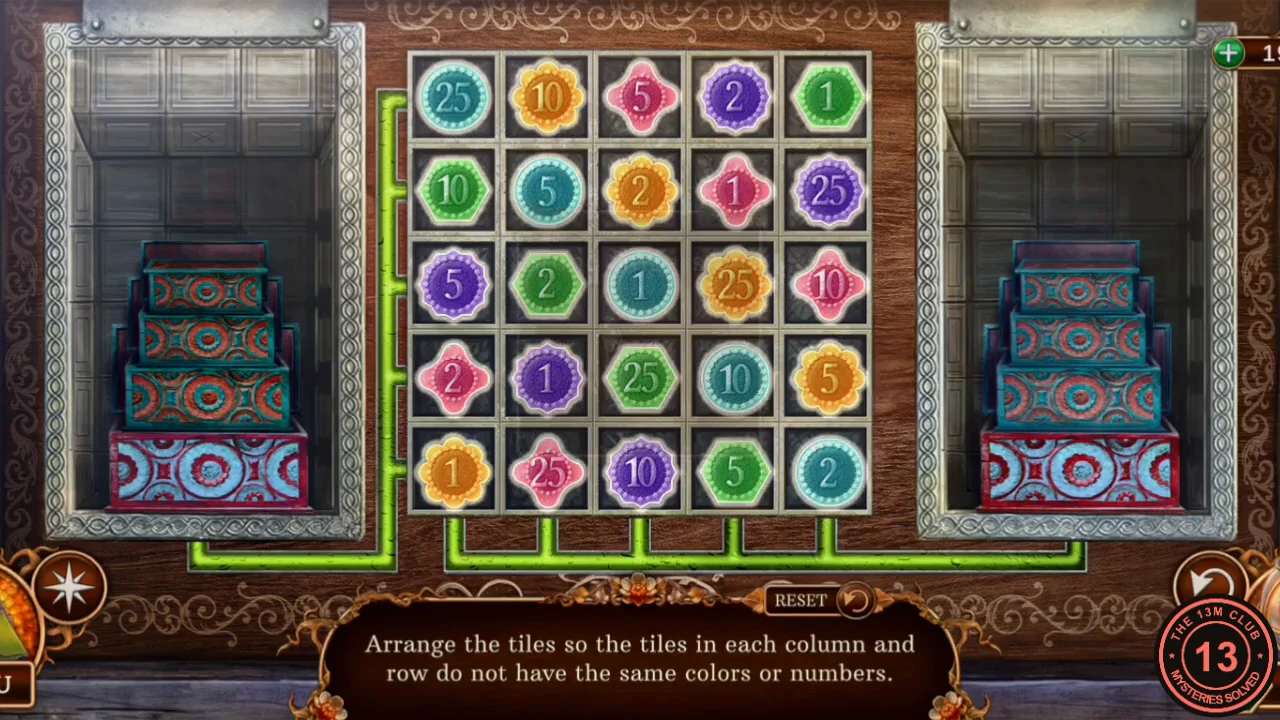
The solved grid, with no repeated color or number in any row or column. - Take Stone fingers 1/5 and the Lord's cameo.