CHAPTER 3
The phone box street
You need to reach Sophia Lang, but your phone is dead.
- Watch the opening. Take the Credit Card from the peeling wall.
- Use the Credit Card on the glove box of the car. Take the Soldering Iron.
- Use the Soldering Iron and Microchip on the phone.
CHAPTER 3 PUZZLE
Phone wires
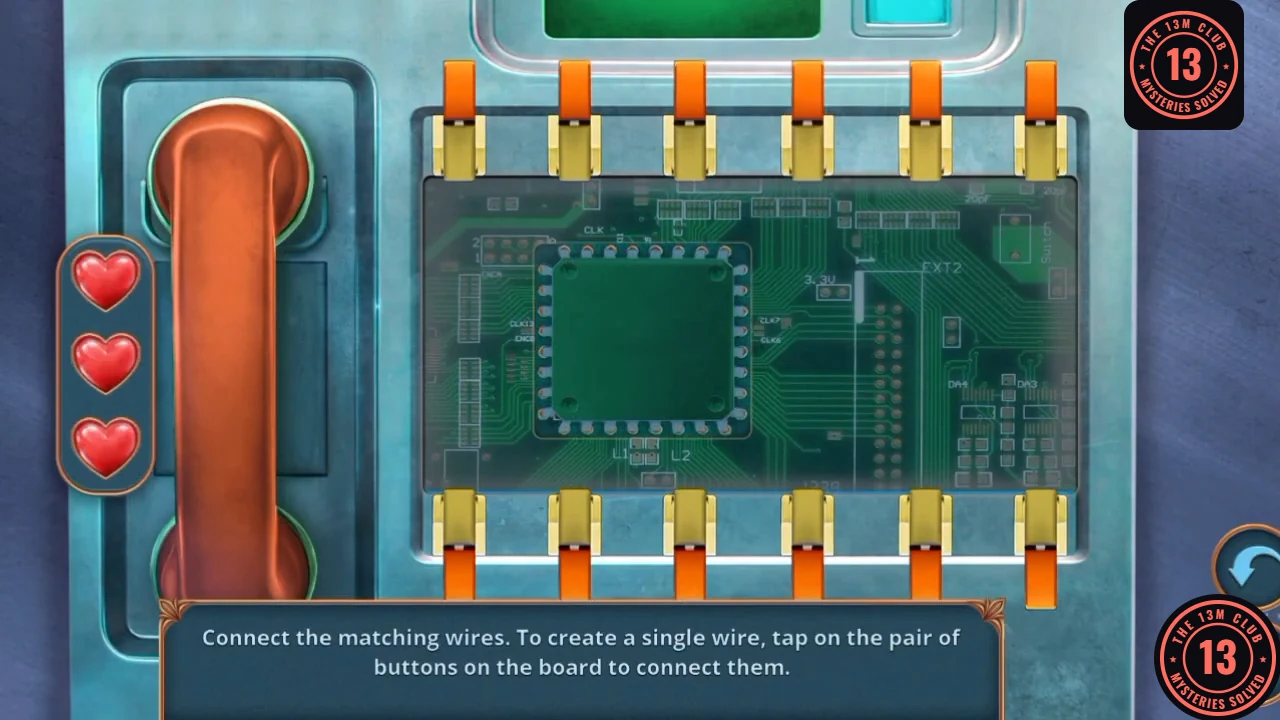
Connect the matching wires. To make a wire, tap a pair of buttons on the board. You have three hearts.
- Number the buttons 1 to 6 from left to right on the top and bottom rows. Connect top 1 to bottom 3, top 2 to bottom 2, top 3 to bottom 6, top 4 to bottom 1, top 5 to bottom 5 and top 6 to bottom 4. The recording loses no heart with these pairs. The reward is Sophia's Address (17 Northwood Street).CODET1-B3, T2-B2, T3-B6, T4-B1, T5-B5, T6-B4
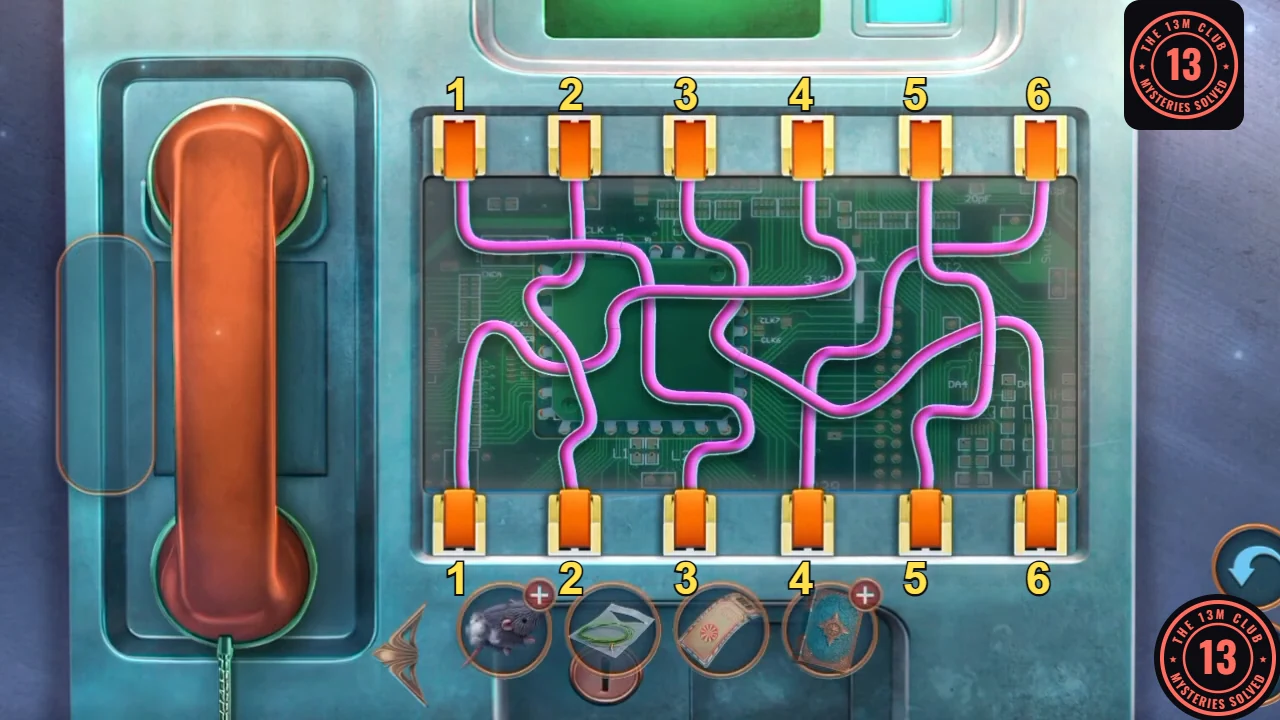
Button numbers used in the wire pairs, shown on the finished wiring.
CHAPTER 3
Sophia Lang's House
Meet Sophia and search the living room.
- Use Sophia's Address on the house.
- Sophia asks your purpose: pick "Yes, Agnes wants to restore Heinrich's reputation." for +1 (not "It seems that this issue has already been resolved.").
- Search the living room. Take the Cryptex, the Drinking Water from the trophy shelf close-up (the shelf's battery is flat), the Needle at the easel and the Cane from the easel close-up.
- Use the Cane on the attic hatch. Take the Tape and Spatula.
- On the phone-box street, use the Spatula on the paint on the wall.
CHAPTER 3 PUZZLE
Paint stains
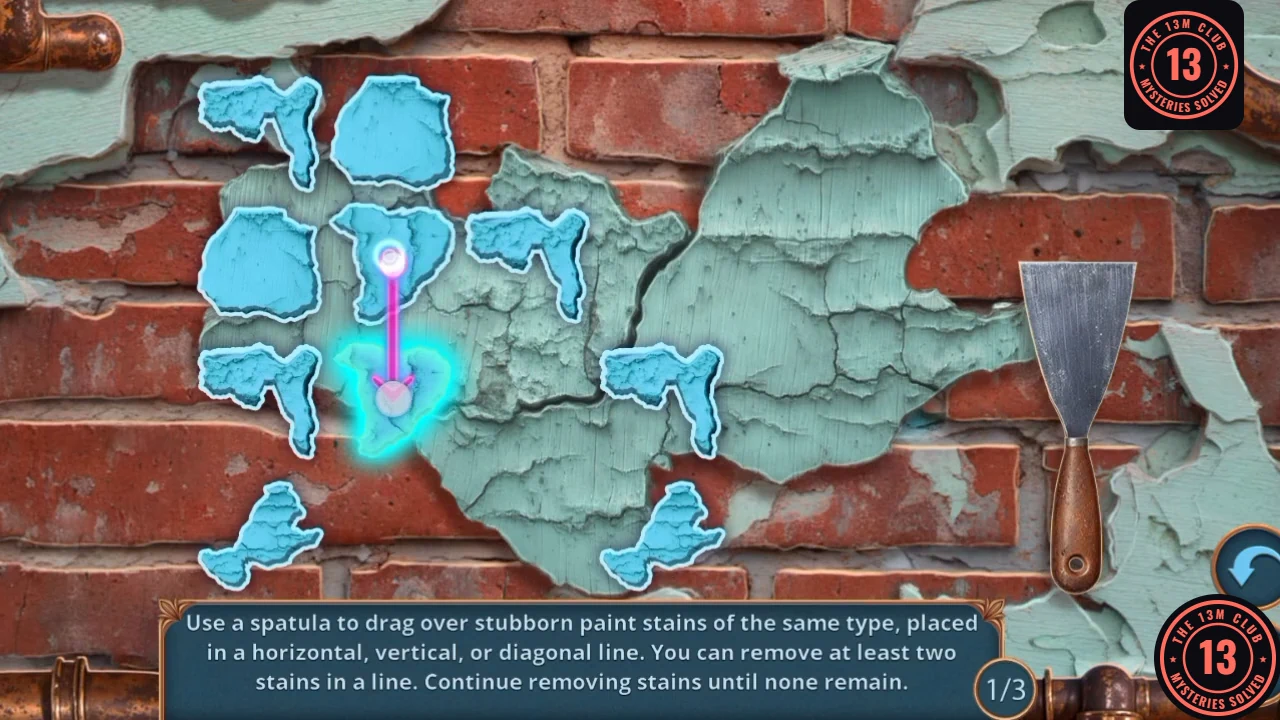
Drag the spatula along horizontal, vertical or diagonal lines of at least two matching stains. Three rounds.
- Drag across a straight line of two or more stains of the same type to clear them. Clear all the stains in each of the three rounds. The reward is the Battery.
CHAPTER 3
Trophy shelf and the toy
Fix the shelf, then repair the toy for the cat.
- In Sophia's House, use the LED and Battery on the trophy shelf slot. Take the Furry Collar and Thread.
- Use the Needle and Thread on the Torn Toy to make the Toy.
- Use the Toy on the cat.
CHAPTER 3 PUZZLE
Hidden objects: cat toys
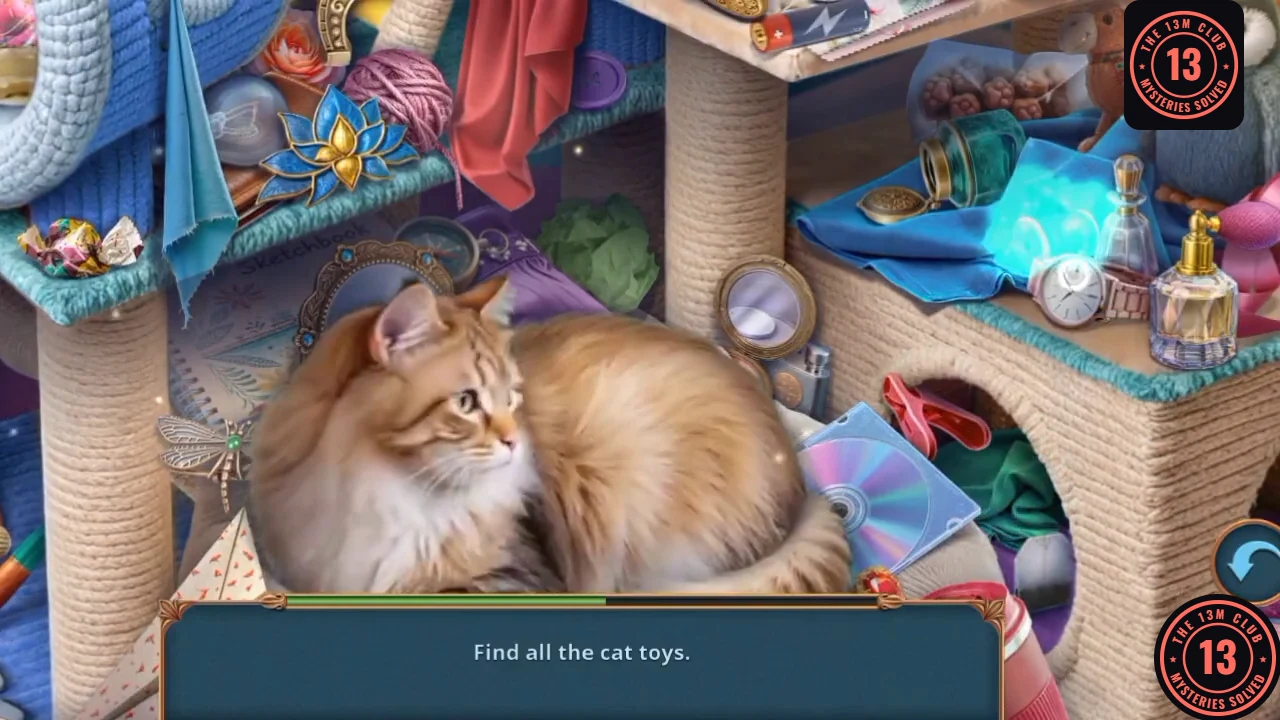
Find all the cat toys.
- Tap every cat toy in the scene. The reward is the Bowl.
- Sophia mentions an old painting: "Yes, please." (+6, Deluxe) opens her workshop; "This won't help in deciphering" skips it.
CHAPTER 3 DELUXE
Deluxe: Sophia's Workshop
Optional bonus location. Task: Find out what was in Sophia's ancestors' painting.
- Pick "Yes, please." The room opens from Sophia's House.
- Tap the red chair (the damaged painting) and take the Workbench Pedal.
- Use the Pedal on the workbench and take the Handkerchief from the drawer.
- Use the Handkerchief on the spilled red paint. Take the Gear.
CHAPTER 3
Pet feeder and the car
The feeder holds the lost car key.
- On the street, use the Bowl and Drinking Water on the pet feeder. Take the Well Model and Lost Key.
- Use the Lost Key on the car.
CHAPTER 3 PUZZLE
Drive to the Town Square
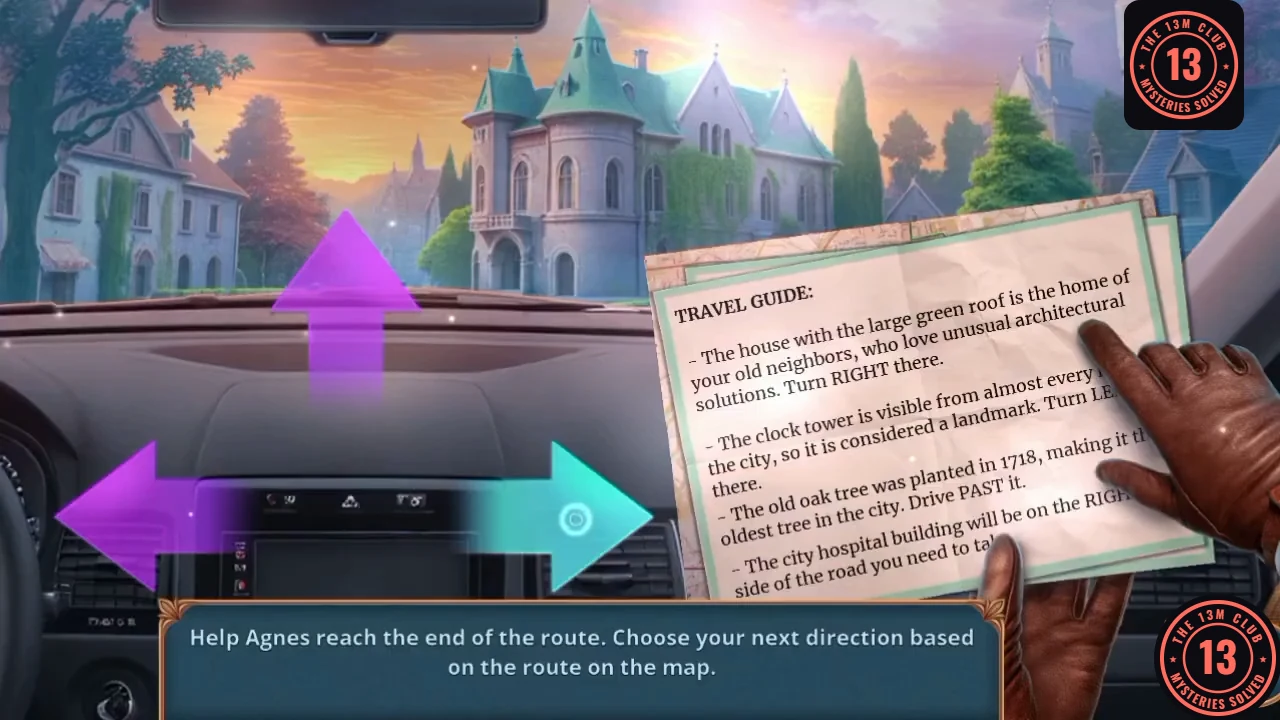
Read the Travel Guide note and choose arrows at each junction.
- Hard board: press right, left, up, right, right, left, up, left. Each press follows the Travel Guide: green-roof house RIGHT, clock tower LEFT, past the old oak, hospital on the RIGHT, cafe RIGHT, chapel WEST, flea market NORTH, movie theater LEFT.CODER, L, U, R, R, L, U, L
CHAPTER 3
Town Square
Get into the Antique Shop.
- Take the Advertising Brochure from the map model.
- Use the Brochure and Coupon on the kiosk wheel. Take the Glass and Metal Trident.
- Use the Metal Trident on the nailed door.
CHAPTER 3 PUZZLE
Nail count sliders
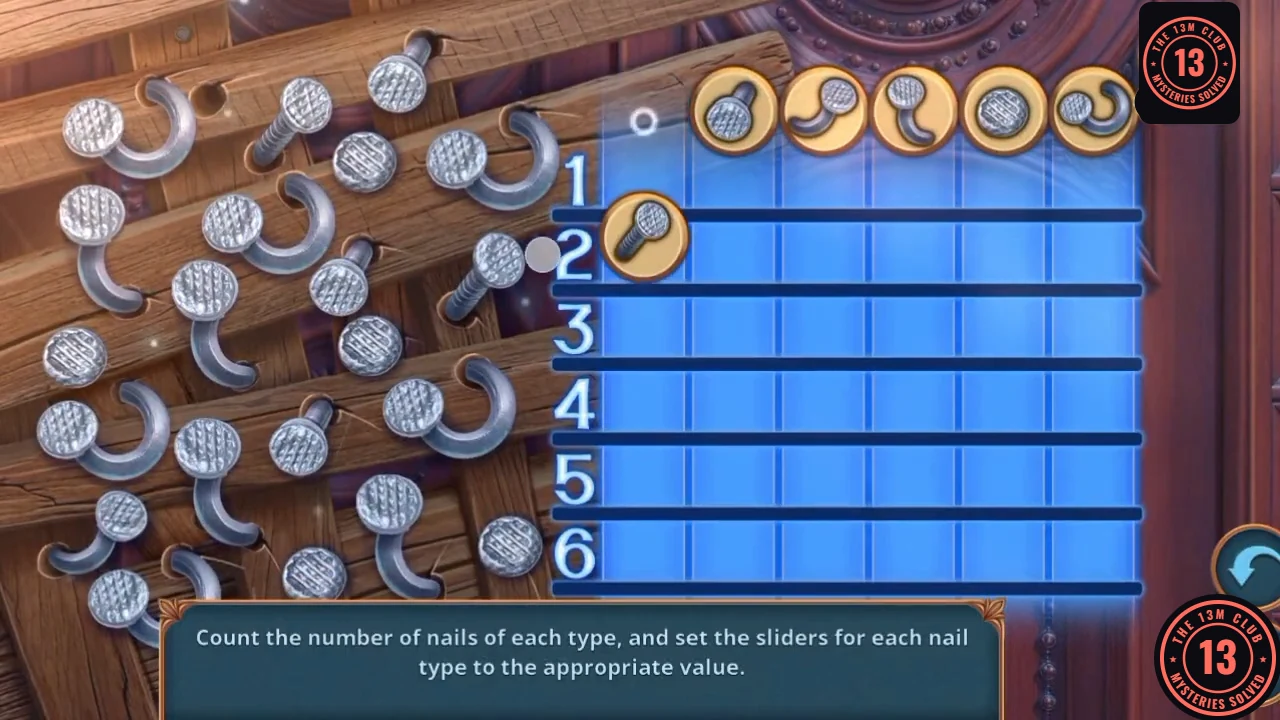
Count each nail type and set its slider to that number.
- Drag each of the six top tokens to the row equal to how many of that nail type are in the door. Final state on the recording, left to right: 2, 3, 1, 4, 5, 6 by the order at the top. The door opens to the Antique Shop.
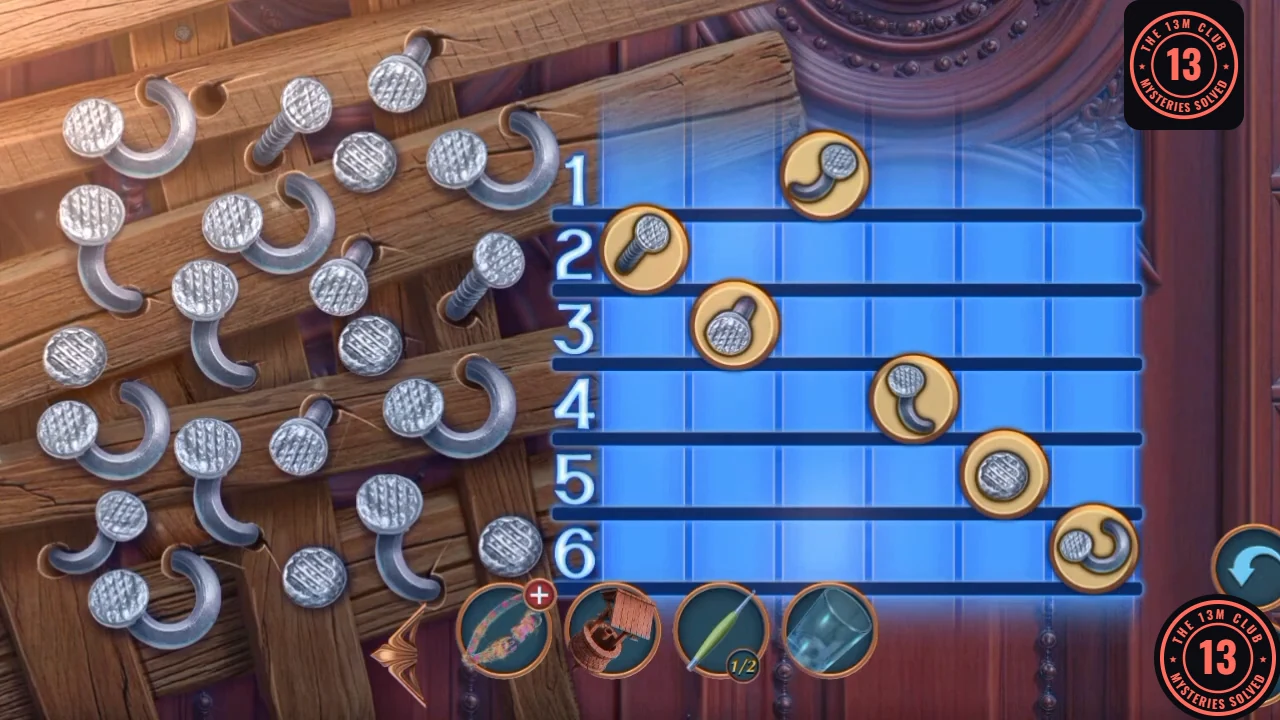
The final slider positions on the recording.
CHAPTER 3
Antique Shop
The register is first.
- Take the Planks and the Cash Register Button.
- Use the Cash Register Button on the register. Take the Slingshot and Music Hint.
CHAPTER 3 DELUXE
Deluxe: Shop gear and the vise
Continue the workshop branch before the guitar.
- In the Antique Shop, use the Gear on the slot of the cash register. Take the Polish.
- In the Workshop, use the Polish on the rust on the vise. Take the Lion Head.
- Use the Lion Head on the slot in the red chair. Take the Pipette.