CHAPTER 3
Architects' Archive
Get the safe ready.
- Take the Drawing Ruler.
- Use the Ruler on the desk shelf. Take the Safe Handle.
- Use the Safe Handle and Glass on the safe.
CHAPTER 3 PUZZLE
Amulet safe
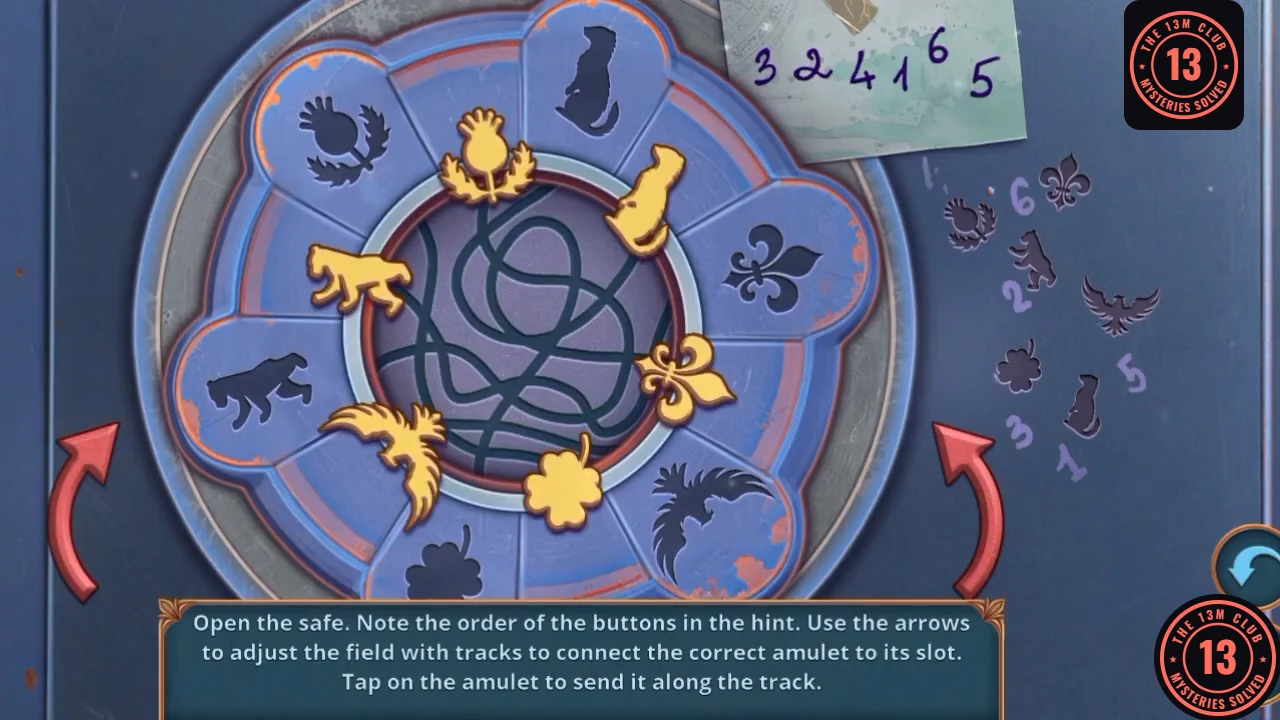
Follow the note's order. Use the arrows to line up the tracks, then tap an amulet to send it to its slot.
- The note reads 3 2 4 1 6 5, and the pencil diagram maps the numbers to silhouettes: 1 cat, 2 bear, 3 clover, 4 thistle, 5 eagle, 6 fleur-de-lis. So send clover, lion (to bear), thistle, cat, fleur-de-lis, then wing (to eagle). The left arrow turns the ring two slots clockwise; the right arrow turns it one slot counterclockwise.CODE3 2 4 1 6 5
- On Hard, from the start layout press: L, tap clover. L, R, tap lion. L, tap thistle. L, R, tap cat. L, tap fleur-de-lis. R, R, tap wing. The safe opens: take the Antique Dagger. One recording lost at the cat step from this same board and then used Skip, so if it fails, reset or use Skip.
CHAPTER 3
Sophia's ladder
Repair the steps to the Basement.
- In Sophia's House, use the Antique Dagger on the curtain. Take the Chain and Nails.
- Use the Nails, Planks and Granite Award on the ladder.
CHAPTER 3 PUZZLE
Ladder steps
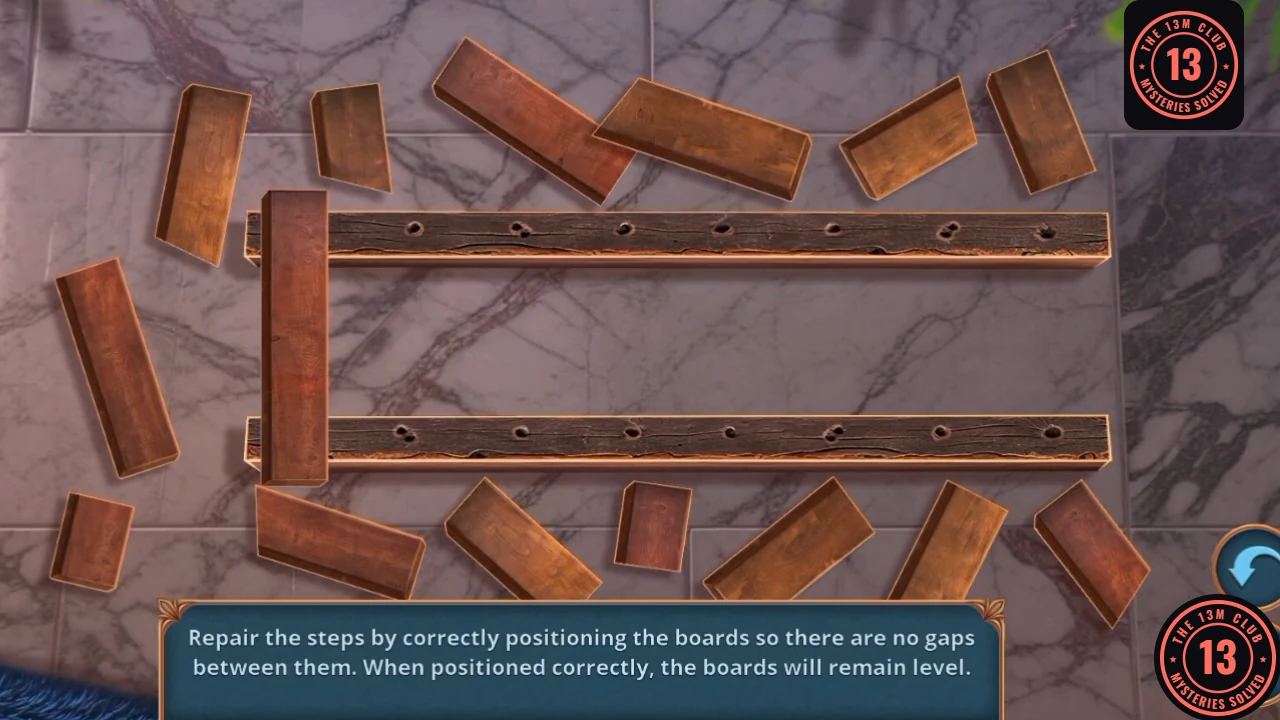
Repair the steps by positioning the boards so there are no gaps between them. A correctly placed board stays level.
- Eight boards go across the two rails. Drag them into place and watch how each one sits: short boards do not sit level, so swap them until all eight are level with no gaps. The Basement opens.
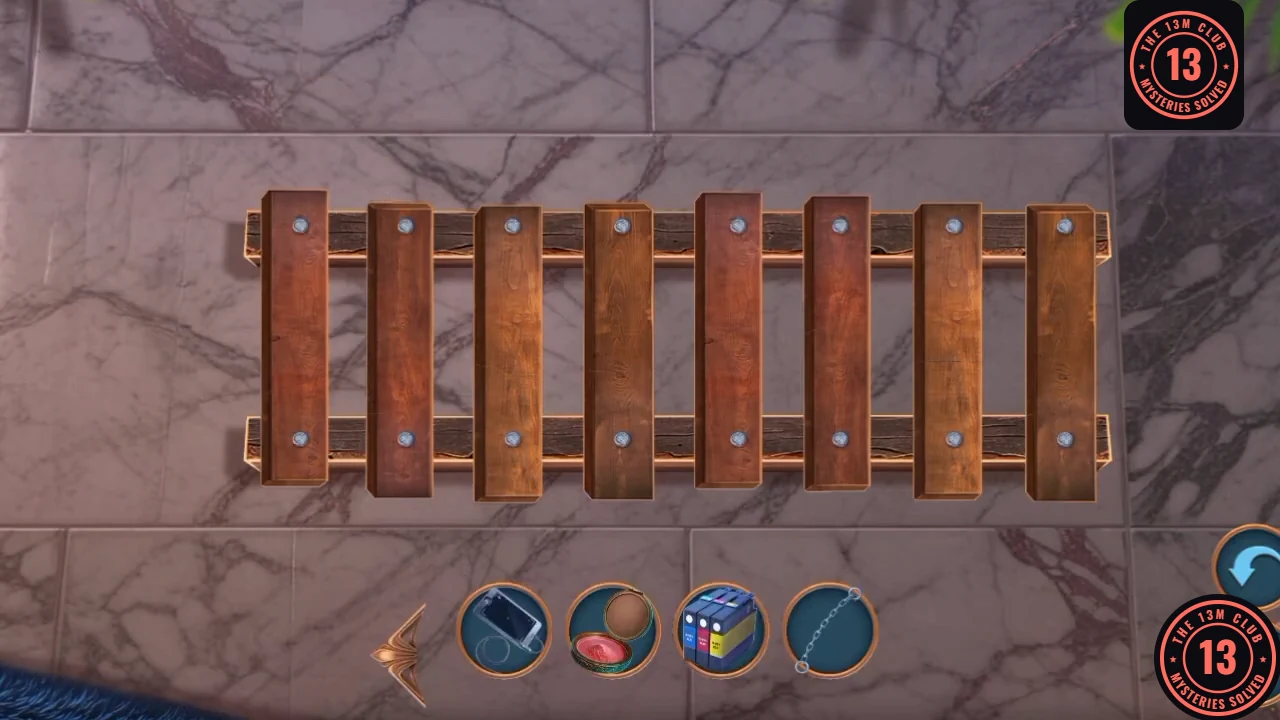
Solved: all eight boards level, with no gaps.
CHAPTER 3
Sophia's Basement
The globe and the tall shelf lead to the Inventory List.
- In the Basement, take the Continent from the pile on the floor.
- Use the Continent on the globe. It opens: take the Steel Balls.
- Open the wall vent close-up and take the Developing Solution.
- Use the Steel Balls and Slingshot on the board on the tall shelf ("So high!") to knock down the Inventory List.
- Use the Inventory List on the staff trunk.
CHAPTER 3 PUZZLE
Hidden objects: staff trunk

Find the objects shown as coloured close-up pieces in the circles at the bottom.
- Each circle shows a coloured close-up piece of an object. Find the object it belongs to and tap it. The reward is the House-Shaped Earrings.
CHAPTER 3 DELUXE
Deluxe: Solvent and the easel
Finish the workshop branch.
- In the Basement, use the Pipette on the green liquid behind the shelf panel. Take the Solvent.
- In the Workshop, use the Solvent on the spilled paint can. Take the Easel Levers.
- Use the Easel Levers on the slots under the easel.
CHAPTER 3 DELUXE
Deluxe puzzle: easel clamps
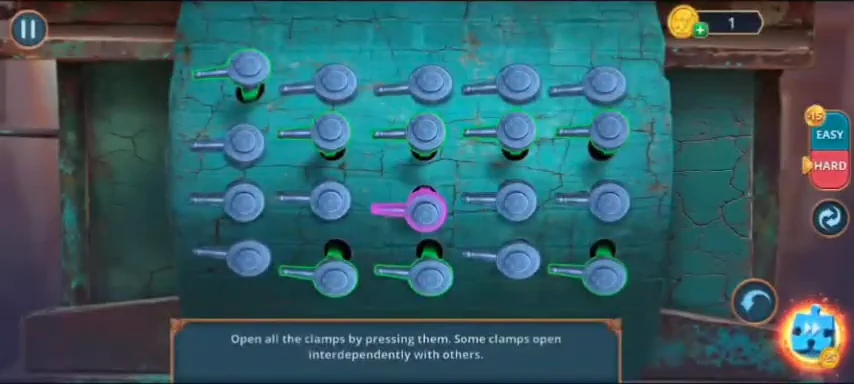
Open all the clamps by pressing them. Some clamps open together.
- Hard board has 20 clamps (5 columns by 4 rows, number them left to right, top to bottom). Press 2, 3, 4, 5, 6, 8, 10, 16, 14, 13. The painting appears: "Oh, that's Heinrich laying the villa's foundation stone!"; task completes.CODE2, 3, 4, 5, 6, 8, 10, 16, 14, 13
CHAPTER 3
Archive: old painting
Take the earrings to the Archive.
- In the Archive, use the House-Shaped Earrings on the red box. Take the Old Painting.
- Take the Sculpture Part, then use the Old Painting on the wall panel symbols.
CHAPTER 3 PUZZLE
Patterned tokens
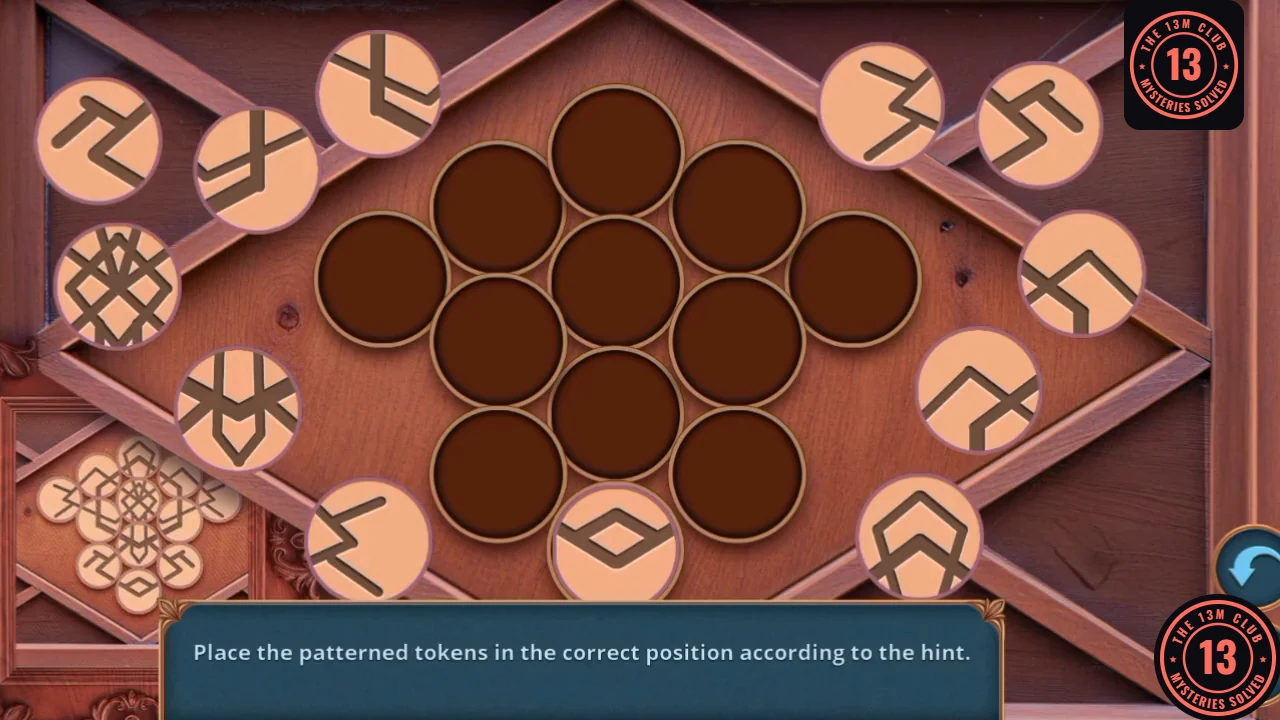
Place the patterned tokens on the board so they copy the hint.
- The hint pattern is at the lower left. Drag each token onto the cell that the pattern gives it; the finished board has 11 cells filled. A compartment opens with the Dividers.
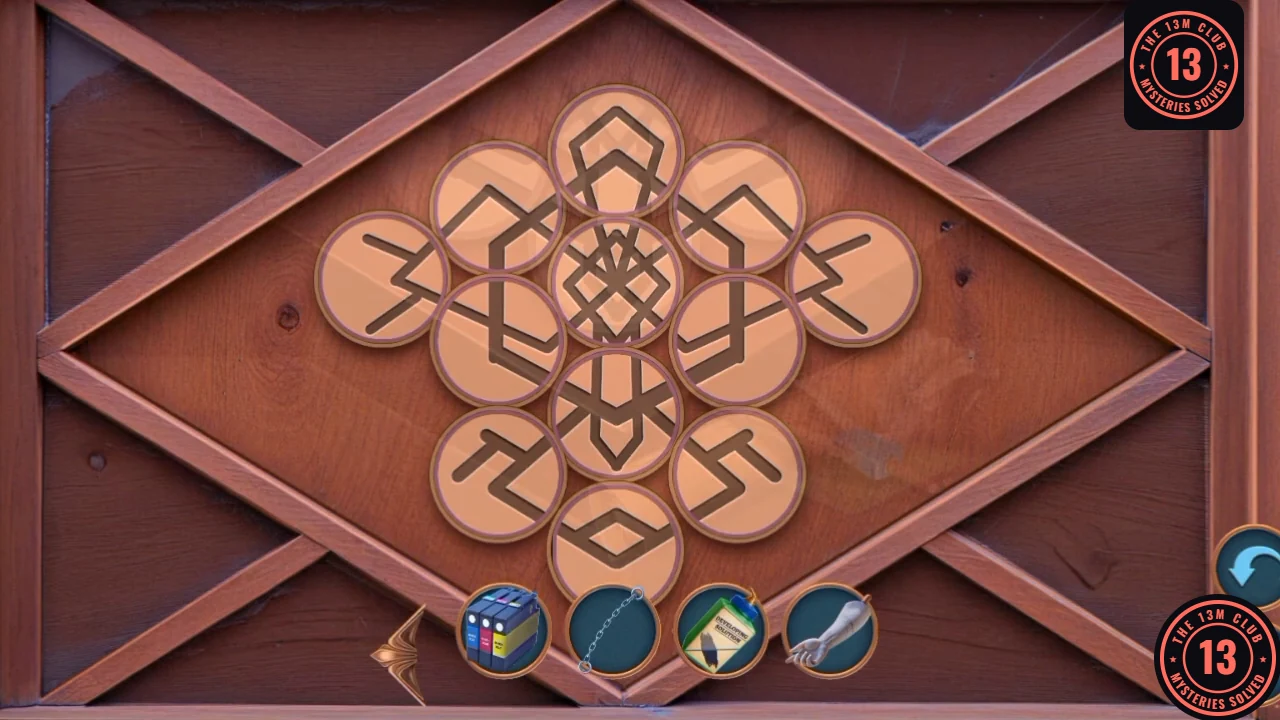
Solved: the tokens form the hint pattern. - Heinrich's ghost attacks the blueprints: "Destroy blueprints" (0), "Put out the flames" (+2) or "Offer Heinrich help" (+4). Pick "Offer Heinrich help". Receive the Original Villa Drawings.
- Use the Developing Solution on the Original Villa Drawings to reveal a hidden sketch.