CHAPTER 3
Town Square flags
The Dividers open the last set of flags.
- In the Town Square, use the Dividers on the wooden box lock. Take the Branches and Flags 2/2.
- Use Flags 2/2 on the city map.
CHAPTER 3 PUZZLE
Map flags
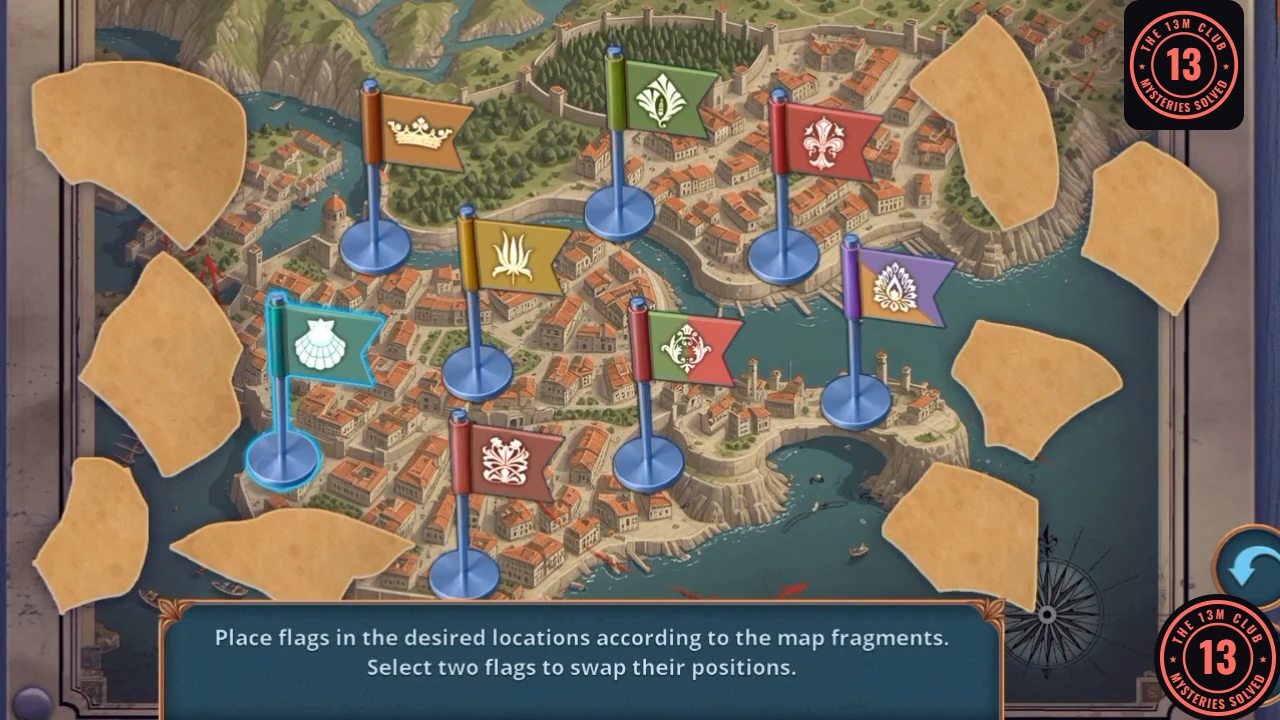
Place the flags according to the map fragments. Select two flags to swap them.
- Select two flags to swap them. Compare the torn fragments with the map until the flags stand as follows: crown upper left, red sheaf top centre, green upper right, teal shell far left, purple centre left, gold in the middle, red fleur-de-lis far right, and red-and-green bottom centre. The reward is the Ventilation Plan.
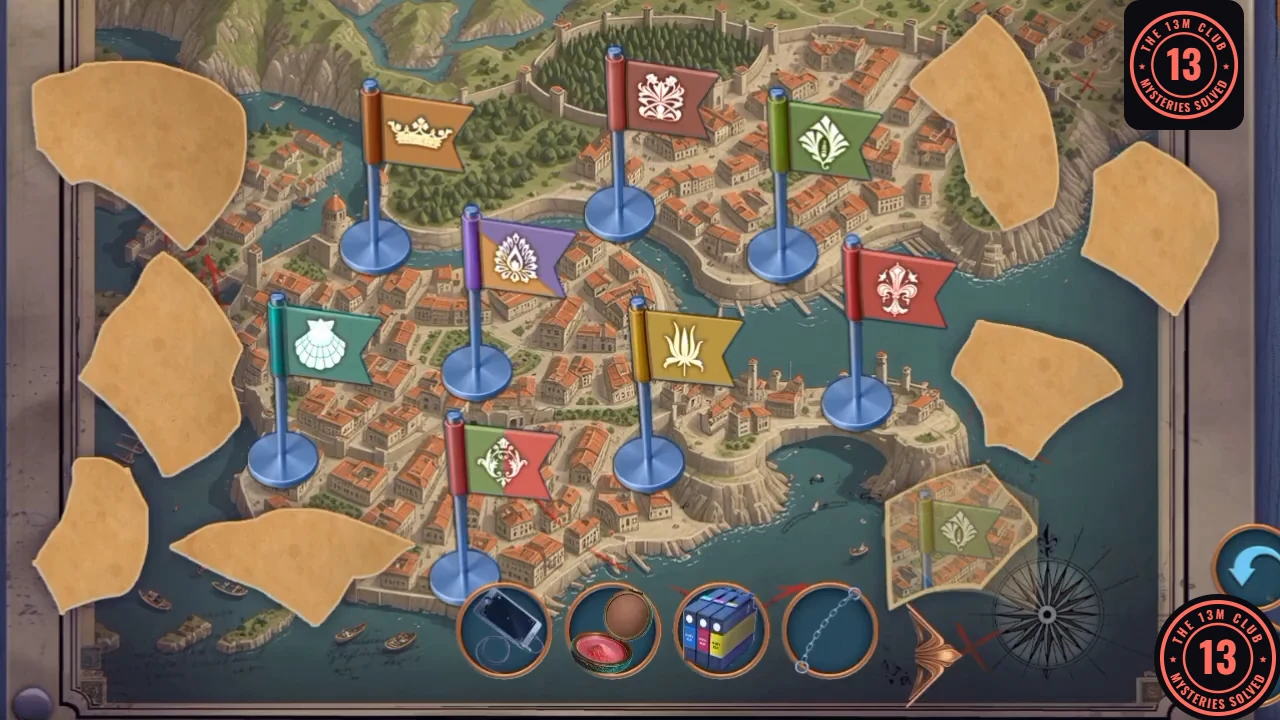
The final flag positions.
CHAPTER 3
Basement ventilation
The Endoscope finds the hidden bottle.
- In the Basement, use the Ventilation Plan and Endoscope on the vent (achievement Agent 008). Take the Thick Book and Gift Bottle.
- Use the Gift Bottle on the globe's liquor rack. Take the Feather Boa.
- Sophia shows her family's things: pick "It's a good thing you kept all these things - they're your family's history." for +1 (not "Say nothing.").
- In the Antique Shop, use the Powder and Feather Boa on the display glass.
CHAPTER 3 PUZZLE
Magnifier symbols
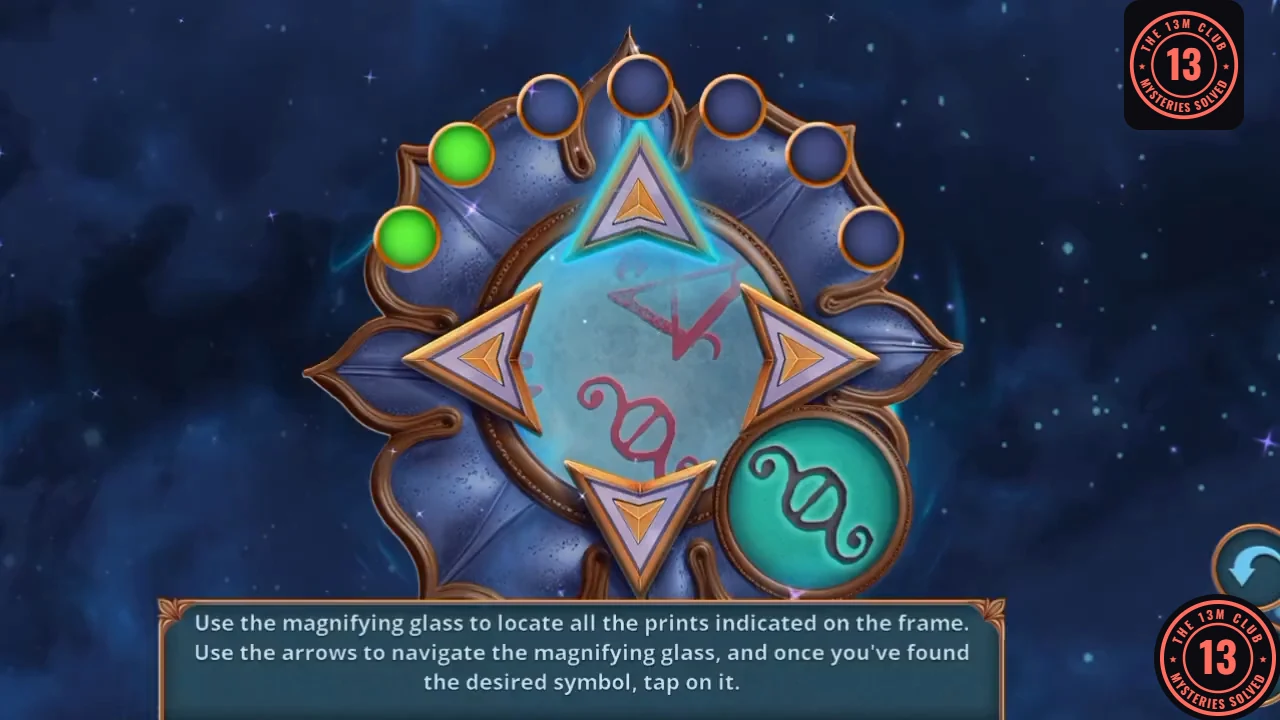
Use the magnifying glass to find all the prints indicated on the frame. Steer with the arrows, and tap a symbol once you have found it.
- The frame shows eight prints. Move the glass across the display until the current one appears under it, then tap it. Repeat for all eight. The reward is the Receipt Tape.
CHAPTER 3
Printing the sculpture
Follow the chain from the cash register to the printer and the statue.
- Use the Receipt Tape on the cash register. Take the Cable.
- At the Architects' Building, use the Cartridge and Cable on the printer. Take the Sculpture Drawing.
- Use the Sculpture Drawing and Sculpture Part on the sculpture.
CHAPTER 3 PUZZLE
Statue pose
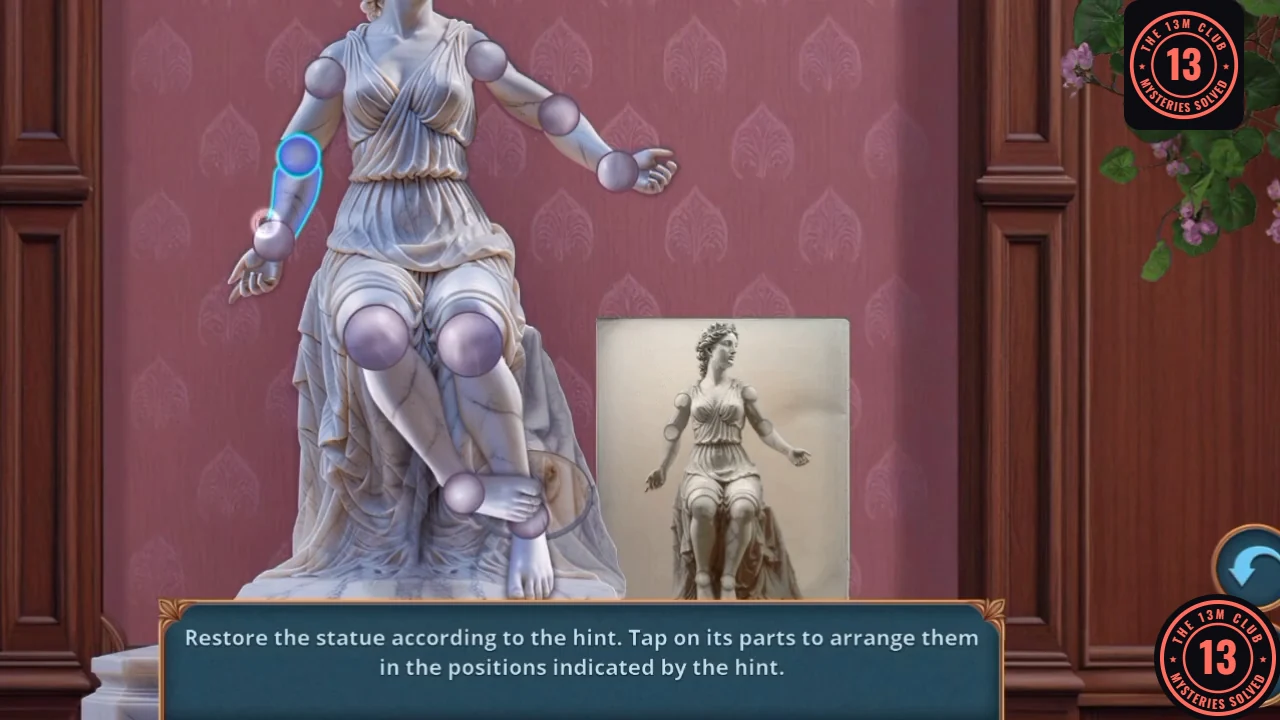
Restore the statue according to the hint. Tap its parts to arrange them as the hint shows.
- The hint photo is on the right. Each round joint turns the part below it: shoulder, elbow and wrist on the arms, knee and ankle on the legs. Work down one limb at a time, tapping each joint until that segment matches the photo. The reward is the Light Bulb.
CHAPTER 3
Archive lamp and the last search
The lamp gives the Hourglass.
- In the Archive, use the Light Bulb and Chain on the desk lamp. Take the Hook and Hourglass.
- In the Basement, use the Hourglass on the shelf slot. Take the Syringe and Mini Vacuum.
- Use the Mini Vacuum on the dust.
CHAPTER 3 PUZZLE
Screen differences
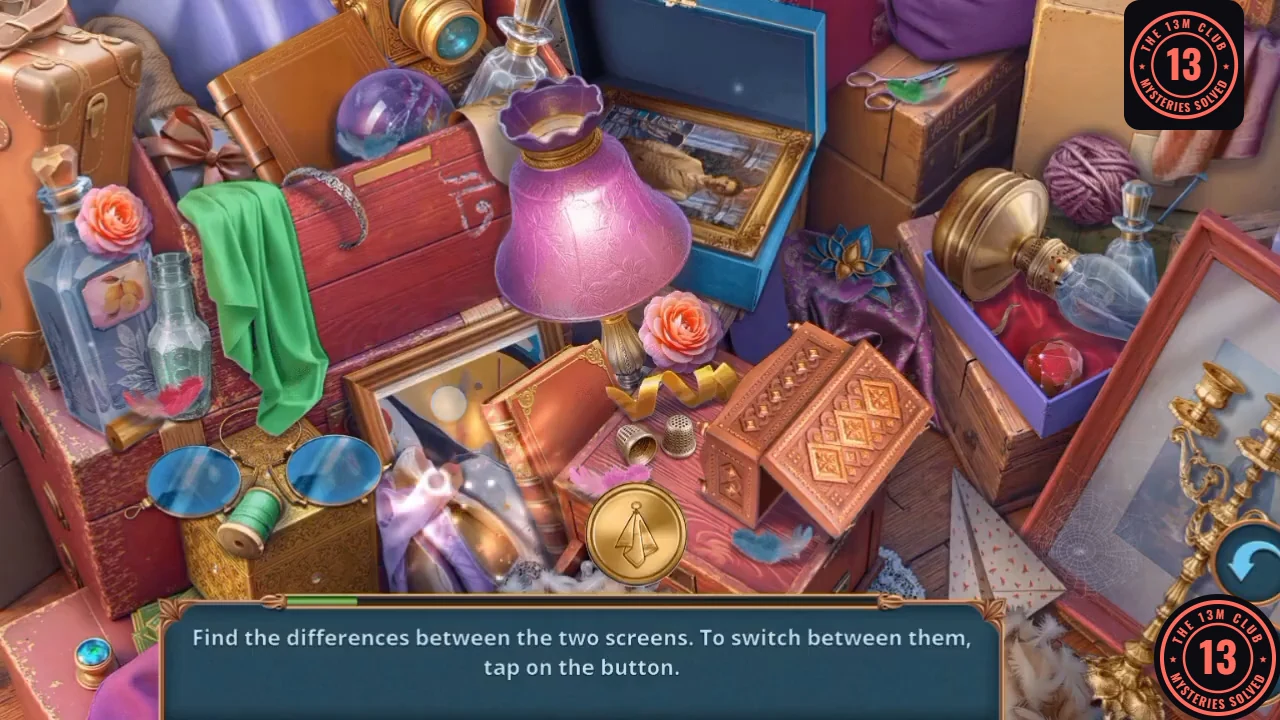
Find the differences. A button switches between the two screens.
- The gold disc at the lower centre switches between the two screens. There are 12 differences, and the bar fills with each one: (1) the glasses on the gold box at the left, under a purple pad on the other screen; (2) the picture in the centre frame; (3) the carved box, centre right; (4) the label on the large bottle at the left; (5) the bow at the top left; (6) the chalk marks on the red chest right of the green cloth; (7) the lampshade; (8) the glass bulb of the brass lamp in the purple box; (9) the oval print on the card above the yarn; (10) the blue pin right of the yarn; (11) the cobweb corner of the framed picture at the lower right, where the change is too faint to name; (12) the crack in the floor left of the paper triangle. The reward is Heinrich's Painting.
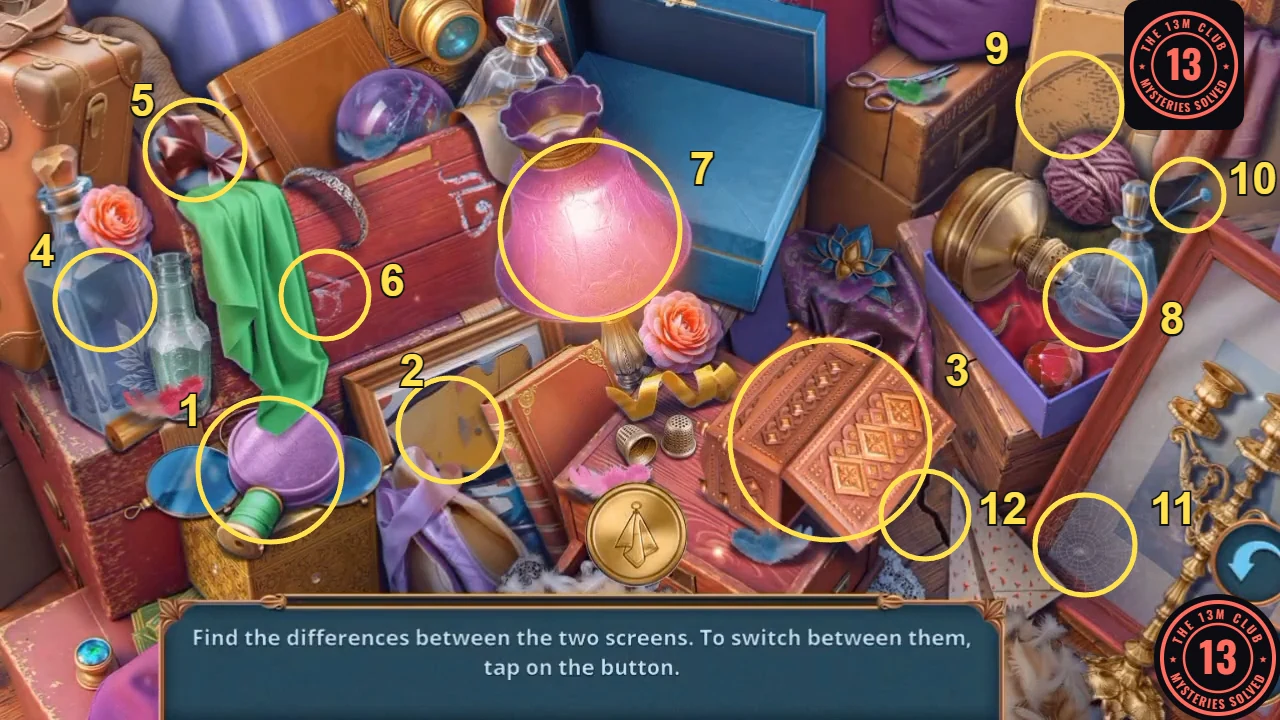
The 12 spots, numbered as in the step above, on the screen with the purple pad. What sits at each circle changes on the other screen; at 11 the change is too faint to name. - Use Heinrich's Painting on the Original Villa Drawings. Read the note about secret passages. Search for remaining busts first, because the chapter then ends.
- The chapter ends with your Decision Points tally. See Decision Points.