CHAPTER 2
Old Chapel: chandelier and clock
Bring down the chandelier and assemble the clock.
- Take Clock Hands 2/2 and the Chandelier Lever.
- Use the Chain, Chandelier Lever and Carbine on the wheel mechanism. The chandelier falls (achievement Let There Be Light). Take the Brush and Clock Face.
- Use the Clock Face and Clock Hands 2/2 on the clock. Take the Code Lock Part.
- In the City Library, use the Code Lock Part on the cache.
CHAPTER 2 PUZZLE
Code lock
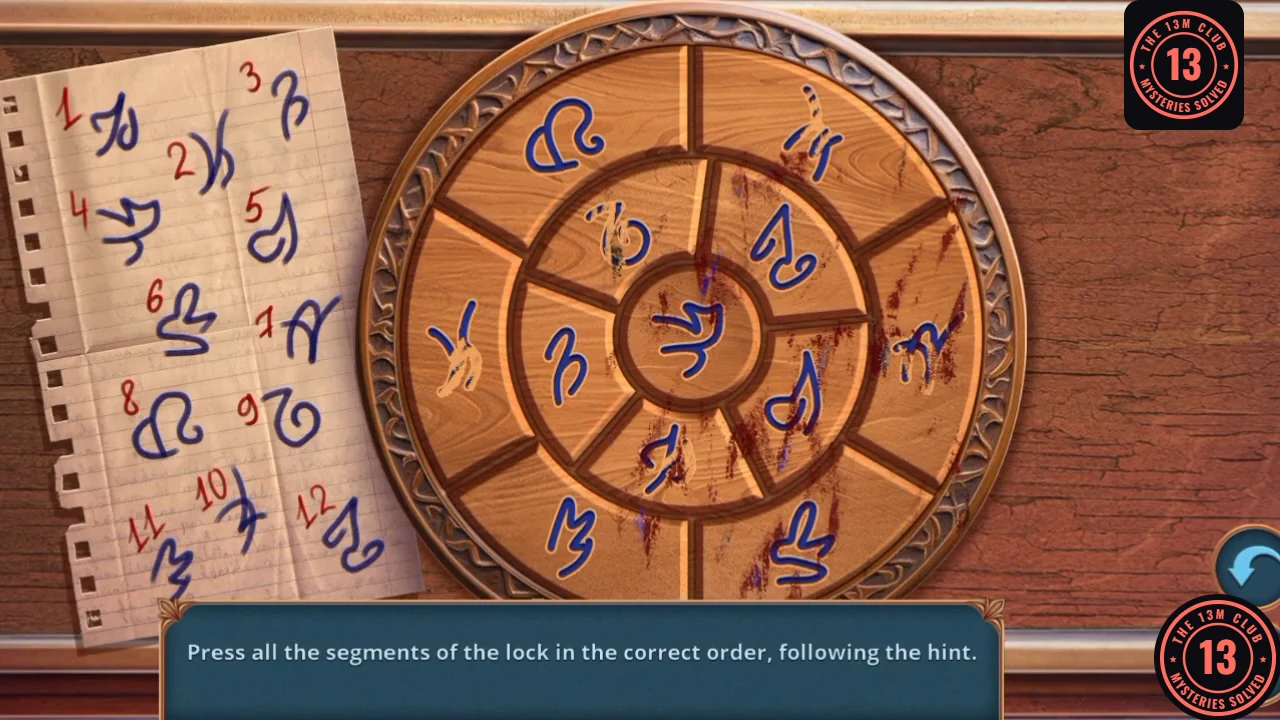
Press all the segments of the lock in the correct order, following the hint.
- The note beside the wheel numbers twelve symbols from 1 to 12. Press the symbols on the lock in that order. The reward is the Candle.
CHAPTER 2
Candle and mirror
Light the chapel and catch the rays.
- In the Old Chapel, use the Candle on the candlestick. Take the Mirror Shard.
- Use the Mirror Shard on the rays on the wall. Take the LED, then use the Grabber Hand on the Frame Fragments for Frame Fragments 2/2.
- In Tomas's Study, use Frame Fragments 2/2 on the frame.
CHAPTER 2 PUZZLE
Portrait frame
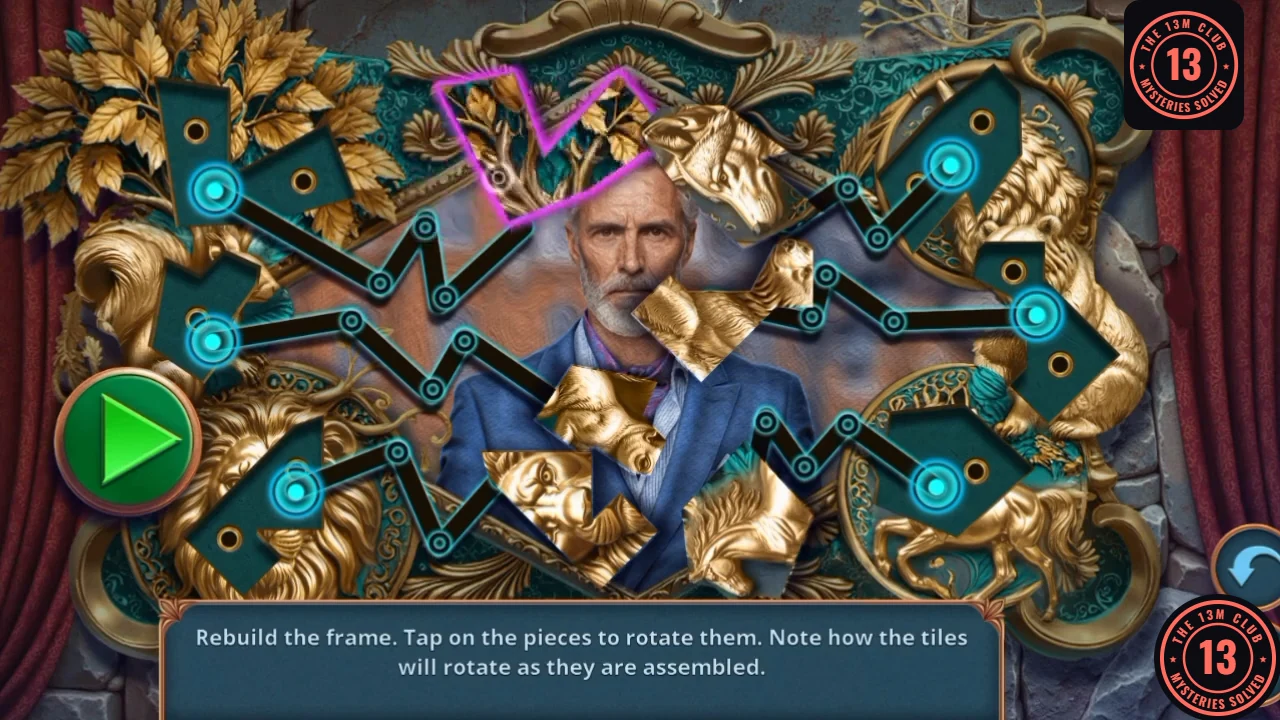
Rebuild the frame. Tap the pieces to rotate them, and note that the tiles rotate as they are assembled.
- Rotate each gold piece before you start, allowing for the turn it makes as it travels along its track. Press Play: the pieces fly along the tracks and the frame assembles. The recording solves it on the first Play. The reward is the Lighter.
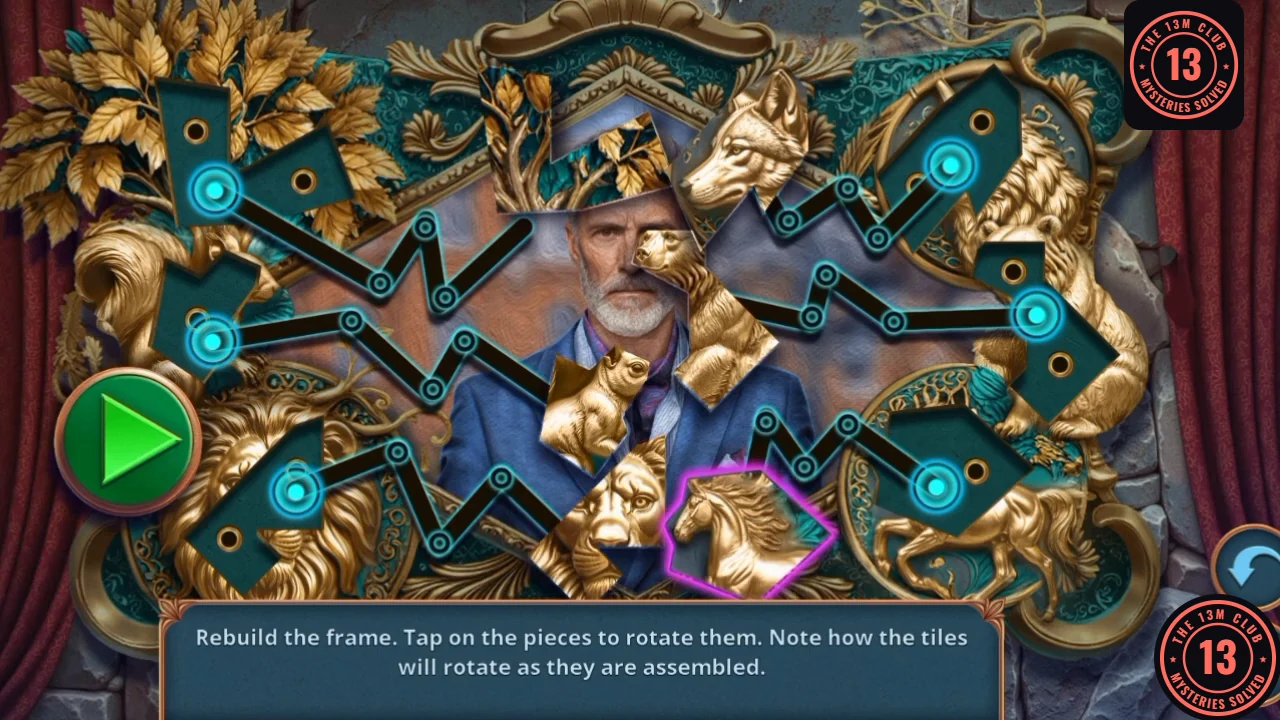
The recording's arrangement just before it pressed Play. Press Play once your pieces are rotated.
CHAPTER 2
Wax and clay
Melt the wax and clean the clay.
- Use the Lighter on the wax. Take the Torn Toy and Mini Drill.
- Use the Mini Drill and Brush on the clay on the shelf. Take the New String and read the note.
CHAPTER 2 PUZZLE
Hidden objects: projector shelf
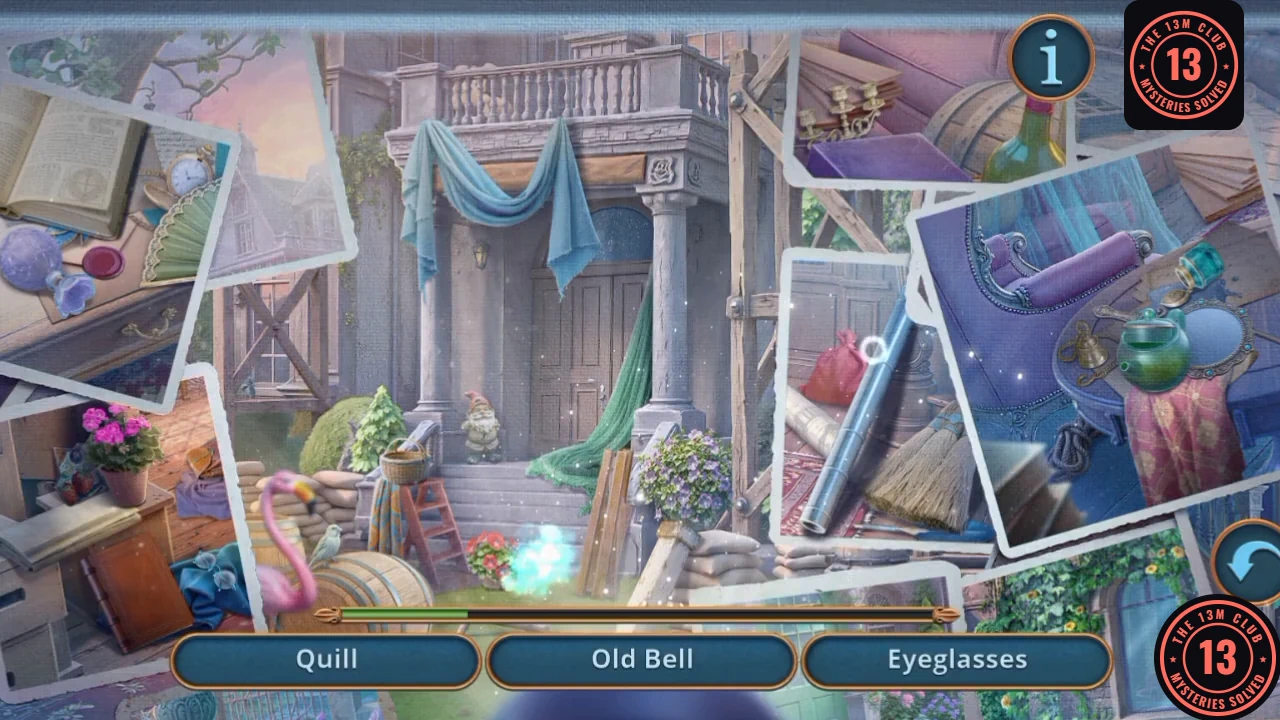
Find the listed objects.
- Find every listed item (Moon, Keys, Eyeglasses, Old Bell, Bundle of Letters, Inkwell, Fresco Fragment, Pocket Watch, Blueprints, Wax Seal and others). Read the note and take the Weight.
CHAPTER 2
Assembling the stained glass
The Weight frees the final pieces.
- In the Old Chapel, use the Weight on the clock chain. Take the Coupon and Frame.
- Use the Frame on the Stained Glass Pieces to make the Stained Glass.
- Check you have all the busts you want from this chapter, since earlier locations may close when it ends, then use the Stained Glass on the fresco.
CHAPTER 2 PUZZLE
Stained glass fresco
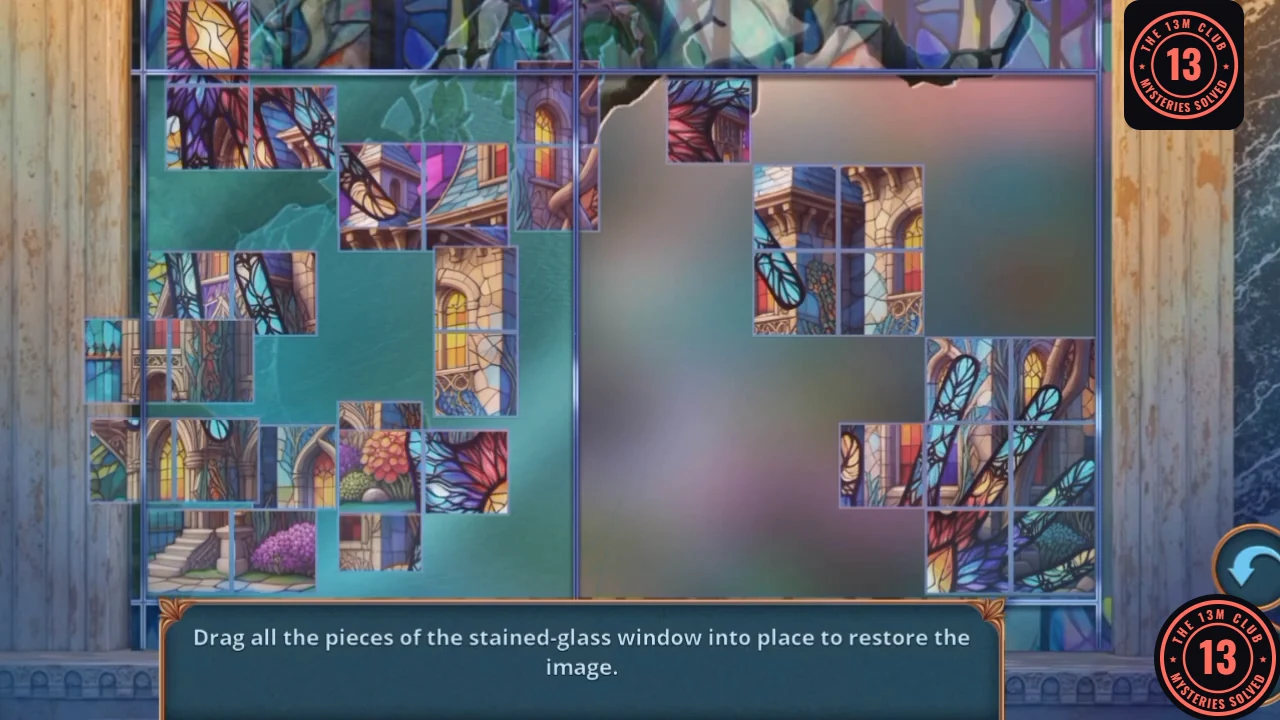
Drag all the pieces of the stained-glass window into place to restore the image.
- Each piece is a group of several cells. Drag each group onto the matching part of the blurred outline in the window. The reward is Heinrich's Journal.
- The chapter ends with your Decision Points tally. See Decision Points.