CHAPTER 4
Stapling the painting
The painting hides the Maiden Mask and Fishing Rod.
- In the passage, use the Stapler and Painting Part on the painting. Take the Maiden Mask and Fishing Rod.
- On the Mansion Roof, use the Fishing Rod on the dog figurine through the window.
CHAPTER 4 PUZZLE
Fishing for the figurine
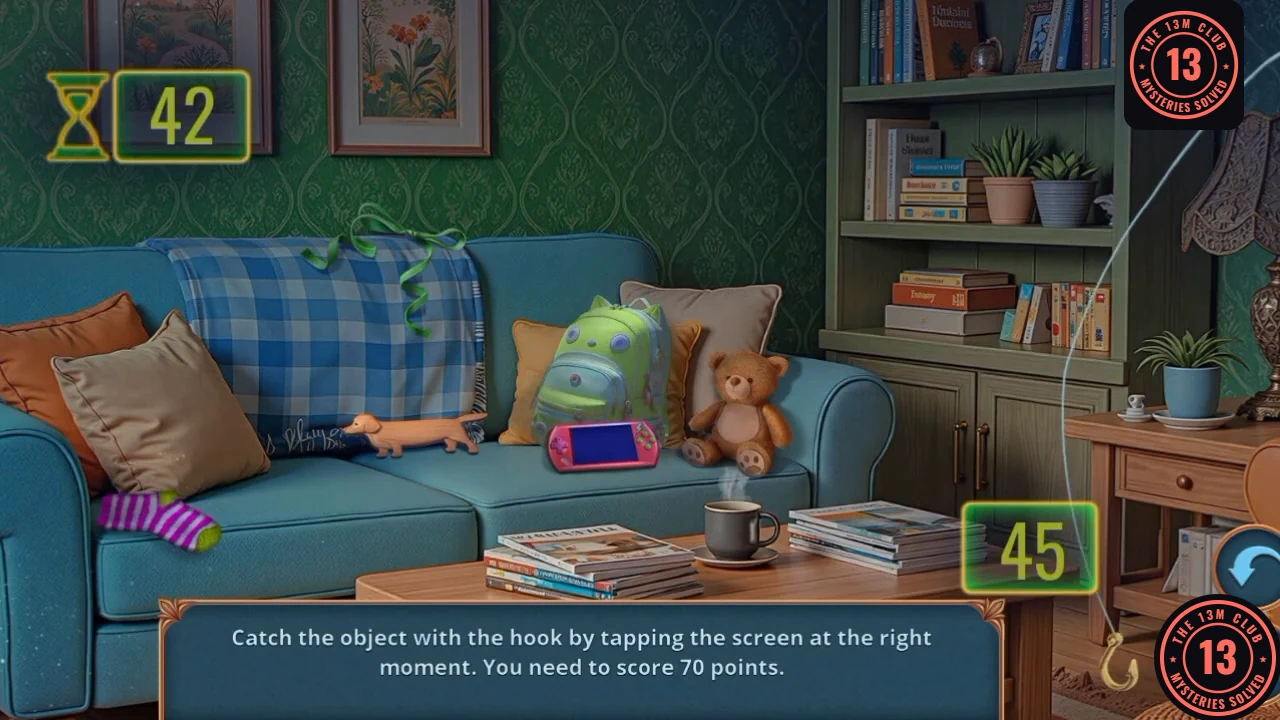
Catch the object with the hook by tapping the screen at the right moment. You need to score 70 points.
- The hook swings across the room. Tap when it is over an object: a hooked object gets a cyan outline and your score at the bottom right rises. The timer at the top left starts near 60, and the recording reaches 70 points with about 6 seconds left. The reward is the Dog Figurine.
CHAPTER 4
Box lid and ropes
The figurine opens the box in the Cellar.
- In the Cellar, use the Dog Figurine on the box lid. Take the Mask Part, Pouch and Cigar Guillotine.
- Use the Cigar Guillotine on the ropes.
CHAPTER 4 PUZZLE
Vine ropes
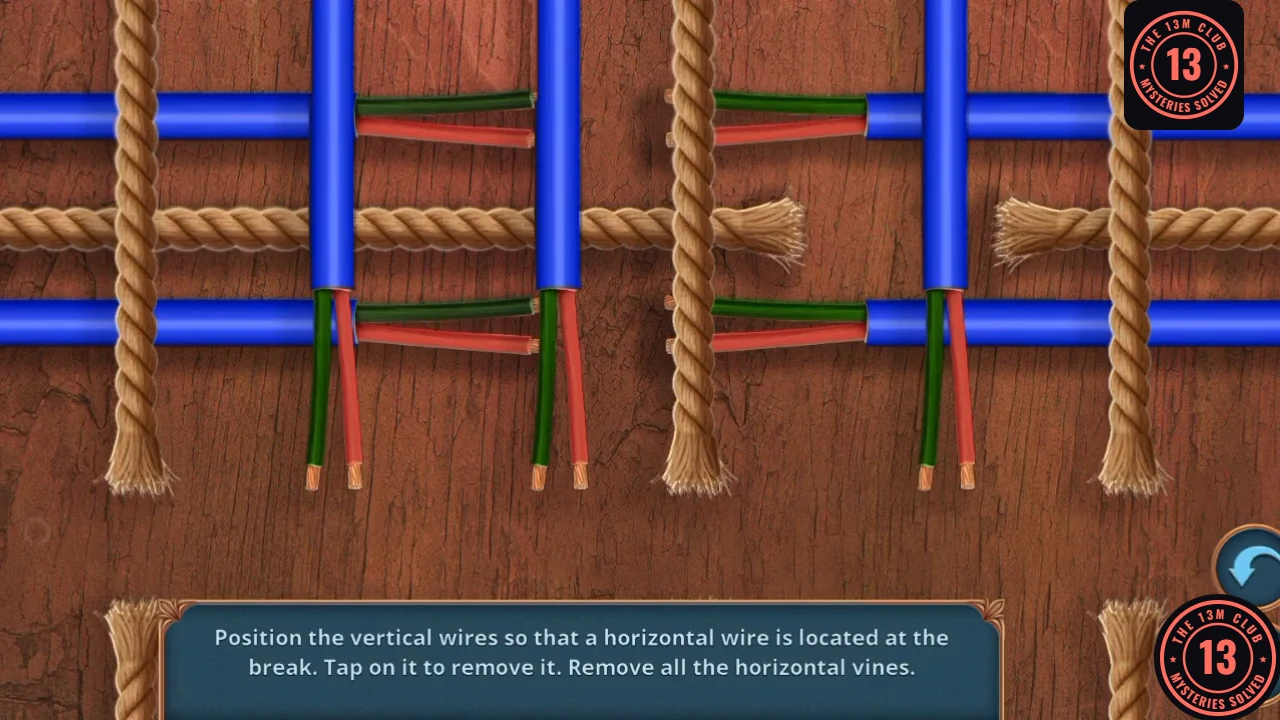
Position the vertical wires so that a horizontal wire is at the break, then tap it to remove it. Remove all the horizontal vines.
- Tap a vertical wire to move it until a horizontal vine sits at the break, then tap the vine to remove it. Repeat until no horizontal vines remain. Take the Rottenburg Crest.
CHAPTER 4
Knight's shield
The crest releases a vial.
- In the passage, use the Rottenburg Crest on the knight's shield. Take the Blood.
CHAPTER 4 PUZZLE
Hidden objects: paired items
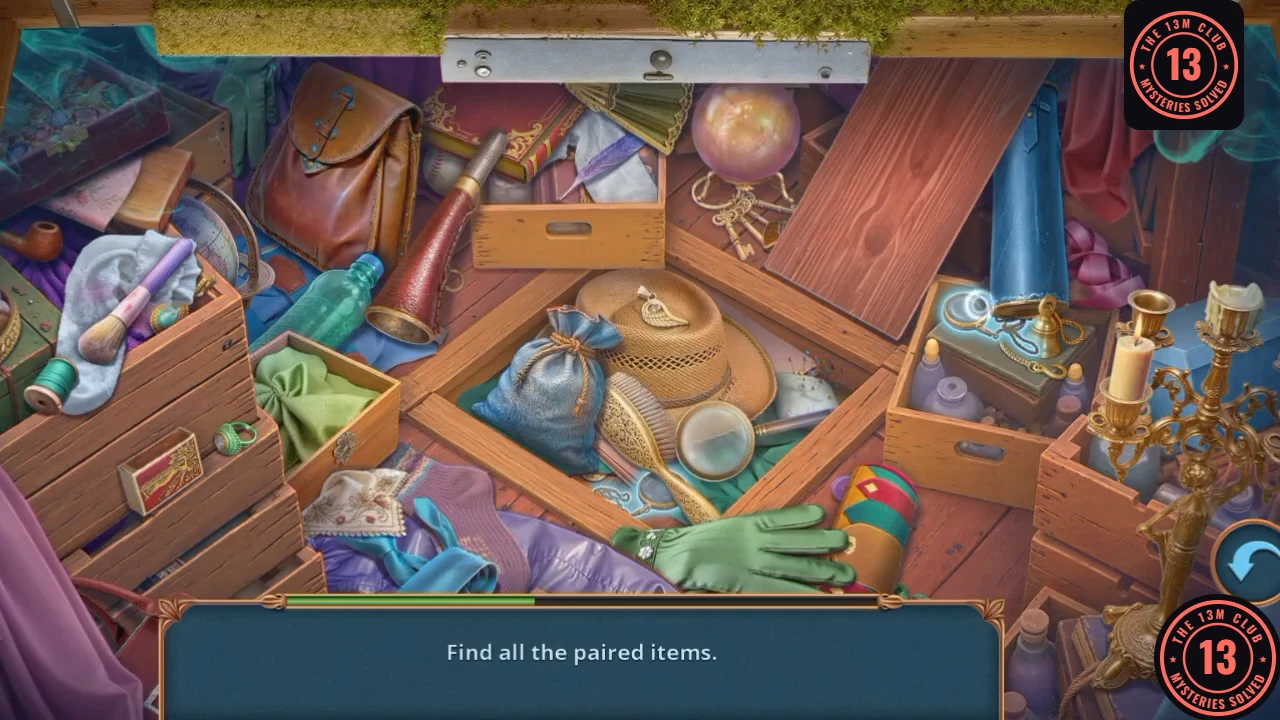
Find all the paired items.
- Find both objects of each pair. The reward is the Sickle.
CHAPTER 4
Glowing pollen
Cut the plants and catch the pollen.
- On the Balcony, use the Sickle on the plants, then the Pouch on the pollen. Take the Glowing Pollen.
- Use the Glowing Pollen on the wall.
CHAPTER 4 PUZZLE
Hidden objects: glowing wall
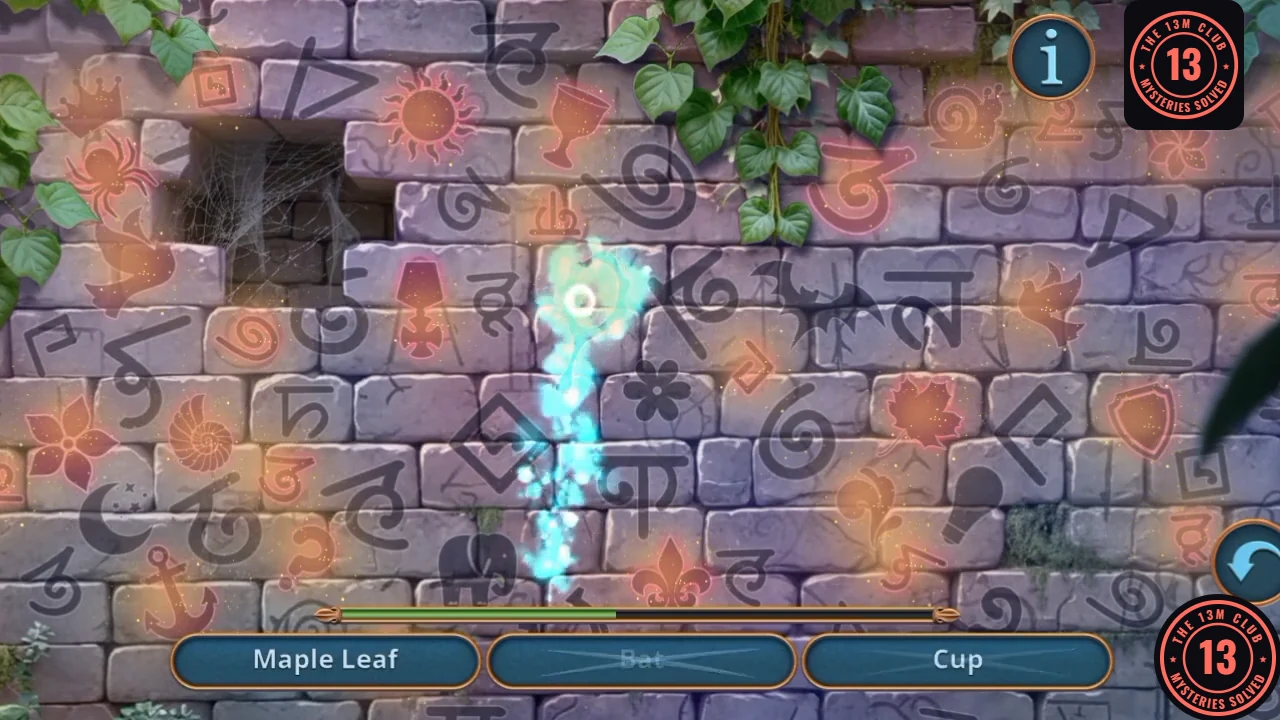
Find the listed symbols on the wall.
- Find Bag of Coins, Skull, Moth, Snake, Mirror, Dagger, Maple Leaf, Cup, Bat, Crescent, Medal and Spider. The reward is the Protection Amulet.
CHAPTER 4
Protection Amulet and the charge
Banish the ghost hands and build the charge.
- In the Cellar, use the Protection Amulet on the ghost hands at the pedestal. Take the Detonator.
- In the inventory, add the Detonator to the Explosives.
- Use the Explosives on the bricked wall.
CHAPTER 4 PUZZLE
Connecting the explosives
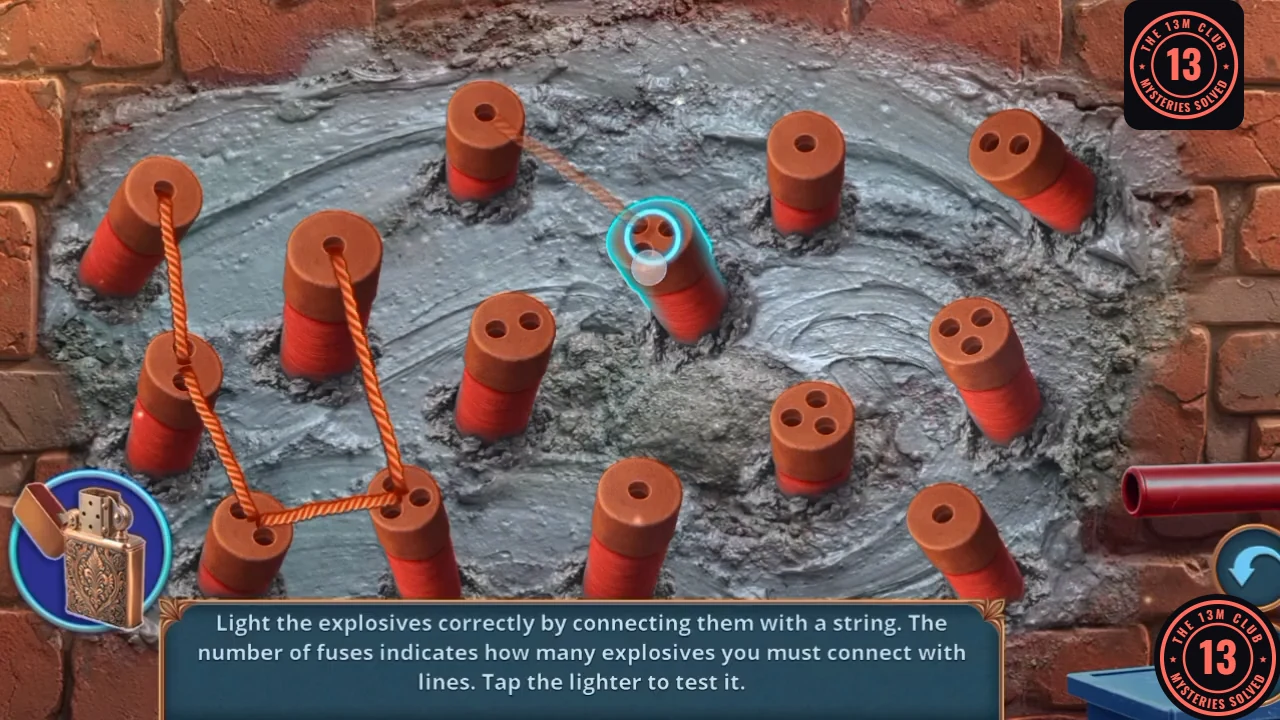
Light the explosives by connecting them with string. The number of fuses on a stick shows how many lines it needs. Tap the lighter to test it.
- There are 14 sticks with 1, 2 or 3 fuses. This set of 13 lines works, and the picture shows most of it. Far-left upper stick to the stick below it; that stick to the bottom-left stick; bottom-left to the three-fuse stick beside it; tall upper-left stick to that three-fuse stick; three-fuse stick to the two-fuse stick in the centre; centre stick to the three-fuse stick at upper centre-right; top-centre stick to that same stick; upper centre-right to the three-fuse stick on the right; one-fuse stick at the top right to the two-fuse stick beside it; two-fuse stick to the three-fuse stick on the right; right stick to the three-fuse stick at lower centre; lower centre to the one-fuse stick at the bottom middle; lower centre to the one-fuse stick at the bottom right. Tap the lighter to blow the wall.
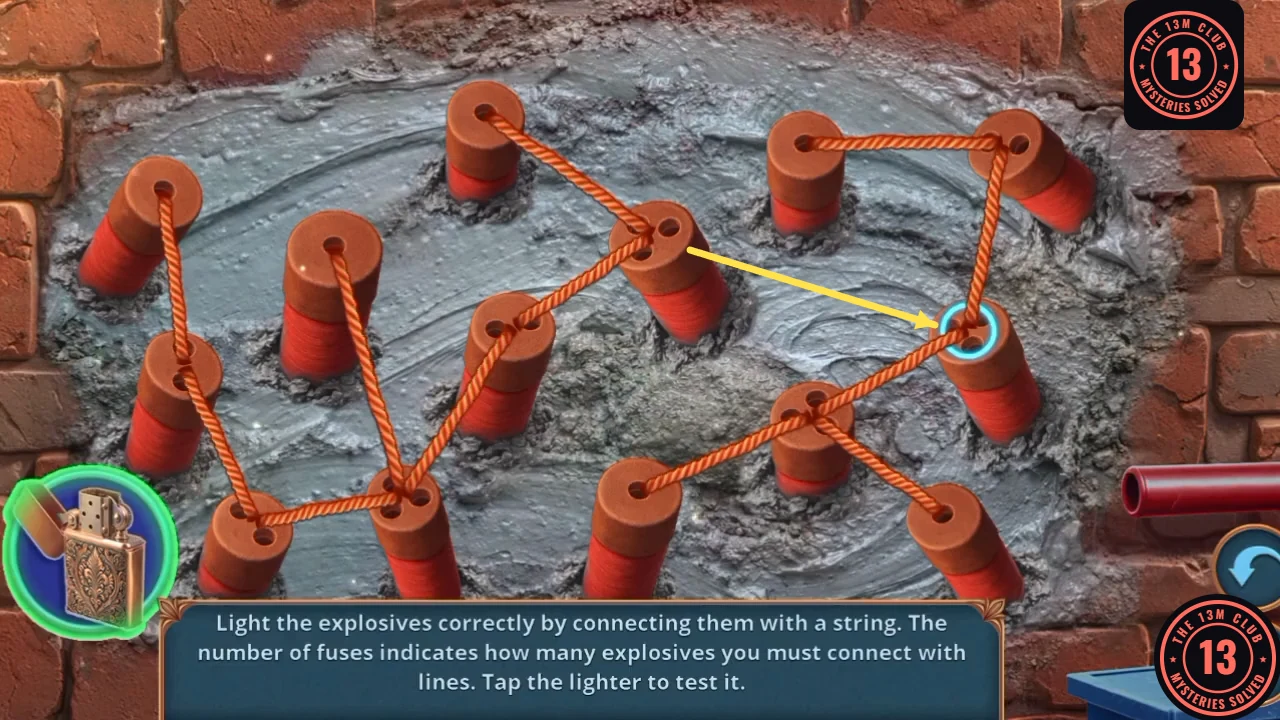
The recording's lines. The arrow marks the one still to draw: the three-fuse stick at upper centre-right to the three-fuse stick on the right.