CHAPTER 4
Duke's Bust
The Metal Key opens the wall cache, and what is inside goes to the Cellar pedestal.
- Use the Metal Key on the wall cache by the sarcophagus. Take the Candles and Duke's Bust.
- In the Cellar, use the Duke's Bust on the pedestal. Take Name Plaque 1/2 and the Pickaxe.
CHAPTER 4 DELUXE
Deluxe: finishing the Duke's Hidden Room
Use the Receipt to complete the seals.
- In the Duke's Hidden Room, use the Receipt on the glass dome holding the seals. It confirms the Trade Guild's debt to the Duke, and you get Fake Seals 2/2.
- Use Fake Seals 2/2 on the desk papers.
CHAPTER 4 DELUXE
Deluxe puzzle: seal differences
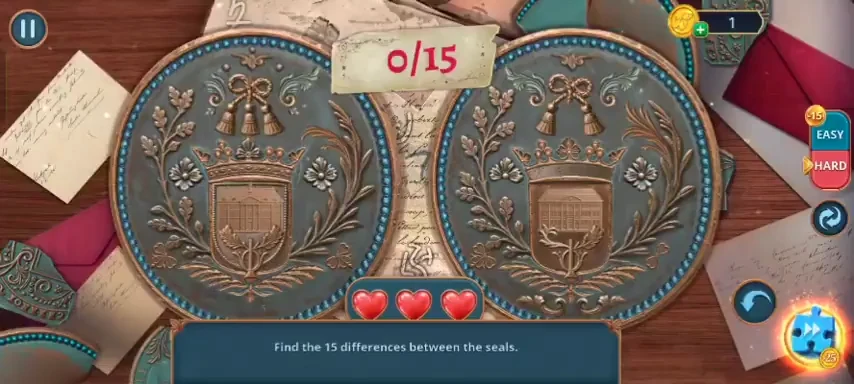
Find the 15 differences between the seals. Three hearts.
- Tap each difference between the left and right seals; a wrong tap costs a heart. The picture shows all 15 ticks. A caption then explains that the Duke forced a craftsman to mint counterfeit coins and seals, and the task completes.
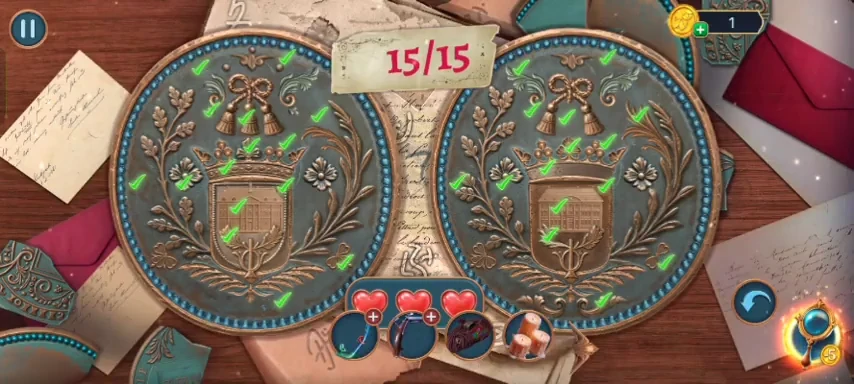
All 15 differences ticked.
CHAPTER 4 PUZZLE
Hidden objects: stone rubble equations
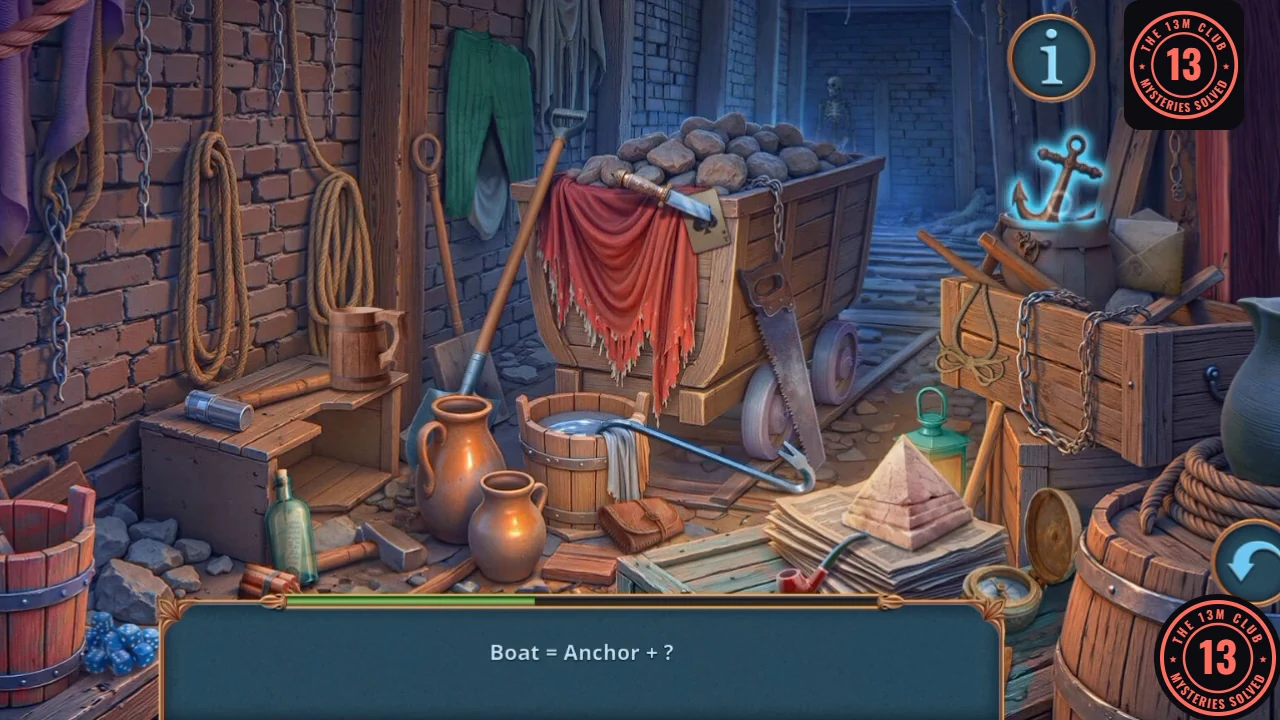
Each entry is a small equation of objects.
- Use the Pickaxe on the rubble in the hearth.
- Each entry is an equation such as "Knight = ? + ?". Tap its two objects: Knight = Shield (dark doorway, upper right) + Helmet (top of the handle above the cart). Fly Agaric = Umbrella (red, left of the cart) + Polka Dot Fabric (on the crates at the right). Axe = Knife (hanging on the brick wall, far left) + Branch (on the floor in front of the bucket). Boat = Anchor (upper right) + Message in a Bottle (small bottle, lower left). Belt = Rope (coil on the left side of the crates) + Pants (green, hanging upper left above the cart). Mummy = Skeleton (small figure in the back doorway, upper right) + Pyramid (paper pyramid, lower right). The rubble clears and the passage leads to the Cemetery.
CHAPTER 4
Cemetery
Prepare the sarcophagus.
- Agnes says she is ashamed of her ancestors: pick "All that remains is to tell Heinrich about this." for +1 (not "Say nothing."). You receive Agnes's Amulet.
- At the tree hollow where the squirrel sits, take the Diving Mask hanging on the slab carved with a skull. Combine it with the Breathing Tube.
- Use the Diving Mask on the pond.
CHAPTER 4 PUZZLE
Lake diver
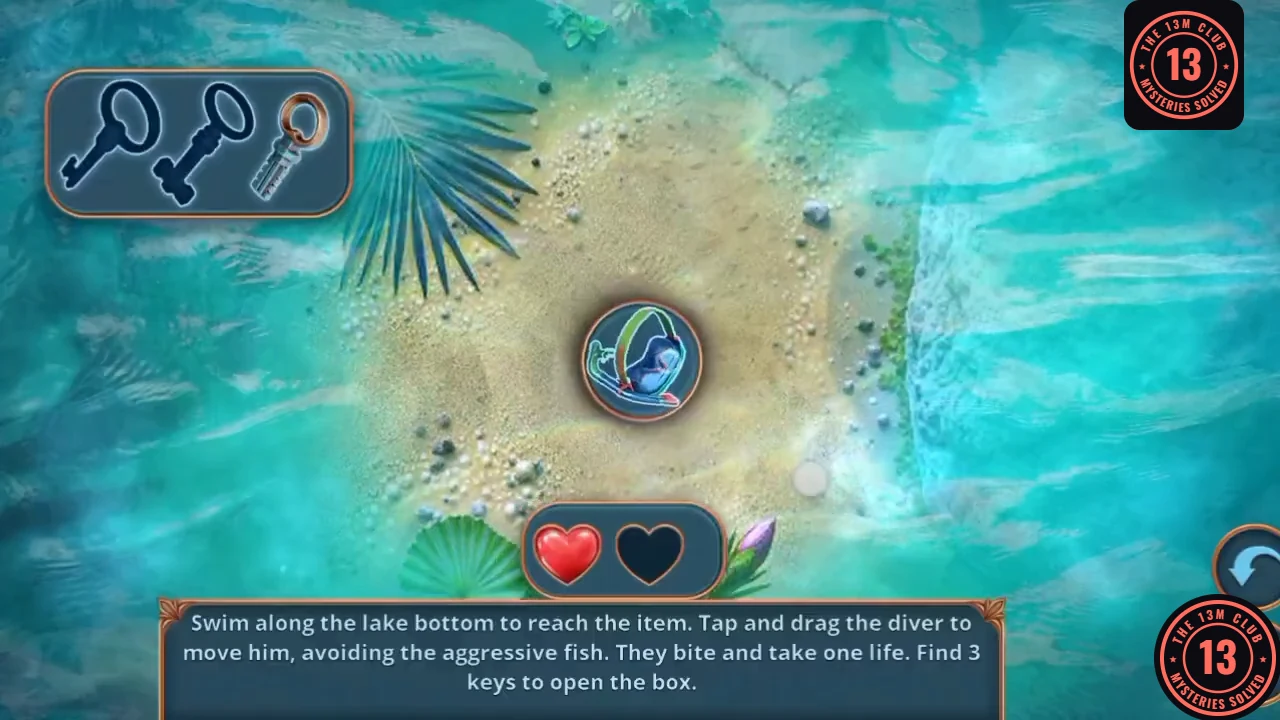
Swim along the lake bottom to reach the item. Tap and drag the diver, avoiding the aggressive fish: each bite takes a life. Find 3 keys to open the box.
- The lake bed scrolls as you swim. Drag the diver around the fish; the recording shows two hearts on this board. The three key slots at the top left fill as you pick up keys. Once you have all three, swim to the chest and open it. The reward is the Scythe.
CHAPTER 4
Reaper and the chapel
Arm the reaper and shoot the padlock.
- Use the Scythe on the reaper statue's hand. The box opens: take the Bullets.
- Use the Bullets on the Antique Musket to make the Loaded Musket, then use it on the owl padlock on the chapel door.
CHAPTER 4 PUZZLE
Hidden objects: chapel study
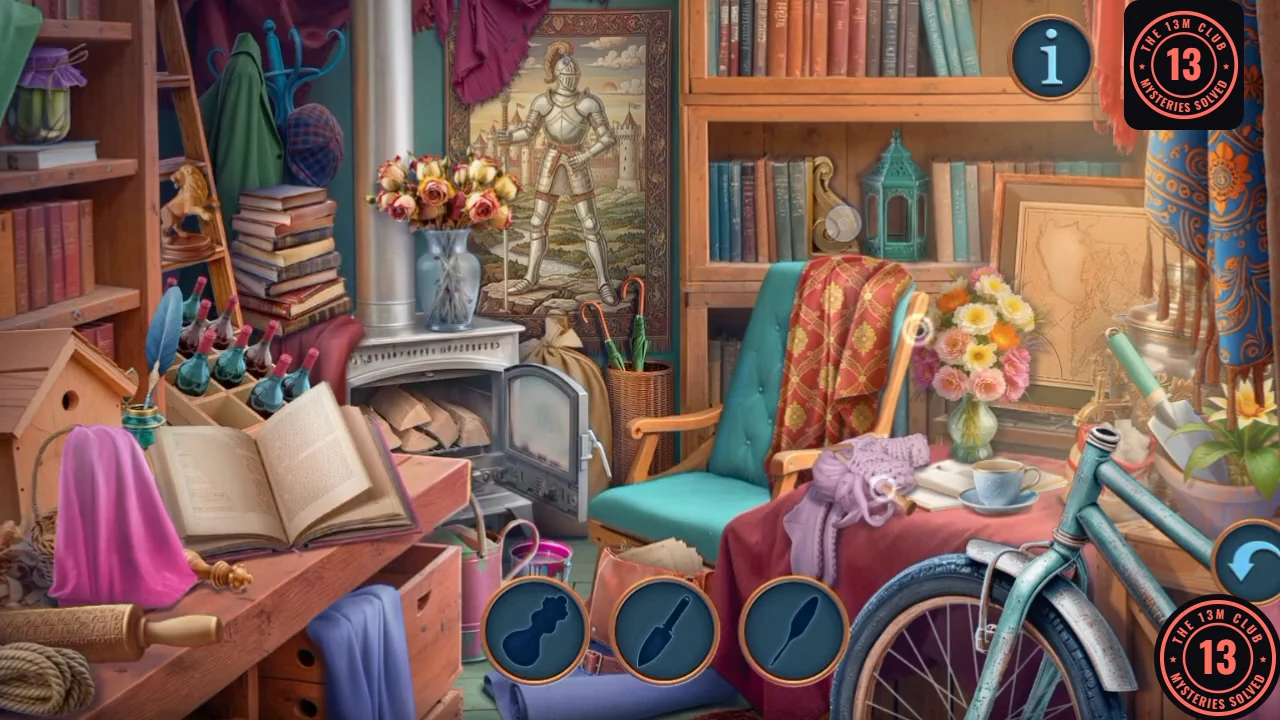
Find the objects shown as silhouettes.
- Match each silhouette. The reward is the Nuts.
- Use the Nuts on the squirrel at the tree hollow (achievement Buddy). Take Name Plaque 2/2, the green plate from the hollow.
- Use the Name Plaque on the box at the reaper statue. Take the Brush.
CHAPTER 4 PUZZLE
Hidden objects: chapel
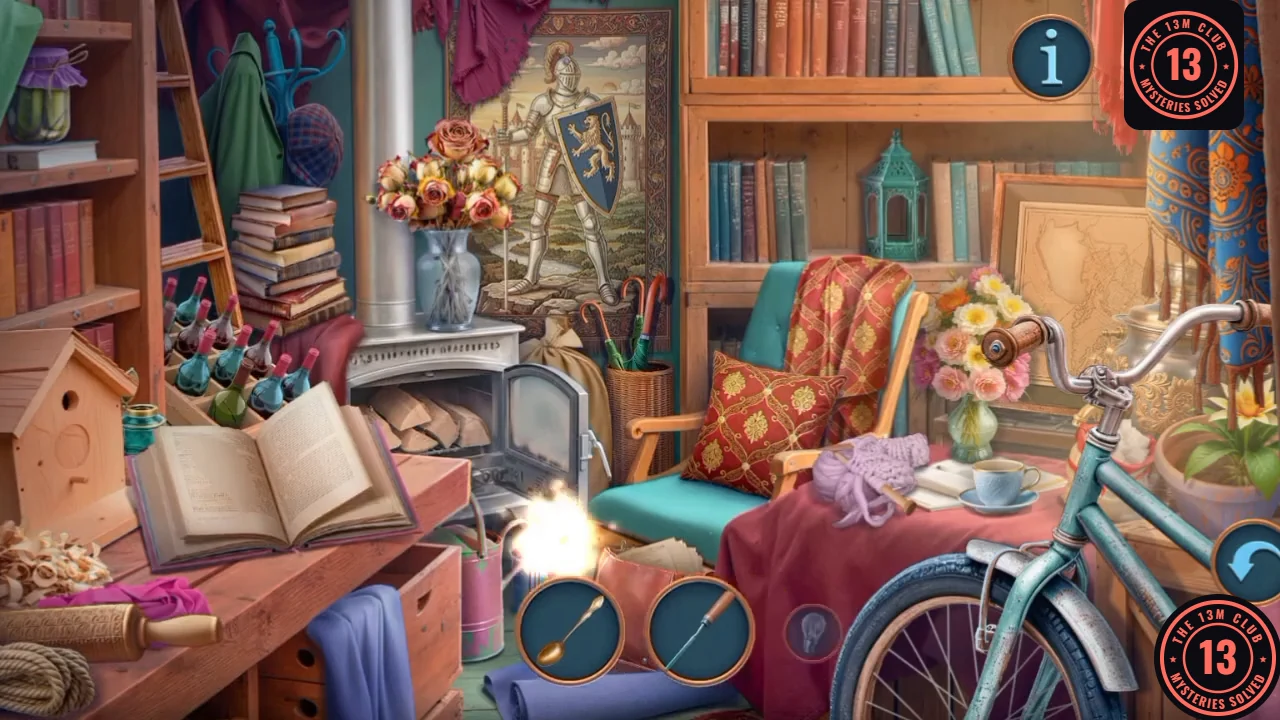
"Something is missing here." Search the chapel.
- Once you have the Brush, the game says "Hmm, I should check it again. There might be something useful for the ritual." Go back to the open chapel door on the right of the Cemetery, marked by pink sparkles, and tap it to open the scene.
- Match each full-colour object pictured along the bottom. The reward is the Polish.
CHAPTER 4
Sarcophagus
Bring everything to the sarcophagus. Search for missing busts first.
- Use the Brush and Polish on the stone slab. Take the Sarcophagus Lid.
- Use Heinrich's Remains, Candles, Agnes's Amulet and the Sarcophagus Lid on the sarcophagus.
CHAPTER 4 PUZZLE
Ritual symbols
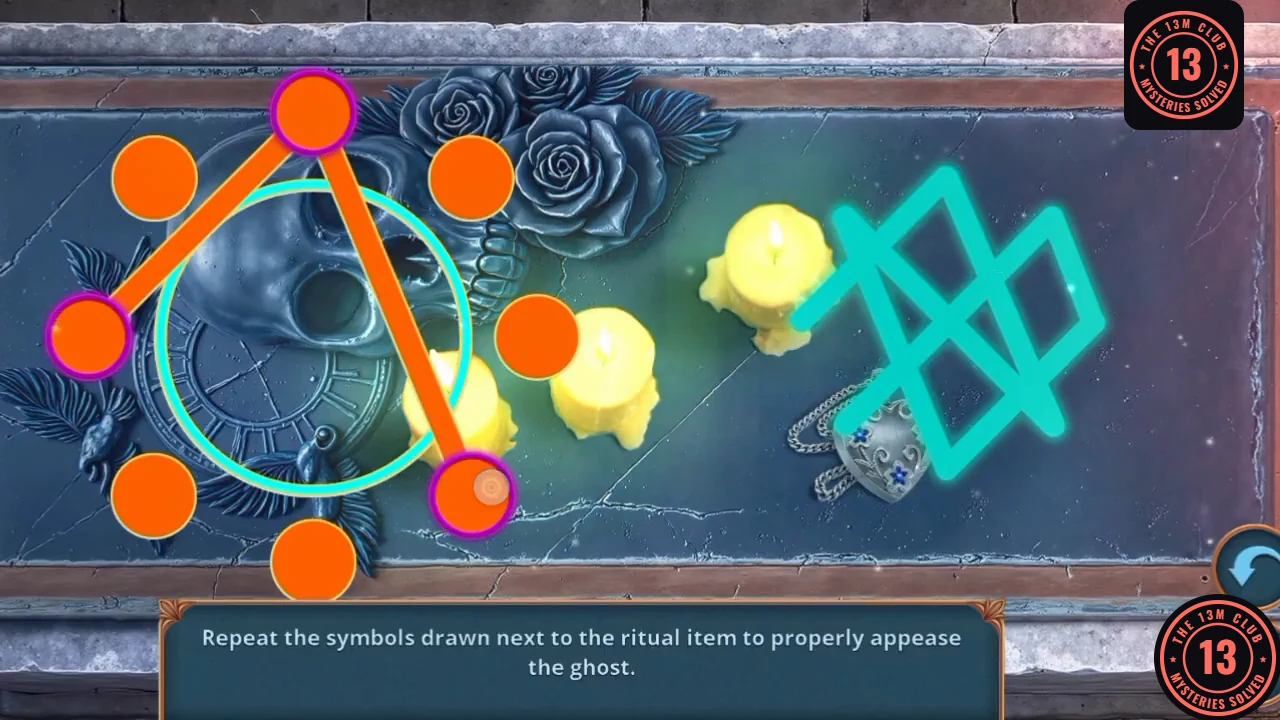
Repeat the symbols drawn next to the ritual item to appease the ghost. There are four symbols.
- Eight dots form a circle, and the start dot is highlighted. Tap dots in the order that draws the cyan shape on the right, one line at a time. The cyan shape can fade before your last lines, so memorise it before you start. Each new shape replaces the last one, and the fourth ends the ritual.
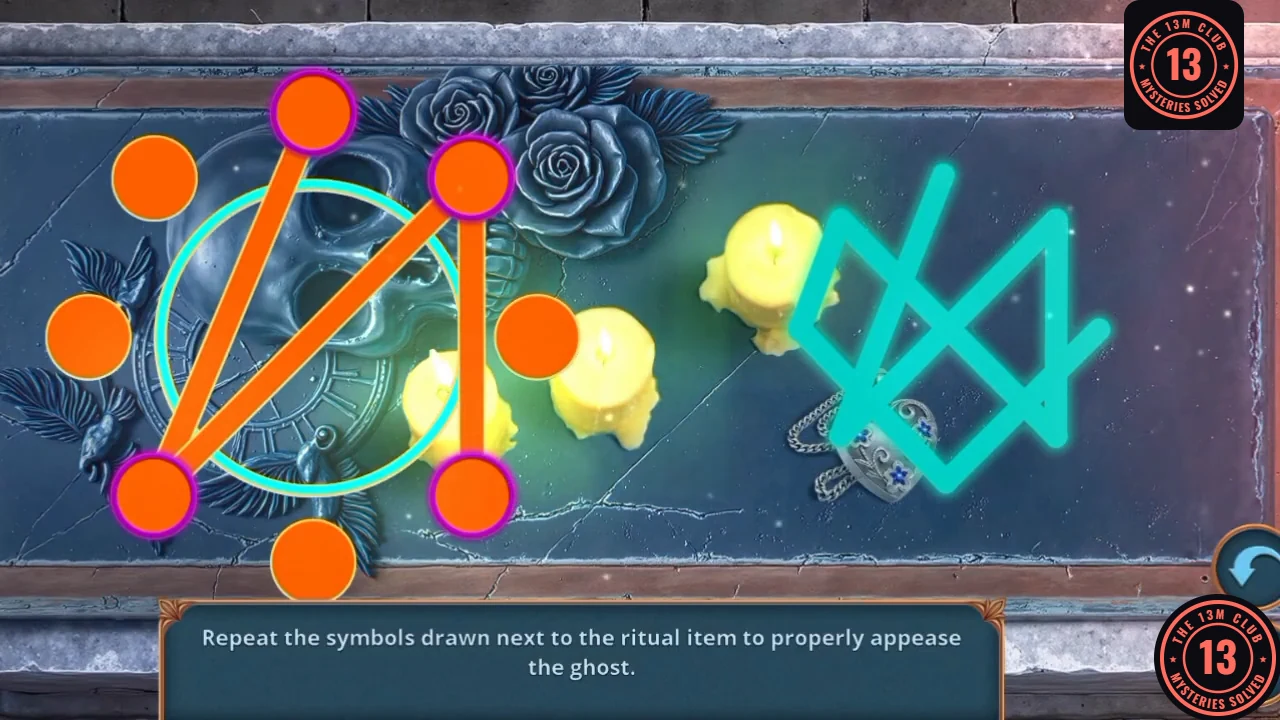
A shape in progress: each orange line on the ring copies one line of the cyan shape on the right.