CHAPTER 4
Back at the Mansion Terrace
You return with Tomas and the secret passage plans.
- Watch the opening. Tomas doubts: pick "Just hold on. We've got this!" for +1 (not "You can go back if you want.").
- Take the Battering Ram from the pedestal. Take the Furry Rag and Gnome.
- Use the Gnome on the row of gnomes.
CHAPTER 4 PUZZLE
Garden gnomes
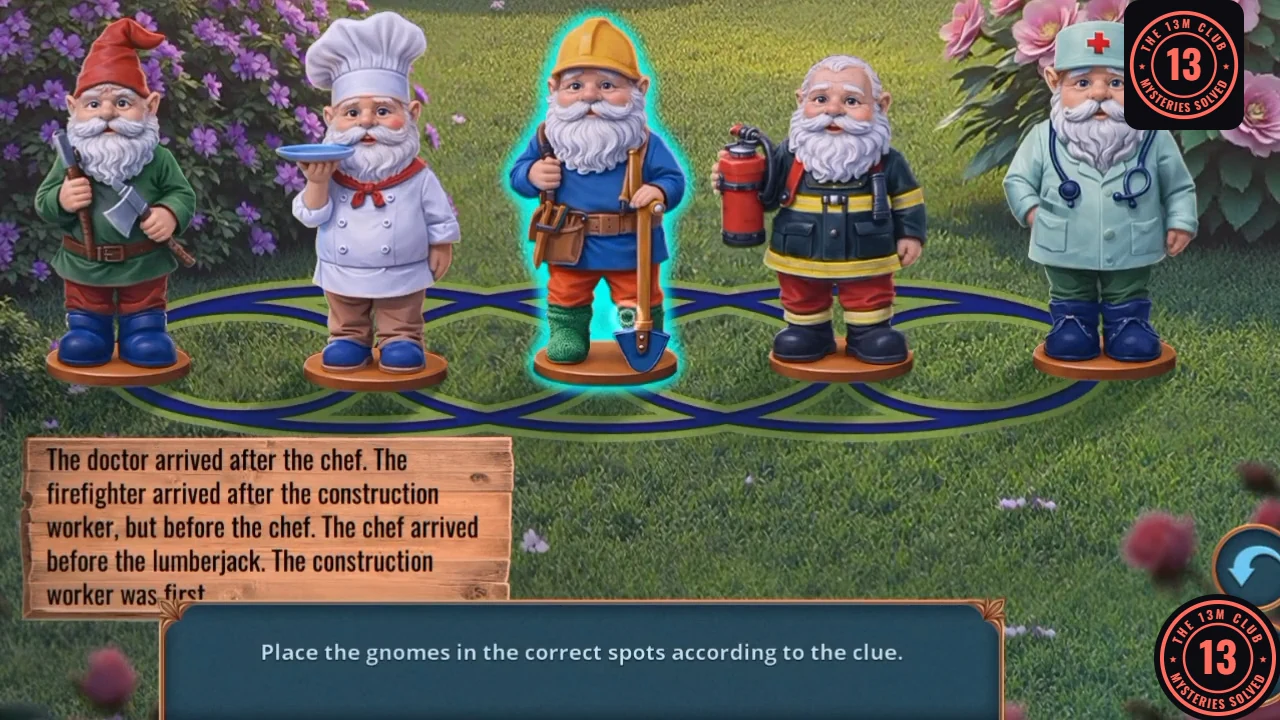
Place the gnomes in the correct spots according to the clue.
- The clue reads: "The doctor arrived after the chef. The firefighter arrived after the construction worker, but before the chef. The chef arrived before the lumberjack. The construction worker was first." From left to right, the recording's accepted order is construction worker, firefighter, chef, doctor, lumberjack. Take the Gilded Gear and Hex Wrench.CODEConstruction worker, firefighter, chef, doctor, lumberjack
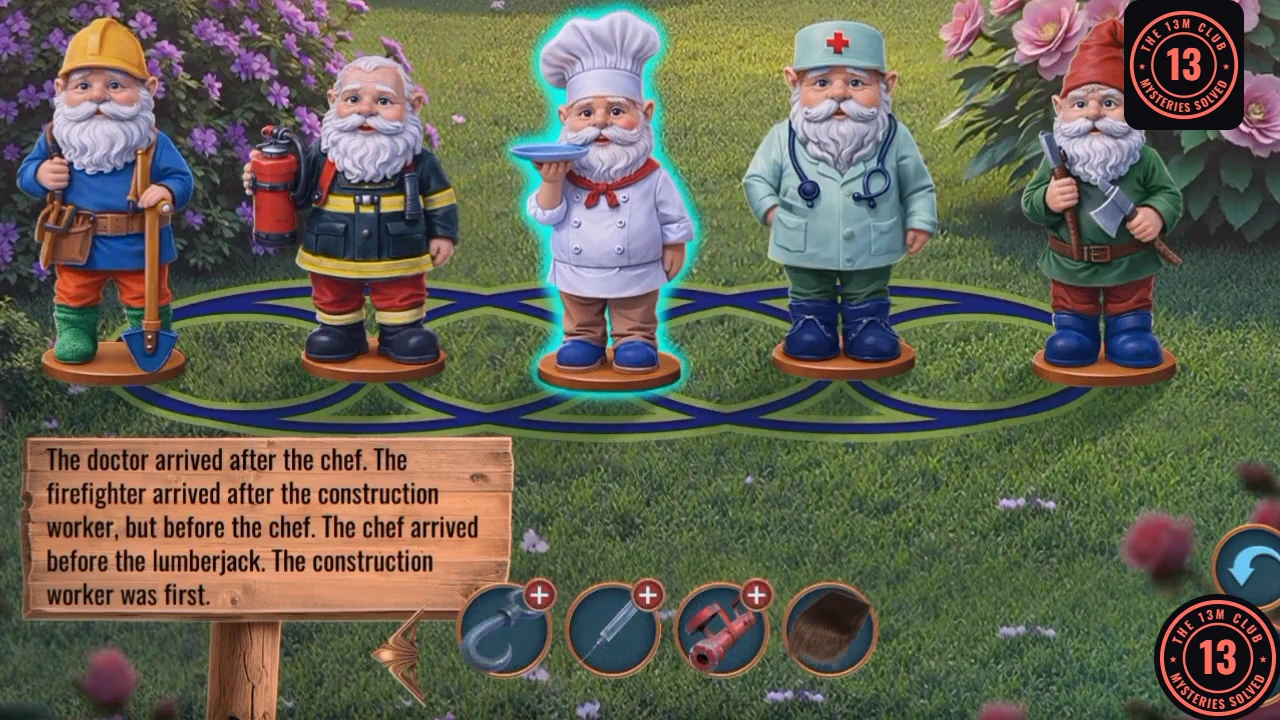
The accepted order, left to right: construction worker, firefighter, chef, doctor, lumberjack. - Use the Hex Wrench on the clamps. Take the Clamps.
- Use the Clamps and Branches on the fence.
CHAPTER 4 PUZZLE
Fence planks
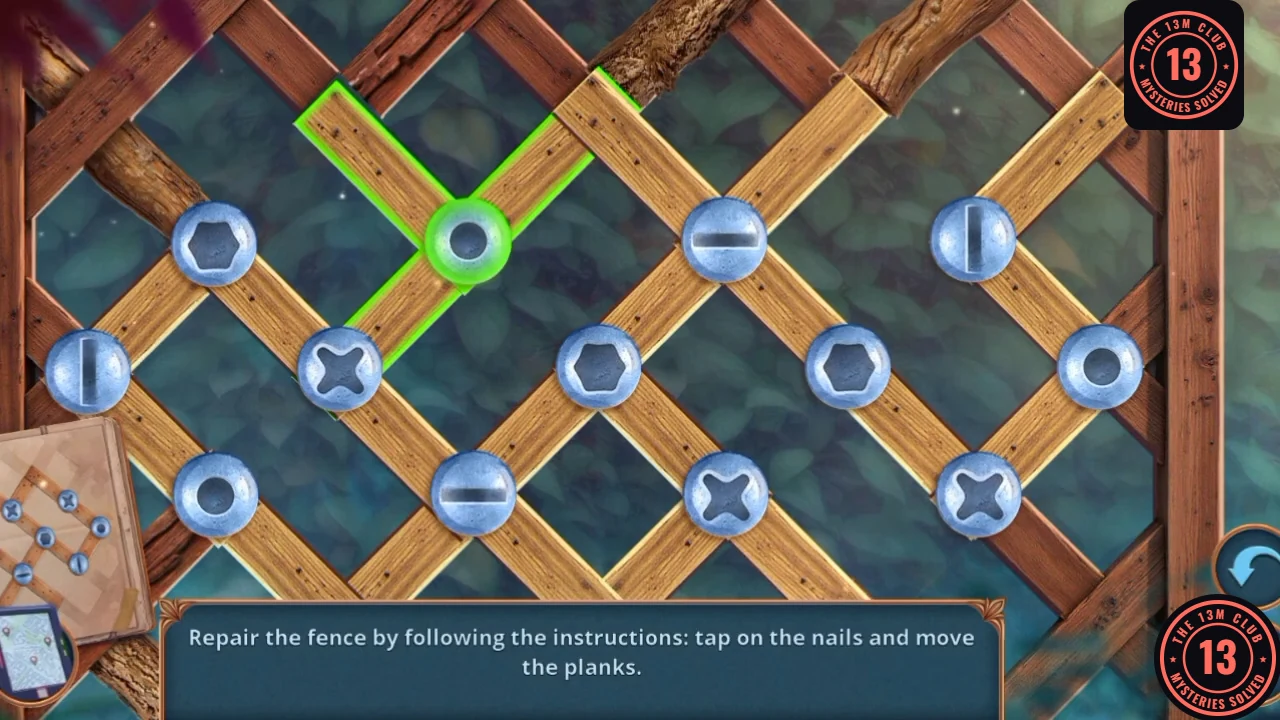
Repair the fence by following the instructions: tap on the nails and move the planks.
- This is a lengthy arrangement, so here is the approach. The nails stay where they are. Tap a nail and the two planks on it turn green, then swing them around that nail. The card at the lower left shows which nail shapes a plank should link. Work across the fence nail by nail until every plank lies on the lattice diagonals as in the card. The Mansion Roof opens.
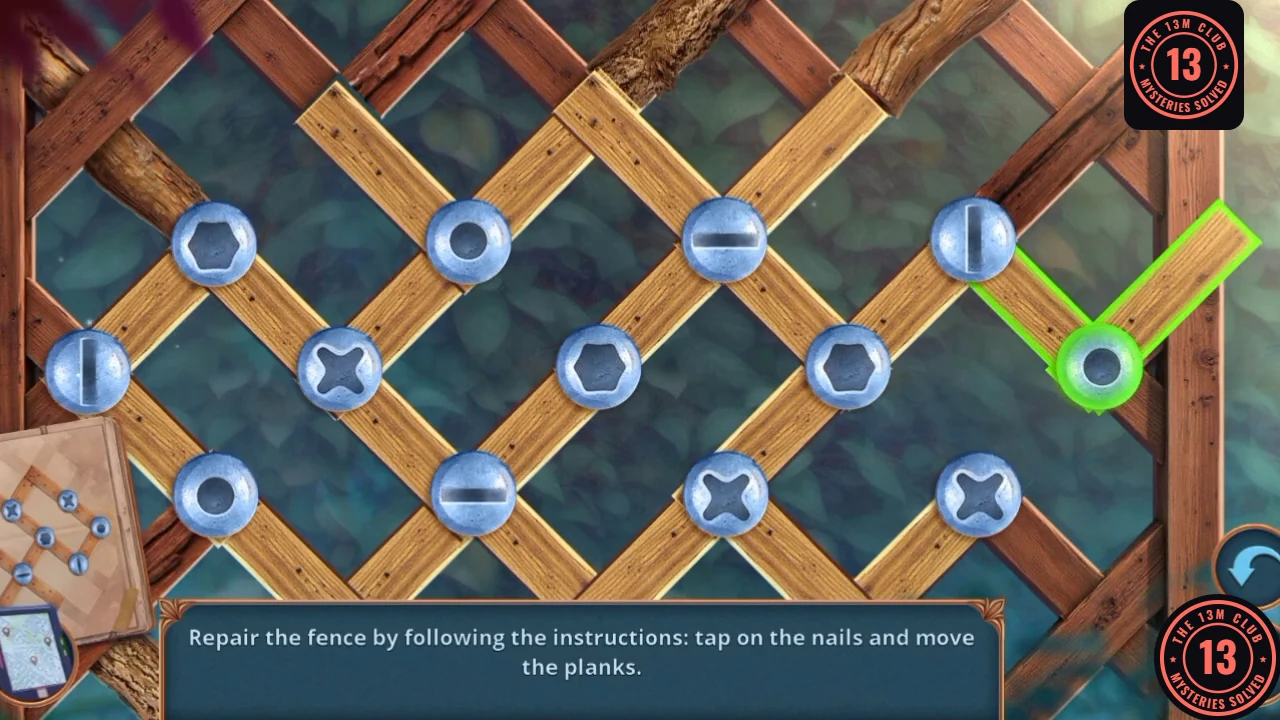
Nearly finished: only the highlighted plank at the right is still being set.
CHAPTER 4
Mansion Roof
Open the shed.
- On the Roof, take the Scraper from the fern close-up and the Awl from the dark gap. This Awl is a new one; the Chapter 1 Awl stayed in the teal door.
- Use the Awl and Thick Book on the window. Take the Ink and Bolt Cutters.
- Use the Bolt Cutters on the red door lock.
CHAPTER 4 PUZZLE
Hidden objects: roof shed
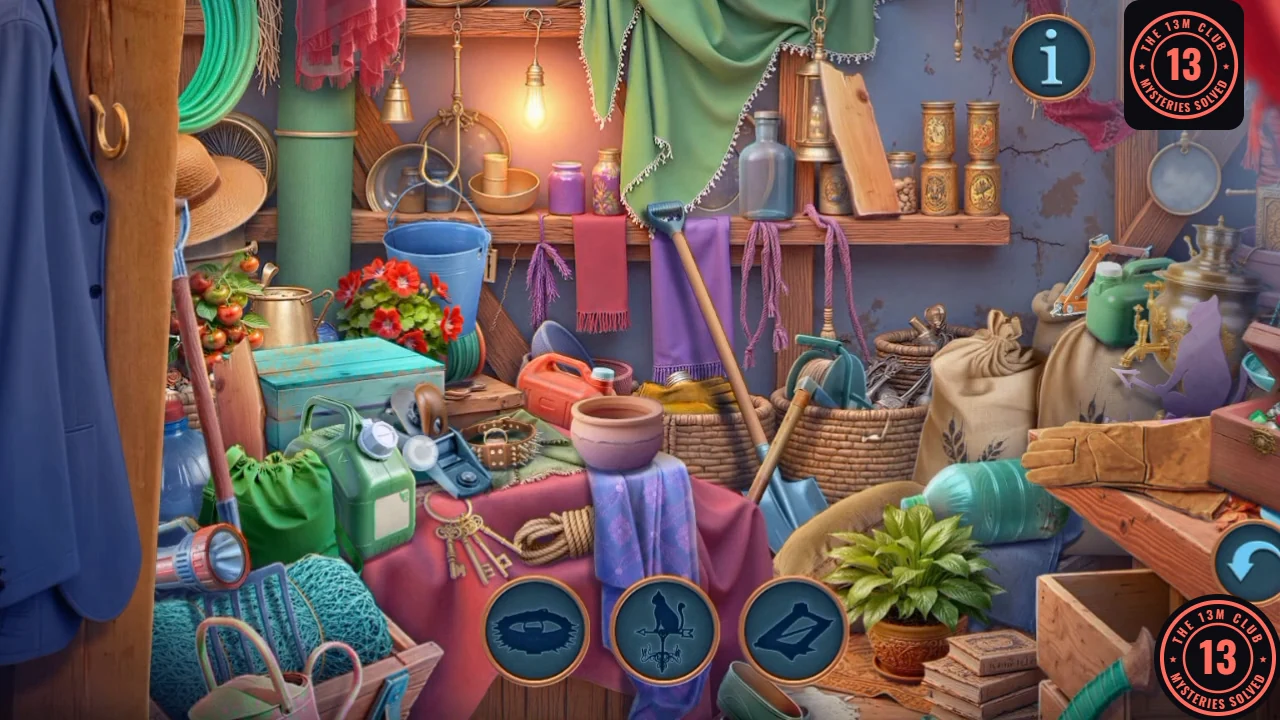
Find the objects shown as silhouettes.
- Match each silhouette. The reward is the Signal Flare.
CHAPTER 4
The crows and the ghost dog
Free the ghost dog with the Censer.
- On the Terrace, use the Signal Flare on the crows. Read the note and take the Censer.
- Use the Censer on the dog.
CHAPTER 4 PUZZLE
Censer tokens
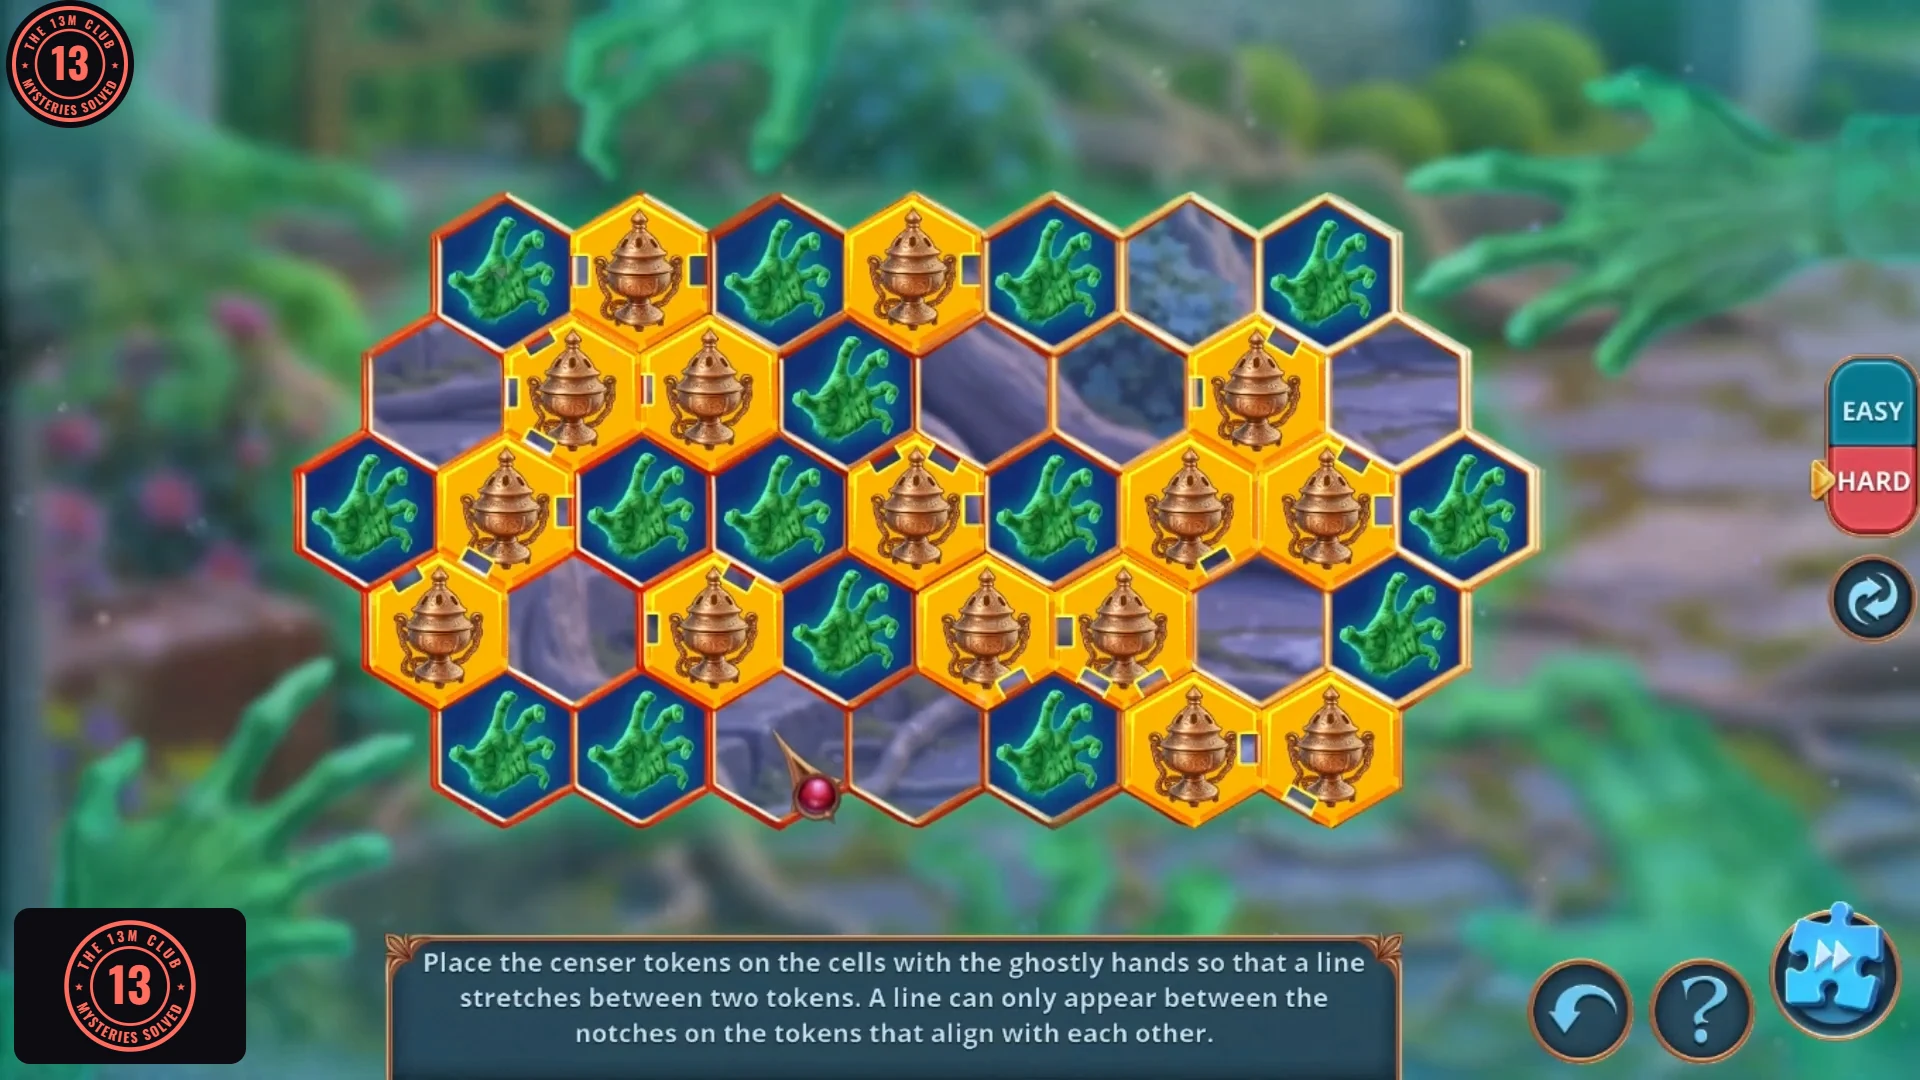
Place the tokens on the cells with ghostly hands so that a line stretches between two tokens. A line appears only between aligned notches. The Hard answer below ends with every token on a hand cell.
- The Hard board has rows of 7, 8, 9, 8 and 7 cells, with 15 hand cells and 15 tokens. Drag one token onto each hand cell. Match each token by the notches on its rim, listed below as directions. Count cells from the left of each row.
- Row 1: cell 1 (right, lower left); cell 3 (left, lower left, lower right); cell 5 (lower left); cell 7 (lower right).
- Row 2: cell 4 (upper left).
- Row 3: cell 1 (upper right, right); cell 3 (left, upper right); cell 4 (lower right); cell 6 (right); cell 9 (upper left, left, lower left).
- Row 4: cell 4 (upper left, upper right, right); cell 8 (upper right, left).
- Row 5: cell 1 (right); cell 2 (left, right); cell 5 (left). With the last token down, the board closes and the dog is free.
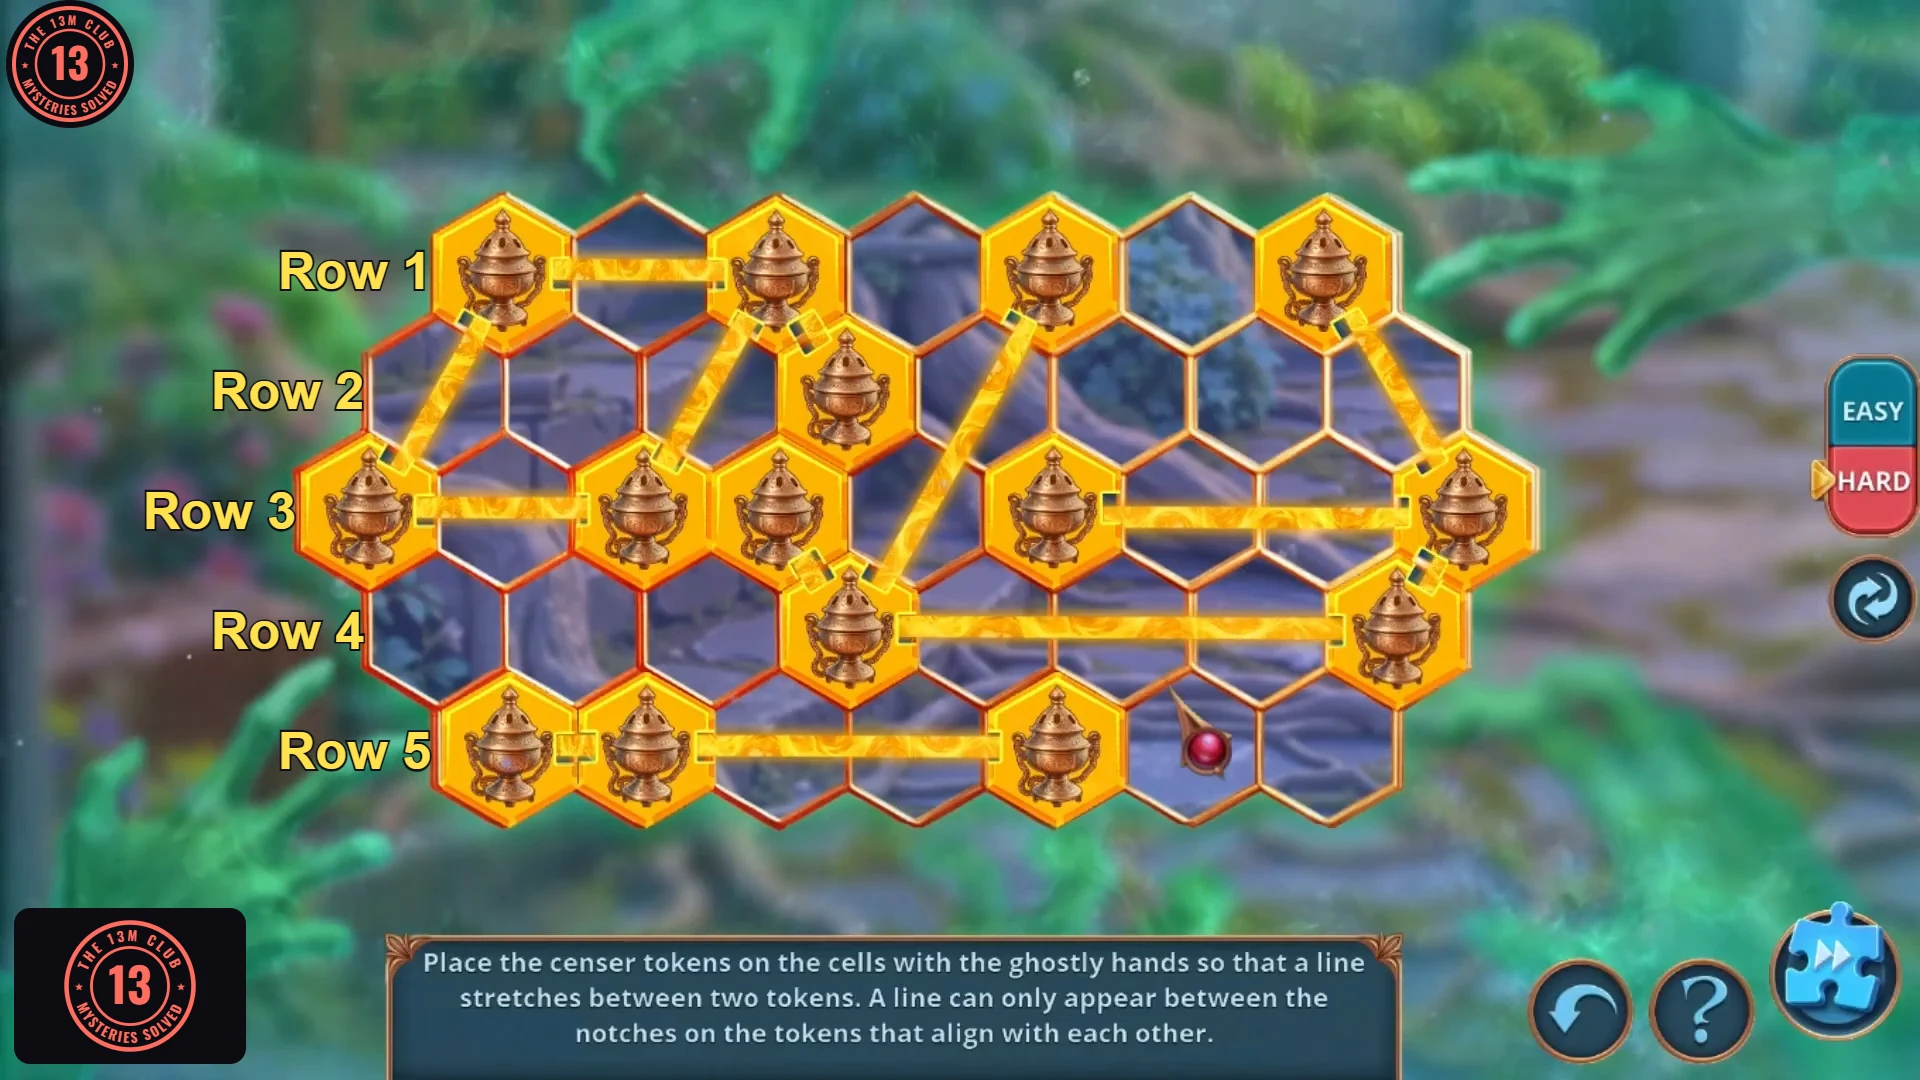
The solved Hard board, with HARD still marked at the right edge. The row labels at the left were added for this guide; count cells from the left of each row, empty ones included. - If your copy shows the EASY/HARD toggle at the right edge, Easy is a different and simpler board: fill every hand cell the same way. Skip is the other fallback.
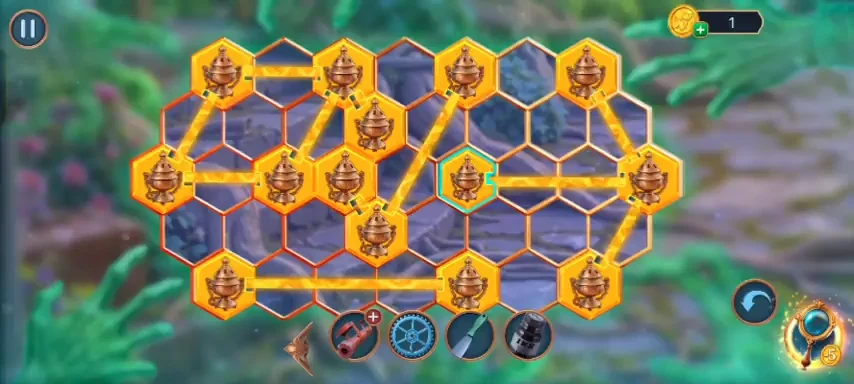
The solved Easy board, which is a different layout from Hard. - Take the Dog and Cable.
CHAPTER 4
Charger and lantern
Light your way.
- Use the Cable on the charger. Take the Charged Lantern.
- Use the Charged Lantern on the dark area.
CHAPTER 4 PUZZLE
Hidden objects: the dark corner
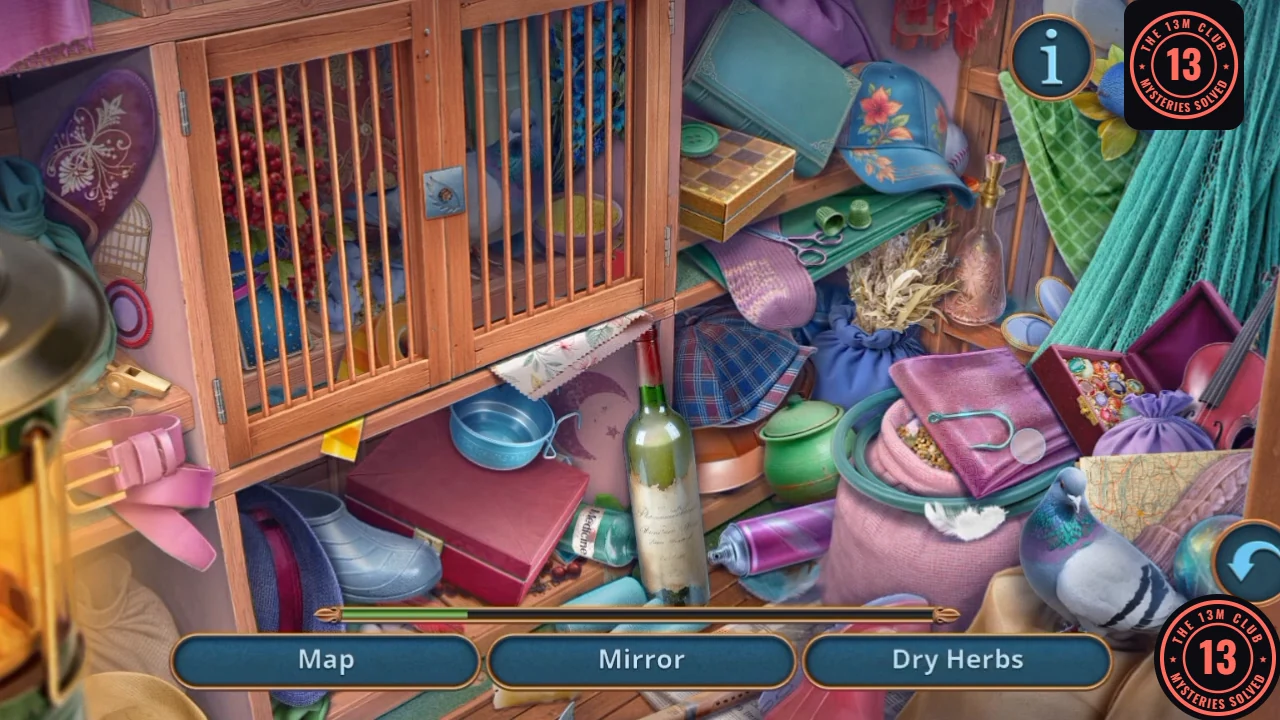
Find the listed objects by lantern light.
- Find every listed item (Map, Mirror, First-Aid Kit, Bag of Grain, Whistle, Dry Herbs, Bottle of Medicine, Water Bowl, Scissors, Cage, Cap and others). The reward is the Tattered Cloak.
CHAPTER 4
Cave and rope
Let the dog fetch what you need.
- Use the Tattered Cloak and Dog on the cave. Take the Rope and read the note.
- Use the Rope on the Hook to make the Grappling Hook.
- Use the Grappling Hook on the way down.
CHAPTER 4 PUZZLE
Rope timing
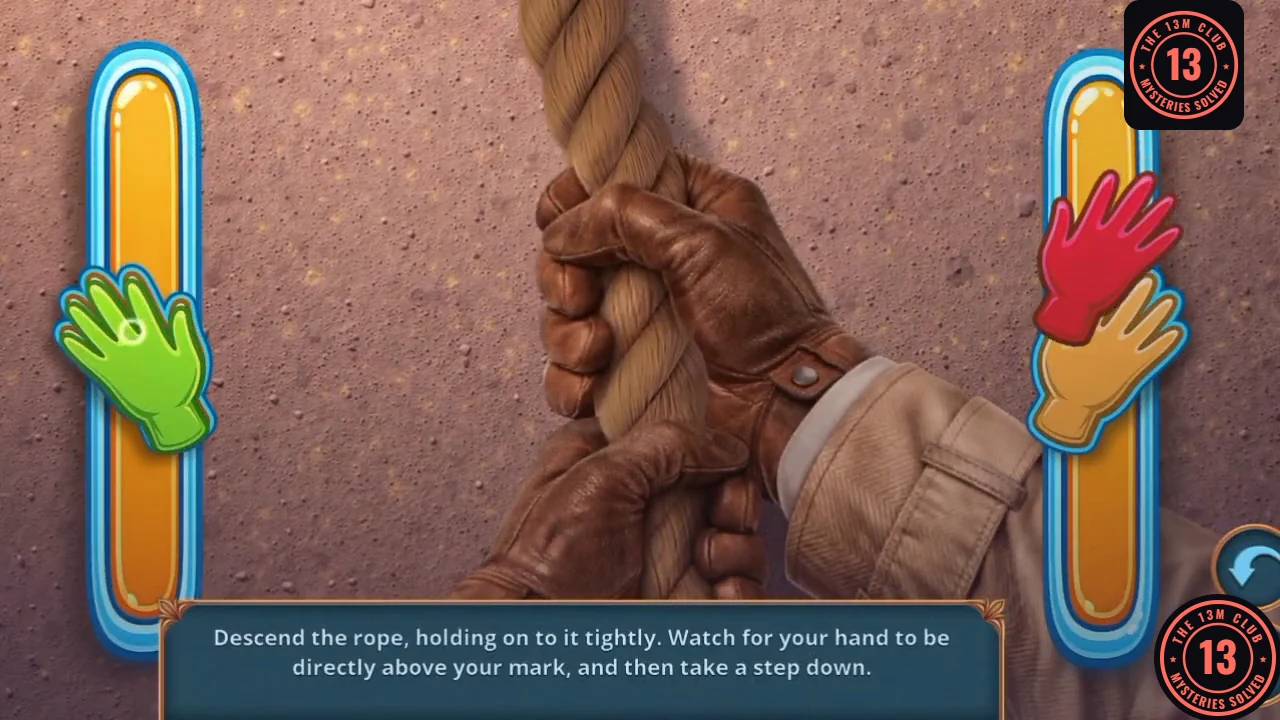
Descend the rope, holding on tightly. Wait until your hand is directly above your mark, then take a step down.
- Each bar has an orange mark and a coloured hand that slides along it. When the hand is directly above the mark, tap to take a step. Keep going until you reach the bottom. The Secret Balcony opens.