Family Tree Board
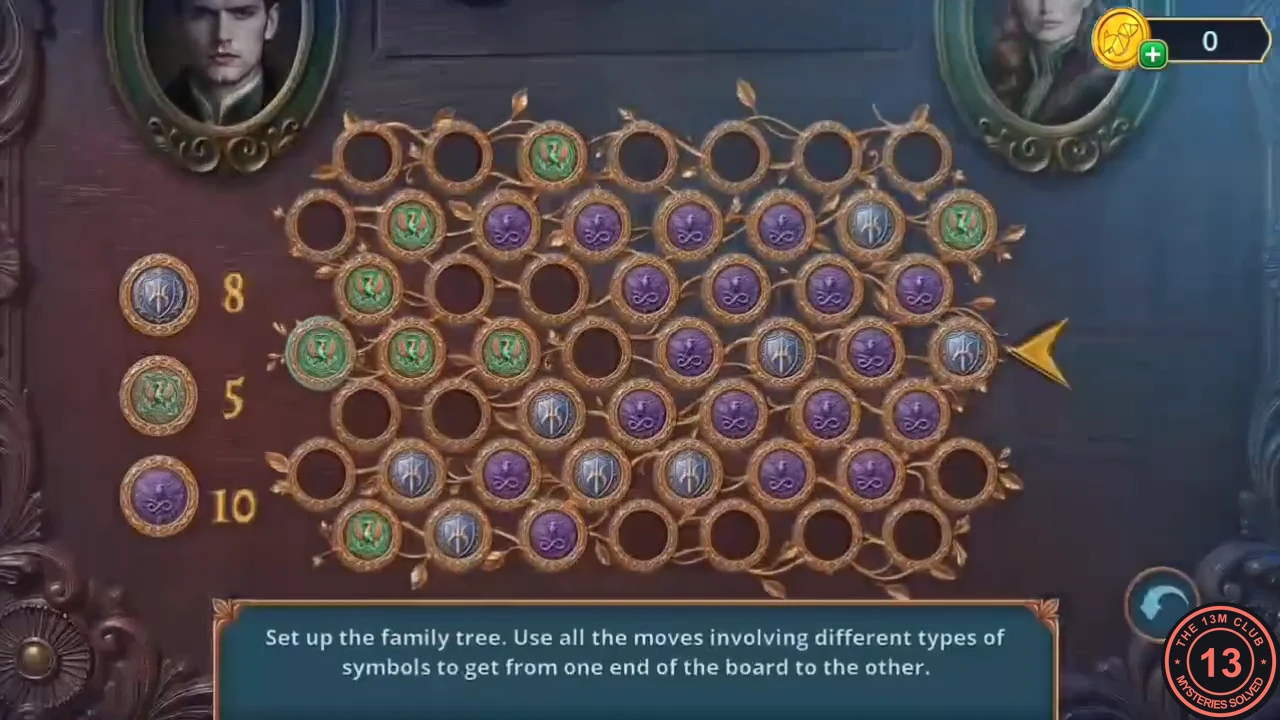
The game's instruction: "Set up the family tree. Use all the moves involving different types of symbols to get from one end of the board to the other." The hexagonal board is covered in green, purple and grey symbols. The counters on the left show how many moves you have left for each symbol type; every step onto a symbol uses one move of that type. You start on the left and finish at the yellow arrow on the right.
- Place both amulets on the board on the Butler's Room bookshelf. Plan a path from left to right that uses every counter down to exactly zero as you reach the yellow arrow. Keep an eye on the counters as you go: if one type is running out too early, step onto more cells of the other types instead. Take the scissors.
- Take Lydia's hairpin and the letter. Use the scissors on Jamie to free his voice; he reveals that it was Jarrett. Take the golden needle and the threads.
Wind-Up Monkey
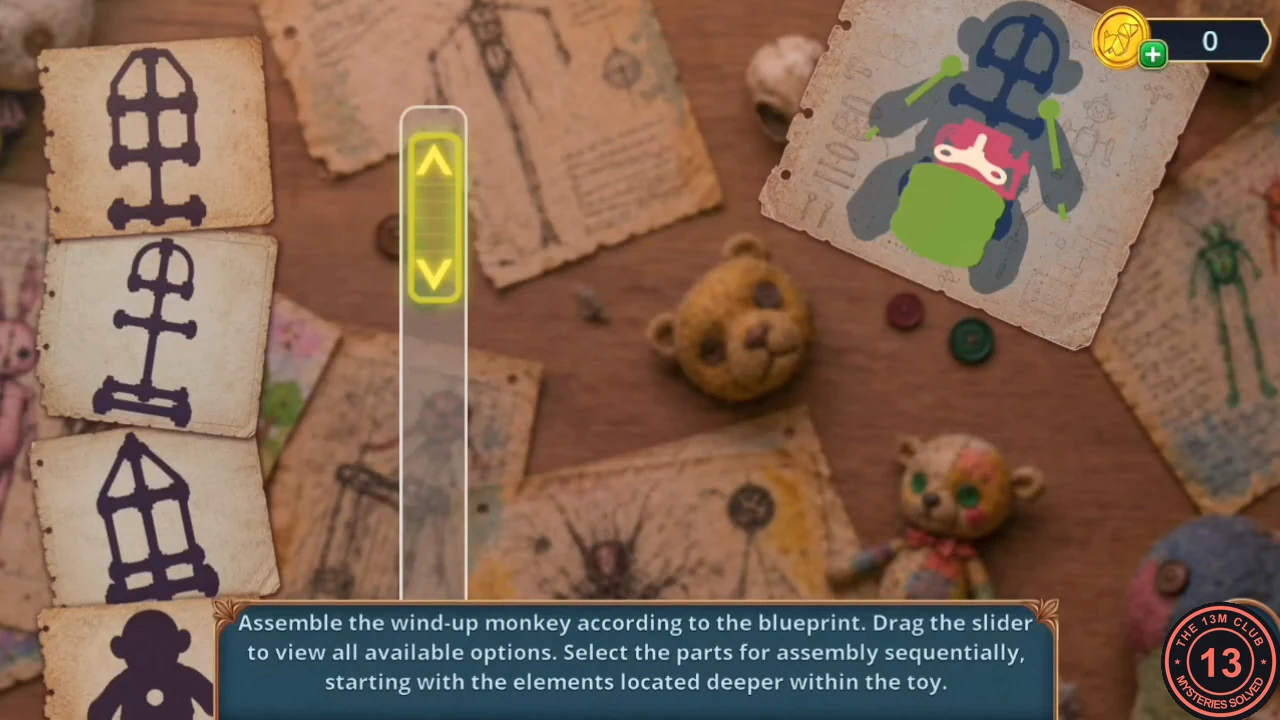
The game's instruction: "Assemble the wind-up monkey according to the blueprint. Drag the slider to view all available options. Select the parts for assembly sequentially, starting with the elements located deeper within the toy."
- Sew the toy monkey at the sewing machine in the Servants' Old Room with the needle and threads. Take it to the toy table together with the toy part and the screwdriver.
- Drag the slider to scroll through the parts and pick them in this order: the metal frame, the clockwork mechanism, the monkey's body, the drum and finally the wind-up key. Take the wind-up monkey.
- Put the monkey in the hole in the wall and take the reflector. Fit the reflector on the toy train and take the grip and the wedding veil.
Monster Chest Riddles
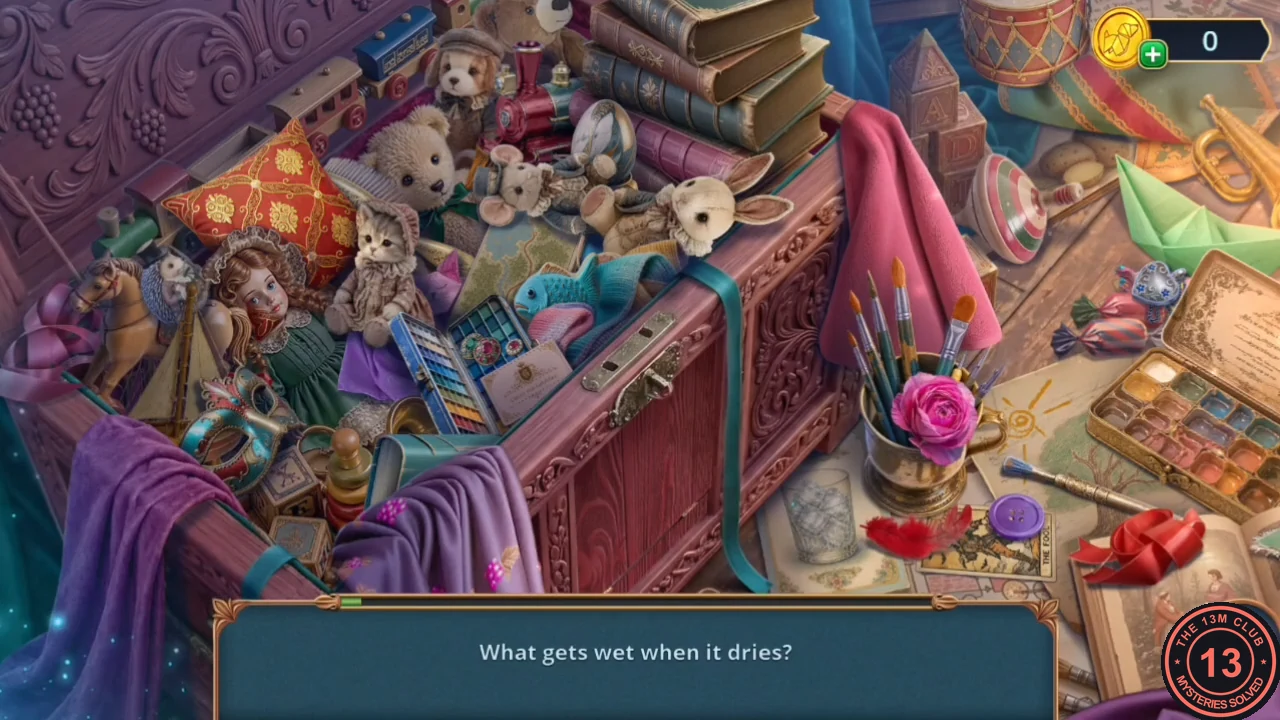
A riddle search inside the monster chest. Riddles appear one at a time at the bottom, and you tap the object that answers each. The reward is a pianist doll.
- Prop the monster chest open with the grip and answer the riddles in order: "What always goes, but never leaves the house?" (watch); "What gets wet when it dries?" (towel); "What has eyes but cannot see?" (potato); "What has needles but doesn't sew?" (hedgehog); "What can be seen with closed eyes?" (pillow); "What do you own, but others use more often?" (the white name card with a crest, beside the watercolour paint box inside the chest); "What goes up and down the hill, but stays in the same place?" (the folded map inside the chest, between the kitten toy and the blue fish toy); "What doesn't burn in fire or sink in water?" (the glass of ice on the table to the right of the chest, beside the brush cup); "What can you break without even touching it?" (heart); "What can be broken only once and never be fixed again?" (egg); "What can show the future and reveal the hidden stories of fate?" (the tarot card "The Fool" under the purple button on the table); "What can stand rooted in the ground, grow leaves and fruit...?" (the green tree drawn on the child's sun picture beside the paint tin). Take the pianist doll.
Library Piano Melody
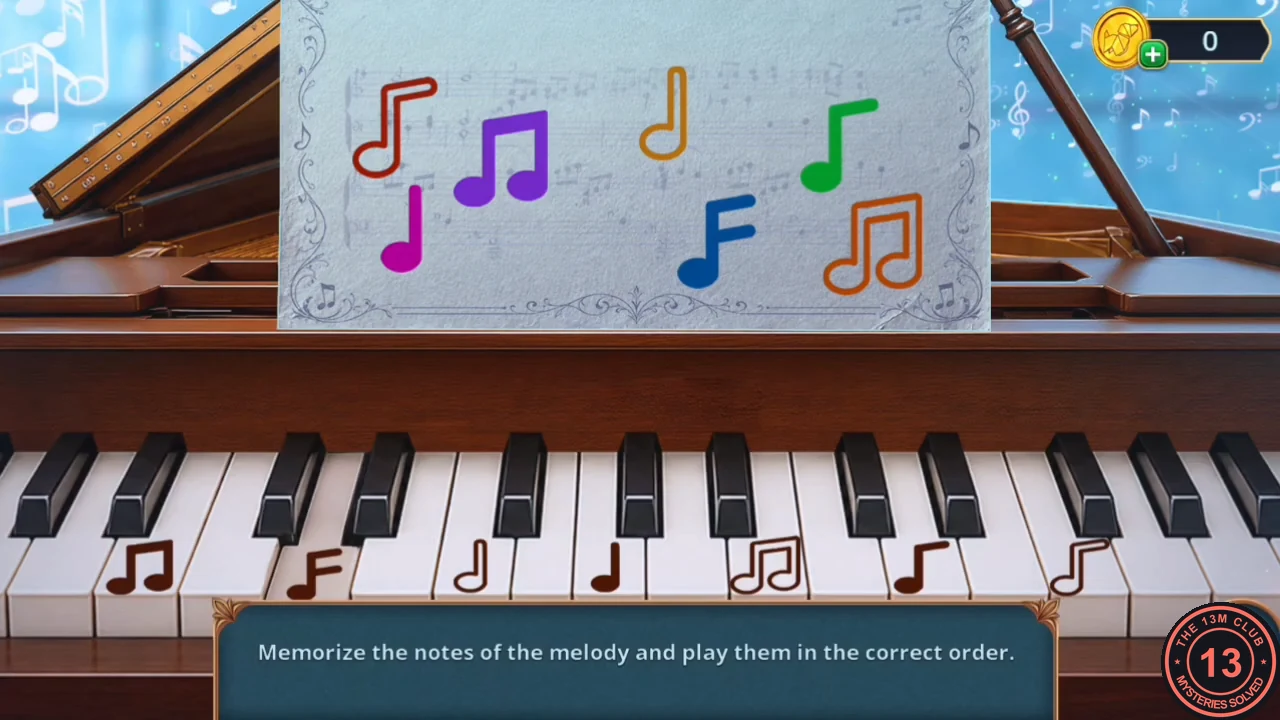
The game's instruction: "Memorize the notes of the melody and play them in the correct order." The notes appear one at a time, each in its own colour and shape. The piano keys are marked with the same note shapes. Numbering the keys from left to right, the order below was accepted.
- Put the pianist doll in the dollhouse and take the melody sheet. Place it on the piano in the Old Library.
- Play keys 2, 7, 3, 6, 4, 5, 1. If your melody looks different, match each note's shape to the key that shows the same shape and play them in the order they appeared. Take the curler and the lightbulb.CODE2736451
Projector Photo
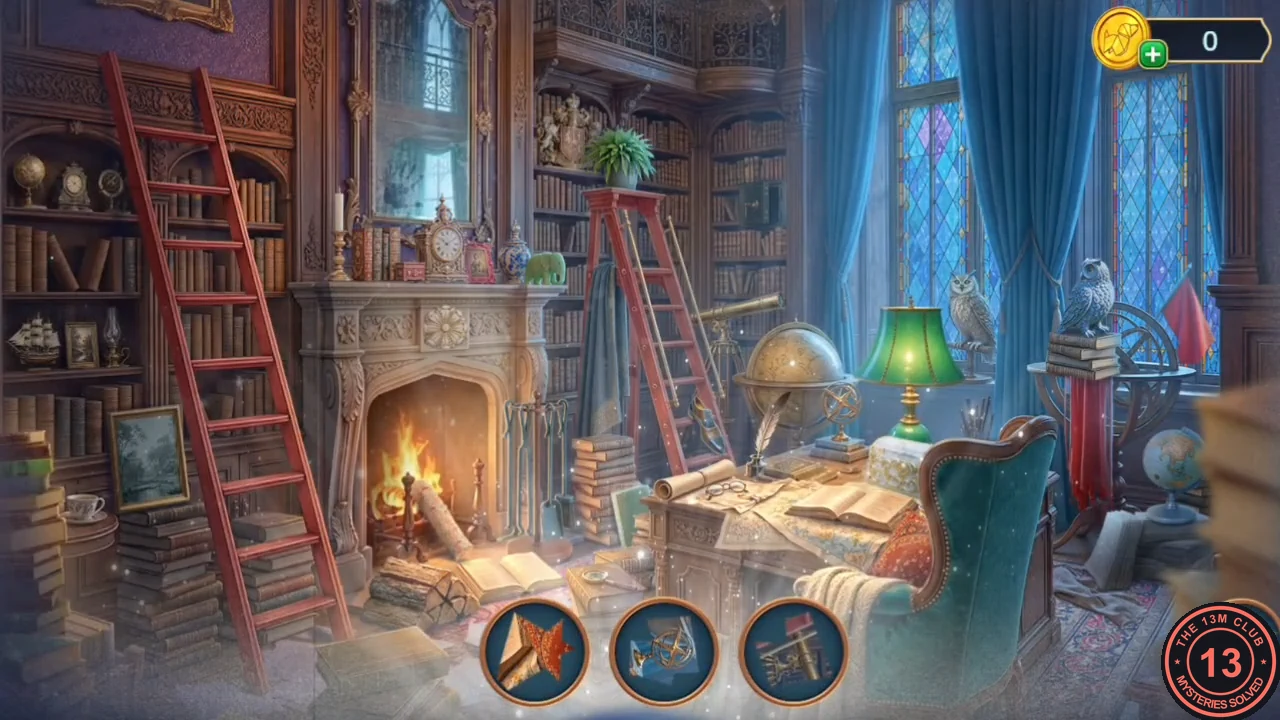
A projector scene in the Old Library. Find the objects that appear in the projected photo; the reward is an extension cord.
- Put the lightbulb in the projector. Find the objects shown in the photo and take the extension cord.
- At the ironing board at the Servants' Entrance, plug in the extension cord and take the newspaper sheet.
Origami Mouse
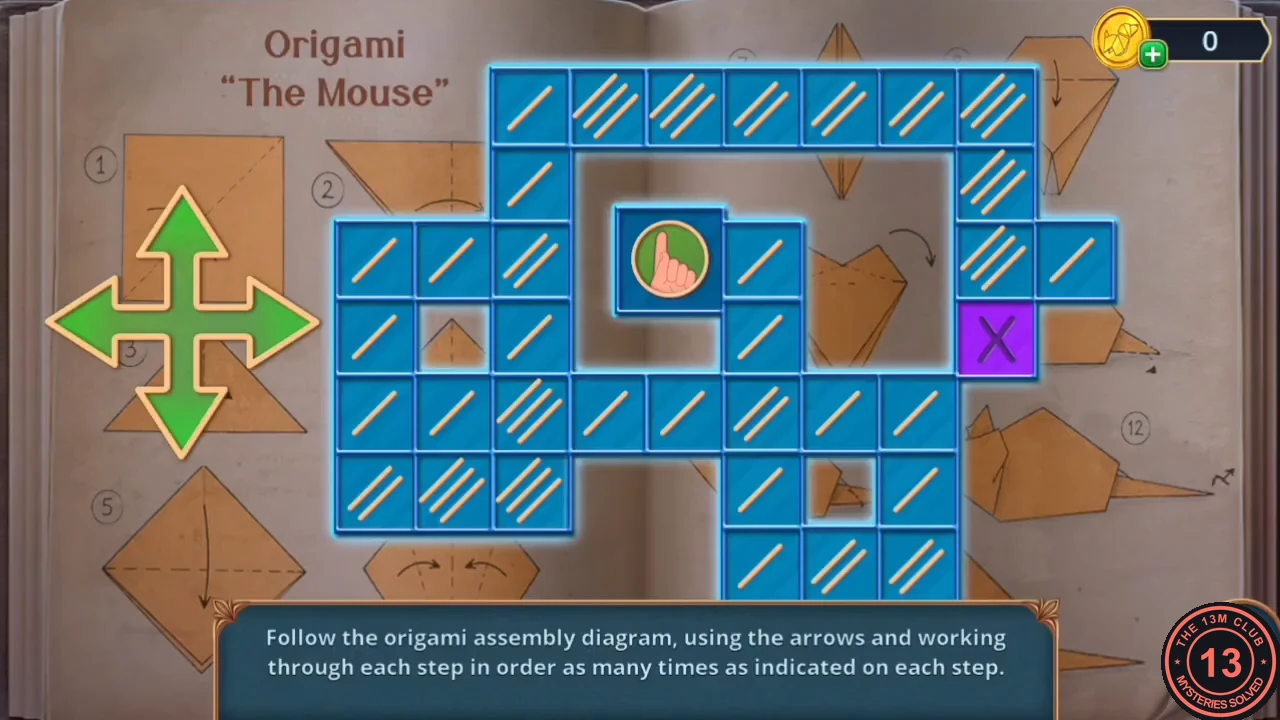
The game's instruction: "Follow the origami assembly diagram, using the arrows and working through each step in order as many times as indicated on each step." The slashes on a cell show how many times you must enter it. You can only move to neighbouring cells, and the route ends on the purple X. This is a long puzzle; a tested route for the grid in the overview follows.
- Put the newspaper on the origami book. From the start cell, use the arrow pad: Right 1, Down 2, Right 2, Down 2, Left 1, Right 1, Left 2, Up 2, Left 3, Down 1, Left 1, Up 1, Right 1, Down 1, Up 1, Down 1, Left 2, Right 1, Left 1, Up 3, Right 2, Down 1, Up 3, Right 2, Left 1, Right 1, Left 1, Right 3, Left 1, Right 3, Left 1, Right 1, Down 2, Up 2, Down 2, Right 1, Left 1, Down 1. If your grid differs, plan your own route: cells with several slashes are where you move back and forth, and the route must finish on the purple X.
- Give the paper mouse to the cat at the Servants' Entrance window. Take the rose, the rope and the suction cup keychain.
Glass Case Groups
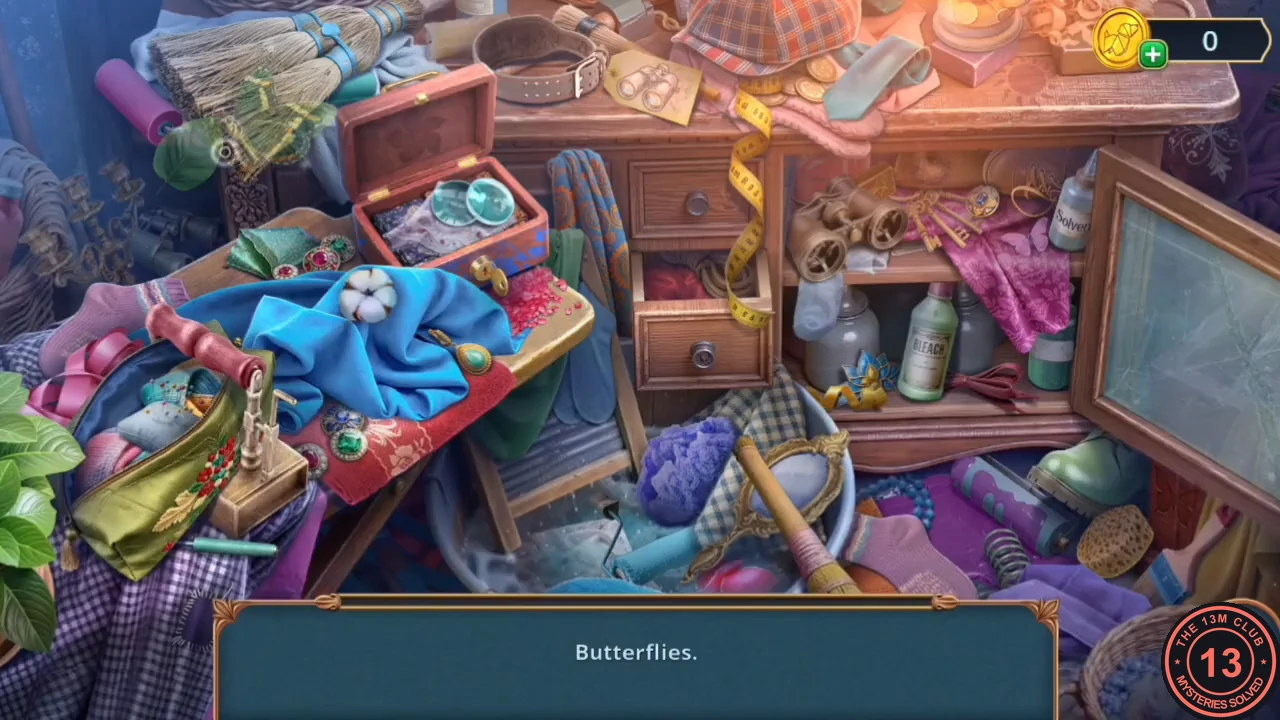
A group search inside the glass case behind the iron. Each entry in the list asks for a whole group of objects. The reward is a jewellery engraver.
- Open the glass case behind the iron with the suction cup keychain. Find each listed group (for example butterflies, rollers, pairs of socks and binoculars) and take the jewellery engraver.
- At the workbench vise in the Count's Study, engrave a ring from the stone with the engraver. Put the ring, the rose, Lydia's hairpin and the wedding veil on the fortune-teller globe.
Fortune-Teller Globe Tiles
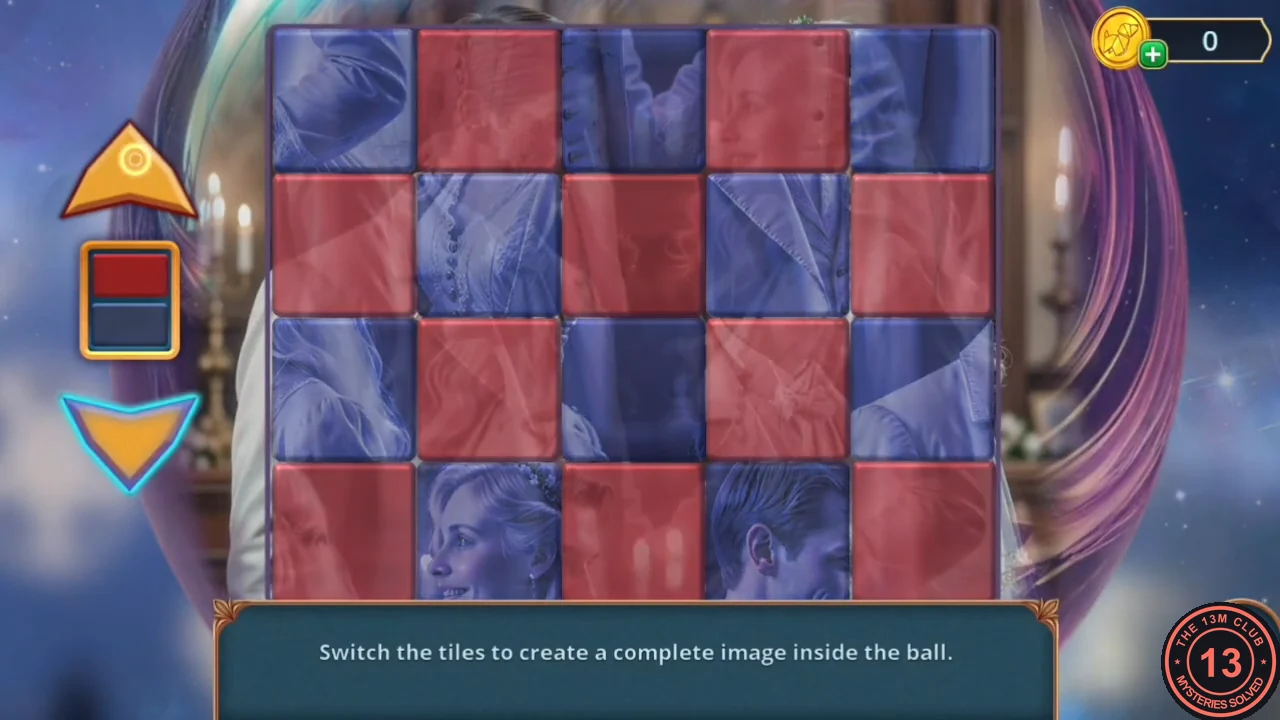
The game's instruction: "Switch the tiles to create a complete image inside the ball." The ball is a 5 x 4 grid holding tiles of two pictures of the same couple, one tinted blue and one tinted red. This is a lengthy tile-swapping puzzle, so the guide gives the method rather than a swap list.
- The up and down arrows on the left switch between the blue and the red layer; the small window between them shows the current one. In the blue layer, the blue tiles show their picture and every red cell is a plain red blank, and the red layer works the other way round. Tap a picture tile, then tap another tile of the same layer or a blank cell: the two swap places, so a picture tile can be moved into any cell. Build the blue picture first (the man on the left and the woman with the tiara on the right): put the faces in the top row, then the jacket, dress and edge pieces, and leave blanks where no blue piece fits. Then switch to the red layer and place the red pieces in the cells left blank. The puzzle completes when both layers are right, and the ball shows the two tinted pictures combined.
- The Chapter 3 Decision Points panel appears (see Decision Points), and the chapter ends.