Terrace
Chapter 2 starts on the terrace after Jarrett has taken Samantha. The way into the garden labyrinth is too dark, so you need a light first.
- Talk to Jamie (ask "Did you see where he took her?") and take the garden drawing.
- At the old robot by the steps, take the green gemstone. Collect the scroll on the steps behind the robot and take the jar lid.
- At the overgrown swing, put the empty jam jar from the reception room among the glowing butterflies and close it with the lid. Take the jar of butterflies.
- The arch to the labyrinth is too dark. Set the jar of butterflies there as a light, read Lydia's diary page and take the wheel part.
- Tap the birdhouse in the tree on the left; the scarf goes straight into your inventory. Zoom into the birdhouse, cover the sharp nest with the scarf and take the labyrinth map out of the amber.
- Put the labyrinth map at the lit arch to enter the labyrinth.
Foggy Labyrinth
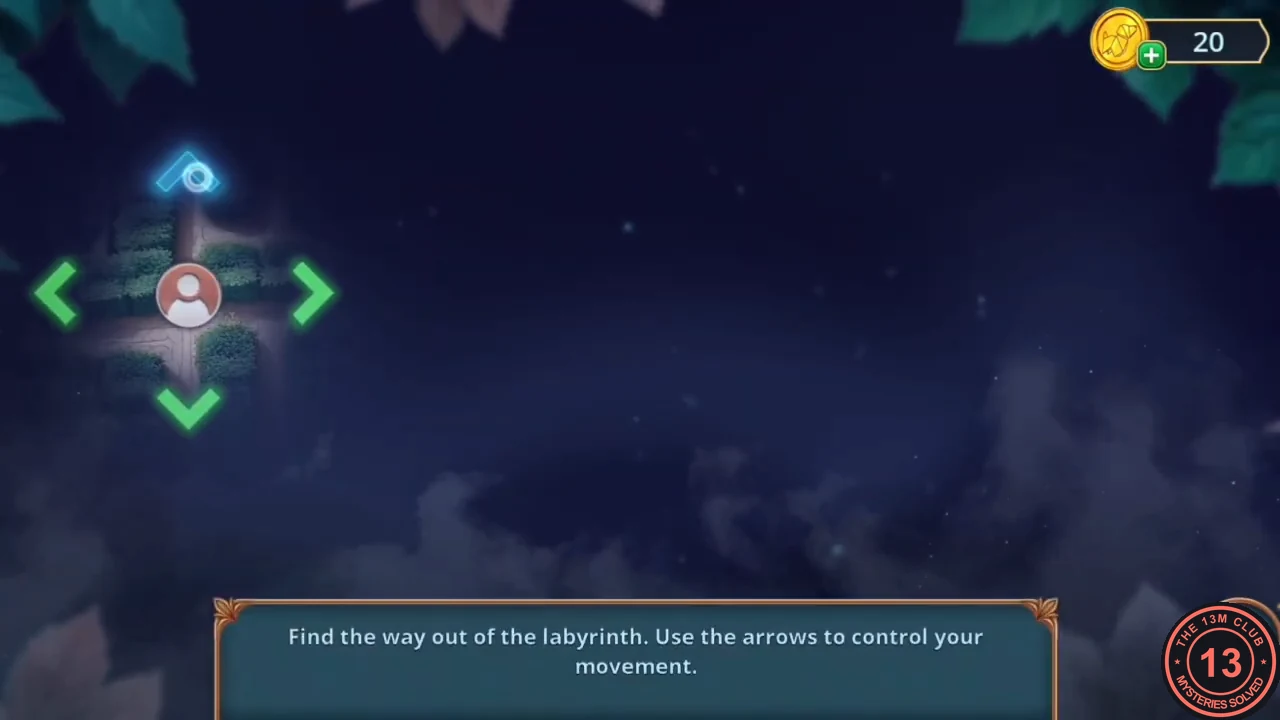
Fog hides the labyrinth. Only your token and the arrows for its possible directions are visible. Each tap slides the token to the next junction.
- Tap: up, up, right, right, right, down, right, down, down, right, down, right, up, right. The token leaves the fog and you reach the Maze Garden.
Maze Garden
A garden with a skeleton, a clock and a locked chest. A hungry raccoon guards the hand cream you need for the house door.
- On arrival in the Maze Garden, drag Jamie's garden drawing from the inventory onto the scene. The picture lines up with the garden and Mark says "The picture matches. So the cache really is here."
- Collect the two scrolls in the close-up of the statue's feet. Zoom into the skeleton by the clock, read its note and take the spear tip lying on the chest lid. Meet the raccoon; a new task starts.
- At the statue's feet, Mark says you need "something sharp" and "something strong". Put the eagle figurine and the spear tip on the rock to break it. Take the shell-shaped saucer and the second gemstone.
Gemstone Spikes Chest
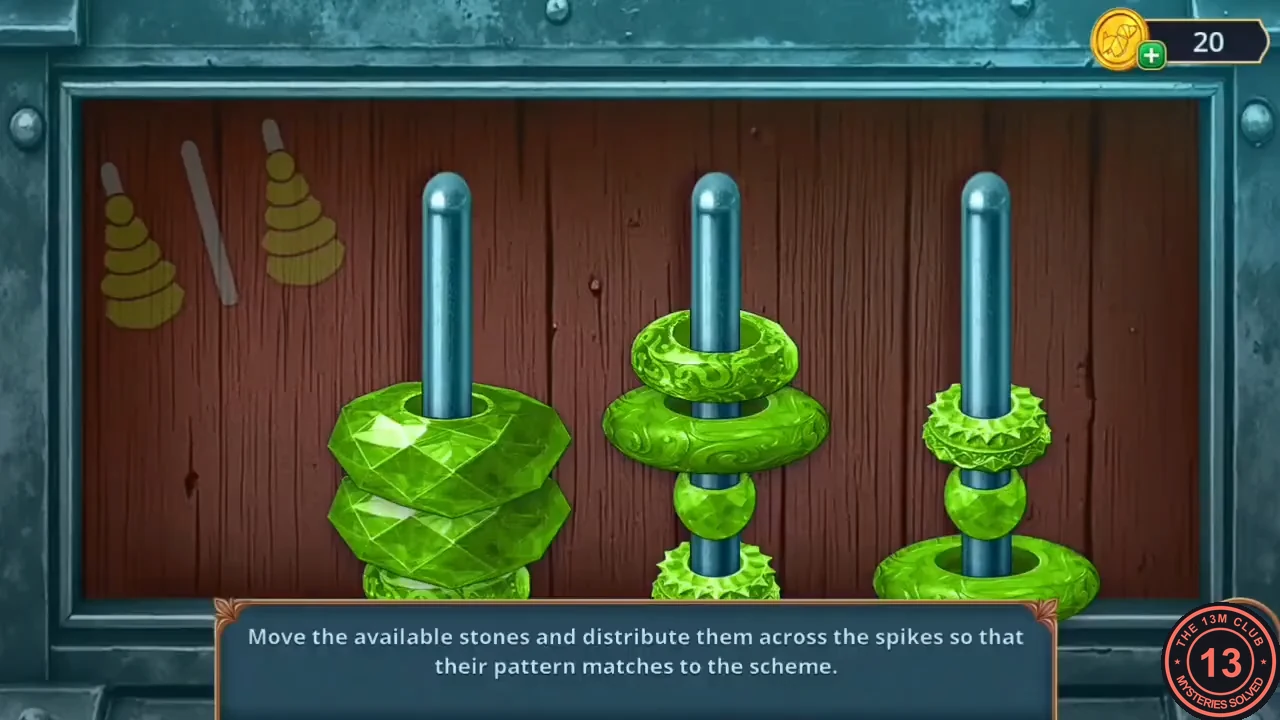
The game's instruction: "Move the available stones and distribute them across the spikes so that their pattern matches the scheme." Tap a spike to lift its top stone, then tap another spike to drop the stone there. The yellow outlines in the top-left corner are the scheme: they show the shape each spike's finished stack must have, from left to right. This is a lengthy rearrangement, so work towards the shapes rather than following a move list.
- Open the chest beside the skeleton with the gemstones to start the puzzle.
- Look at each yellow outline and decide which stones it needs, from the widest at the bottom to the narrowest at the top. Use the spike with the smallest outline as your parking spot while you rebuild the other two stacks. Keep moving stones until every stack has its outline's shape.
- Take the strawberry and the ribbon from the chest. Give the strawberry to the raccoon and take the hand cream.
- Use the hand cream on the lock of the garden house door.
Maze Garden House
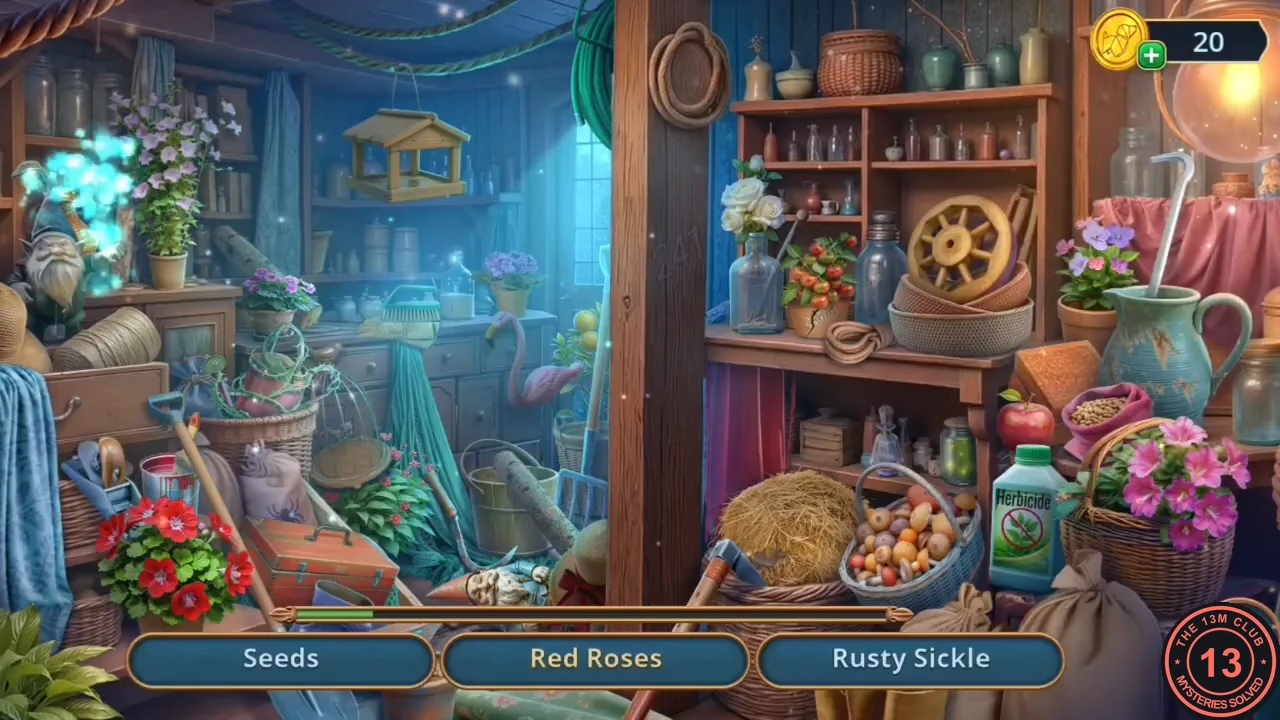
A list hidden-object scene inside the garden house. The reward is the clock hands.
- Find the listed garden items: dried herbs, the "Roses" sign, a rusty sickle, seeds, red roses, a jar with beetles, a watering can, twine, a wooden toolbox, gloves, a cracked clay pot and a lantern. Take the clock hands.
- Place the clock hands on the clock beside the skeleton. The clock carries you into the past: the Old Maze Garden.
Old Maze Garden
The same garden many years earlier. The statue by the pond needs two stone butterflies.
- Collect the scroll in the flower bed to the right of the clock monument. At the broken cart, take the rope and the stone butterfly (1/2).
- Cut the bags at the house with the nail clippers. Take the board and the second stone butterfly (2/2).
Statue Pattern
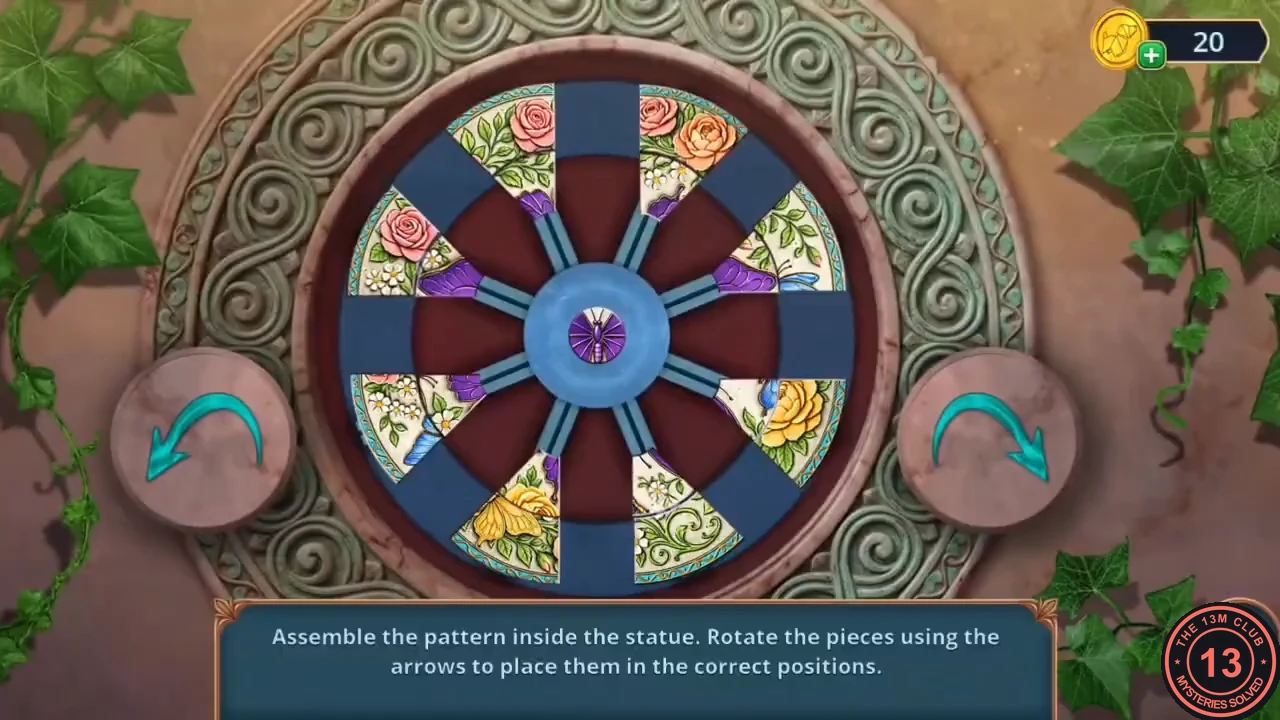
The game's instruction: "Assemble the pattern inside the statue. Rotate the pieces using the arrows to place them in the correct positions." The pieces sit on eight spokes around a round frame. The two arrow buttons turn the whole wheel, and tapping a piece slides it inwards along its spoke. The finished picture is a purple butterfly in the middle, surrounded by a ring of roses and leaves. This is a lengthy puzzle, so the guide gives the method rather than every tap.
- Place both stone butterflies in the statue by the pond to start the puzzle.
- Build from the centre outwards. First turn the wheel until a butterfly piece faces the open centre and tap it in, then add the remaining butterfly pieces so the wings join up. Next fill the ring of roses around it, choosing pieces whose leaves and flowers continue the pattern of their neighbours. The puzzle completes when every edge lines up.
- Take the ink and the magnet. Use the magnet on the cracked rock under the tree to pull out the knocker.
Eagle Knocker
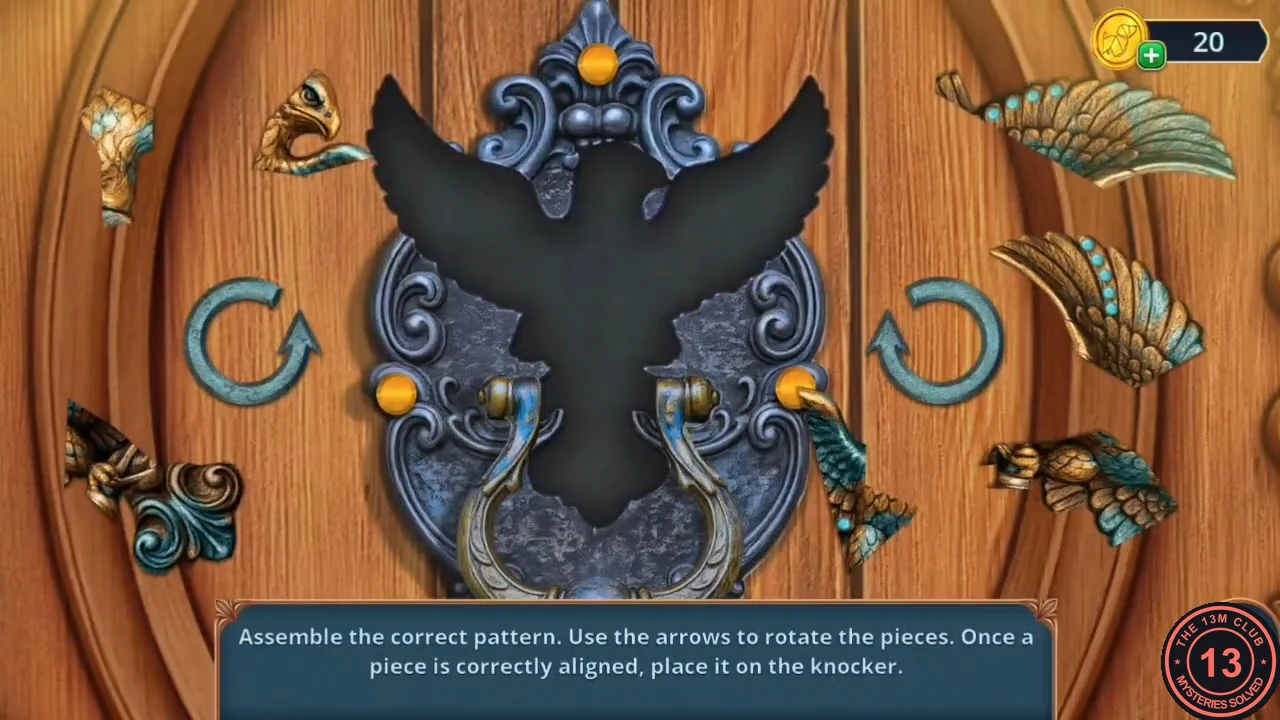
The game's instruction: "Assemble the correct pattern. Use the arrows to rotate the pieces. Once a piece is correctly aligned, place it on the knocker." The pieces of the eagle lie around the door, and the eagle's dark silhouette shows where each one belongs.
- Put the knocker on the door of the house.
- Tap a piece to select it and turn it with the two round arrows until it has the same angle as its gap in the silhouette, then place it in the gap. Start with the large wing pieces, then fill in the smaller ones. The door opens when the eagle is complete.
- Inside the Old Healer's Hideout, talk to Margaret through the crystal ball.
- Zoom into the fireplace. Read the Potion of Silent Root page and Margaret's note about Lydia, then take the metal grip part from the hearth.