Mansion Basement
Chapter 4 starts in the mansion basement after the vision in the fortune-teller globe. A magic mirror here asks for "an item where nature itself has left its mark", which you bring back later.
- Read the magic mirror's note. Take the tile shards by the chest on the left and collect the scroll lying on the chest.
- Take the pig figurine from the niche with the teeth and use it to open the wine bottle. Take the key.
Locked Room Pairs
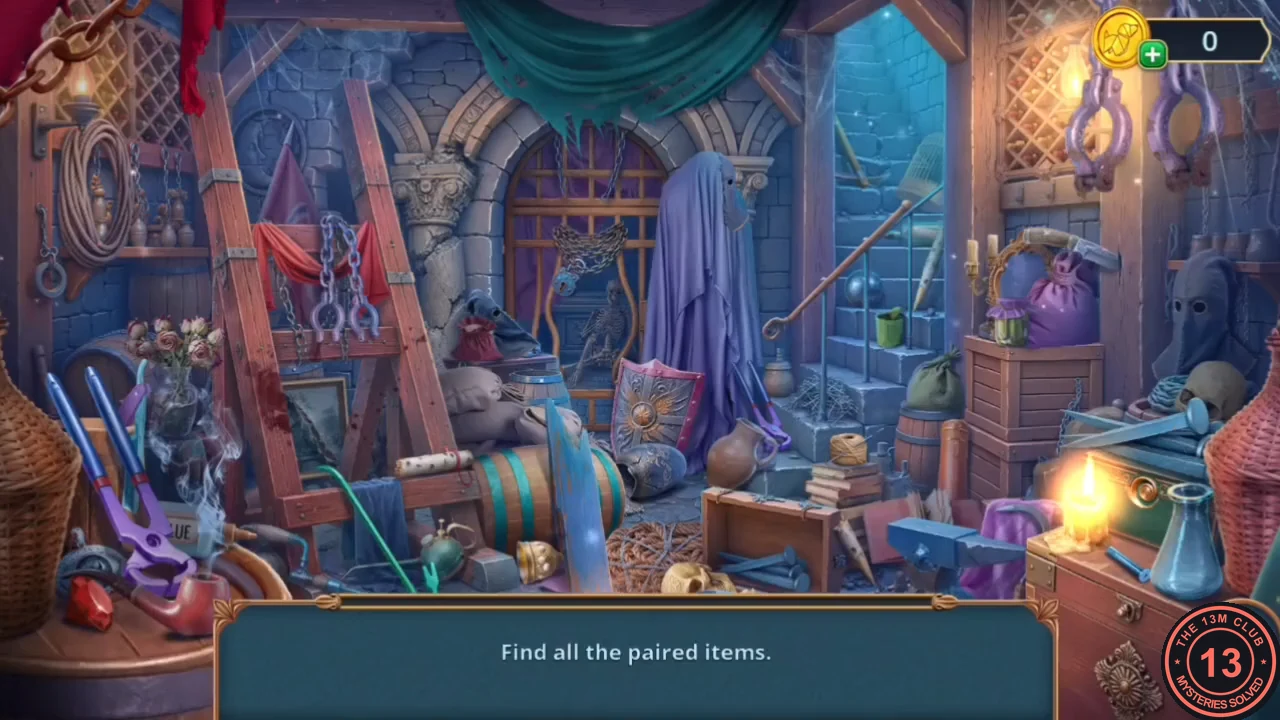
A pairs scene behind the padlocked basement door. The reward is a file.
- Unlock the door padlock with the key. "Find all the paired items": tap two matching objects to remove them, until the scene is cleared. Take the file.
- Cut the chain on the cell bars with the file and take the chain. Open the cell and take the bone from the statue's hand.
- Samantha finds the key to the wine cellar and fresh footprints. "Follow the tracks into the cellar." is the Deluxe answer that opens the Wine Cellar bonus location (see Deluxe Bonus Locations). The other answer continues the free route.
- At the gate with the monster's mouth, attach the chain in the slot beside it and put the bone in the mouth. The gate opens; go through to the Mansion Sanctuary.
Sanctuary Painting Shadows
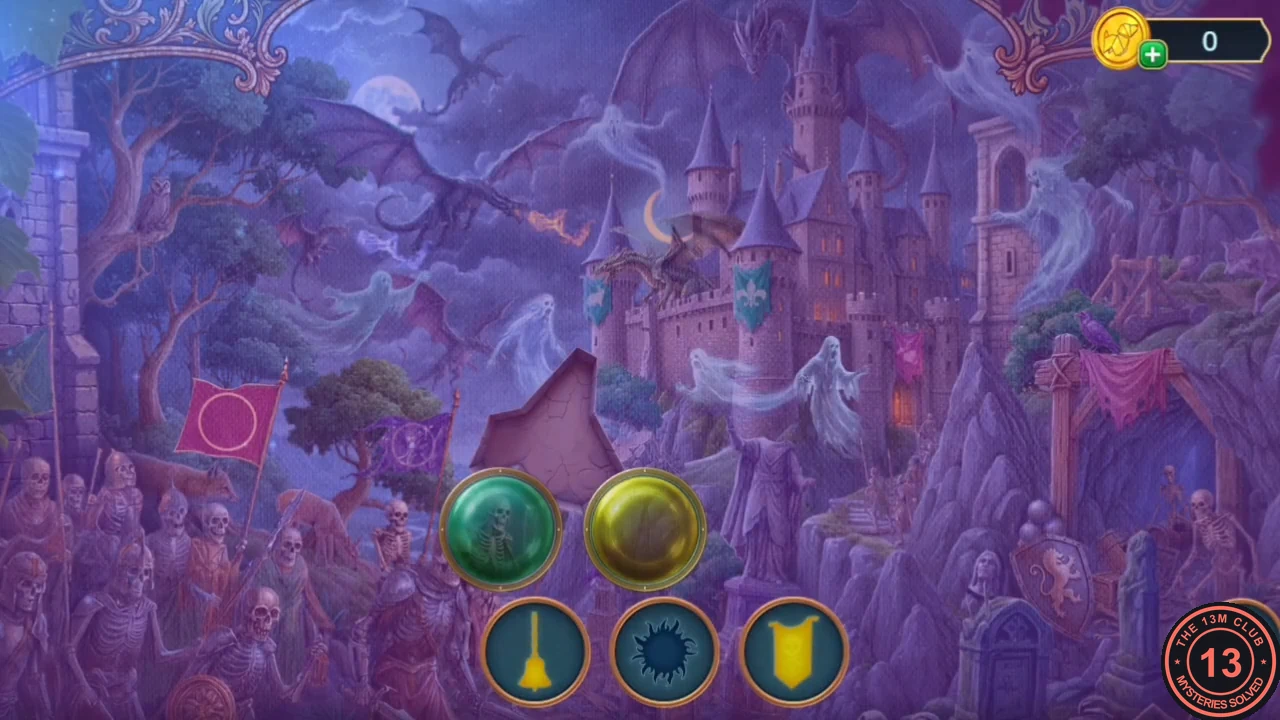
A shadow search in the Sanctuary's painting. The bottom bar shows the shadows of the objects to find, and the painting's colours keep shifting. The reward is a magic agate.
- Read Margaret's note on the altar and take the shackles and the micellar water. At the cracked tile wall, pull the cotton out of the crack with the curler; the crack itself is too small to get through for now.
- Clean the painting with the micellar water and the cotton. Find every object whose shadow appears in the bottom bar and take the magic agate.
- Give the agate to the magic mirror in the basement. After Margaret speaks through the mirror, take the handle. In the Sanctuary, open the close-up at the foot of the column beside the left window (stone slab and torn flour sack): a pickaxe head without a handle is stuck in the column's crack. Fit the handle into it and take the pickaxe.
Cracked Tile Pairs
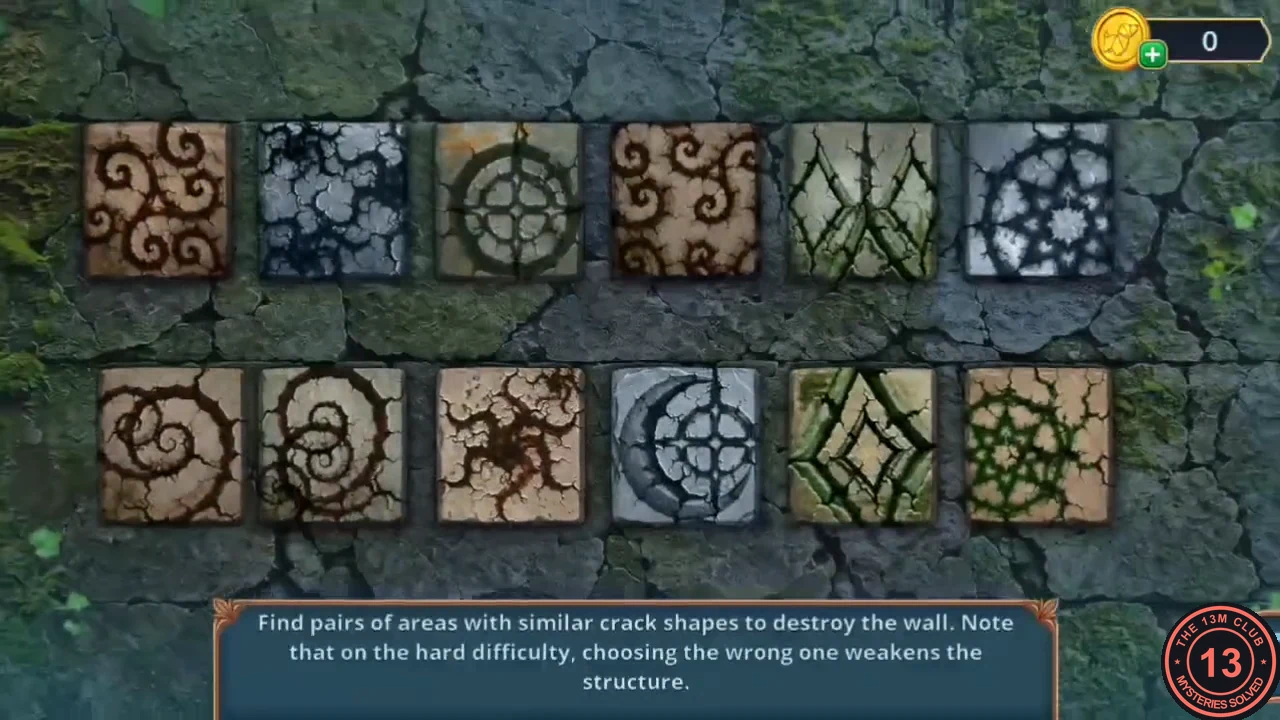
The game's instruction: "Find pairs of areas with similar crack shapes to destroy the wall. Note that on the hard difficulty, choosing the wrong one weakens the structure." The wall has twelve tiles, each with a crack pattern.
- Use the pickaxe on the tile wall in the Sanctuary. Tap two tiles whose cracks have the same shape to break them, and repeat until all six pairs are gone. Compare the overall shape of each crack rather than its exact position on the tile. The wall falls and the way to the Secret Passages opens.
Cat's Combination Search
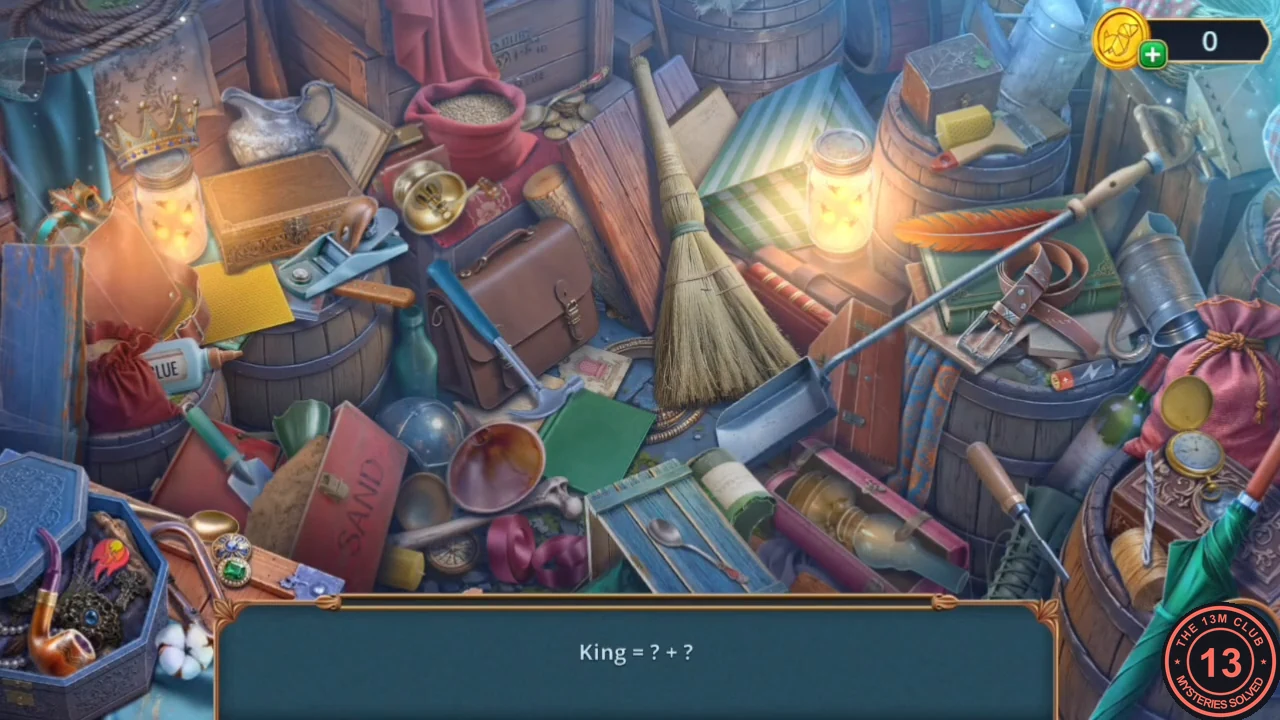
A combination search near the black cat in the Secret Passages. Each prompt names a result, and you find the two objects that make it. The reward is dry plaster.
- At the painting wall, pull the razor down from the top of the pillar with the rope. In the painting close-up, place the micellar water and then the tile shards from the Mansion Basement at the bottom of the wall. Cut the weeds with the razor and read the note: "The silver butterfly knows where to fly. Look at the fork: wherever it leads, there is salvation. The blue ones cheated last time, but this one is made of moonlight. Trust her, but don't fall behind." Keep it in mind for a later puzzle. Take the gear and then the brass flint and steel lying under it.
- Open the close-up of the unlit wall torch on the right-hand wall (next to the pinned paper and the small wall niche). Use the flint and steel on the torch basket; it strikes sparks, the torch lights and the flint and steel returns to your inventory. Keep the gear: it is not used here and is needed later in the Abandoned Room. With the torch lit, take the toy moth from the wall niche and give it to the cat sitting on the paper roll in the corridor.
- Find the pairs for each prompt: King = throne + crown; Dice = dice cup + carved bone; Carnival Costume = feather + mask; Hourglass = clock + sand; Flashlight = oil lamp + battery; Campfire = log + fire. Take the dry plaster.
Numbered Mural
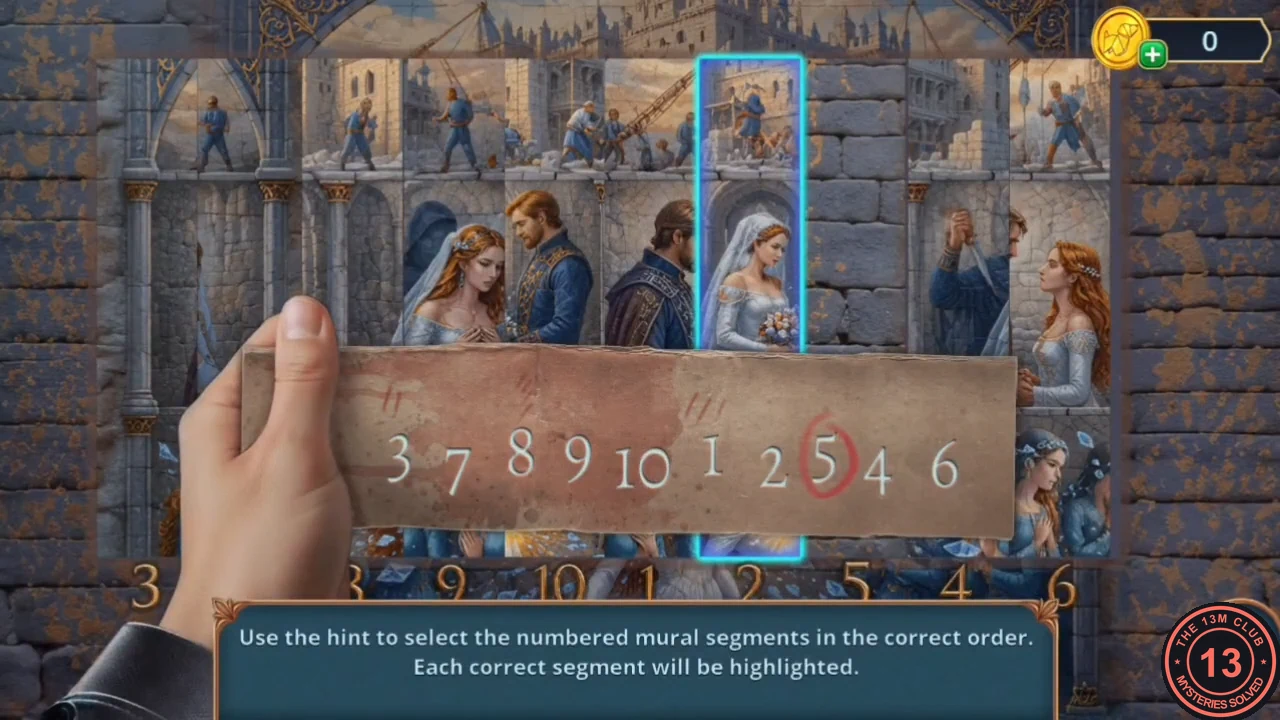
The game's instruction: "Use the hint to select the numbered mural segments in the correct order. Each correct segment will be highlighted."
- Put the dry plaster beside the micellar water and the tile shards at the painting; together they restore the mural.
- Tap the segments in this order: 5, 3, 1, 6, 8, 2, 10, 4, 9, 7. The door upstairs opens to Lydia's Old Room.CODE5-3-1-6-8-2-10-4-9-7
Lydia's Bedroom
Lydia's old bedroom holds her diary, a mannequin and a closet that stays shut until much later.
- Pull the lever in the wall door with the shackles and take the stand fixture. Fix the broken stand of the mannequin with it. Take the rose and the torn photograph. In the mannequin close-up, also tap the bundle of rolled scrolls tied with a red ribbon at the upper right, behind the mannequin (counter 75/140).
- Take the belt from the closet. In the Secret Passages, open the close-up of the black cat (it no longer lies on the paper roll since it got the toy moth) and take the paper roll beside it: the Mansion Blueprints. Give the rose to the statue in the basement cell and take the decoder. Take the diary from the fireplace in Lydia's room.
Diary Decoder Bars
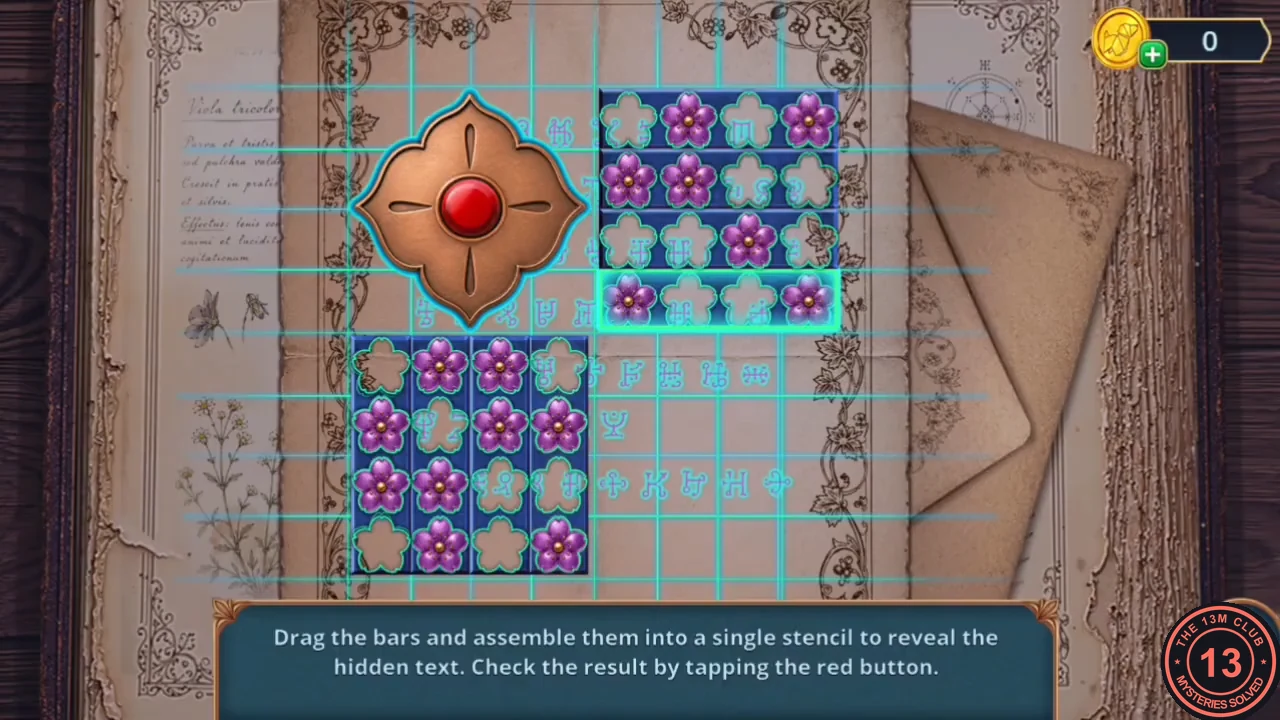
The game's instruction: "Drag the bars and assemble them into a single stencil to reveal the hidden text. Check the result by tapping the red button." The bars carry a flower pattern.
- Put the decoder on the diary. Drag the bars together until they form one solid rectangle with no gaps or overhangs, then tap the red button. Take photo piece (1/3) and the tiara.
Basement Differences
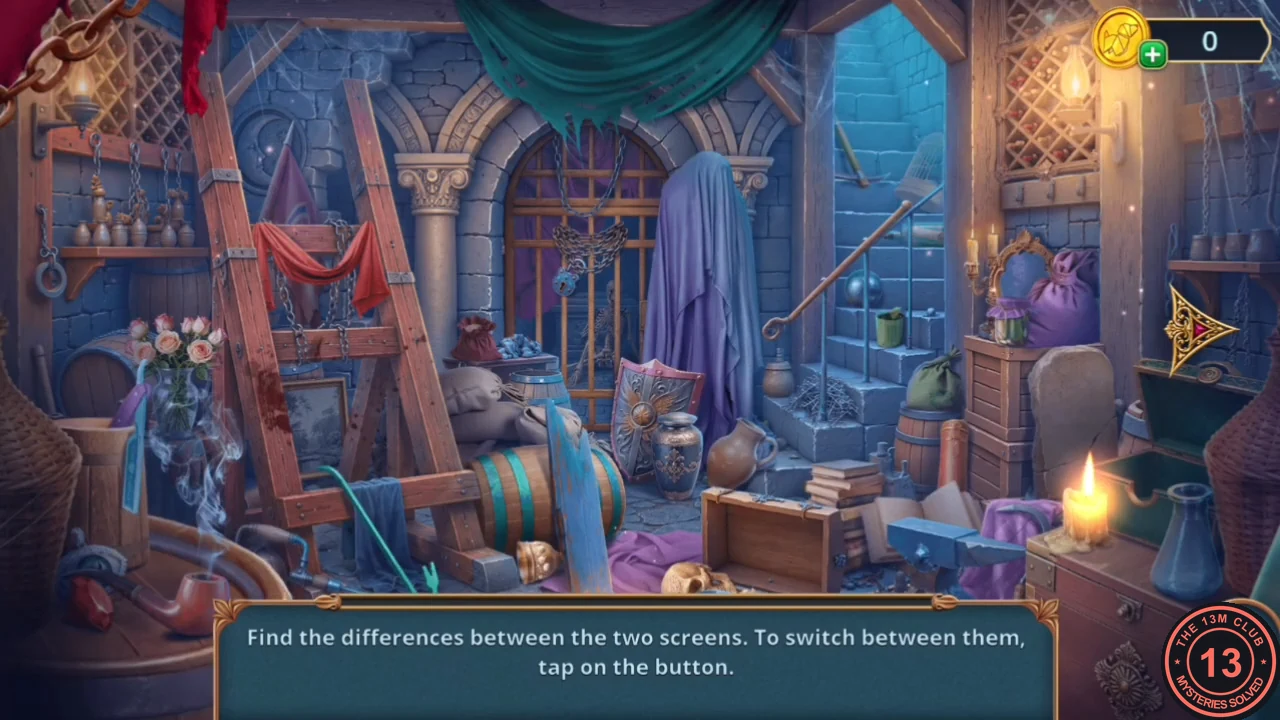
A spot-the-difference scene in the basement storeroom. The reward is a time capsule.
- On the basement shelves behind the chest, open the wooden piece with the tiara and take the lamp. Hang the lamp on the door hook and find the differences between the two screens (tap the button to switch). Take the time capsule.
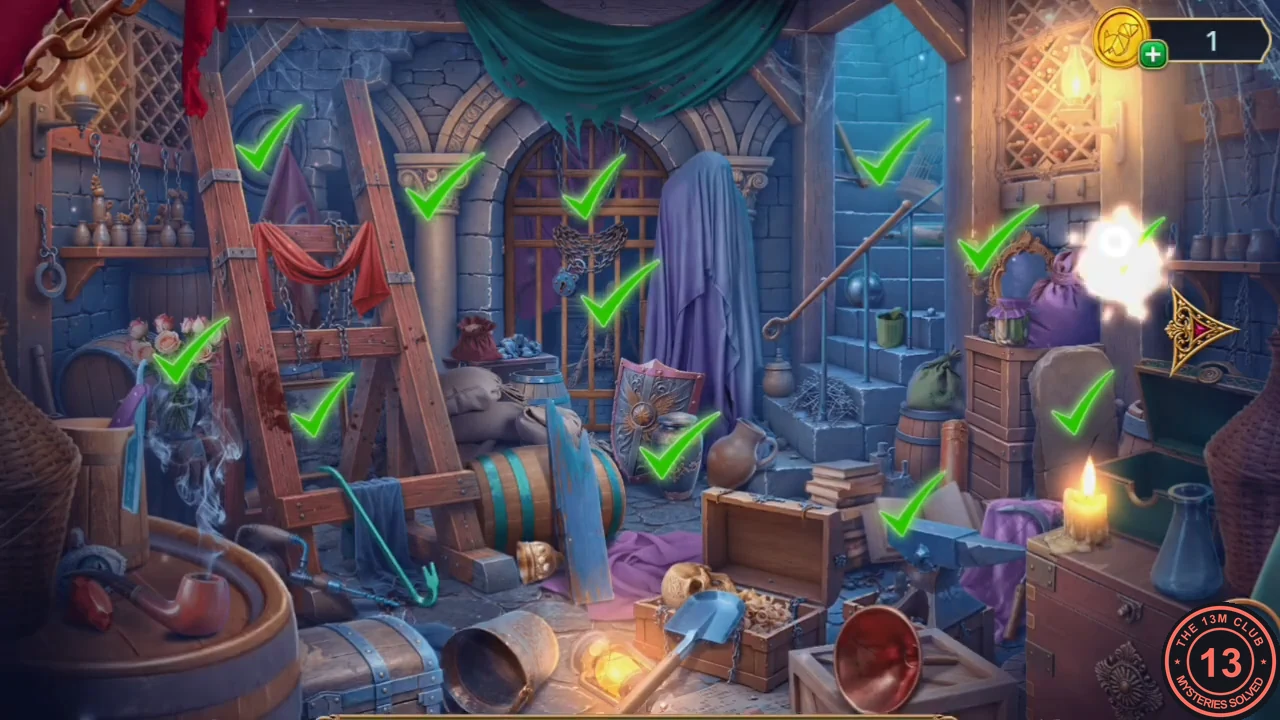
All differences found; the last one sparkles near the purple sack. - In the Secret Passages, place the time capsule over the cocoon in the niche under the torch. The cocoon hatches and you get the guiding butterfly. Release the butterfly at the arched corridor.
Follow the Butterfly
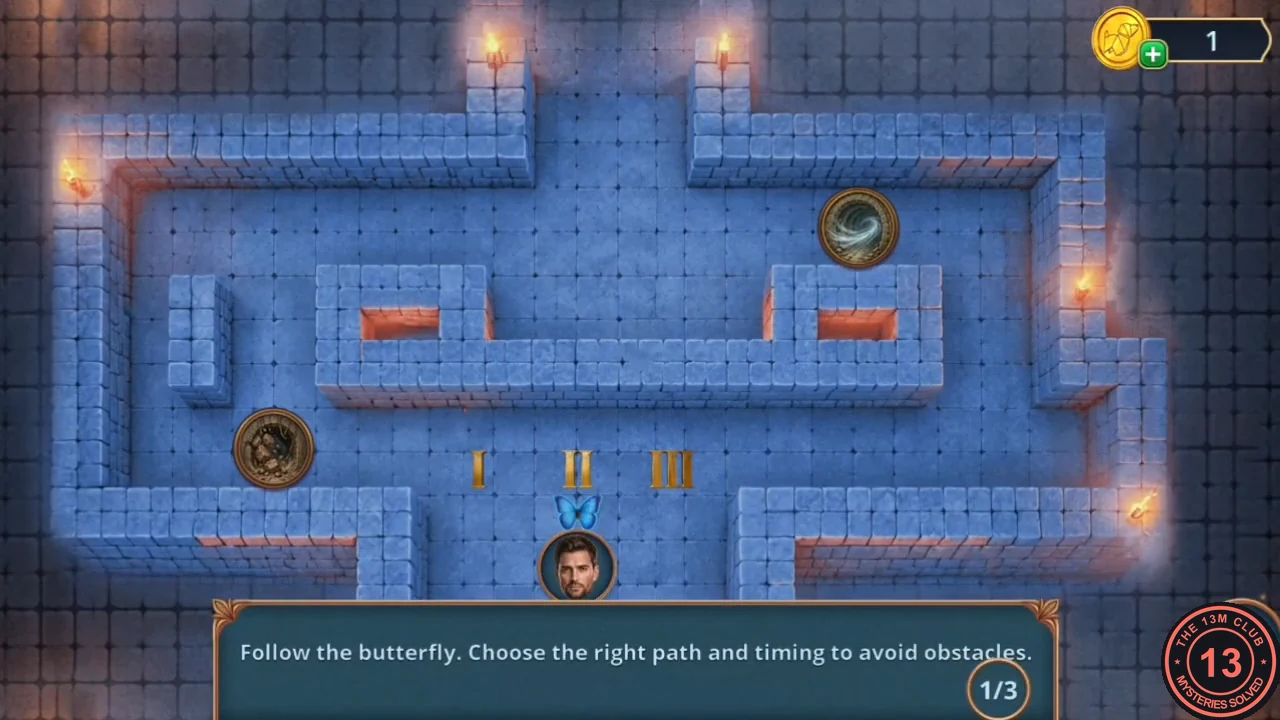
The game's instruction: "Follow the butterfly. Choose the right path and timing to avoid obstacles." There are three rounds in a dark maze seen from above. Mark starts at the bottom, and moving obstacles cross the corridors. The note from the Secret Passages is the hint: follow the silver butterfly and its trail, not the blue ones, choose the branch she takes at each fork, and keep close behind her.
- In each round, move Mark along the trail the silver butterfly leaves. Before entering a corridor crossed by a moving obstacle, wait until it has passed, then go. Clear all three rounds to reach the Abandoned Room.