Professions Room
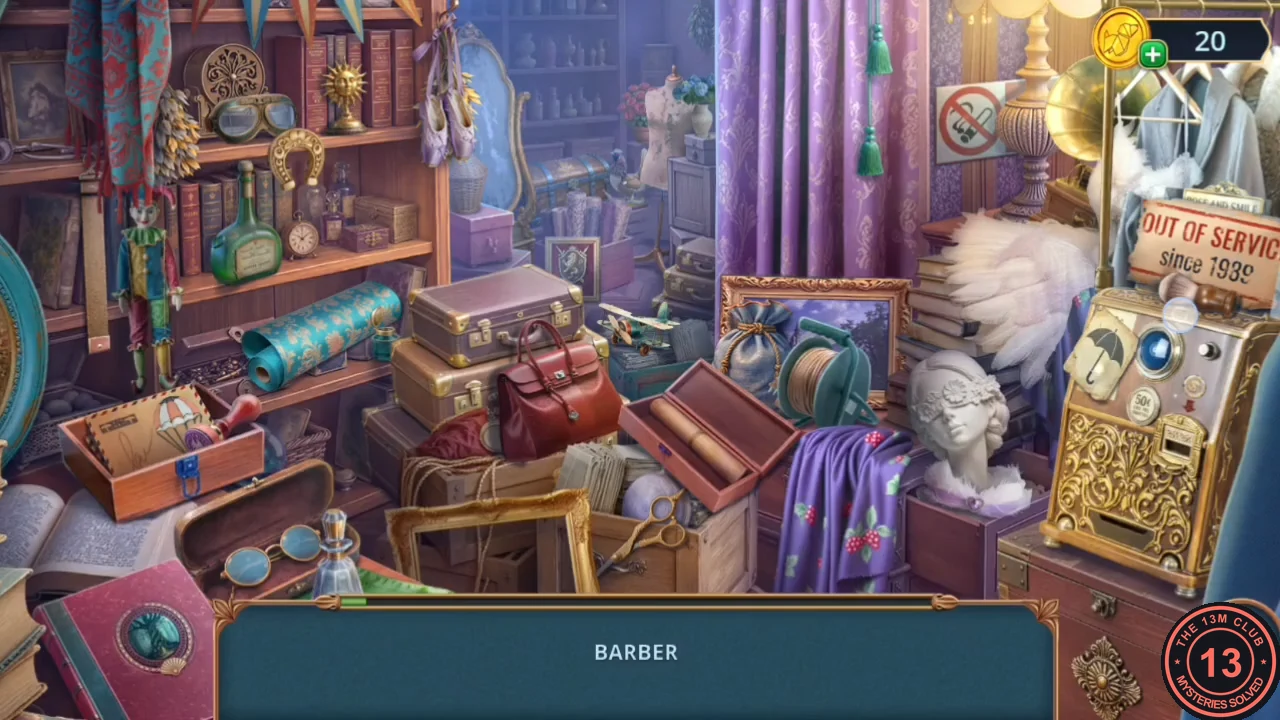
With the knight's crest in place, the boy Jamie leads you to a locked room full of costumes and tools. The bottom bar names one profession at a time.
- Take the shackles the armour releases. Zoom into the hallway beam, hang the shackles on it and take the plucked feather duster. Look at the boy's drawing.
- In the locked room, the bottom bar names one profession at a time (for example barber, pilot, tailor and ballerina). Find the objects that belong to that profession, then move on to the next one until the list is complete.
- Talk to Jamie, take the crumpled paper and read the password written on it.
Arrow Programming Panel
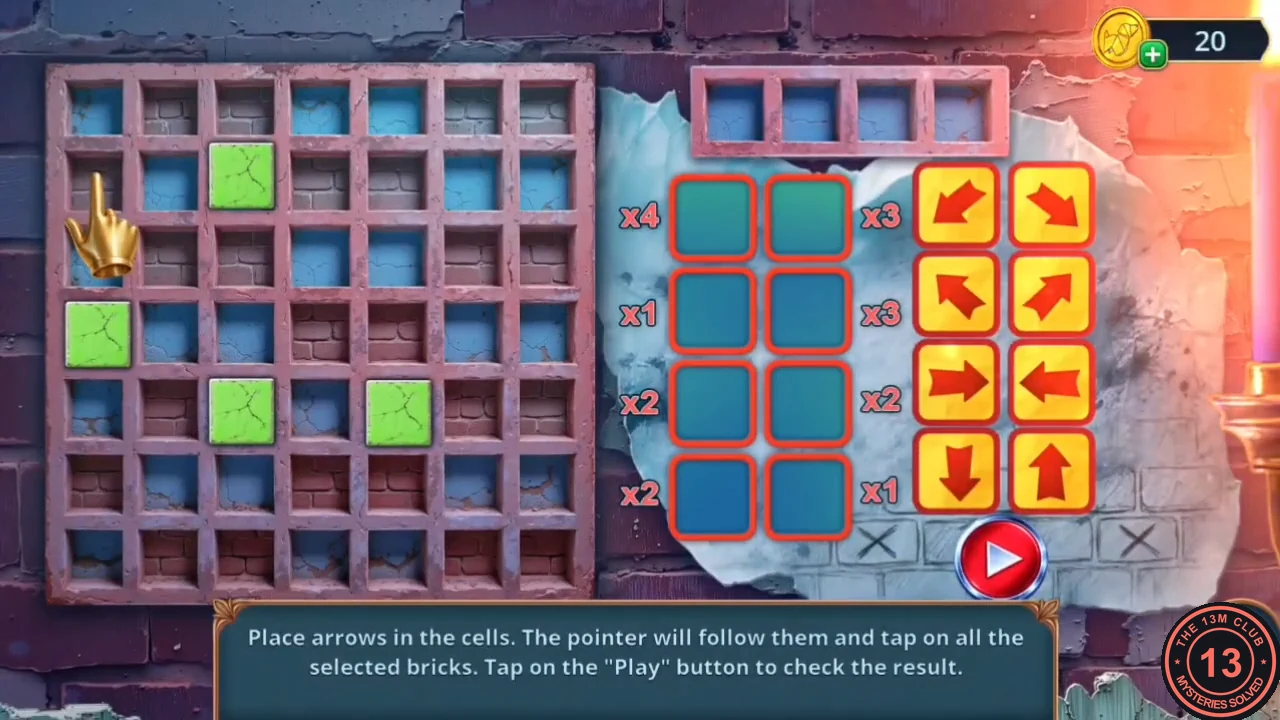
The game's instruction: "Place arrows in the cells. The pointer will follow them and tap on all the selected bricks. Tap on the 'Play' button to check the result." The program has eight slots in two columns, and each slot has a fixed repeat count printed beside it (left column x4, x1, x2, x2; right column x3, x3, x2, x1). The pointer starts at the left edge of the third row, and the four green bricks are its targets.
- Use the password paper on the panel behind the boy to open it.
- Fill the left column, top to bottom, with: right (x4), up-left (x1), up-right (x2), down-left (x2). Fill the right column, top to bottom, with: down (x3), left (x3), down-right (x2), up (x1). Tap Play.
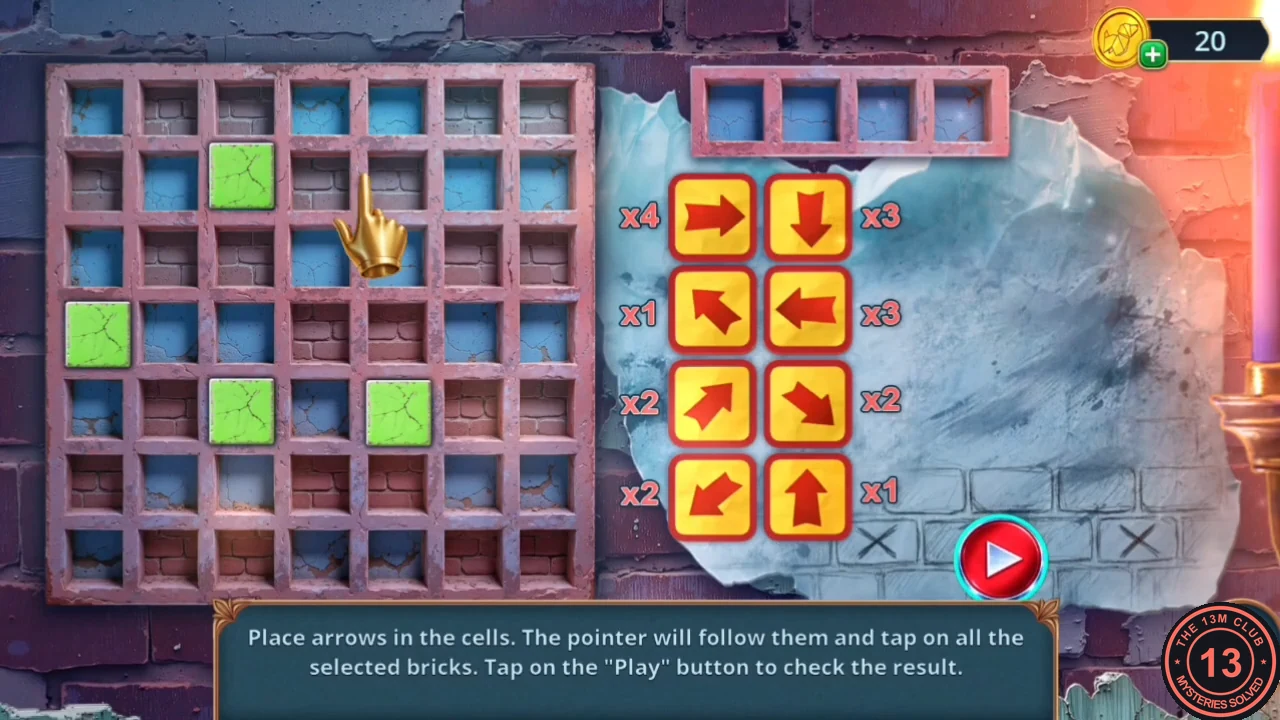
The finished arrow program from the recording, just before tapping Play. - Go down the dark stairwell, now lit, to reach the staircase hall.
Ladder Rotation
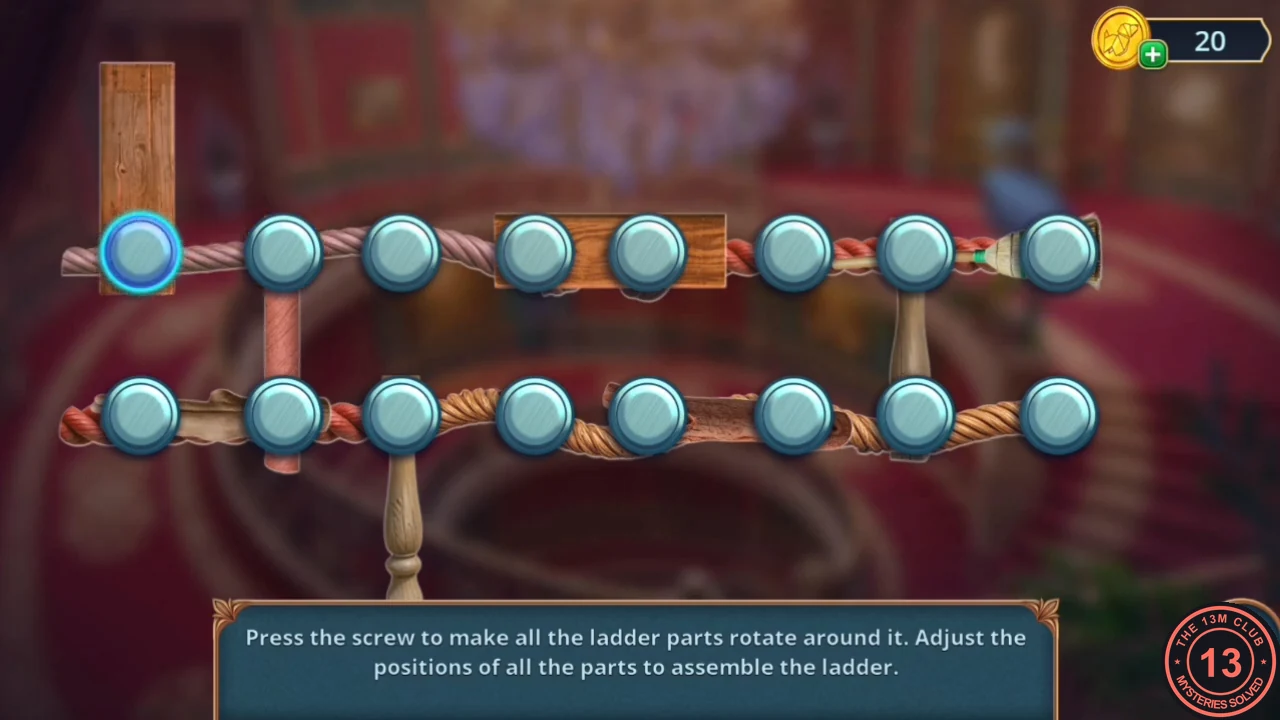
The game's instruction: "Press the screw to make all the ladder parts rotate around it. Adjust the positions of all the parts to assemble the ladder." Two rows of screws form the rails. Every part attached to the screw you press swings a quarter turn, so one press can knock a finished rung out of place. The starting positions may differ, so use the method below instead of a fixed sequence.
- In the staircase hall, zoom into the cabinet under the witch figurines. Mark needs something heavy for the nail; use the iron on it, then take the broom from the opened cabinet.
- Zoom into the green skeleton at the desk and read the builders' note. Take the witch's hat, put the candelabrum in the skeleton's hand (it wants "something to hold") and take the saw.
- Zoom into the broken railing beside the bat's hole and collect the scroll. Saw off the broken railing and take it. In the inventory, open the broken railing and add the broom and the two bracelets to build the ladder parts. The ladder puzzle starts.
- Work from left to right. Press the screws holding a part until it stands upright, joining a top screw to the bottom screw directly below it. A part that hangs below the bottom rail or points sideways is not finished. Before pressing a shared screw, check which other parts it will turn, and re-straighten any rung that swings away.
- Place the ladder over the hole in the stairs and go down to the reception room.
Reception Room
The reception room holds a broken mirror, a witch display and a cobweb-covered table.
- Collect the scroll lying at the foot of the left staircase banister. Zoom into the small table on the left: take the eagle figurine and the empty jam jar beside the glass dome, then spray the liquid nitrogen on the glass dome to freeze it. Mark now needs "something hot" to crack it.
- Zoom into the broken mirror at the top of the stairs and take the first blueprint part (1/2) and the raven panel. In the inventory, open the plucked feather duster and add the raven panel and the glue to repair it.
Cobweb Table
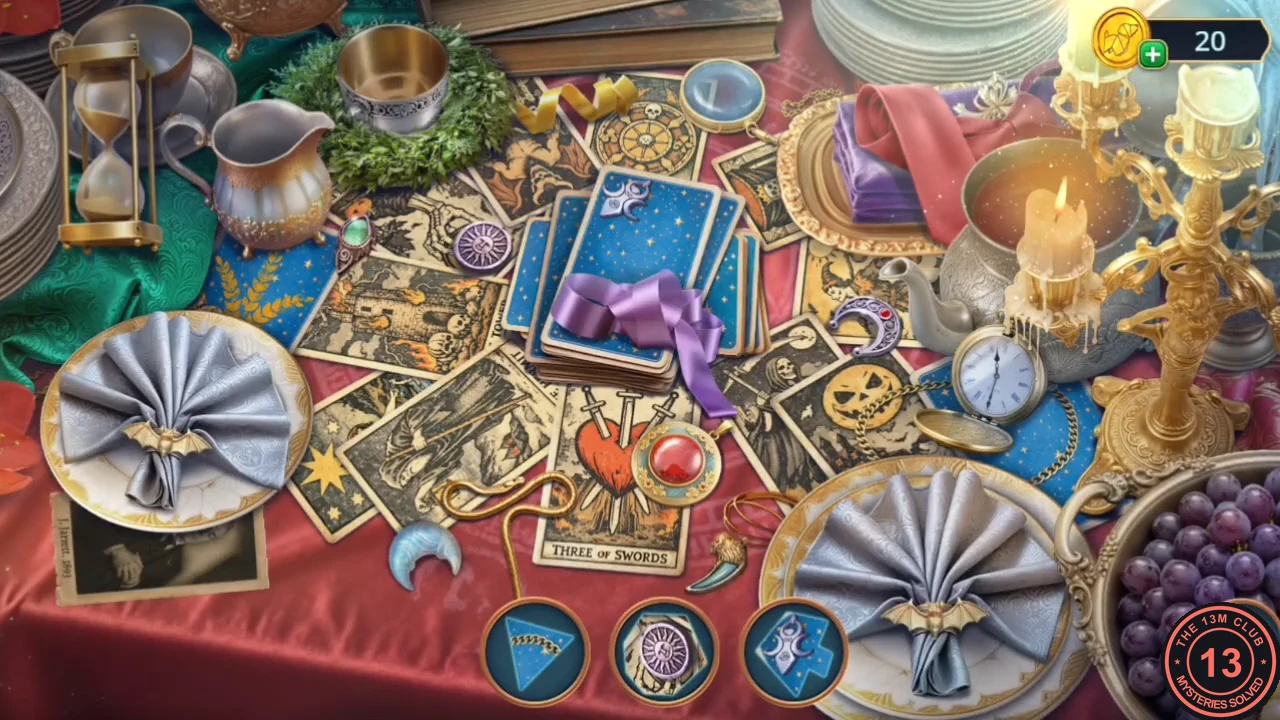
Dust off the cobweb table to open a hidden-object scene, then use the phone camera on the witch figurines.
- Clean the cobweb table with the feather duster and find the listed objects. The reward is Jarrett's posthumous photo.
- At the mirror, "Keep away from the mirror" is free. "Look in the mirror from afar" costs 30 coins (+2 decision points) and "Gaze into the mirror" costs 60 coins (+6). The recordings take the free answer, which continues the route below; what the paid answers change beyond the points wasn't shown.
- Photograph the witch figurines with the phone. Put the witches' photo on the witch stand and take the wire cutter.
- Cut open the skeleton cabinet with the wire cutter. Take the second blueprint part (2/2), the marker and the half of an apple.
Bat Maze
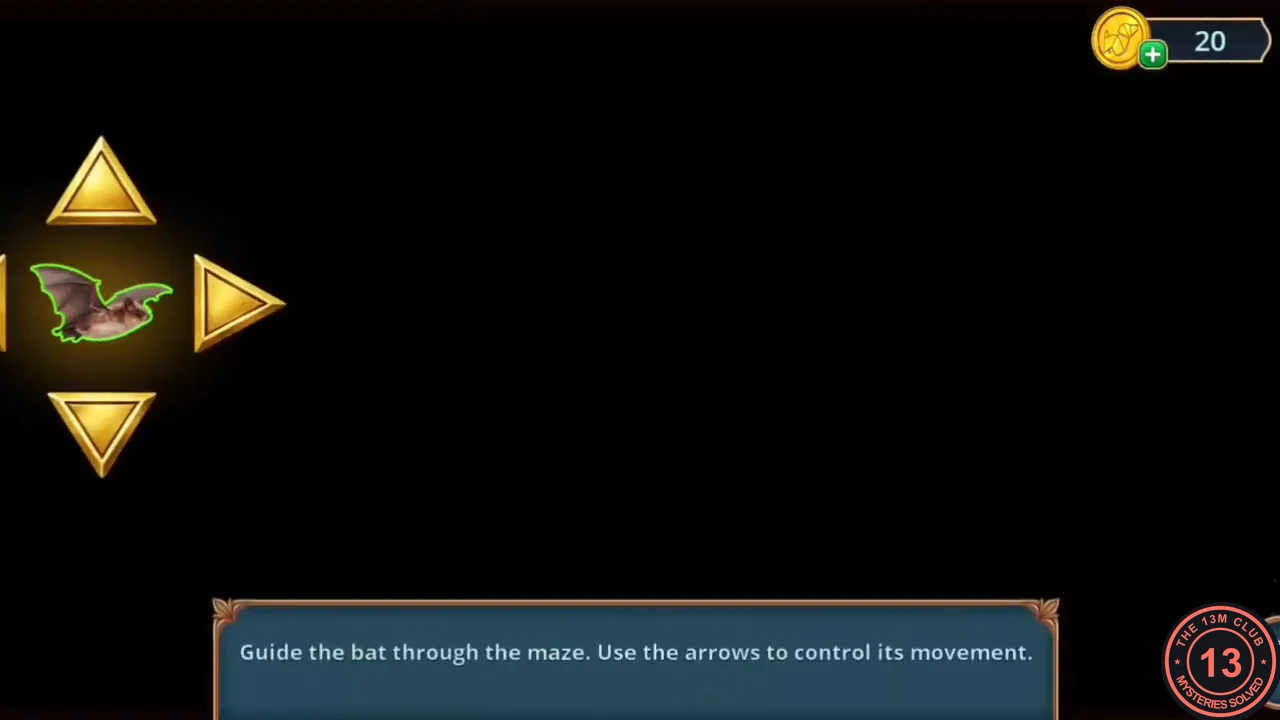
The game's instruction: "Guide the bat through the maze. Use the arrows to control its movement." Only the corridor around the bat is lit, and arrows appear only for the directions it can take. Each tap moves the bat along the corridor to the next turn or junction. The exit is on the right edge.
- Give the half apple to the bat at the hole in the staircase hall to start.
- From the start on the left, tap: up, right, down, right, down, right, up, right, up, right, down, right. A long straight corridor can take two taps in the same direction; keep heading right whenever the lit corridor allows.
Ghost Recipe and Differences
The figurine instructions explain how to make a ghost figure for the broken mirror. Collect its three ingredients.
- Take the napkin and the hot thermos that the bat leaves behind. In the reception room, put the hot thermos on the frozen glass dome on the left table to crack it, and take the figurine instructions.
- The instructions call for a marker, a napkin and a glass eye. Add the napkin and the marker now; the glass eye comes from the left panel in the next steps.
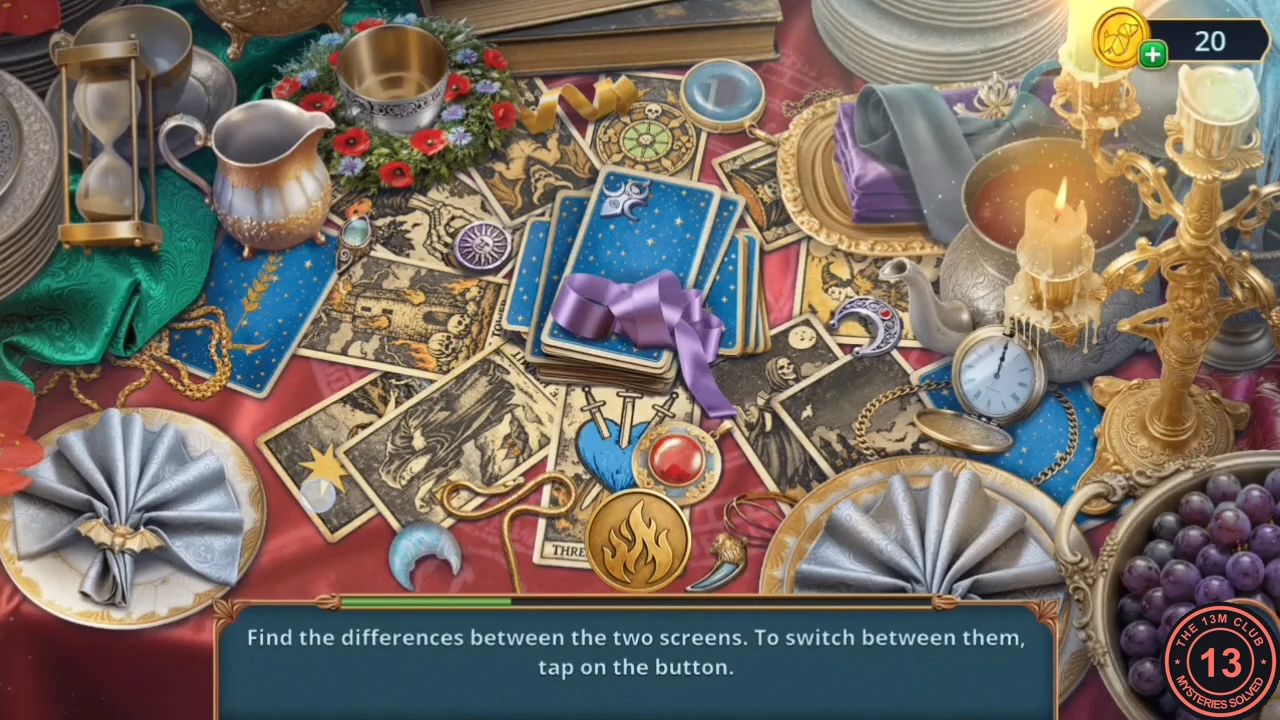
- On the cobweb table, find the differences between the two screens (tap the button to switch between them). Take the signet ring.
- Use the signet ring on the left panel. Take the board and the glass eye, and add the glass eye to the instructions to finish the ghost.
Ghost Chains Untangle
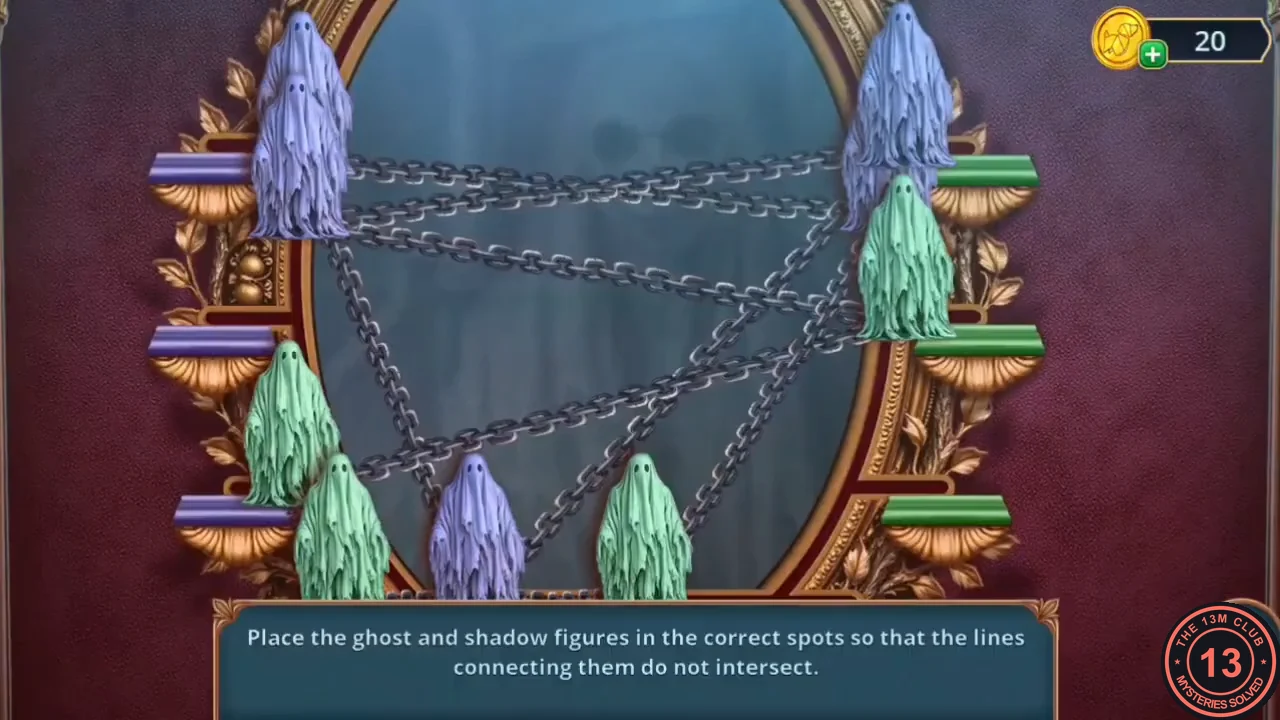
The game's instruction: "Place the ghost and shadow figures in the correct spots so that the lines connecting them do not intersect." The lilac ghost figures and green shadow figures stand on fixed spots around the mirror frame, joined by chains. Select a figure (it is outlined in green) and then another spot to move it; the chains follow.
- Place the finished ghost under the broken mirror to start the puzzle.
- Move figures between spots until no chain crosses another. In the completed layout the lilac figures are gathered on the left side and along the bottom-left of the frame, and the green figures on the right side and bottom-right. Work towards that grouping, then fix any remaining crossing by moving one of the two figures at its ends. Take the magic ball when the puzzle completes.
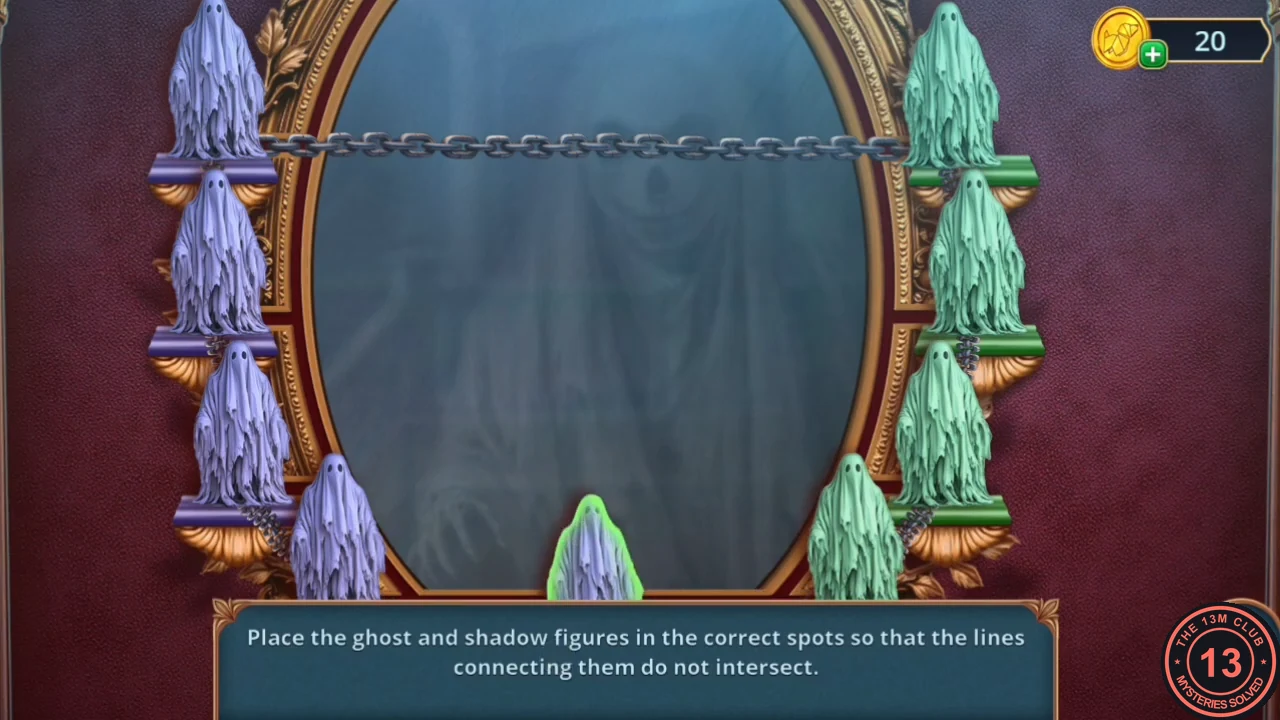
The completed layout in the recording: lilac figures on the left, green figures on the right. - Put the magic ball on the witch's staff. The cauldron opens; take the sealed tube, the nail clippers and the bow tie.
Elevator Circles
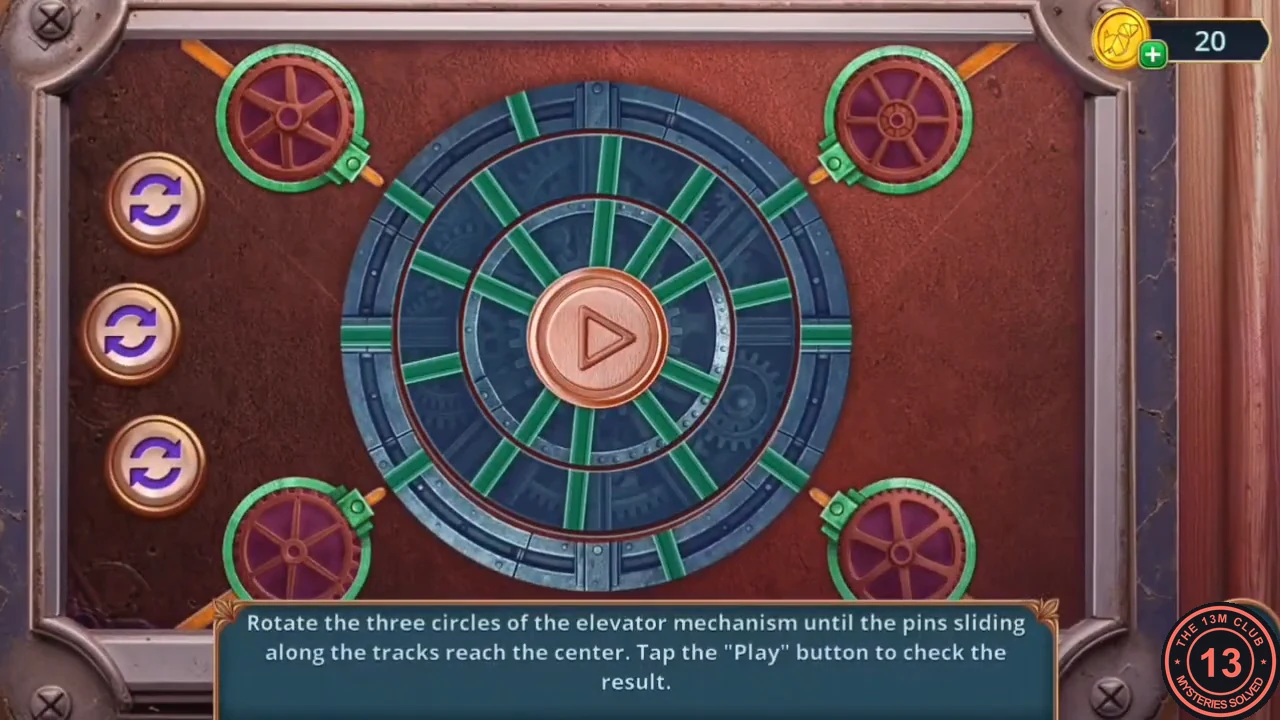
The game's instruction: "Rotate the three circles of the elevator mechanism until the pins sliding along the tracks reach the center. Tap Play." The three round buttons on the left each turn one circle, and there is a pin at each of the four corners.
- Put the bow tie on the chains of the left panel in the reception room to open the elevator mechanism.
- Turn the circles with the three buttons on the left until the track from each corner pin runs unbroken through all three circles to the centre. Then tap Play. If a pin stops short, find the ring where its track breaks and turn that ring again.
- Collect the scrolls on the box in the opened elevator compartment and take the monocle. In the inventory, open the sealed tube and use the nightingale brooch and the monocle on it; take the silver pins.
House Navigation Blueprint
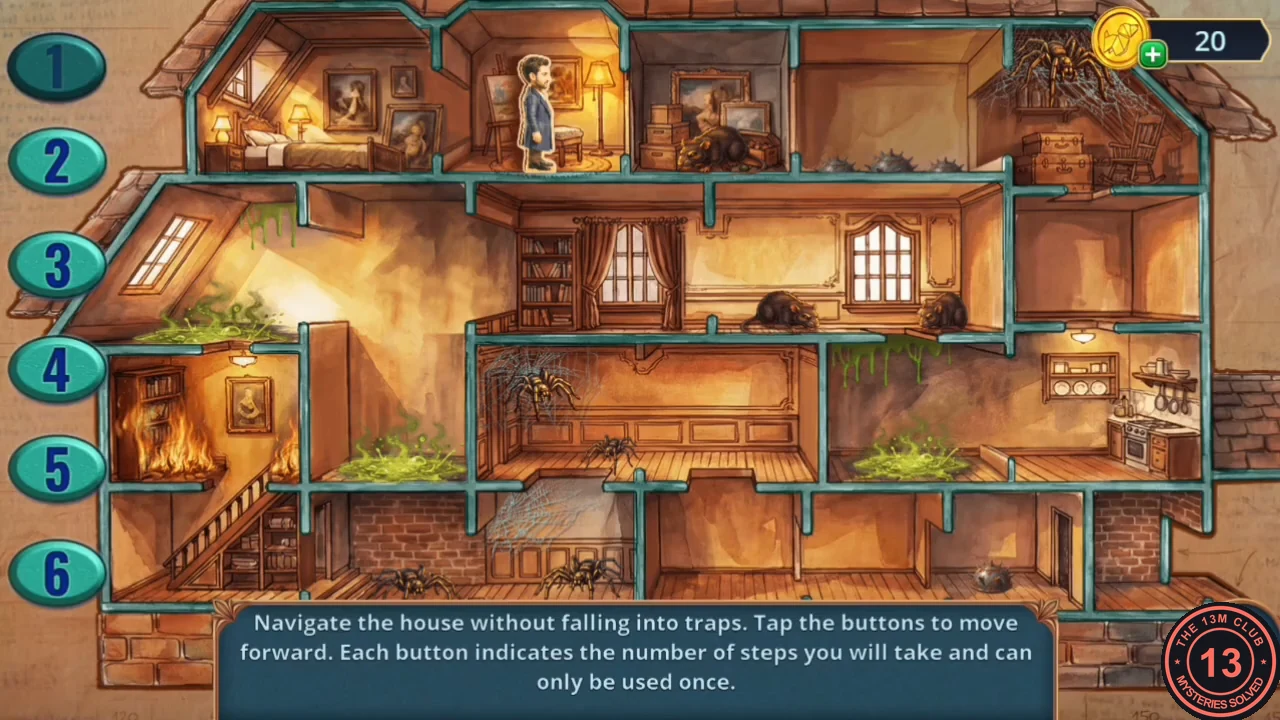
The game's instruction: "Navigate the house without falling into traps. Tap the buttons to move forward. Each button indicates the number of steps you will take and can only be used once." The six buttons are on the left.
- Place the two blueprint parts on the table board and add the silver pin.
- Press the buttons in this order: 1, 5, 3, 4, 6, 2.CODE153462
- The Chapter 1 Decision Points panel appears (see Decision Points). Chapter 1 ends with Jarrett in the bedroom.