Healer's Attic Pairs
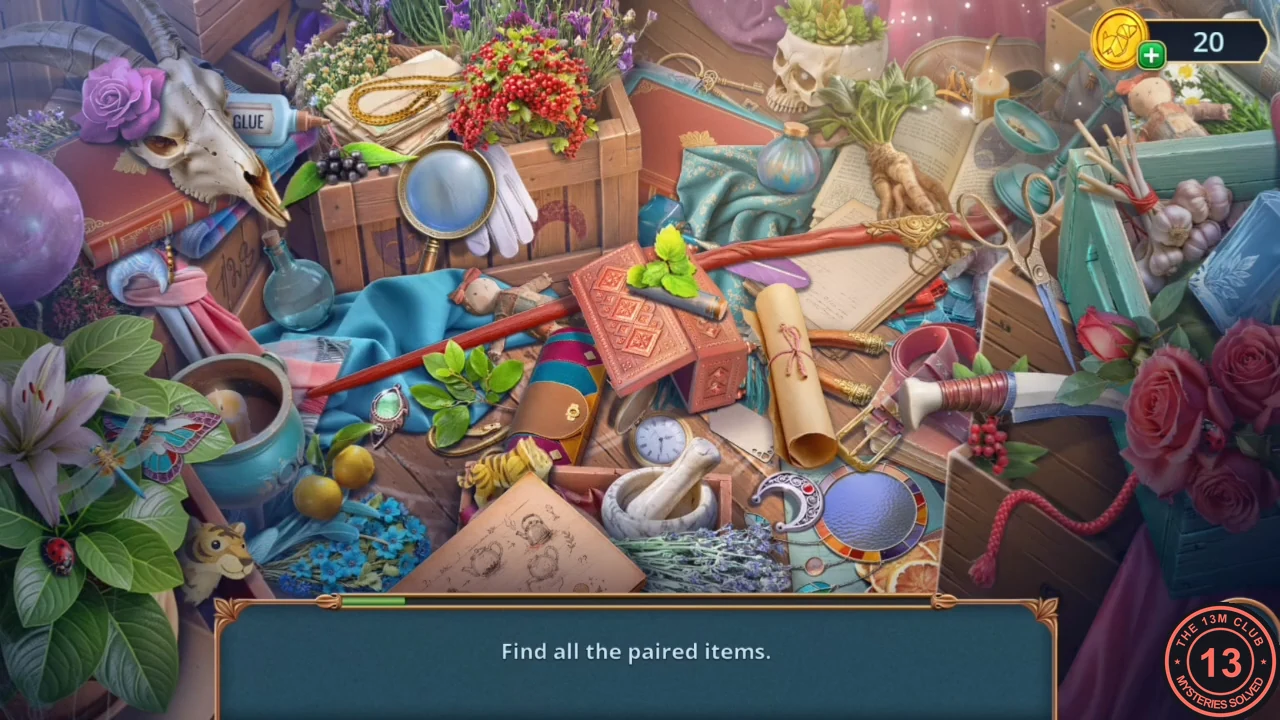
Margaret's hideout has an attic above a nailed-shut hatch. The attic search is a pairs scene; the reward is a bundle of herbs.
- At the ceiling hatch in the Old Healer's Hideout, use the eagle figurine to pull out the nails. The hatch drops open and you keep the nails.
- In the attic ("Find all the paired items"), tap two matching objects to remove them as a pair. Continue until the scene is cleared and take the bundle of herbs.
- Sweep the cobwebs off the barrel with the herbs. Take the iron and the key.
Bookshelf Dial Lock
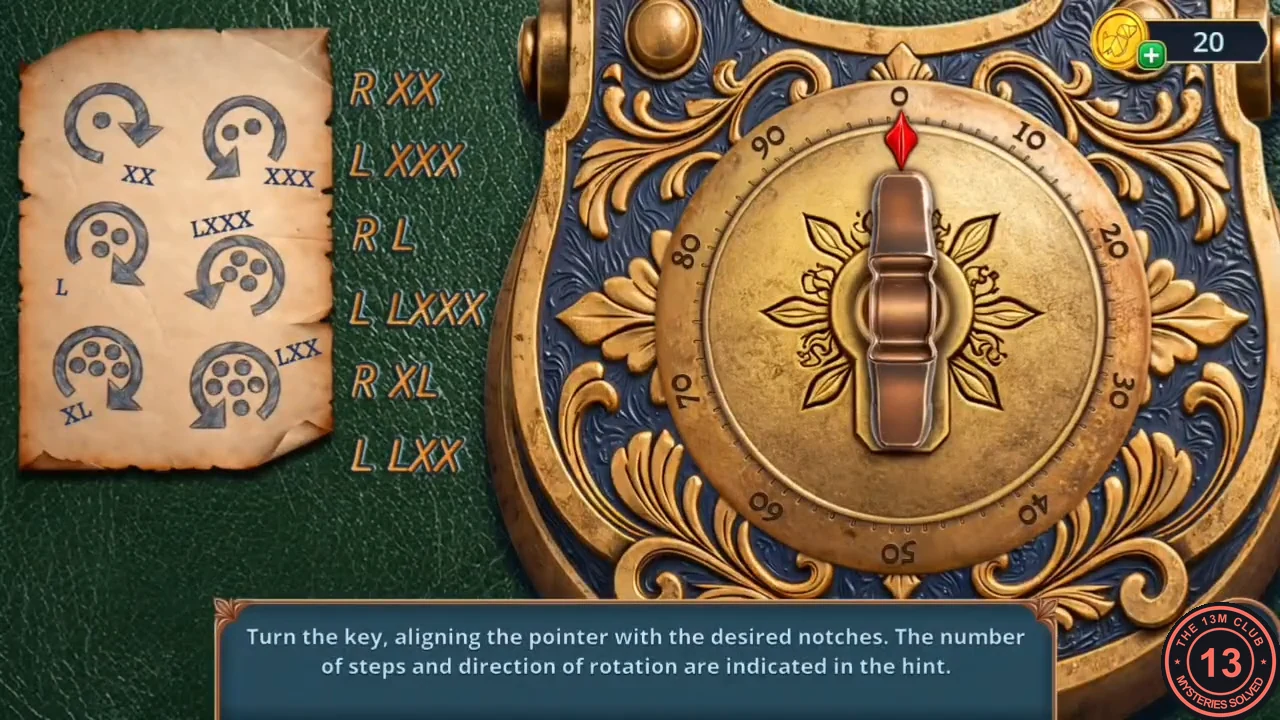
A locked book on the shelf has a turning dial. The hint beside the lock pairs dots with Roman numerals. An odd number of dots means turn clockwise (right) and an even number means counter-clockwise (left); the numeral is how far to turn. Read the hints in order from one dot to six dots.
- Put the key in the lock of the book on the bookshelf.
- Turn the dial: right 20, left 30, right 50, left 80, right 40, left 70.CODER20-L30-R50-L80-R40-L70
- Take the suction cup and the napkin from the opened book; keep the suction cup for the crypt. In the inventory, open the metal grip part from the fireplace and add the napkin and the ribbon to make a net.
- Use the net in the pond of the Old Maze Garden. Take the board, the sponge and the lasso.
Old Maze Garden Tree
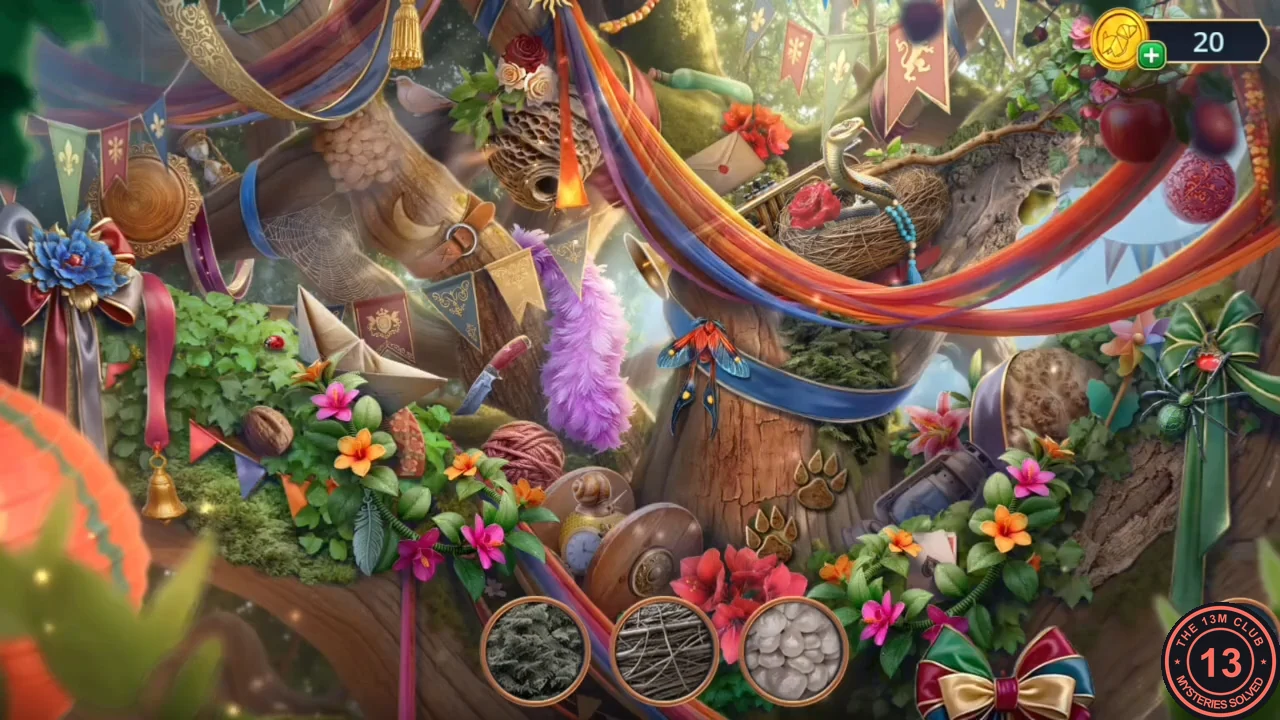
Build a ladder up the big tree, then search the tree for the objects shown as silhouettes. The reward is a belt.
- Build the tree ladder from the boards, the nails and the eagle figurine, then climb up and find every silhouette object. Take the belt.
- Use the belt on the cart to clear the path to the Old Fountain Walkway.
Rope and Bag Weights
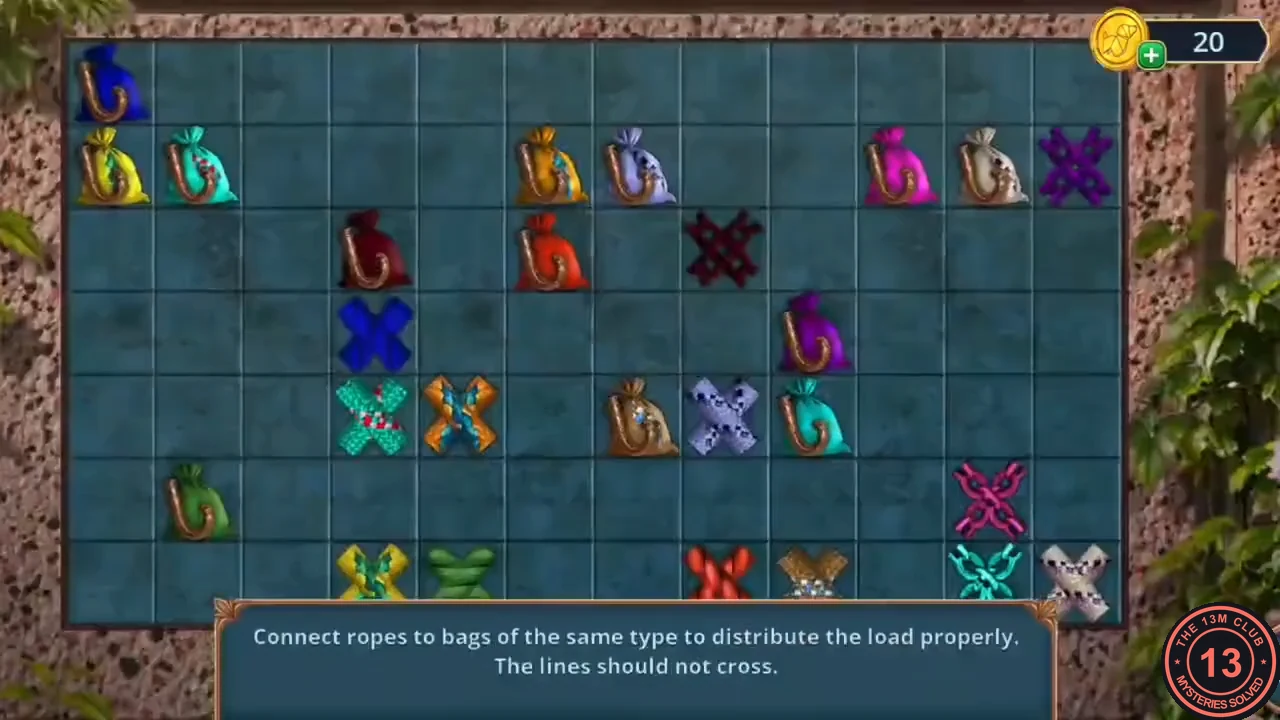
The game's instruction: "Connect ropes to bags of the same type to distribute the load properly. The lines should not cross." The grid holds pairs of bags in matching colours. Draw a rope from one bag to its partner through the empty cells; a rope cannot cross another. In the completed grid every cell is covered by a rope.
- Collect the scroll on the stone bench at the left of the Old Fountain Walkway. Zoom into the flowering vines on the fence at the right and take the clothespin.
- Zoom into the fountain, read the old guest list lying on its rim, then use the clothespin on the crack in the stone to pull out the coin. Take the coin.
- Unscrew the metal handle from the statue, combine it with the rope to make a rope with a hook, and use it to lift the column under the archway.
- Connect each pair of matching bags. Start with bags that sit next to each other or against the edge, because their routes have the fewest options. Then route the longer ropes along the edges and around the finished ropes so that no cell is left empty.
Old von Graven Crypt
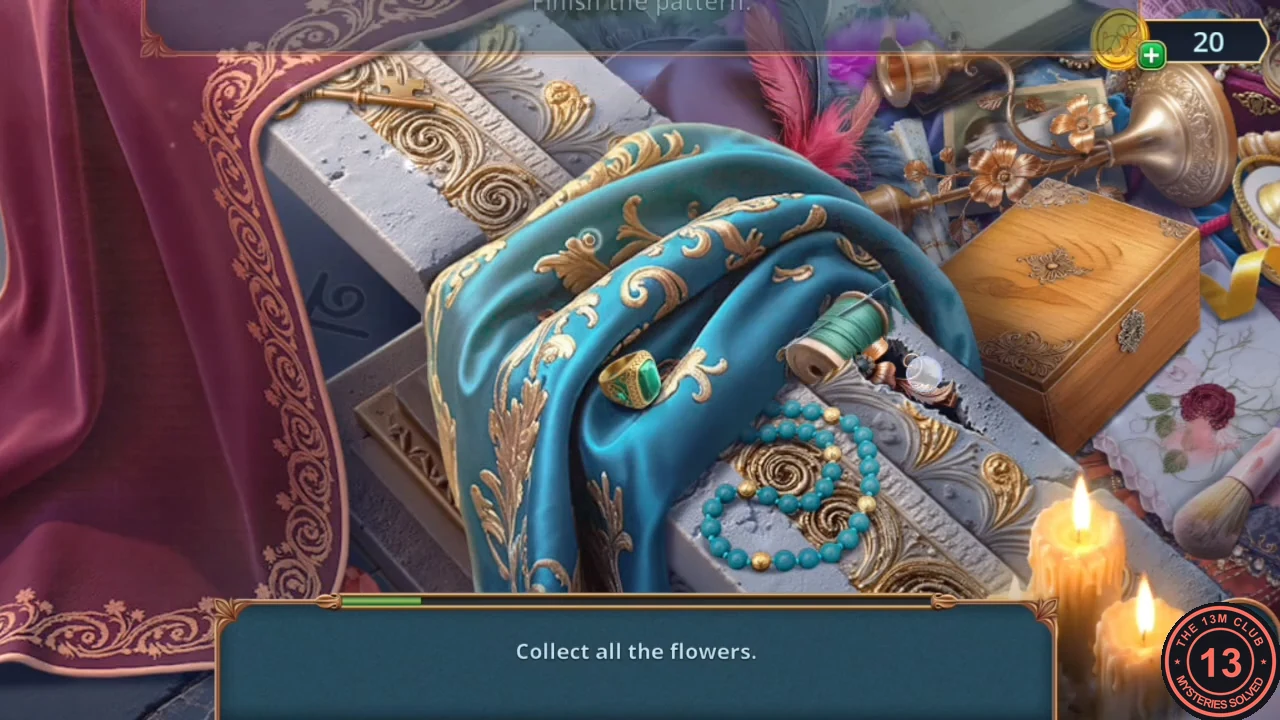
The family crypt in the past. A grave with a bird lock needs two nightingale symbols, and Margaret appears with an offer here.
- At the vase, hook out the broken folding knife and take the nightingale symbol (1/2).
- At the mouse beside the moss, collect the scrolls in the mouse-hole close-up, then scrape the moss away with the shell-shaped saucer and take the second nightingale symbol (2/2).
- Put both symbols in the bird lock on the grave.
- In the grave scene, "Collect all the flowers", then follow the prompt "Repair the cup". Take the diadem.
- Margaret offers to show you the Old Festival Row. "Great, I'll go there." is the Deluxe answer that opens that bonus location (see Deluxe Bonus Locations). "Now is not the time." continues the free route.
- Place the diadem on the column and take the oil and the ring. Cut the bottle in the wall with the ring, pull the glass out with the suction cup from the book, read the note and take the heart-shaped pendant and the screw.
Maze Garden House Pictures
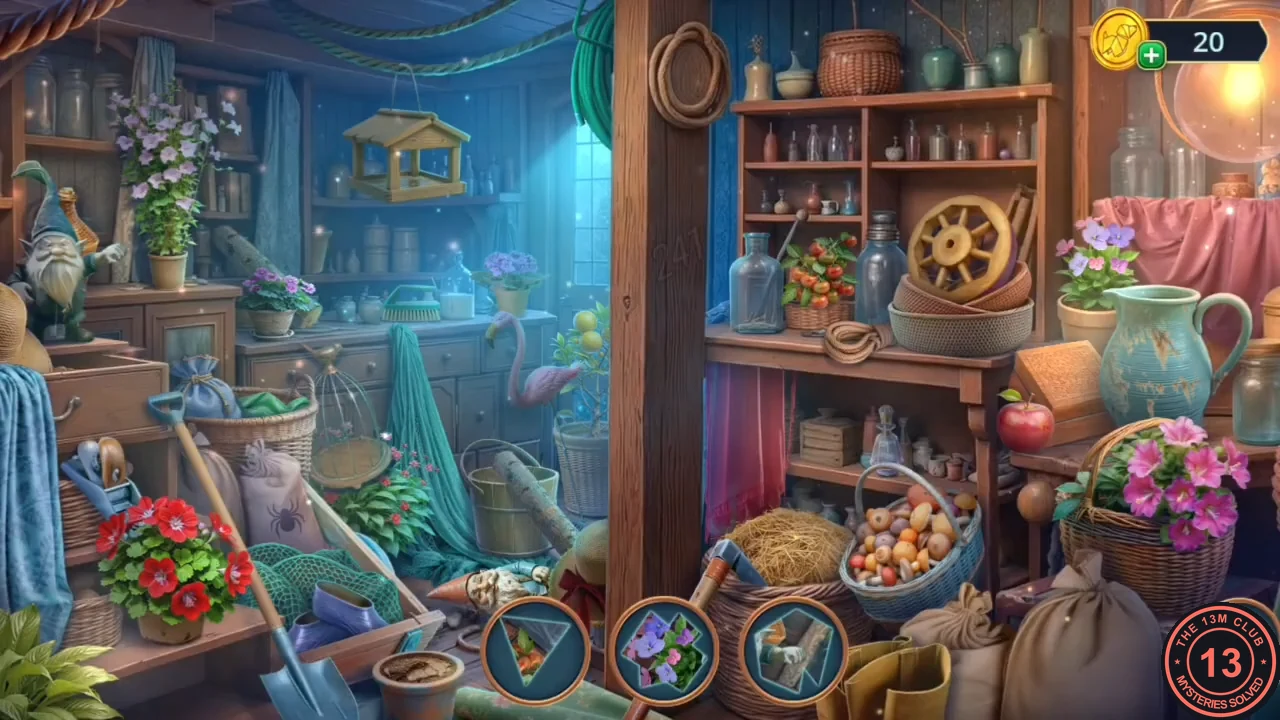
Back in the present, the garden house holds a picture search. The reward is a cufflink.
- In the present-day Maze Garden house, find the objects shown in the pictures and take the cufflink.
Gate Lever Stencil
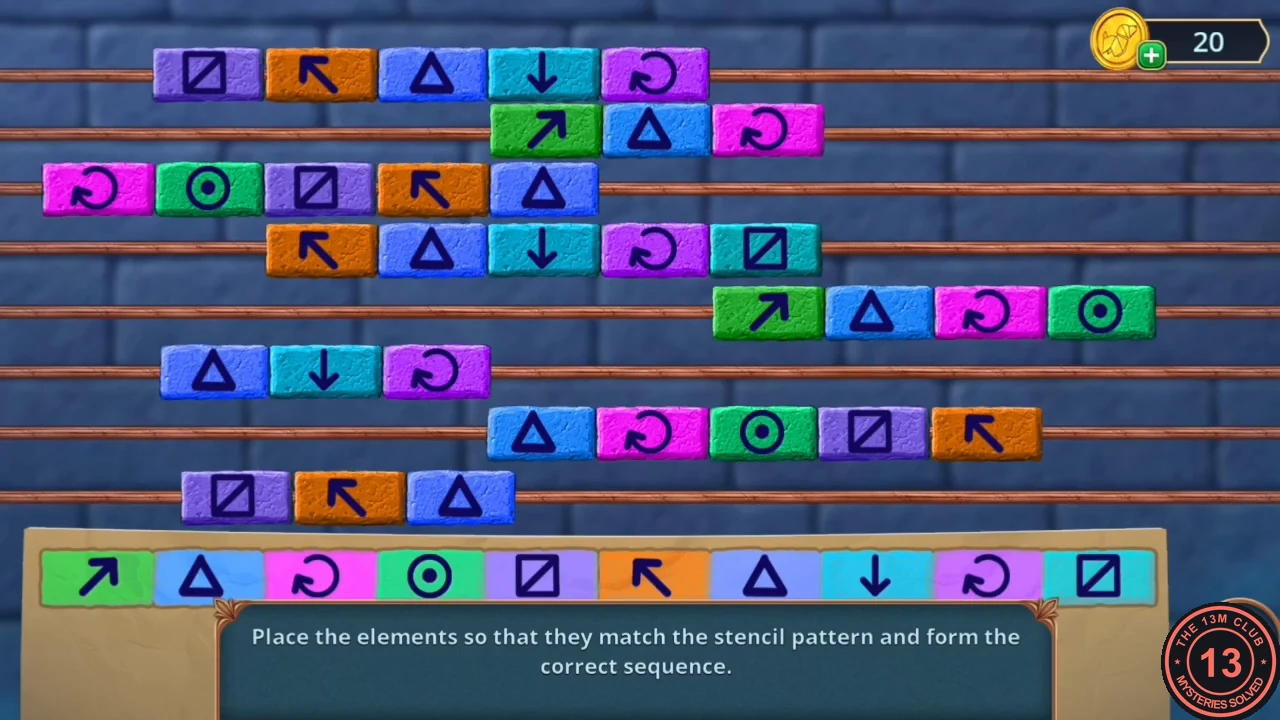
The game's instruction: "Place the elements so that they match the stencil pattern and form the correct sequence." Rows of symbol tiles slide left and right on rails. The long bar at the bottom is the target sequence. Tap a row to select it (it is outlined in blue) and drag it sideways.
- Use the cufflink at the lady statue's feet and take the button and the stencil from the bag.
- Put the stencil, the sponge and the ink on the gate levers. Slide each row so that every tile in it sits directly above the same symbol in the bottom bar. The puzzle completes when every row is aligned.
- Cross to the Old Dead Tree. Samantha is trapped in the roots, and Mark needs a potion to weaken them.