Opposite-Colour Drawing
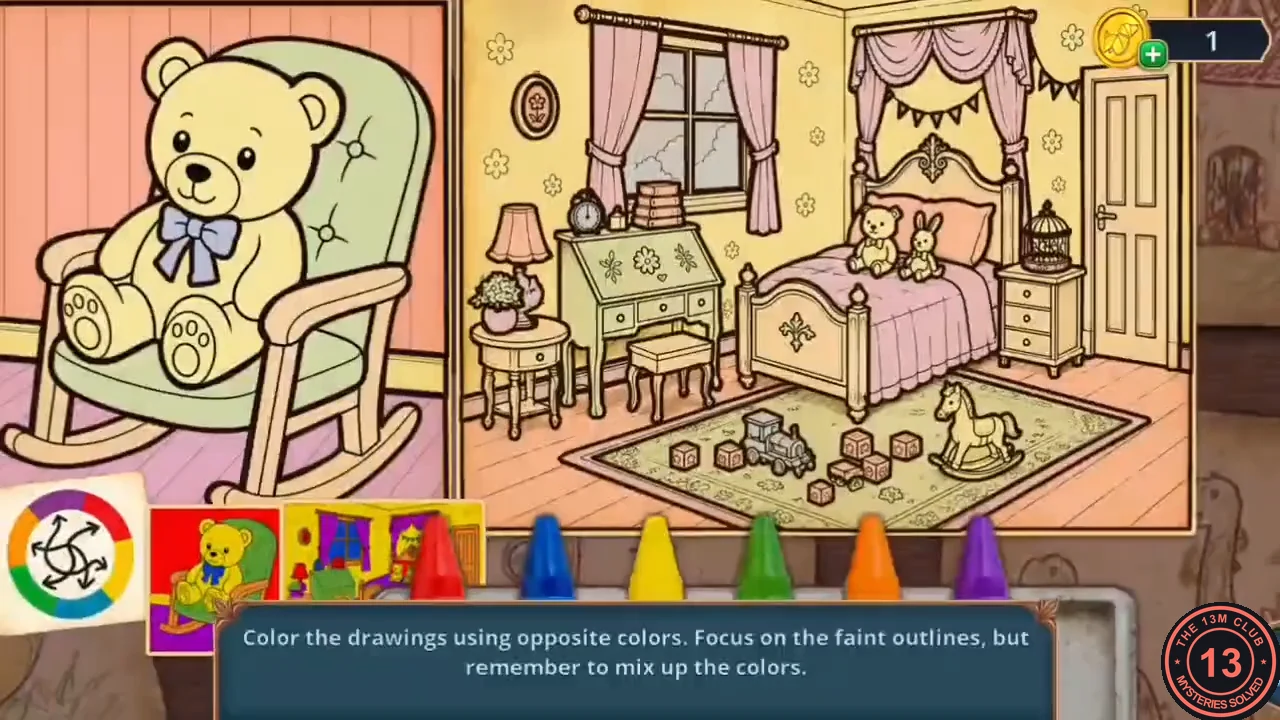
The game's instruction: "Color the drawings using opposite colors. Focus on the faint outlines, but remember to mix up the colors." A colour-wheel hint card pairs the opposites: red and green, yellow and purple, blue and orange. Every area of the drawing has a faint outline in one colour; paint it with that colour's opposite.
- In the Abandoned Room, take doll (1/2) and the solvent from the window. Fit the gear on the merry-go-round lamp by the bed and take the sailboat. Put the sailboat on the shelf and take dart (1/3) and the wax crayon.
- Add the wax crayon to the crayons on the desk to start the drawing. Work through the drawing area by area: read the faint outline colour, then fill the area with the opposite colour from the hint card (a red outline gets green, a purple outline gets yellow, an orange outline gets blue, and so on). When the picture is complete, place the drawing in the room; a hidden door appears and leads to the Abandoned Closet.
Abandoned Closet
A small closet next to the Abandoned Room, with a floor grate, a wall cupboard, a toy castle and a cannon on the shelf.
- Open the closet grate with the belt and the bone and take the flour, dart (2/3) and the apron. Clean the wall cupboard with the solvent and the apron, then take photo piece (2/3) and the fresco piece.
Sanctuary Fresco Fragments
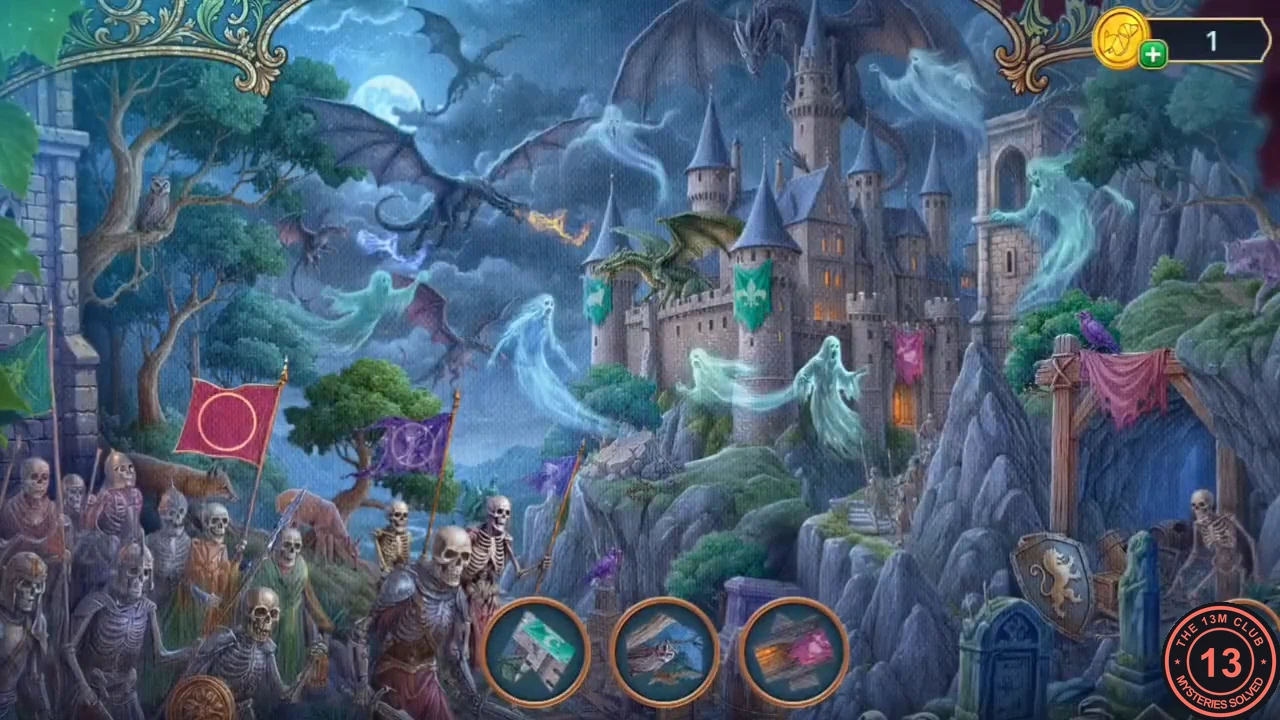
A fragment search on the Sanctuary wall painting. The bottom bar shows cropped details of the painting, and you tap the place each detail comes from. The reward is an empty parchment.
- Fit the fresco piece into the Sanctuary wall painting. Find every cropped image from the bottom bar in the painting and take the empty parchment.
- Lay the empty parchment on the floral stone and rub it with the wax crayon to make a pattern print. Place the pattern on the Sanctuary altar; a compartment opens. Take the cap. The altar also has a figurine slot ("Where is your partner?"); that belongs to the Deluxe Wine Cellar and is not needed on the free route.
- Use the cap in the fireplace in Lydia's room and take the metal belt buckle.
Lydia's Closet Materials
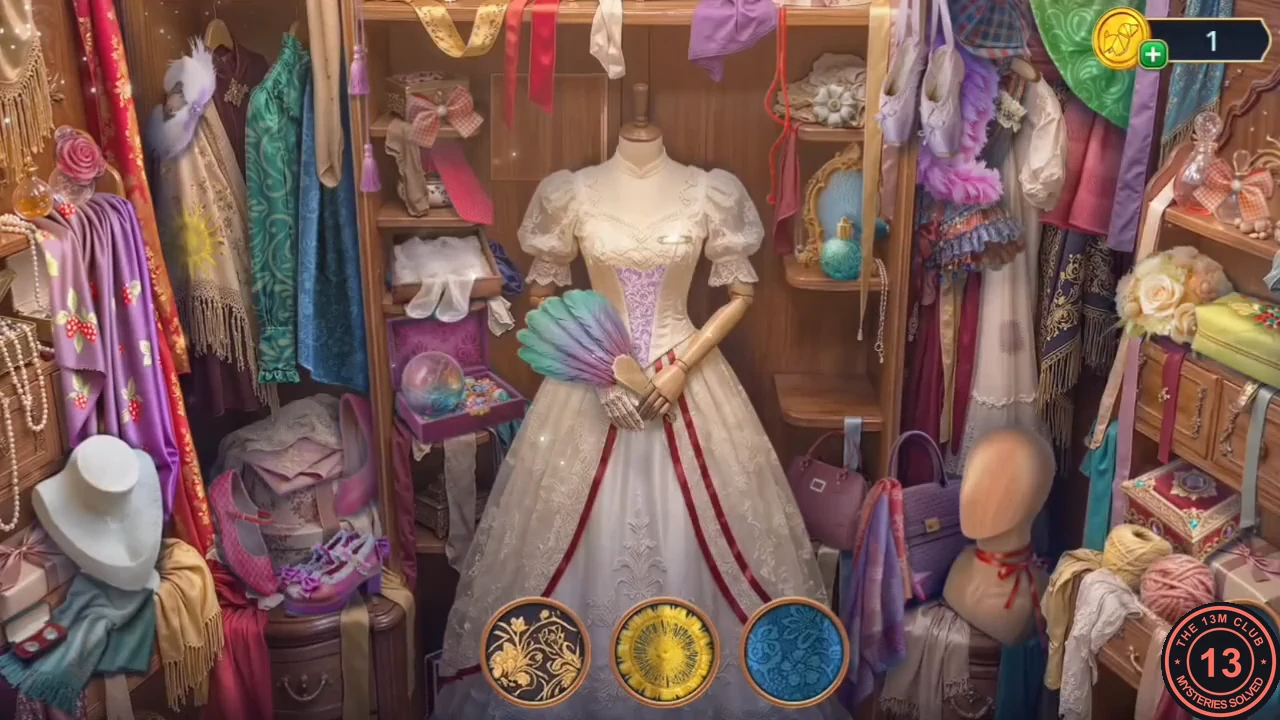
A search inside Lydia's closet. The list shows fabrics and sewing materials to find. The reward is a castle tower.
- Open Lydia's closet with the metal belt buckle. Find all the listed materials and take the castle tower.
- Put the castle tower on the toy castle in the Abandoned Closet. Take the gelatin, the tracing paper and the wire cutters.
Wire Cutter Turns
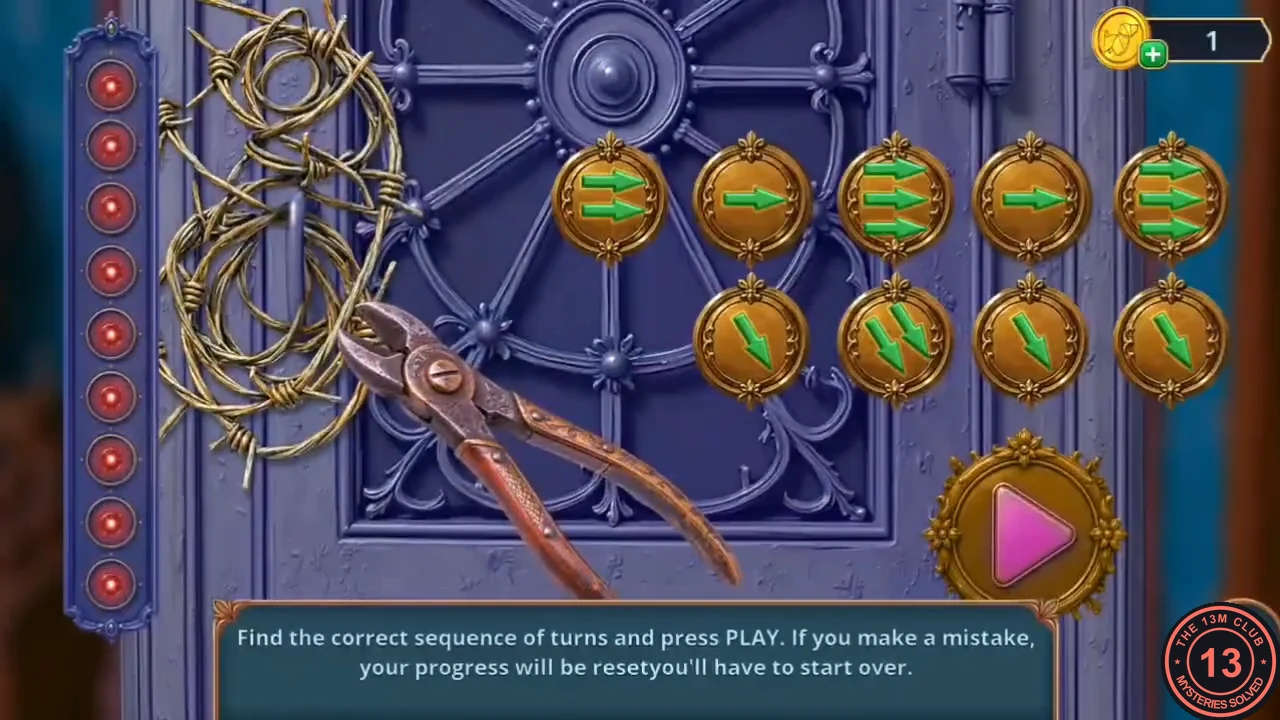
The game's instruction: "Find the correct sequence of turns and press PLAY. If you make a mistake, your progress will be reset." There are nine medallions: five in the top row and four in the bottom row. Tapping a medallion cycles its number of arrows from 1 to 2 to 3 and back to 1. When you press Play, the cutters travel along the arrows; the red lights on the left show progress.
- Use the cutters on the wires in the Abandoned Closet. Counting from the left, set the top row to 2, 2, 3, 1, 2 arrows and the bottom row to 3, 2, 1, 2 arrows, then press Play. The cutters follow the path and cut through.
- Jamie is hiding in the closet and urges you to hide too before Jarrett finds you. "Panic." is the free answer. "Comfort Jamie." costs 60 coins and is worth 2 decision points. After the free answer you receive the dreamcatcher; the paid branch wasn't shown, so whether it also gives the dreamcatcher isn't covered.
Toy Shelf Groups
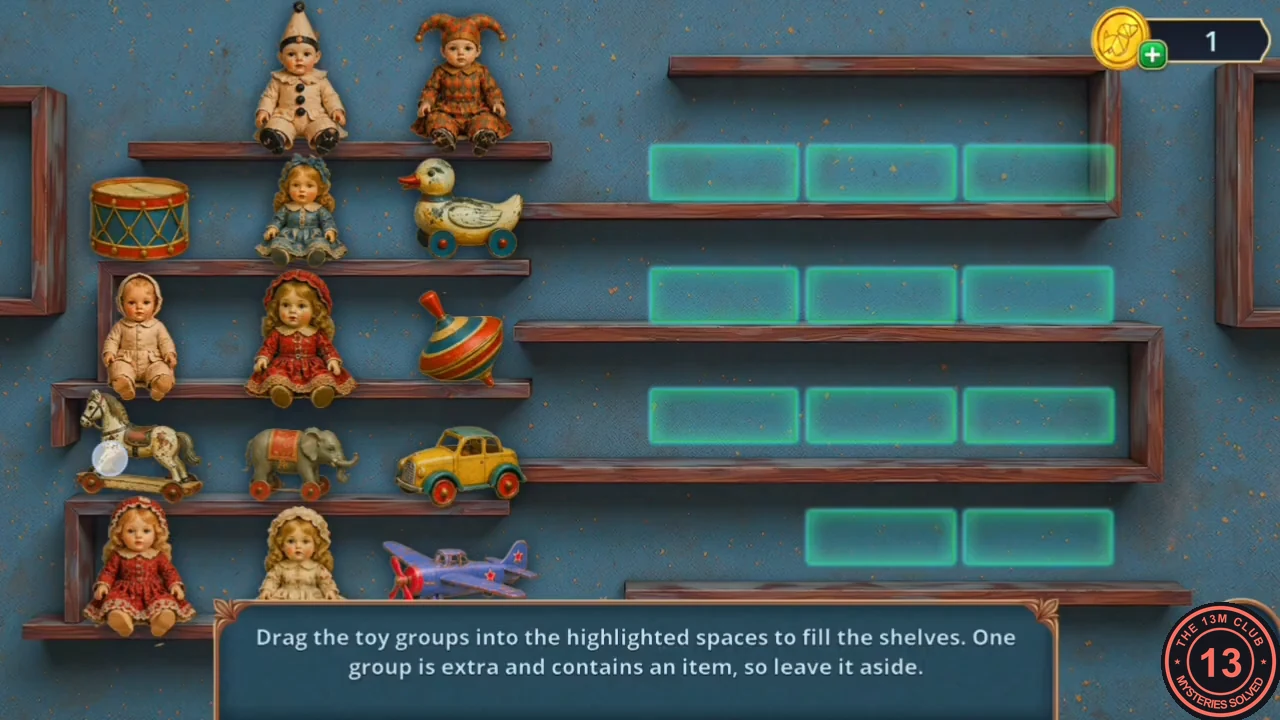
The game's instruction: "Drag the toy groups into the highlighted spaces to fill the shelves. One group is extra and contains an item, so leave it aside." Each highlighted space has a set length, so match each toy group to a space of the same size.
- Hang the dreamcatcher over the bed in the Abandoned Room and take doll (2/2). Put both dolls on the shelf with the ship.
- Drag the toy groups into the highlighted spaces of matching length until every shelf space is filled. One group is left over; leave it aside. Take the drive coil and the pet brush, and collect the scroll on the shelf.
Secret Passages Groups
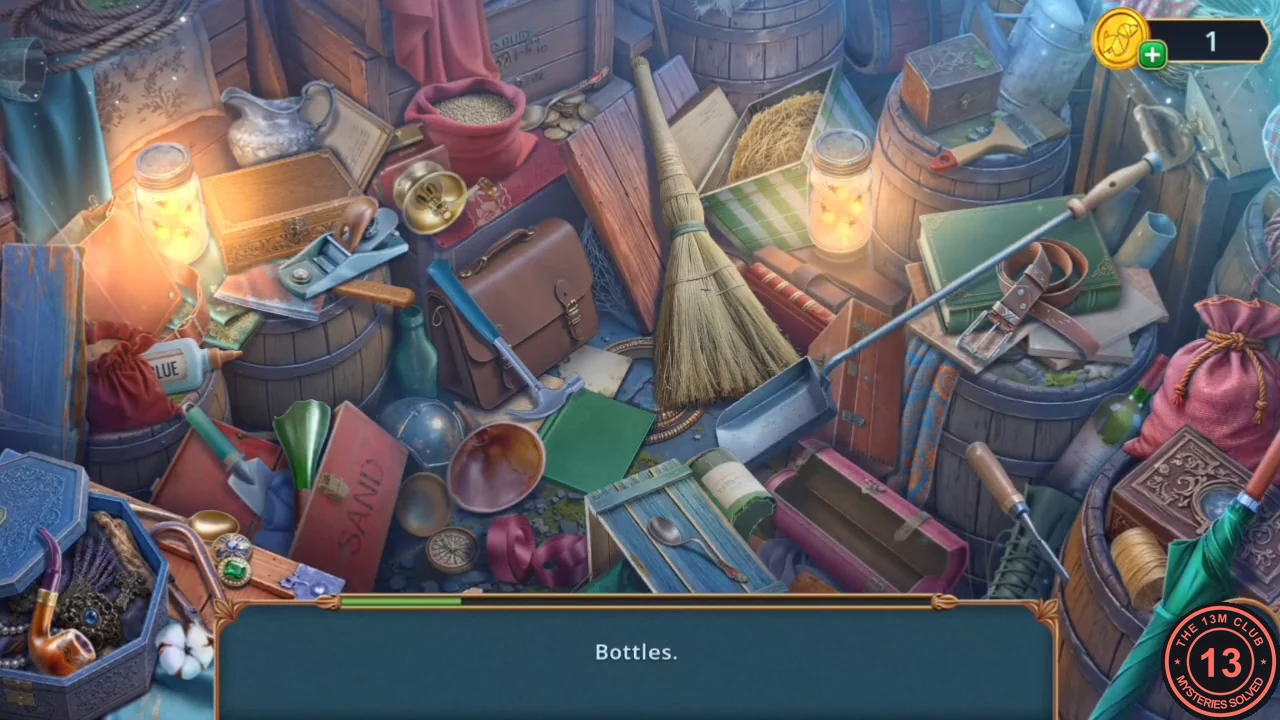
A group search by the black cat in the Secret Passages. Each list entry asks for a whole group, such as yellow candles, bottles, spoons or books. The reward is a carving kit.
- Brush the black cat in the Secret Passages with the pet brush. Find every listed group of items and take the carving kit.
Mansion Blueprint
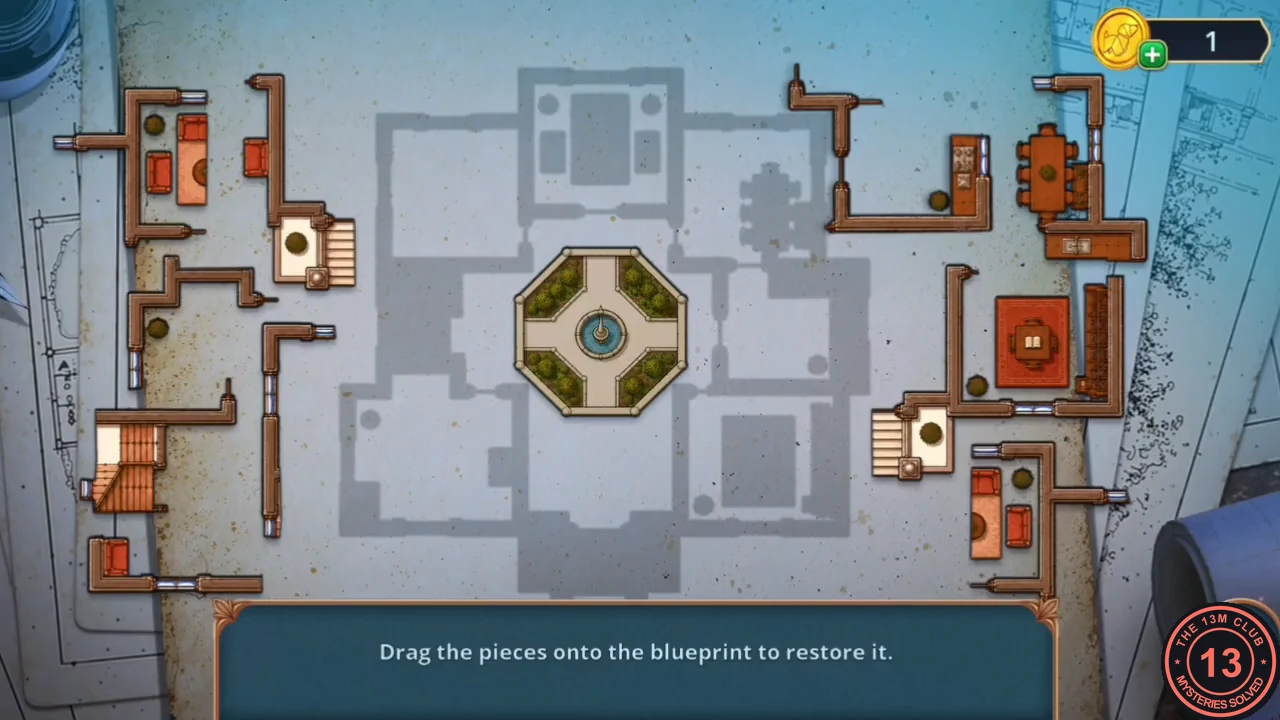
The game's instruction: "Drag the pieces onto the blueprint to restore it." Each wall piece fits one pale outline on the blueprint.
- Use the carving kit on the Sanctuary altar to make the drawing ruler. Open the Mansion Blueprints (taken from beside the cat in the Secret Passages) from your inventory and add the ruler and the tracing paper. Drag each piece onto its matching pale outline until the blueprint is complete. After the conversation, take the ball.
- Load the ball into the cannon on the Abandoned Closet shelf and fire it with the flint and steel. Take photo piece (3/3) and the knight toy. Put the knight on the toy castle and take the hook, crystal (1/2) and dart (3/3).
Dart Board Order
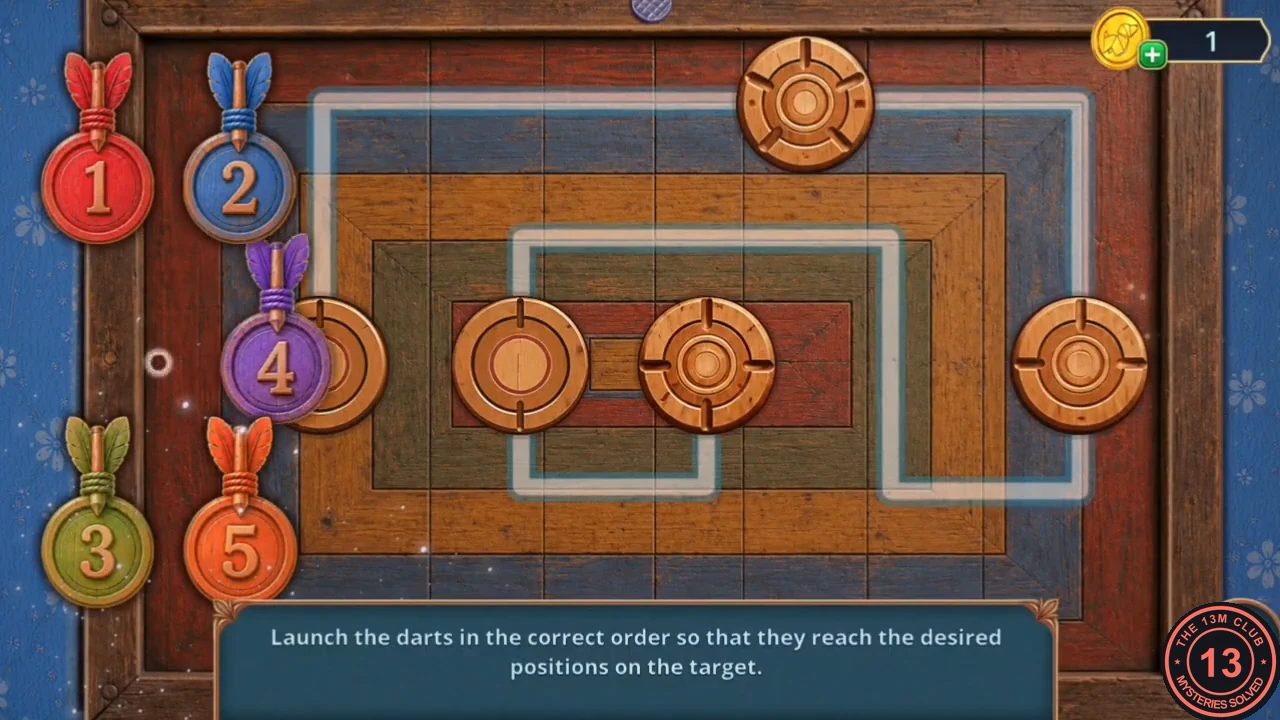
The game's instruction: "Launch the darts in the correct order so that they reach the desired positions on the target." The darts are numbered 1 to 5 on the left. A launched dart pushes every dart already on the track one target further along the white path, so the first dart you launch ends up furthest along.
- Put the three darts by the target board. Launch the darts in this order: 4, 2, 3, 5, 1. Take the chess piece and the glycerin.CODE4-2-3-5-1
- At the Abandoned Room desk, mix the glycerin, the gelatin and the flour into homemade glue. Repair the torn photograph with the glue and the three photo pieces to get the wedding photo.
Wedding Dress Placement
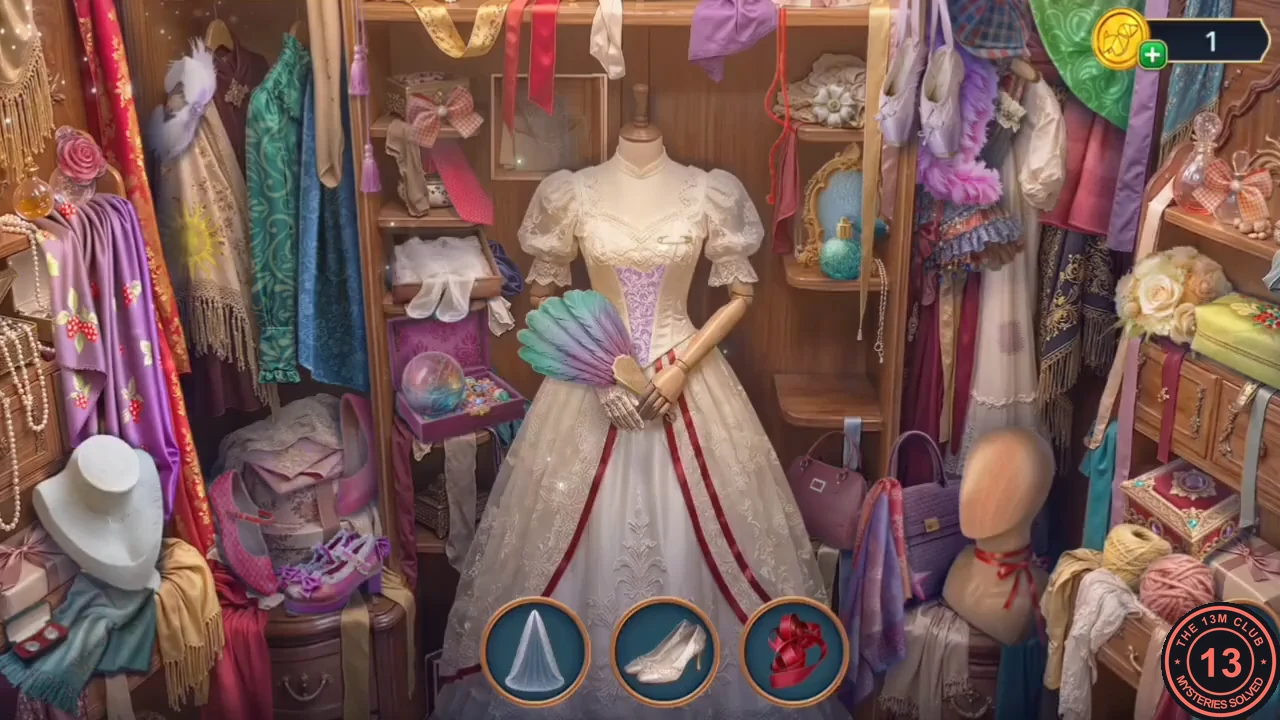
A placement scene in Lydia's closet. Instead of finding objects, you put objects into the scene so that it matches the wedding photo. The reward is a hair clip.
- Put the wedding photo on Lydia's closet door. The bottom bar offers items three at a time, and each belongs on the wedding dress or in the scene around it. Drag each item to its glowing spot until the dress matches the photo, then take the hair clip.
- Use the hair clip on the cactus in the Abandoned Closet and take the control button. Fit the drive coil and the control button in the wall door in Lydia's room to start the elevator mechanism.
Elevator Mechanism Gears
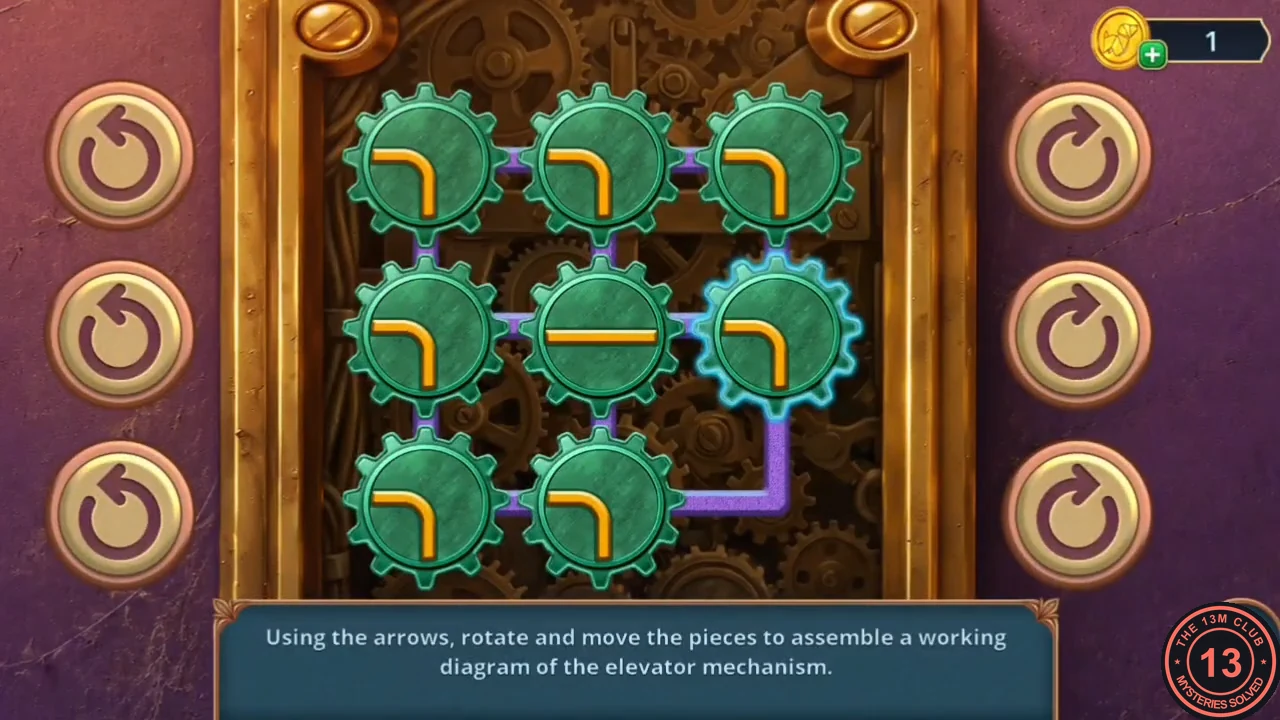
The game's instruction: "Using the arrows, rotate and move the pieces to assemble a working diagram of the elevator mechanism." This is a long sliding-and-turning puzzle, so the guide gives the method rather than a move list.
- The board is a 3 x 3 frame of purple tracks with one empty gear spot, and each gear carries a yellow track piece. Tap a gear next to the empty spot to slide it into the gap. The round arrow buttons beside each row turn all the track pieces in that row together. Slide and turn the pieces until the yellow pieces and the purple tracks form one continuous line through the whole mechanism; the puzzle then completes. The recording solved it by trial over several minutes. Compare your board with the solved-state image. The elevator takes you to the Count's Study.
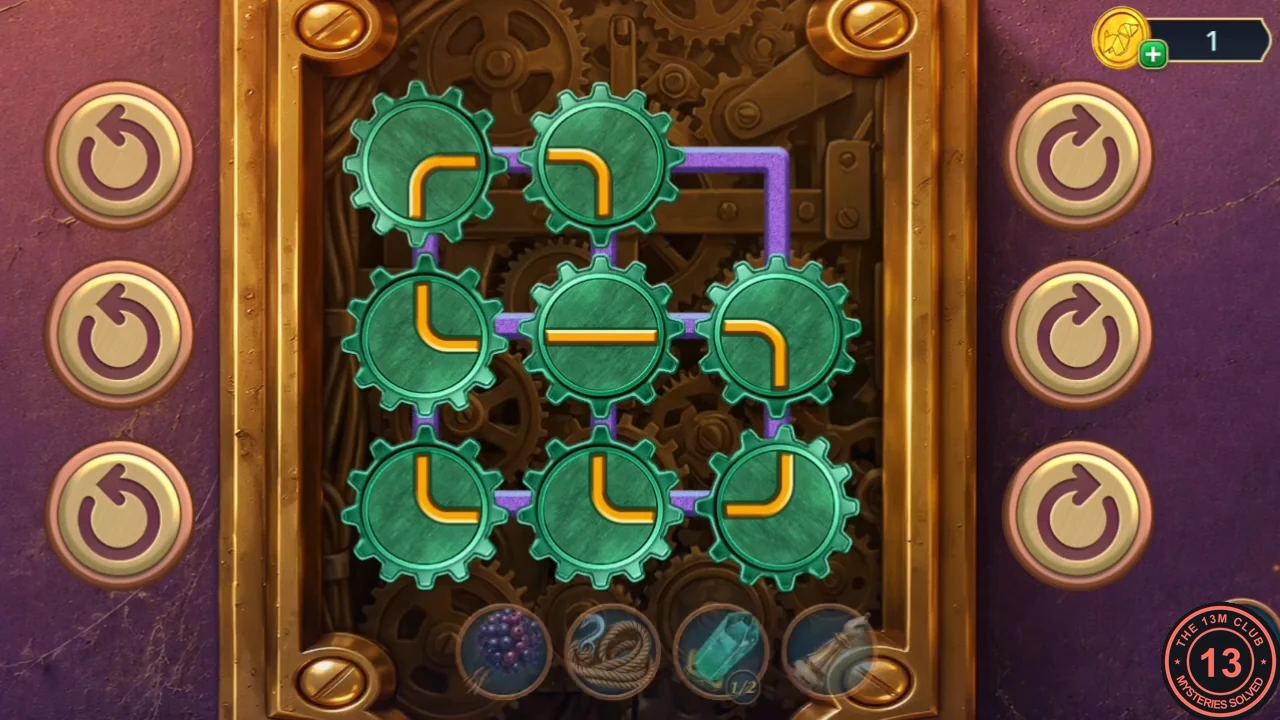
The completed mechanism as the recording finished it, with the empty spot at the top right.