Living Room Harp Melody
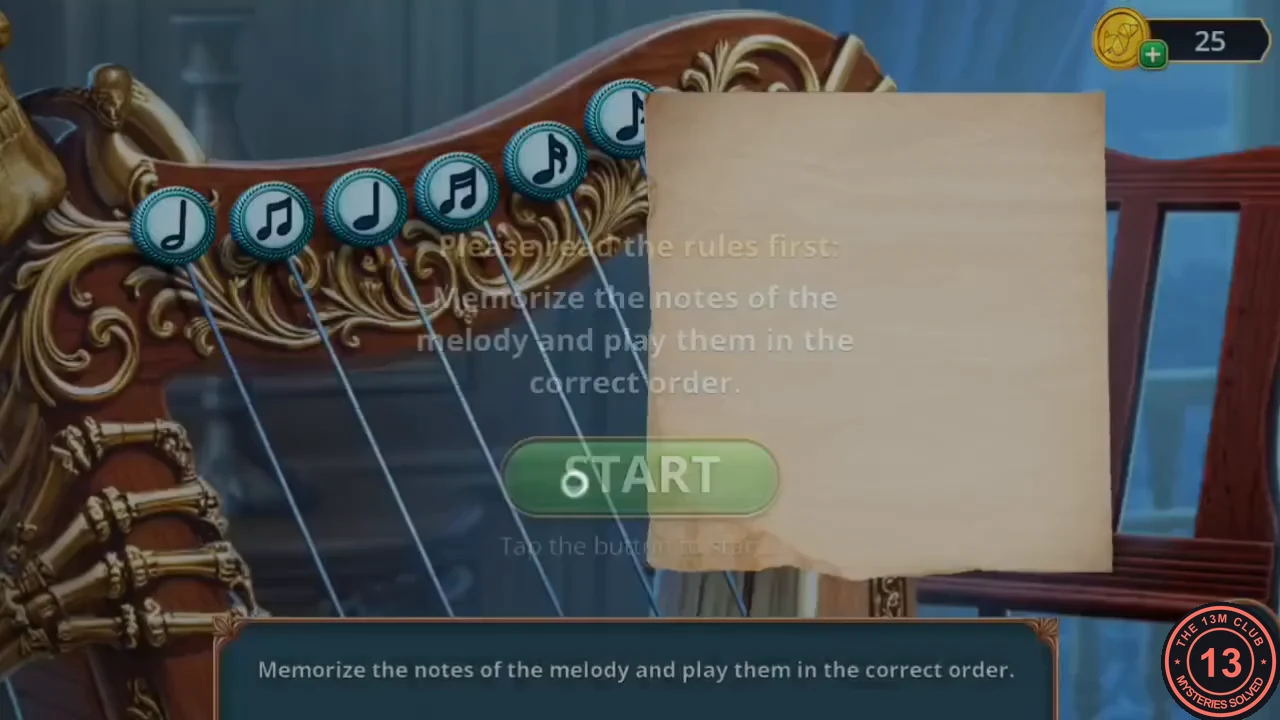
A memory puzzle on the living-room harp. The notes of the melody appear one by one on the music sheet; then you repeat them on the note buttons along the top of the harp. The melody may differ between games, so watch your own sheet instead of copying an order.
- In the guest bedroom, open the wall panel above the champagne bucket with the wing nut and take the last harp string (strings 3/3). The first came from the hallway cauldron shelf and the second from the chest behind the cobweb. Put the three strings on the living-room harp to start the melody.
- Watch all six notes appear on the sheet, then tap the matching note buttons in the same order.
Phone, Owl and Knight's Gauntlet
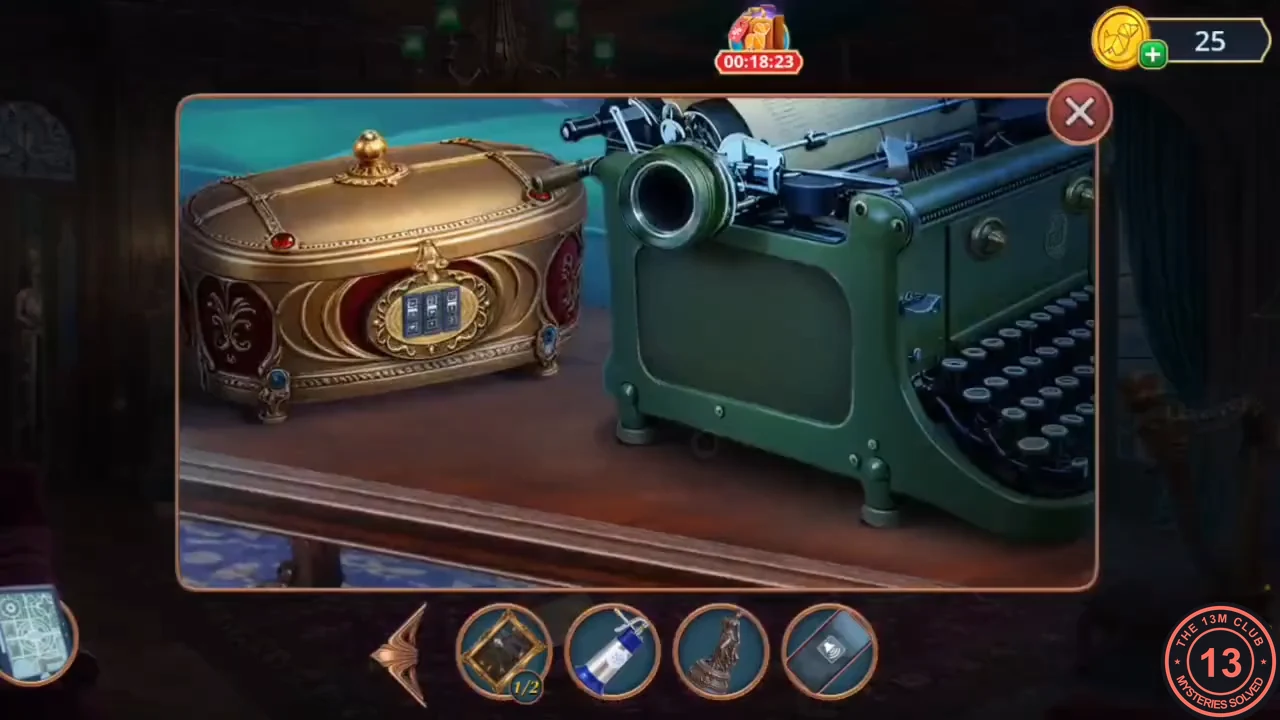
Charge Mark's phone to scare off the owl at the gate, then use the clue it guards to open the symbol box in the living room.
- After the melody, take the heavy figurine and the paper clip that appear in the living room.
- At the car, open the red wallet on the driver's seat with the paper clip and take the phone charger. Plug the phone in on the dashboard and take the charged phone.
- At the lanterns by the gate, play music on the phone to scare the owl away. Take the lipstick and collect the scroll in the lanterns close-up.
- Use the lipstick on the cork board under the mailbox. It reveals a red spiral symbol.
- At the box on the typewriter table, set the spiral symbol on the three dials and take the knight's gauntlet.
- Use the knight's gauntlet to pull a log out of the living-room fire. In the guest bedroom, take the corset from the wardrobe and push the log through it to make a support.
- At the gate, zoom into the wobbly scaffolding and put the improvised support under it. Then zoom into the top of the gate pillar beside it and take the mailbox flag from behind the bars.
- Zoom into the mailbox, put the mailbox flag on it and take the ribbon from inside.
Car Trunk: Find the Prints
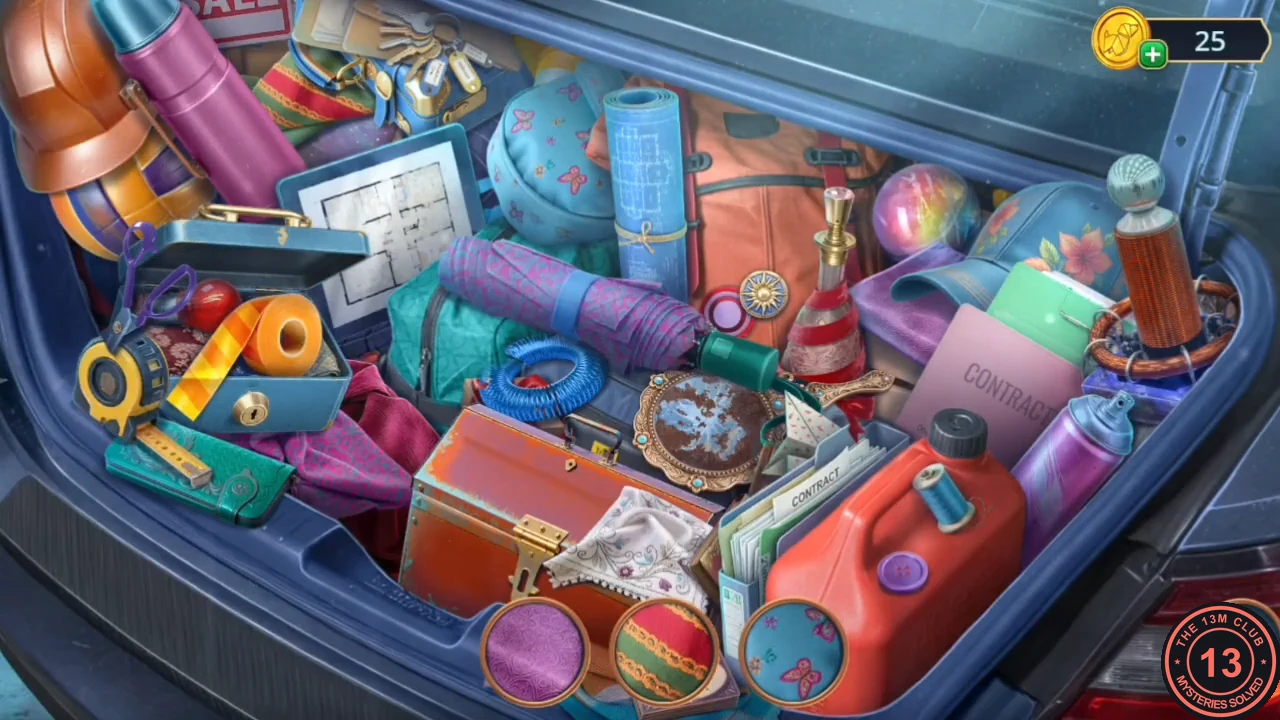
A second search of the car trunk. This time the list shows prints, and you look for the objects that left them. The reward is the jack.
- Search the trunk again and find each object that matches a print. Take the jack.
- Use the jack on the bars above the mailbox and take the cufflinks.
- Place the heavy figurine, the ribbon and the cufflinks on the cabinet at the foot of the guest bed. The doors open; take the broken shield and the bracelet (1/2). The star-shaped wax mould below has hardened and has to be melted.
Wax Star Mould
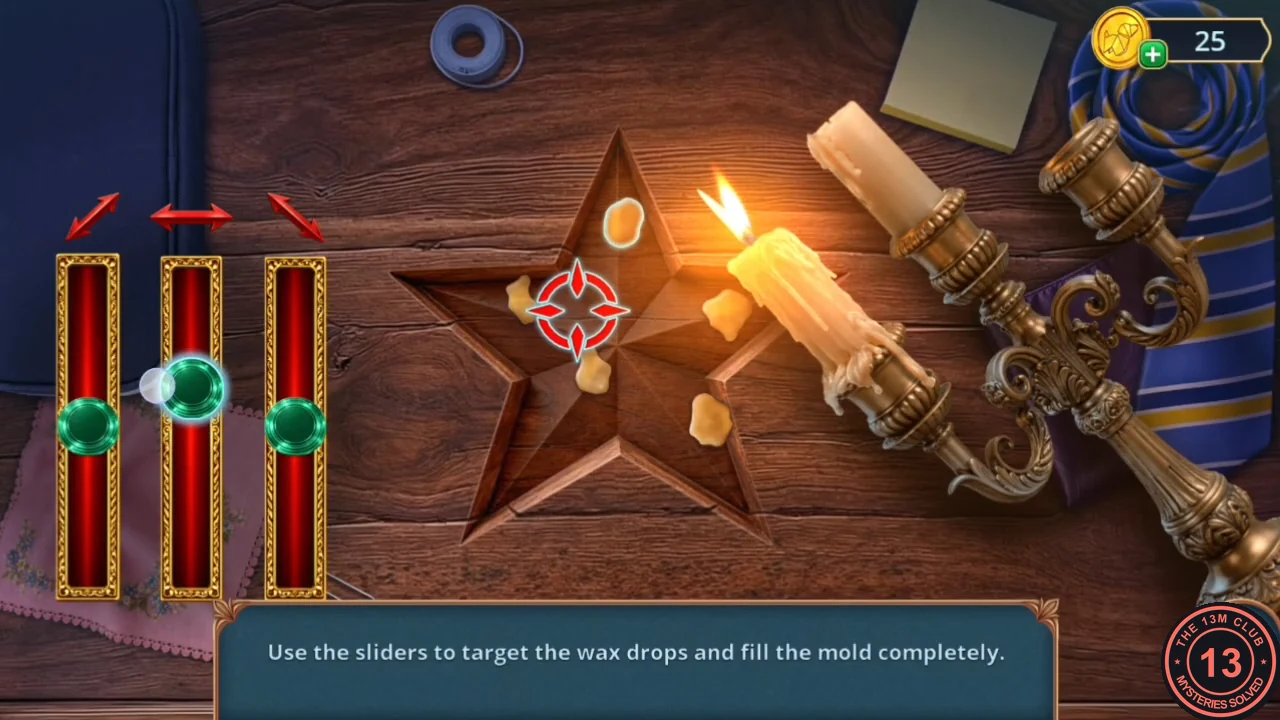
The game's instruction: "Use the sliders to target the wax drops and fill the mold completely." Each of the three sliders moves the red target along the direction drawn above it: one diagonal, horizontal, or the other diagonal. The candle drips wax wherever the target stops.
- Use the lit candelabrum on the bottom of the bedroom cabinet to start the puzzle.
- Combine the three sliders to move the target onto an empty point of the star and let the wax drip, then move on to the next empty point. Repeat until every point and the centre are filled.
- Place the wax star amulet on the wall behind the ballerina box. A portrait is revealed; Mark notices the girl looks just like Samantha.
- Samantha's paid answer "Alright, I'll go check the hallway" costs 60 coins and carries decision points. The free answer "You're just tired and stressed, hon." is the one shown in the recordings and continues the route below; what the paid answer changes beyond the points wasn't shown.
Portrait Wall Words
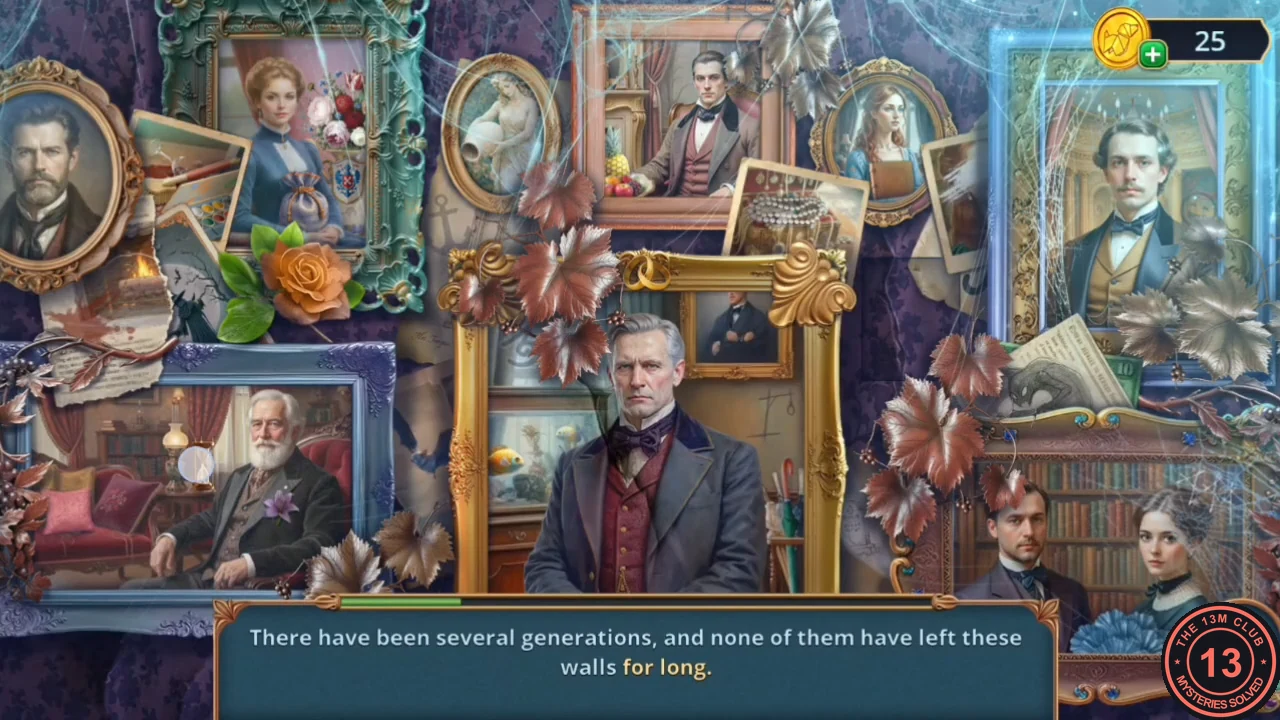
Hang the portraits from the locked-room chest, then search the portrait wall for words. The reward is the nightingale brooch.
- Hang the portraits on the guest bedroom wall.
- Each portrait has a caption with highlighted words (such as "cold", "long" and "story"). Find all the highlighted words in the scene. Take the nightingale brooch.
- Use the nightingale brooch on the champagne bucket to remove the cork. Take the cork.
Hallway Armour and Lanterns
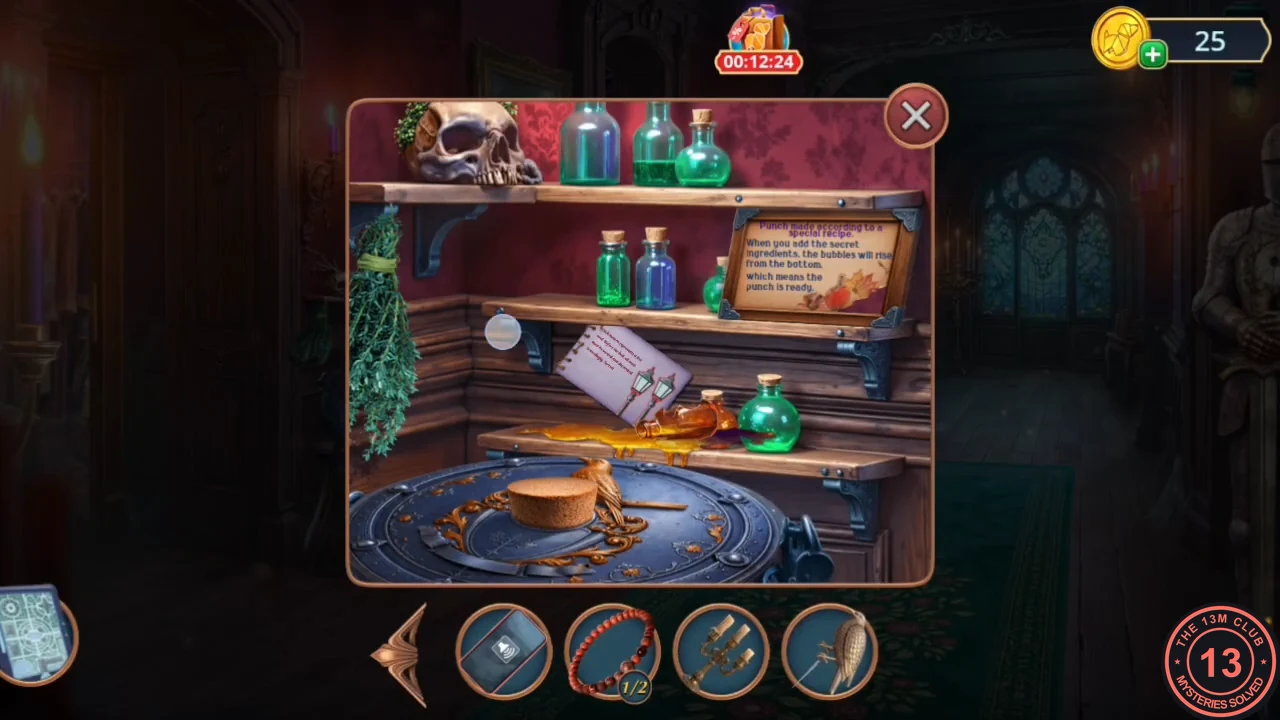
Make oil for the rusty knight armour, then light the white lantern at the gate.
- At the hallway cauldron, put the broken shield over the cauldron and add the cork and the bulb sprayer to make oil. Take the oil.
- Oil the rusty knight armour in the hallway and take the sword handle.
- In the car, pull the seat lever and take the paper knife.
- Take the lantern drawing from the hallway cauldron shelf. At the lanterns by the gate, put the drawing on the plain white lantern (Jarrett's note says "Each lantern represents a lost soul...") and cut out the pattern with the paper knife. The lantern glows green. Take the cast iron and the second bracelet (2/2).
Portrait Wall: Return the Items
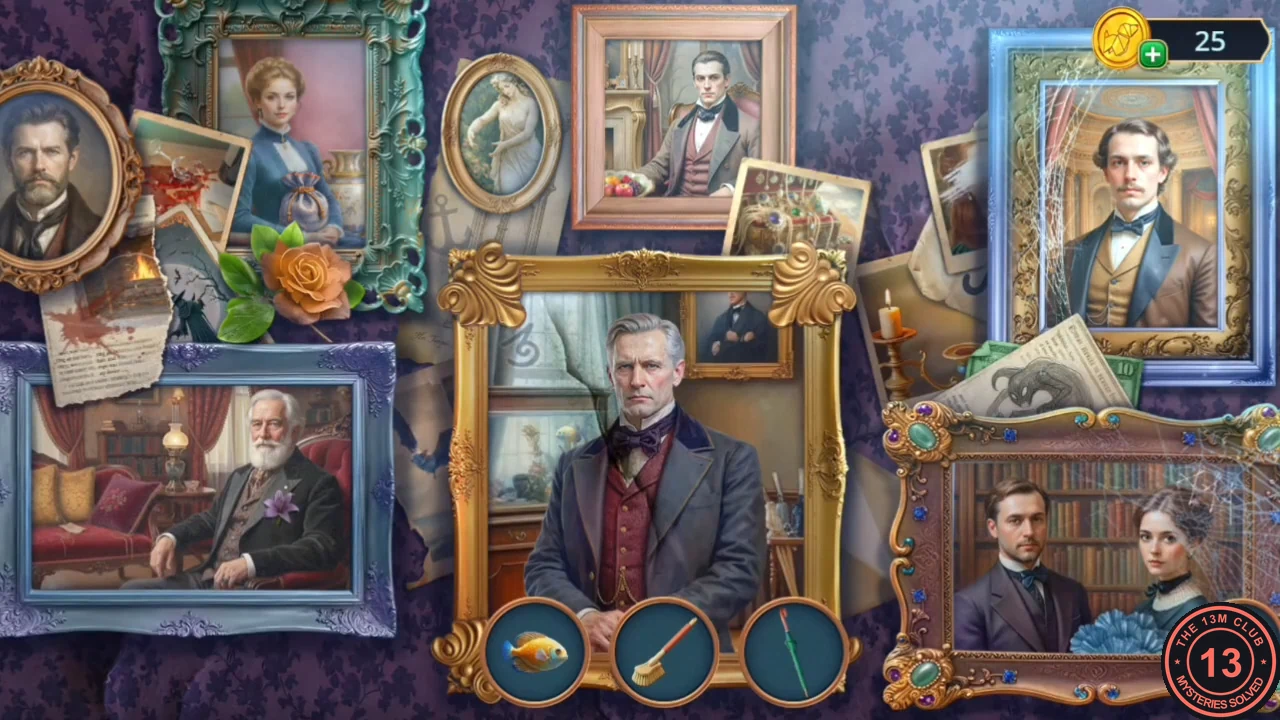
The second portrait-wall scene. Objects have gone missing from the portraits, and you put each one back where it belongs. The reward is the wind-up mouse.
- With the second bracelet in your inventory, go back to the guest bedroom and tap the portrait wall. Mark wonders whether the portraits have moved, and the search opens. Both bracelets stay in your inventory; you need them later for the ladder.
- Put each object from the bottom bar back into the portrait it belongs to until every portrait is complete. Take the wind-up mouse.
- Put the wind-up mouse in the hole in the bedroom wall. The ballerina appears.
Ballerina Pose
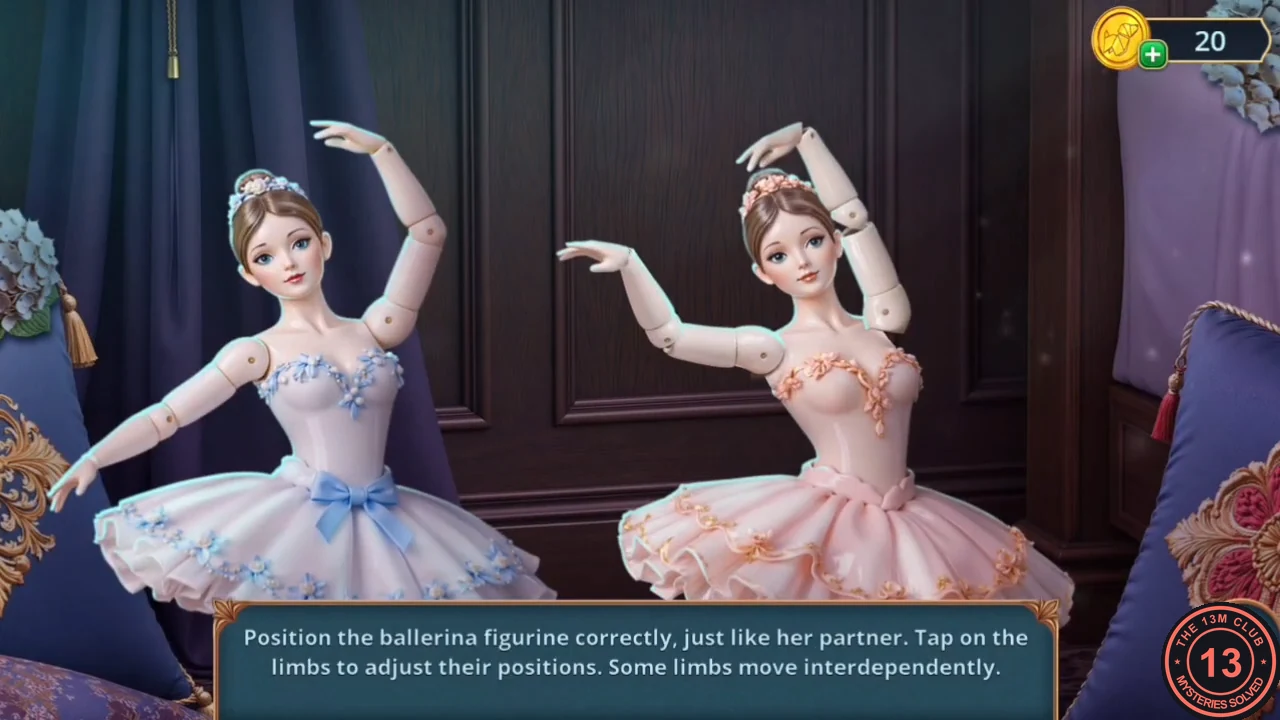
The game's instruction: "Position the ballerina figurine correctly, just like her partner." The left ballerina is the fixed target. Tap a limb of the right ballerina to change its position. Some limbs move together, so check the whole figure after every tap.
- Tap the right ballerina's limbs until her pose matches the left ballerina exactly. Take the knight's crest.
- Place the knight's crest on the armour in the hallway.