Metal Toy Chest
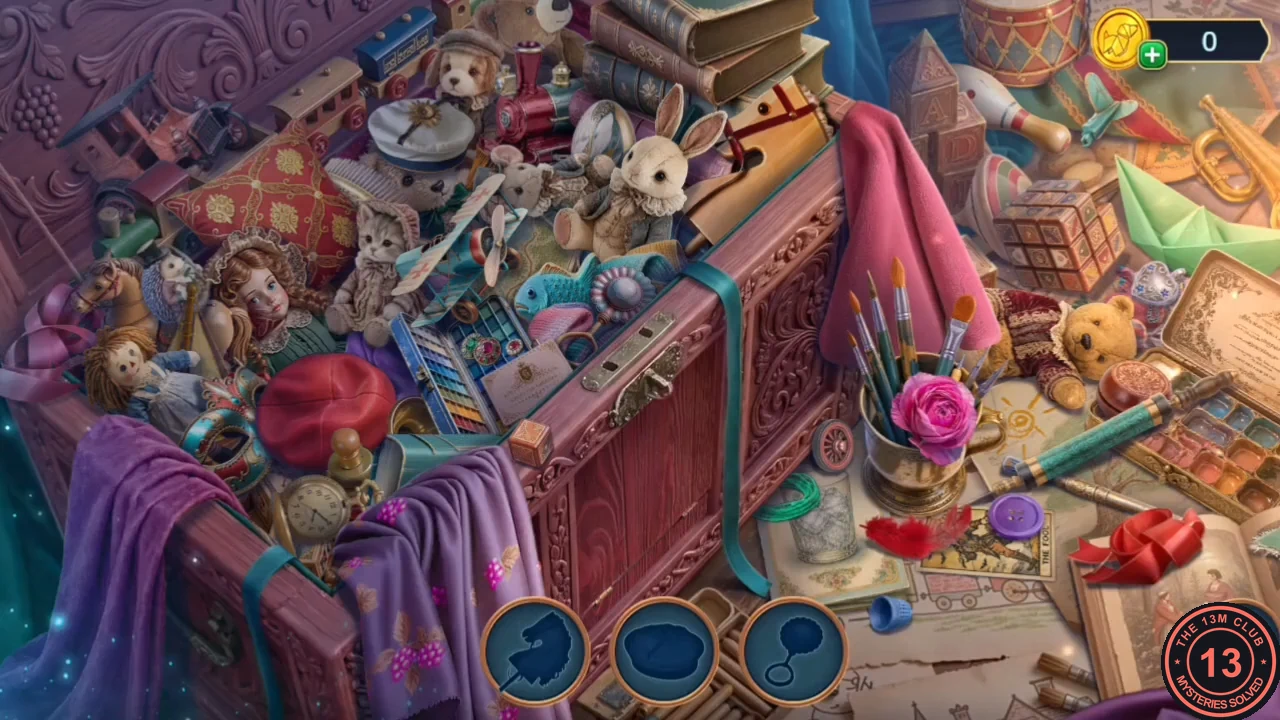
The Servants' Quarters are full of toys. A metal toy chest holds a silhouette search; the reward is a wood cutter.
- In the Servants' Quarters, take the restoring solution from the toys on the floor and the lamp lever from the dollhouse table. At the wax-covered candelabra by the painting, take the joint, scrape the wax away with the hairbrush and take the magnet.
- Open the toy chest with the magnet. Find every toy shown as a silhouette in the bottom bar and take the wood cutter.
- Carve a brush handle from the piece of wood on the table with the wood cutter. In the same toy-table close-up with the miniature piano, collect the scroll at the upper left.
Painting Restoration
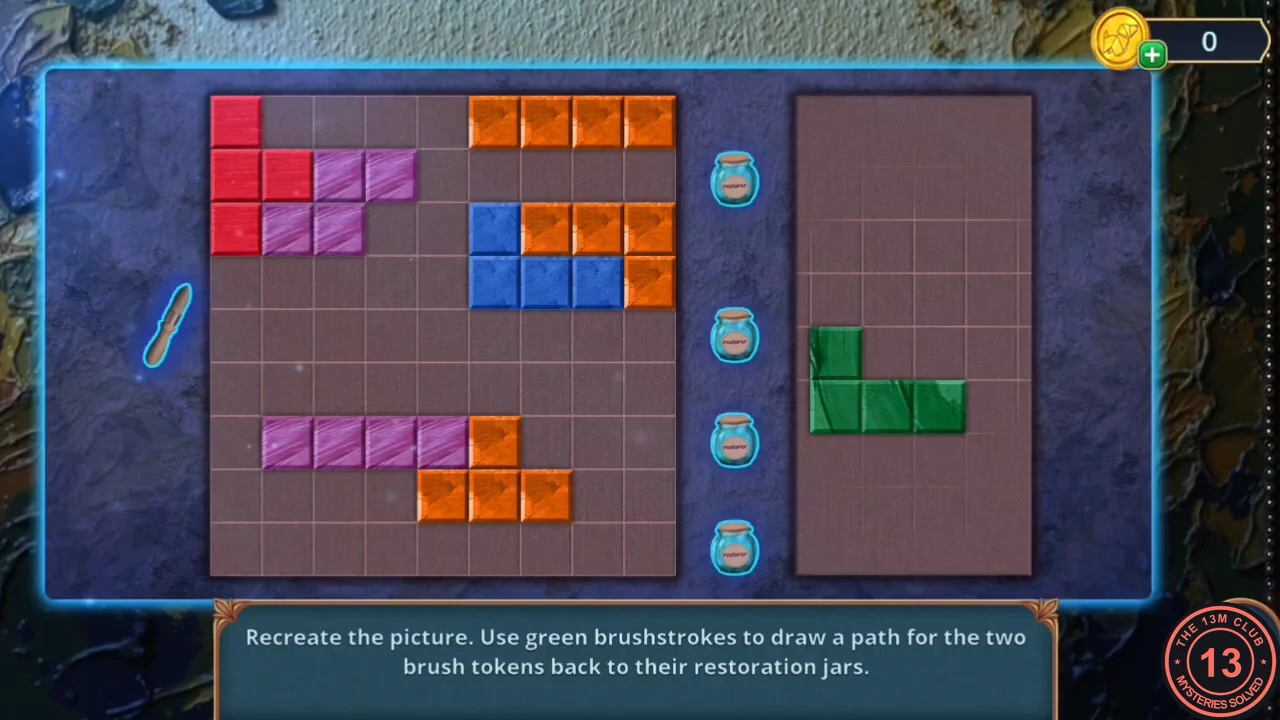
The game's instruction: "Recreate the picture. Use green brushstrokes to draw a path for the two brush tokens back to their restoration jars." The grid is partly filled with coloured blocks. The green brushstroke pieces wait in the tray on the right, and each brush token has its own jar.
- Use the restoring solution and the brush on the painting to start. Drag the green pieces from the tray into the empty cells. Fit them so that the green cells form an unbroken path from each brush token to its jar. The painting becomes a portal to the Servants' Old Room.
Servants' Old Room
A ghost guards the servants' old room. The wall here hides berries and a valve for the sewing machine.
- The ghost appears. "Hide" is free. "Drive away the ghost" costs 30 coins (+2 decision points) and "Calm the ghost" costs 60 coins (+6). The recording takes the free answer, which continues the route below; what the paid answers change beyond the points wasn't shown.
- Take the broken cat figurine from the sewing machine. Take the filter tube from the shelf and collect the scroll there. Collect the leftover paint with the pipette to get paint oil.
- Fit the lamp lever and the paint oil to the oil lamp to make it work. Place the working lamp in the hole in the wall to light it up. Mark won't pick anything up in there with his bare hands, so use the forceps to take the berries and the sewing machine valve. Fit the valve on the sewing machine and take the stained glass piece and morbid coin (2/2).
Death Bust Lock Shards
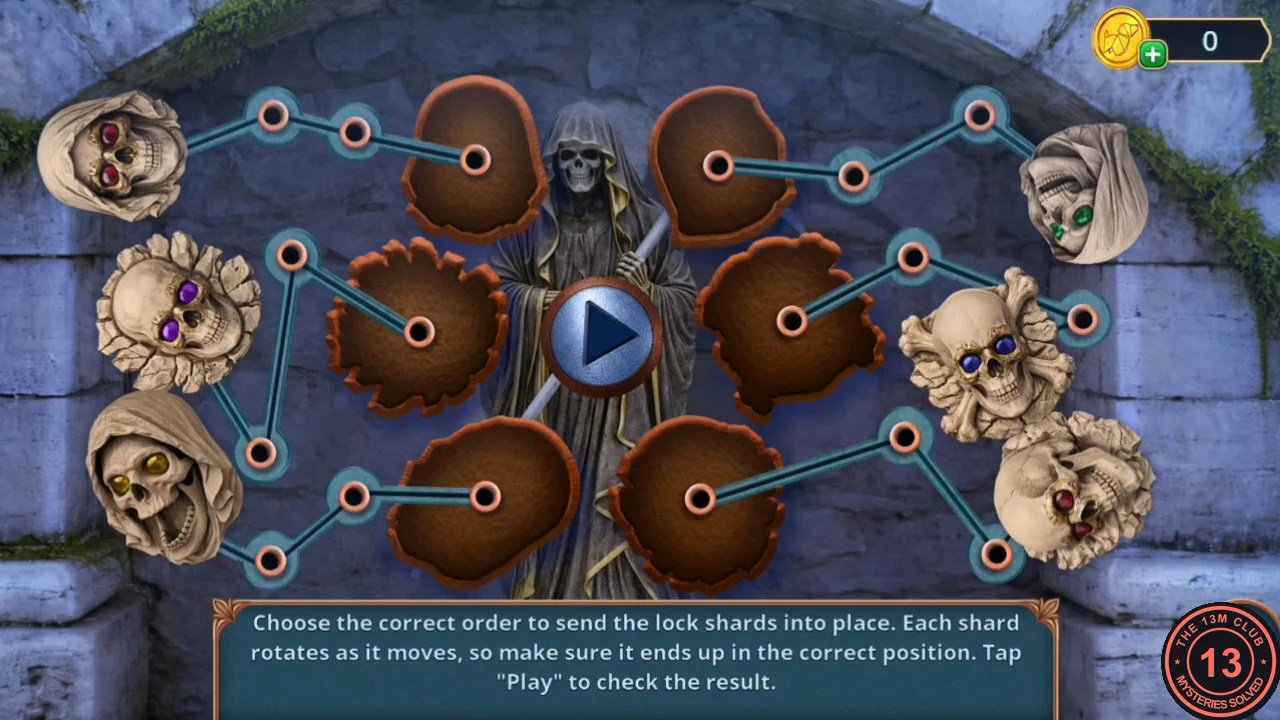
The game's instruction: "Choose the correct order to send the lock shards into place. Each shard rotates as it moves, so make sure it ends up in the correct position. Tap 'Play'." Six skull shards wait at the ends of paths that lead to sockets around the reaper. Tap a shard to change its starting rotation; Play sends all of them along their paths. The starting rotations can differ, so match the setup image rather than counting taps.
- At the skeleton in the coffin in the Secret Passages, put both morbid coins on its eyes. Take the bust of death and the lemon.
- Place the bust on the stone table. Tap the shards until each one matches the setup in the step image, taken just before Play. With that setup every skull turns upright as it travels. Tap Play; the six skulls land in the brown sockets around the reaper.
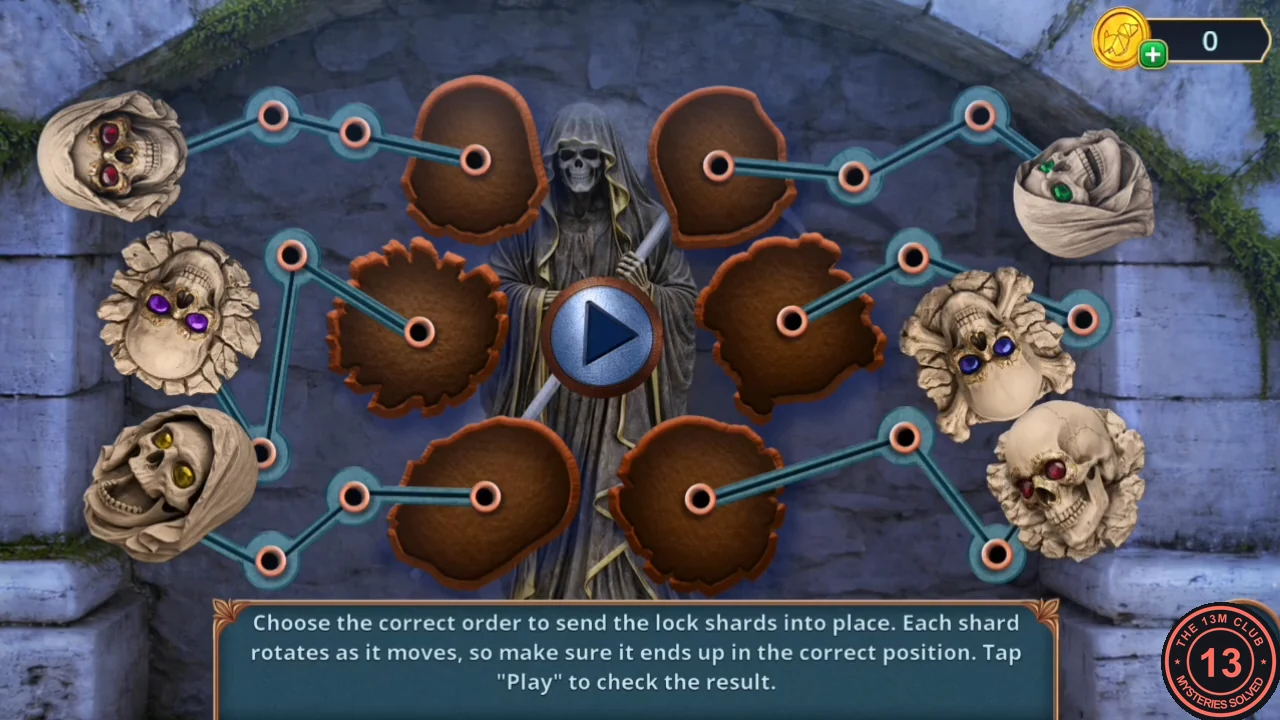
The shard rotations just before Play in the recording. Match each skull's orientation, then tap Play. - Take the stained glass piece and the figurine paw, and collect the scroll in the niche close-up. Repair the cat figurine with the paw and the joint.
Painting Frame Crystals
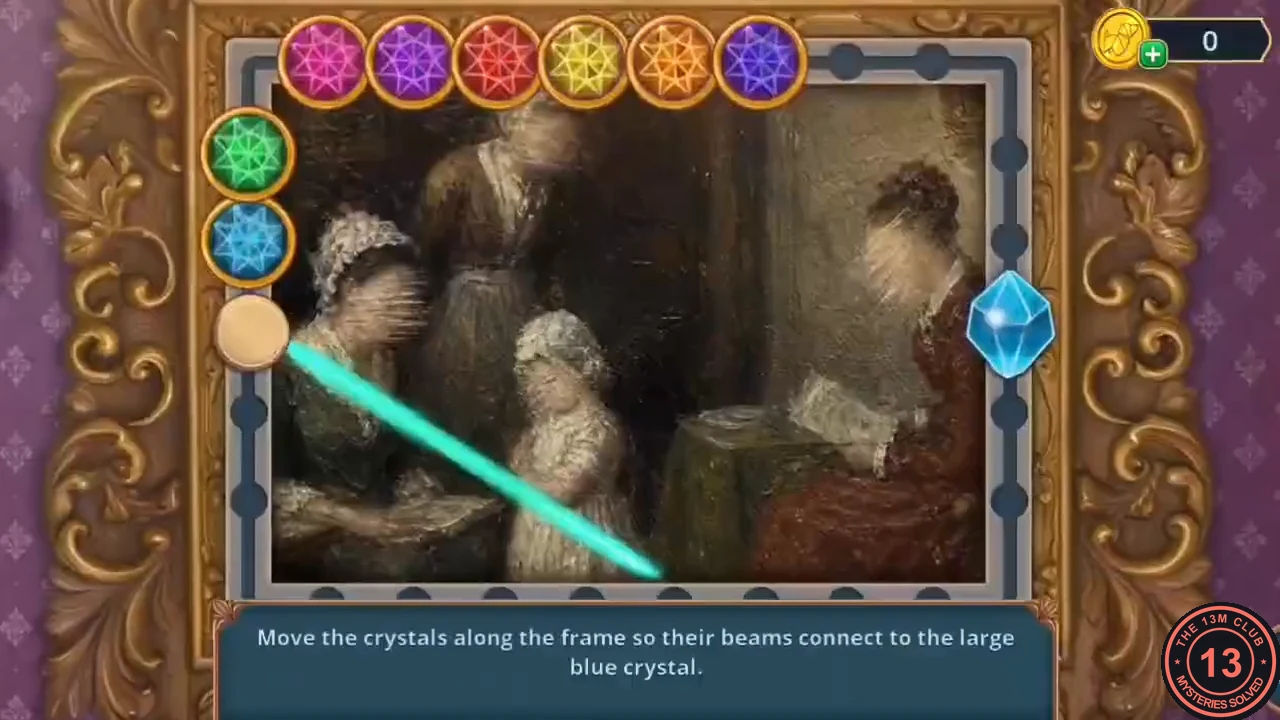
The game's instruction: "Move the crystals along the frame so their beams connect to the large blue crystal." Light shines from a point on the left side of the frame, and the large blue crystal sits on the right side. The small coloured crystals start in a row along the top.
- Put the repaired cat on the toy box in the Servants' Quarters. Take the milk, the amulet (1/2) and the frame part. Fit the frame part on the painting's frame.
- Move crystals to new spots on the frame. Each crystal that the beam hits sends it on towards the next one. In the solved frame, the beam runs from the light on the left down to a crystal on the bottom edge, then up to a crystal on the right edge beside the big blue crystal. Take the golden twig amulet.
- In the Butler's Room, fit the golden twig amulet into the bird clasp of the coat bag. Take the filter sponge and the toy part. Put the filter tube and the sponge into the aquarium filter and install it in the aquarium. Once the water is clear, take the coral.
Study Window Recipe
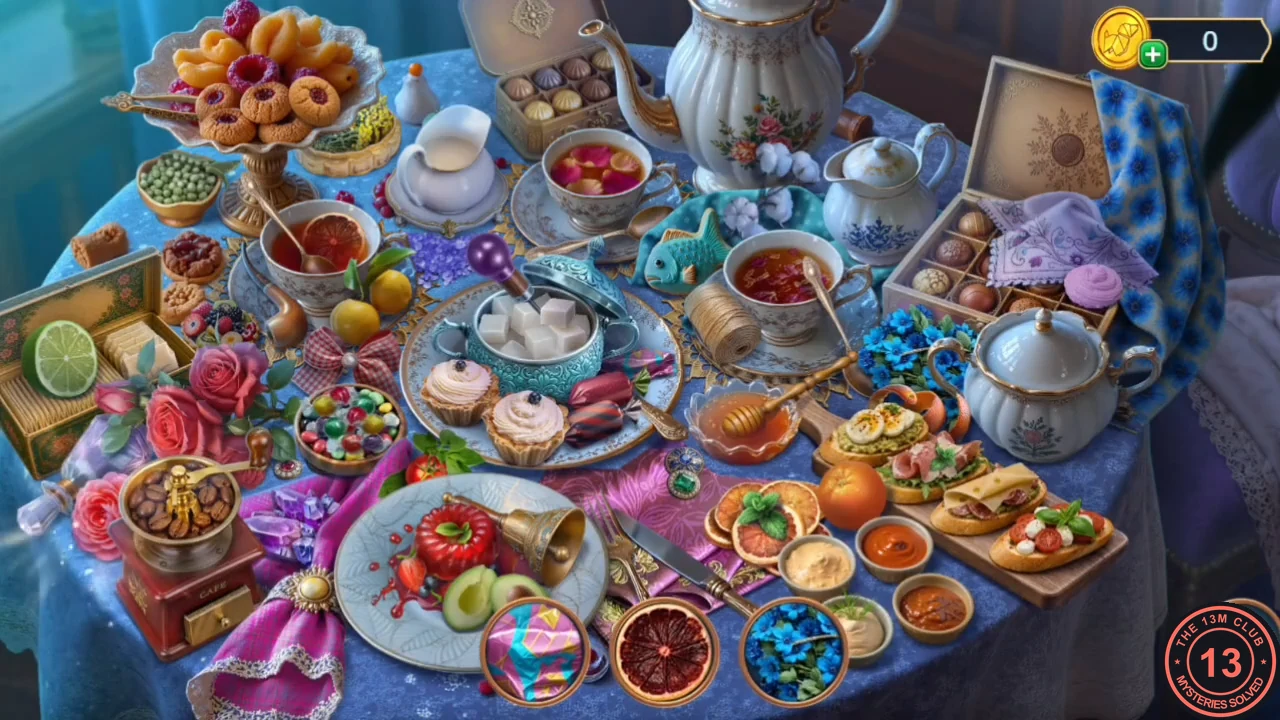
With all three recipe ingredients, the study window opens a silhouette search. The reward is the ink developer.
- Put the lemon, the coral and the milk into the three slots at the study window. Find every object shown in the bottom bar and take the ink developer.
Developer Drops
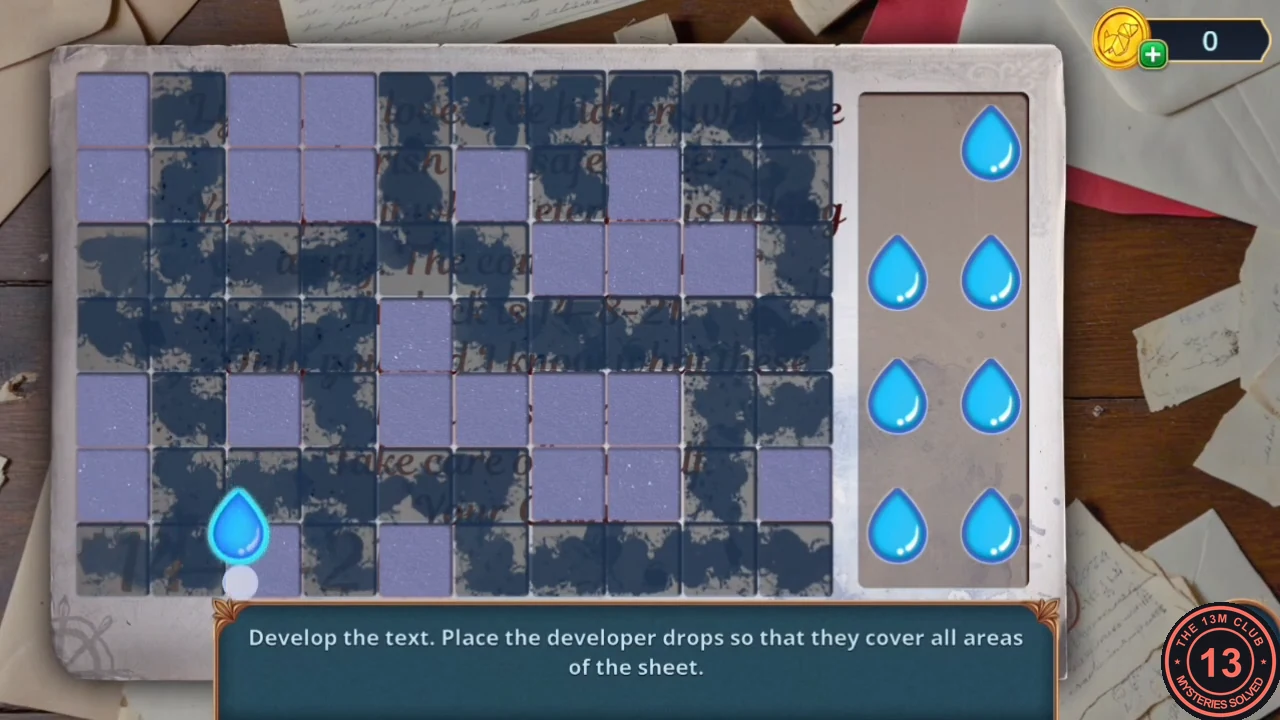
The game's instruction: "Develop the text. Place the developer drops so that they cover all areas of the sheet." Drag a drop from the tray on the right onto the sheet. It spreads in straight lines through the pale channels until it reaches a dark edge.
- Use the ink developer on the paper on the desk. Place drops where pale channels cross so that each drop covers several channels, then use the remaining drops on whatever is still uncovered. The text appears when every pale area is covered.
- Read the letter: "The combination for the lock is 14-8-21." Open the safe in the study with 14-8-21. Collect the scroll and take the wine bottle and the stained glass piece (4/4).CODE14-8-21
Stained Glass Window
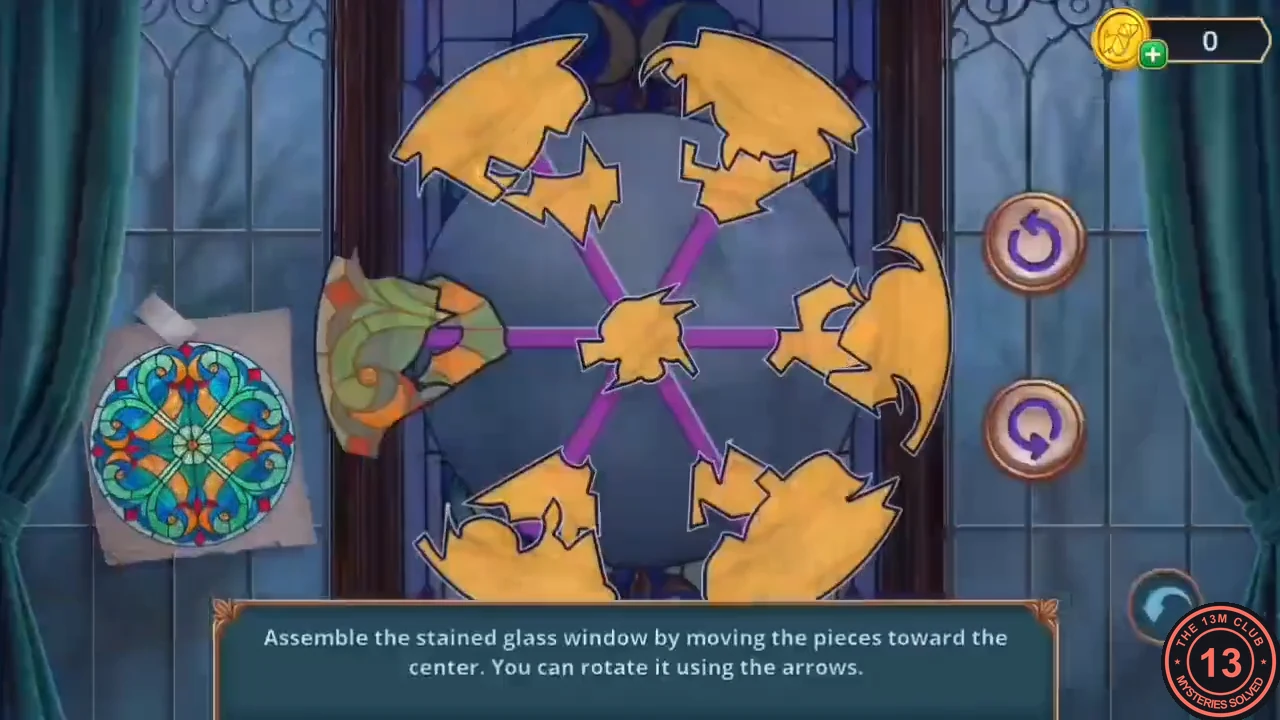
The game's instruction: "Assemble the stained glass window by moving the pieces toward the center. You can rotate it using the arrows." The pieces sit on six spokes. The two arrow buttons turn the whole wheel, and tapping a piece slides it towards the centre. This puzzle needs trial and error, so the guide gives the method rather than a tap order.
- Place the four stained glass pieces in the window of the Old Library. Turn the wheel until a piece whose edge fits the growing centre faces an open spoke, then tap it. Build from the centre outwards until the circle is complete and matches the window picture on the left. Take the fake tree when the window is done.
- Put the fake tree on its support on the library table. Take the coat pattern and the railroad parts.
Toy Train Set
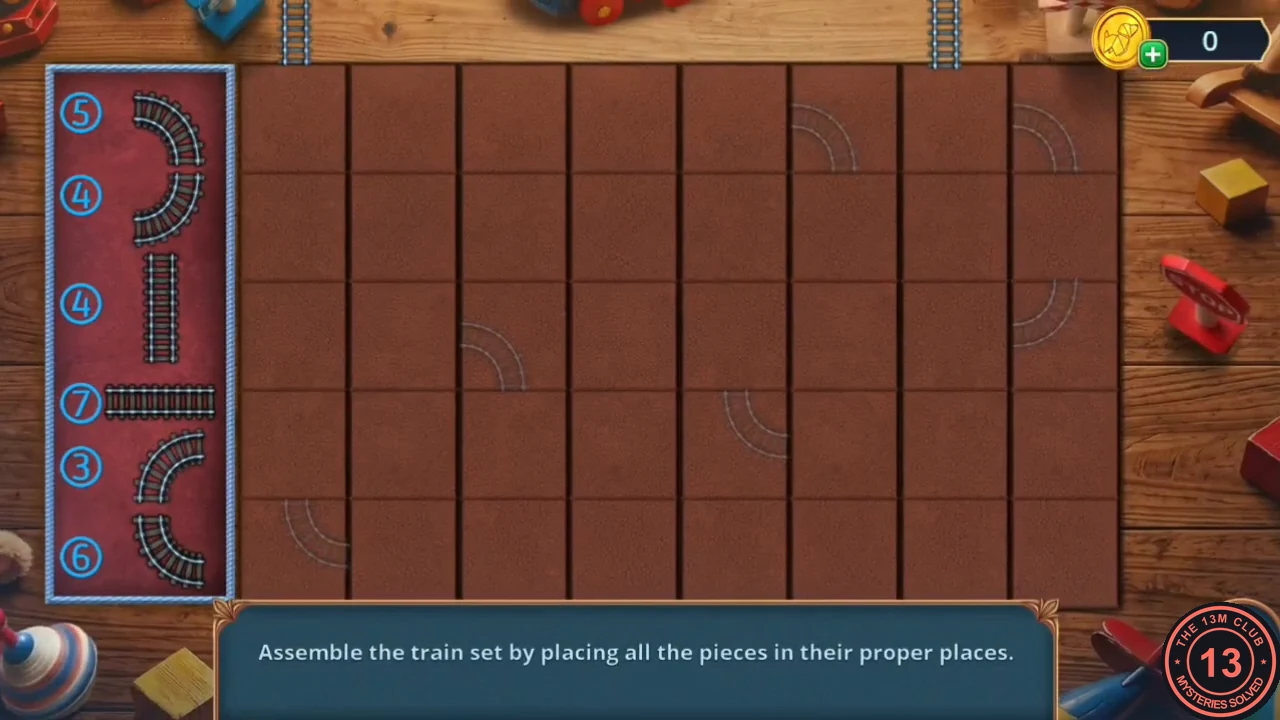
The game's instruction: "Assemble the train set by placing all the pieces in their proper places." The numbered track pieces are in the tray on the left. Faint track marks on the floor board show where pieces go.
- Use the railroad parts on the toy set on the Servants' Quarters floor. Drag each piece onto the faint marks that match its shape, so that the pieces join into one closed track. Take the screwdriver and the submarine.
- In the Butler's Room, scare the eel in the aquarium with the submarine and take the ripper. Cut the coat lining with the ripper and take the origami and the amulet (2/2).