Archive: Cassandra's three secret keys
The rector's spare keys are hidden in the archive. Drink the potions to see where.
- Zoom into the arched door with ivy in the backyard and drink the Elephant's memory potion at its lock: Maaron memorises the glowing sockets.
- In the archive drink the Cat's intuition potion.
Puzzle: flower seal memory
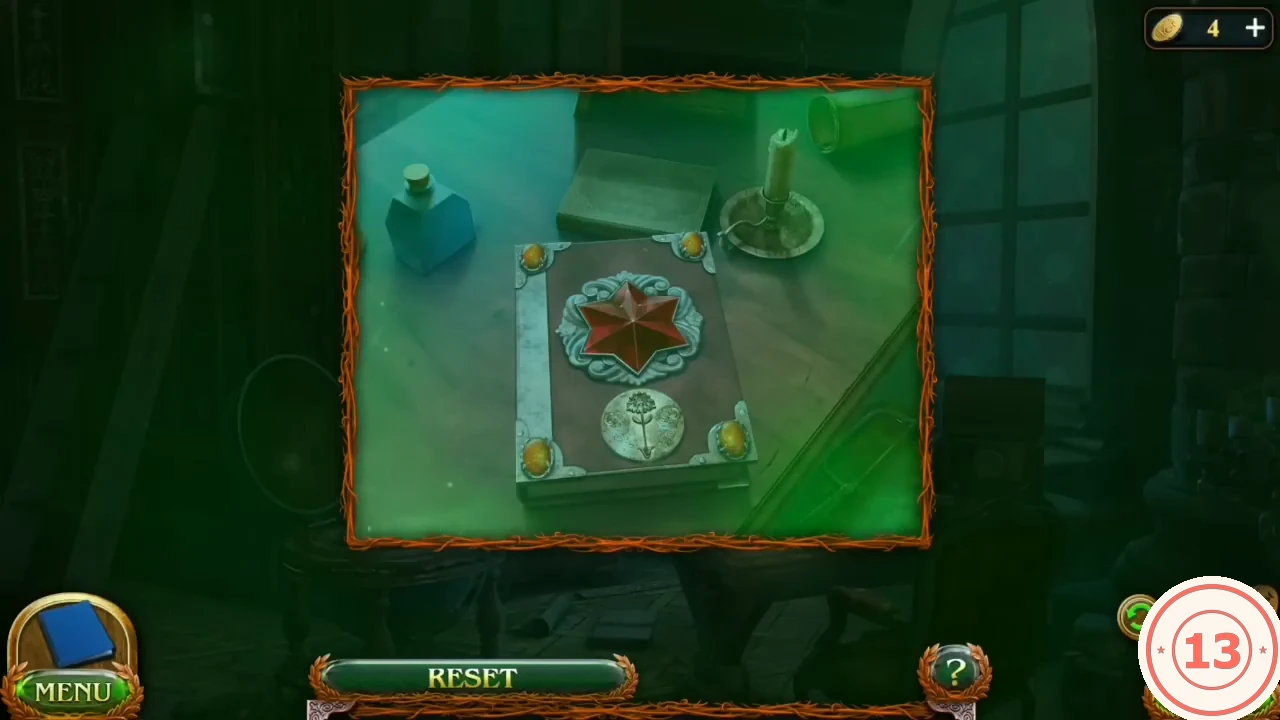
The flower seal on the archive desk book shows a sequence of flashing corner gems that must be repeated.
- Zoom into the desk book and tap the flower seal: the corner gems flash in a sequence. Watch the flashes and repeat them by tapping the same gems in the same order; use Reset to see the sequence again. Example sequence (yours may differ): bottom-right, top-right, bottom-left, bottom-right. Take Cassandra's secret key (flower), then the Fretsaw.
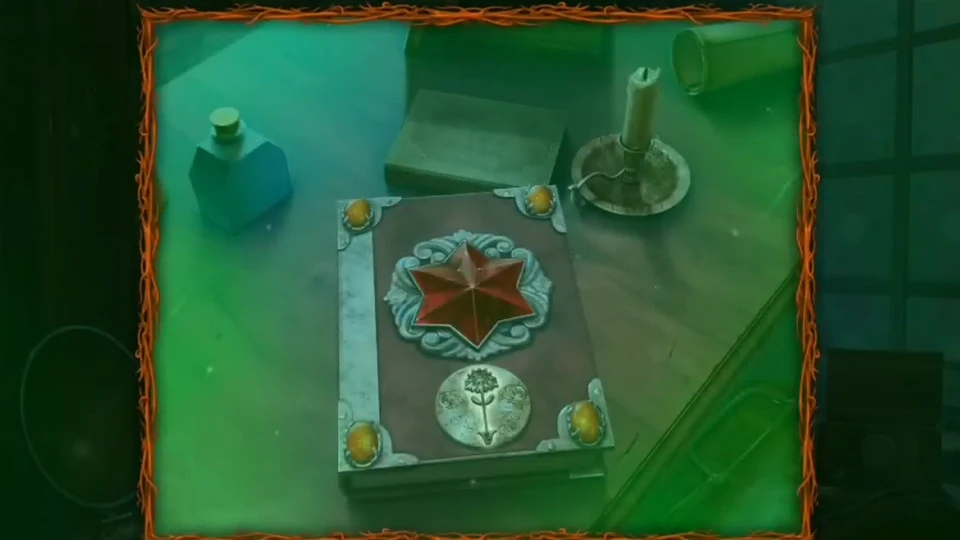
The desk book: the four corner gems flash in the sequence you must repeat.
Archive: the other two keys
The remaining two of Cassandra's keys are in the archive's birdcage and cupboard.
- Saw through the birdcage bars with the Fretsaw and take the bell-shaped key.
- Take the Part of the horse figurine from the globe pedestal and put it on the box lid in the open cupboard; take the hook-shaped key.
Puzzle: backyard door key tumblers
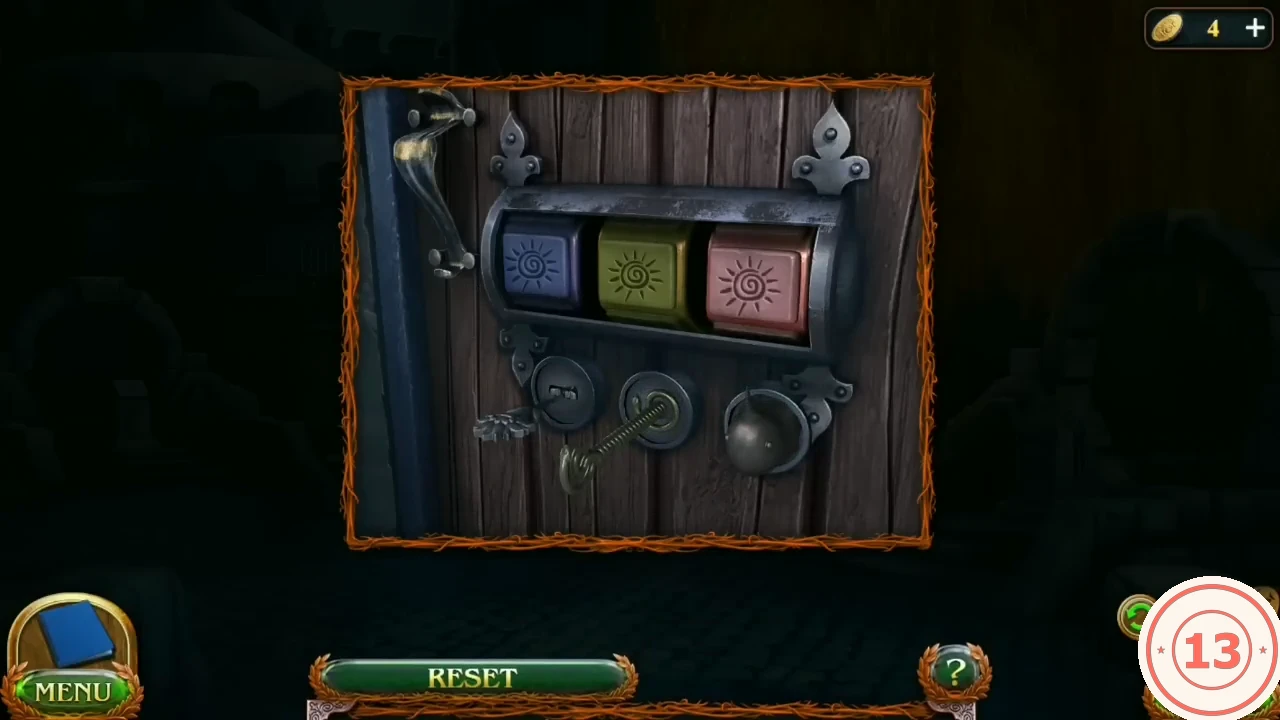
Each of Cassandra's keys turns a tumbler through a ring of symbols. Set each tumbler to the symbol given below.
- Insert the three keys into the backyard door lock (flower, hook, bell).
- Turn the tumblers to: blue = eagle with spread wings, yellow-green = tree, red = a hook shaped like a question mark with short rays around its top. The red symbol is also painted on the red pennant visible through a window in the backyard.CODEBlue: eagle | Yellow-green: tree | Red: question-mark hook with rays
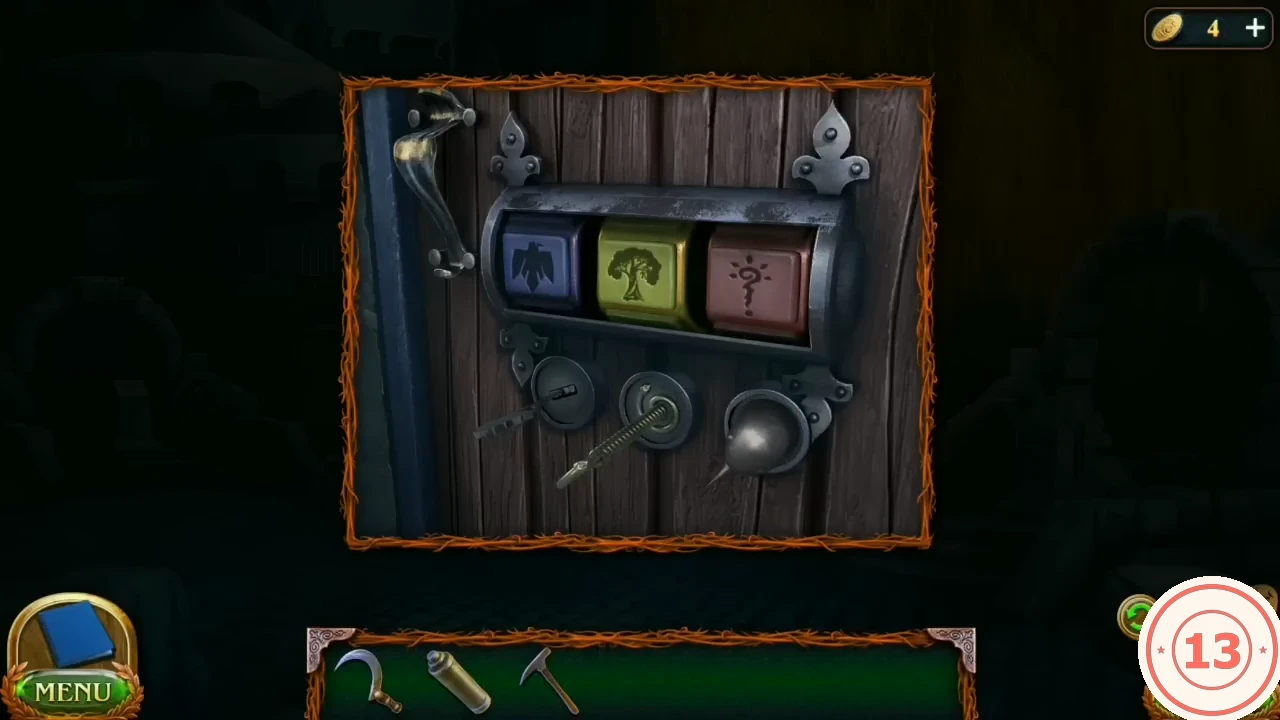
The correct setting: eagle, tree, question-mark hook.
Search: utility room
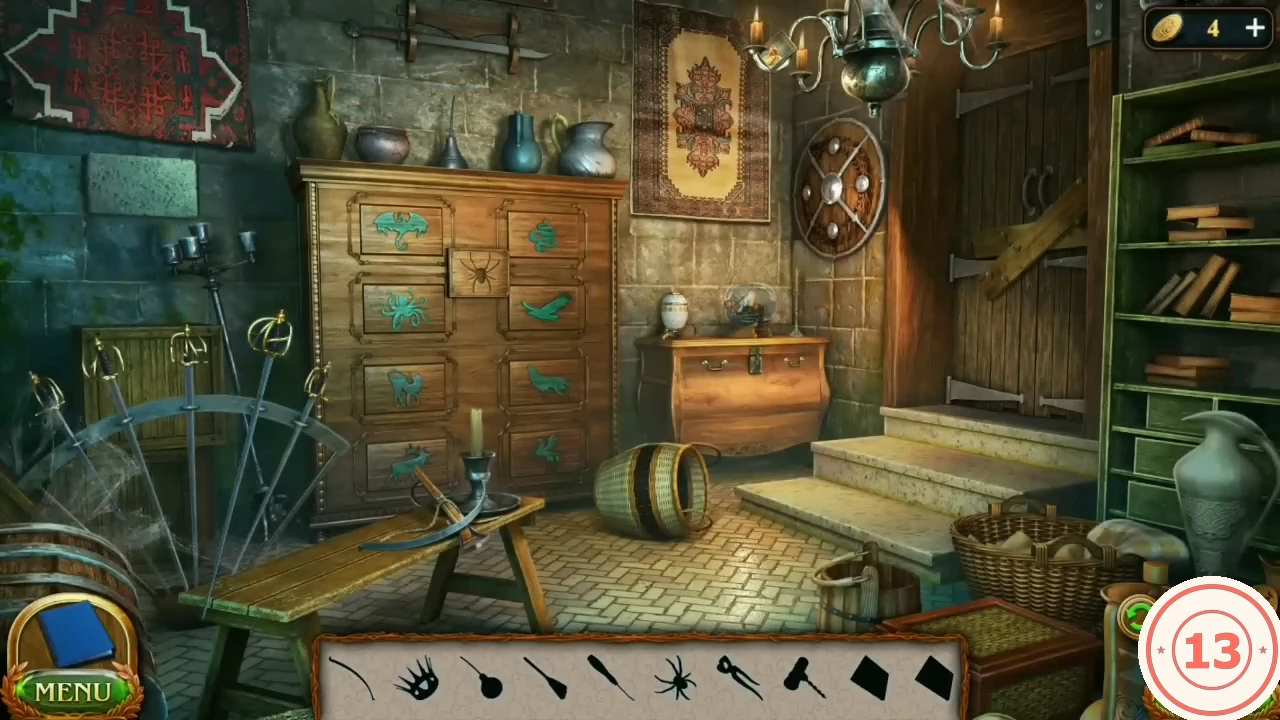
An interactive search. The silhouettes at the bottom are Crossbow limb, Crown, Oiler, Broom, Picklock, Spider figurine, Pincers, Corkscrew and two Chips.
- Tap the sword by the chandelier so it falls onto the round shield and releases a Chip. Take the Crossbow limb from the crossbow on the front-left bench and use it on the right seam of the loose wall tile.
- Take the Oiler standing among the jugs on top of the tall chest of drawers on the left. Zoom into the small chest of drawers in the middle (white urn and ship in a bottle on top); its drawer is stuck. Oil it with the Oiler, open the drawer and take the Broom and the blue-handled Pincers.
- Sweep the web niche with the Broom: Spider figurine and Crown. Put the Spider figurine in the centre of the left cabinet; put the Crown on the urn lid for the second Chip.
Puzzle: boar head chip board
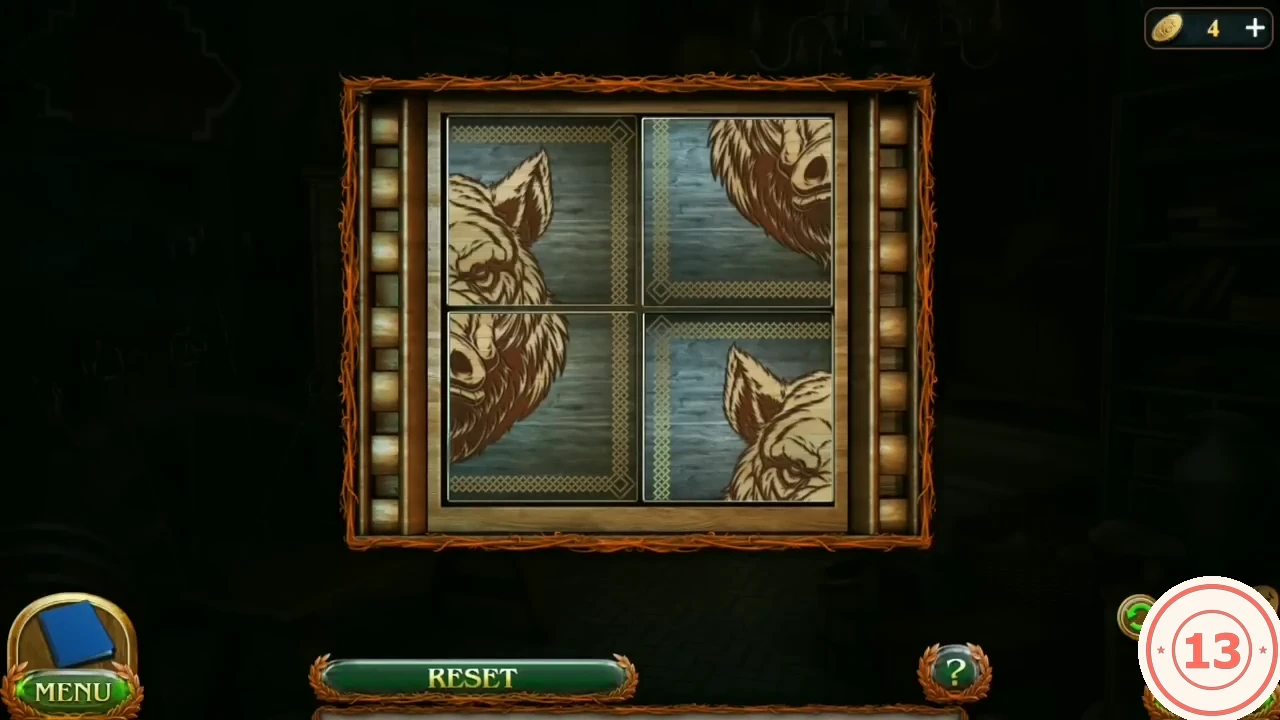
A 2x2 board in the utility room needs the two Chips found in the search. Moving the chips has to complete the boar head picture.
- Place both Chips on the 2x2 board and move them until the boar head is whole. Take the Corkscrew.
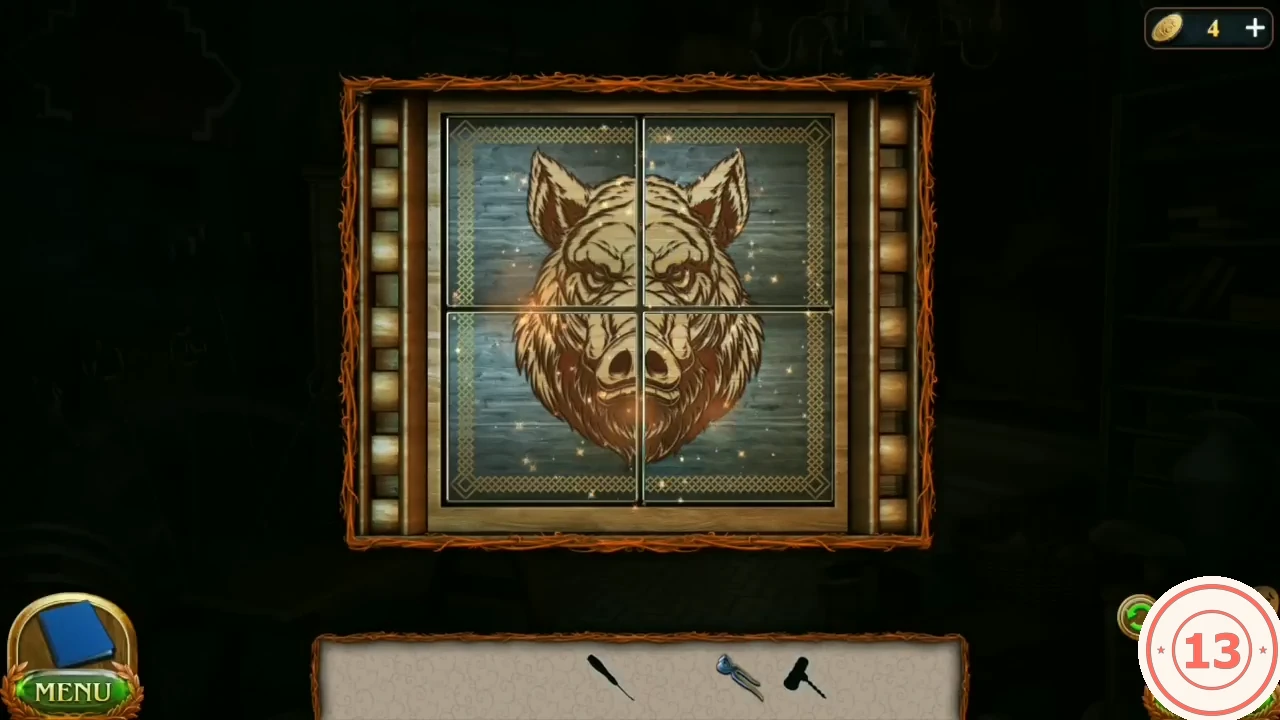
Completed chip board: the boar head is whole.
Utility room: the Picklock and the office door
The Corkscrew from the boar board finishes the utility-room search.
- Zoom into the small chest of drawers again and pull the cork of the ship bottle with the Corkscrew. Tap the bottle; the Picklock drops onto the open drawer - take it. At the office door pull the nailed plank off with the Pincers and open the lock with the Picklock.
Rector's office: the pattern element
The dolmen map is missing the canyon symbol. A glass display cabinet holds the Rune hyperstone.
- Collect the Morphing medallion high on the upper-left wall (41/45) and the last 7-set item near the far central pedestal (set 7/7, achievement Researcher). Look at the dolmen map: the canyon symbol is blurred.
- Take the Lamp from the octagonal side table and put it in the glass display cabinet on the left wall: the figurines light up and a pentagon emblem slot appears.
- Collect the three gold Pattern elements, each one unlocking the next: take the first from the open book on the desk. Zoom into the round lidded box on the pedestal behind the desk, insert that element in the leaf-shaped lock on its lid and turn it; the lid opens and gives the second element. Then zoom into the top of the octagonal side table, insert the second element in its leaf-shaped keyhole and turn it to get the third.
- Open the desk drawer with a Pattern element to get the silver base, combine all pieces and put the assembled emblem in the cabinet.