Academy courtyard
Chapter 2 starts with Maaron in the courtyard of Tonvild Academy. A letter hidden in the lion statue starts the chapter.
- From the episode list start Chapter 2, Academic interest. After Maaron's monologue the task Postal lion starts.
- Zoom into the lion statue on the terrace (upper middle-left) and take the Cryptex.
- Collectibles: the Morphing object on the upper-left arch (Morphing 16/45) and the rune-stone collection item at the foot of the spiral staircase (rune set 1/8).
Puzzle: the cryptex
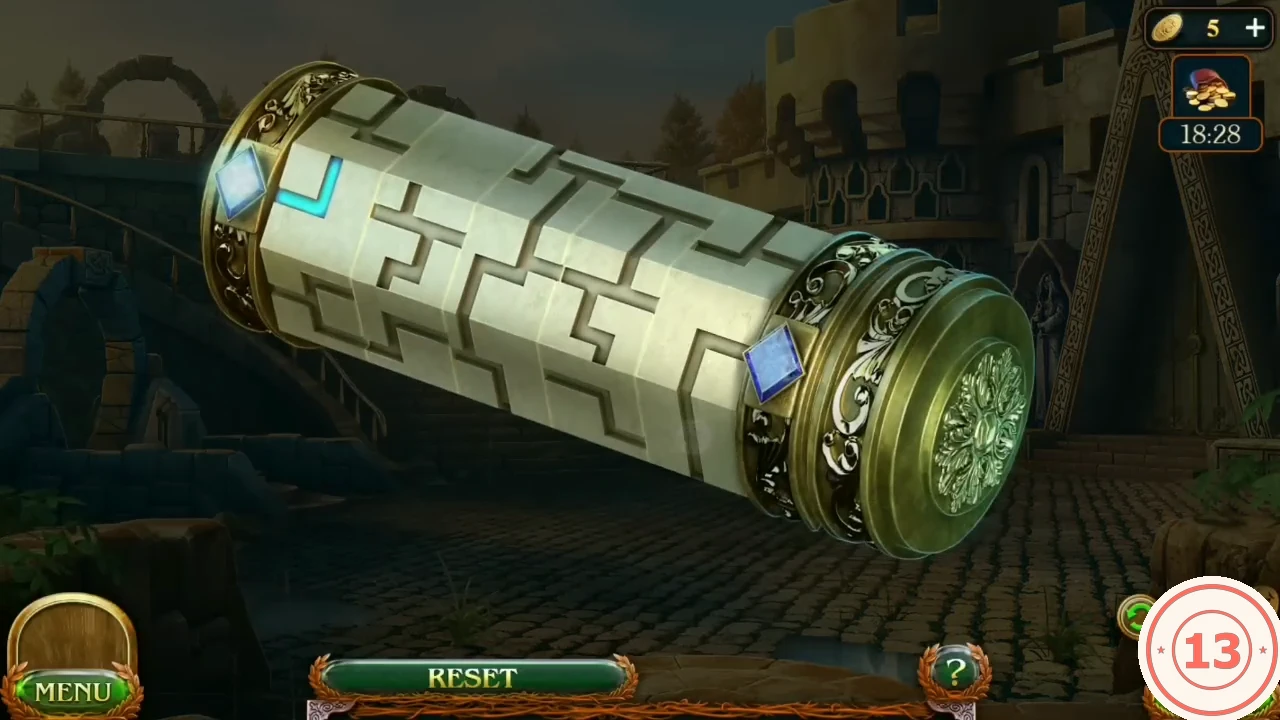
The Cryptex from the lion statue holds the rector's letter. Its rings carry engraved channel segments between a blue gem at each end.
- Open the Cryptex from the inventory. Rotate its rings until the engraved channel forms one continuous line from the blue gem on the left to the blue gem on the right.
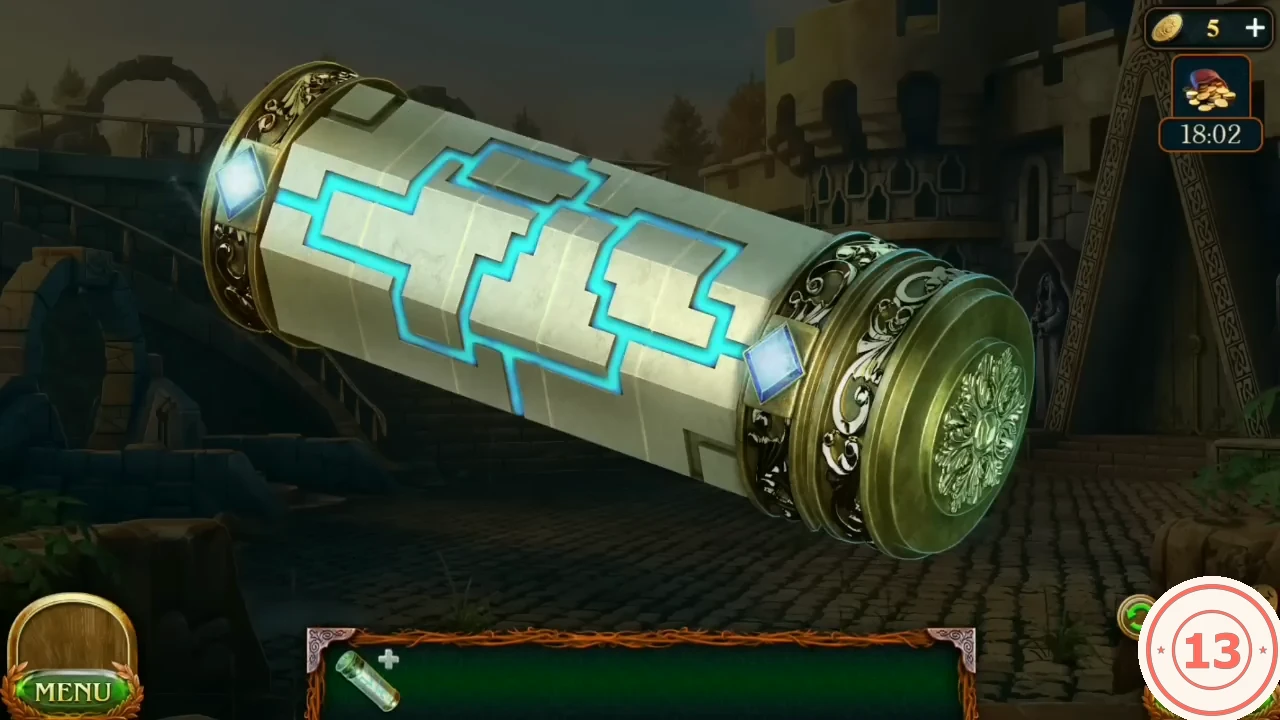
Solved Cryptex: one continuous channel links both gems. - Read the letter (an invitation to the rector of Tonvild Academy) and take the Personal signet. Task Meeting with the rector starts.
- Put the Personal signet into the round lock on the academy entrance doors on the right and go inside.
Puzzle: corridor door chip ring
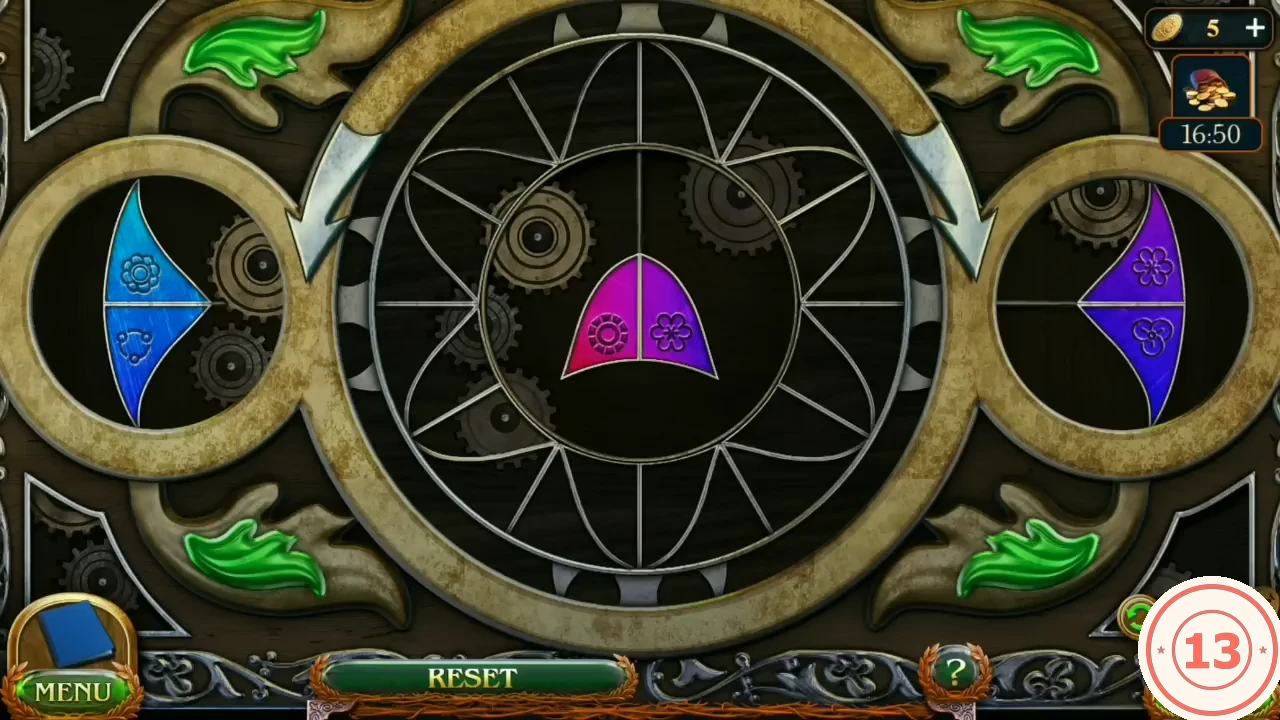
The dark corridor needs four candles in its sconces, and its door is locked by a ring of two-coloured chips.
- In the hall collect the Morphing object, a dark bird inside the big picture frame above the left arched door (Morphing 17/45), and the small dreamcatcher hanging in the ivy at the top right, just left of the coin counter (dreamcatcher set 1/7). The laboratory door is closed for now.
- Take the four Candles: zoom into the dark corridor in the middle and take the candle on the floor at the lower right of the close-up (1/4); back in the hall take the candle lying on the floor in front of the right end of the round bench (2/4); zoom into the library door and take the candle from its sconce (3/4); zoom into the laboratory door and take the candle from the sconce on its left (4/4).
- Put the Candles into the four sconces at the dark end of the corridor, then zoom into the door lock.
- The rule reads: arrange the chips so that adjacent ones have the same symbols; the arrows scroll the field. Feed chips from the centre and the side holders into the ring so that every pair of touching halves matches. Place one chip, then look for the chip whose half matches its free end, and continue around the ring. The finished ring is a continuous rainbow of 12 chips.
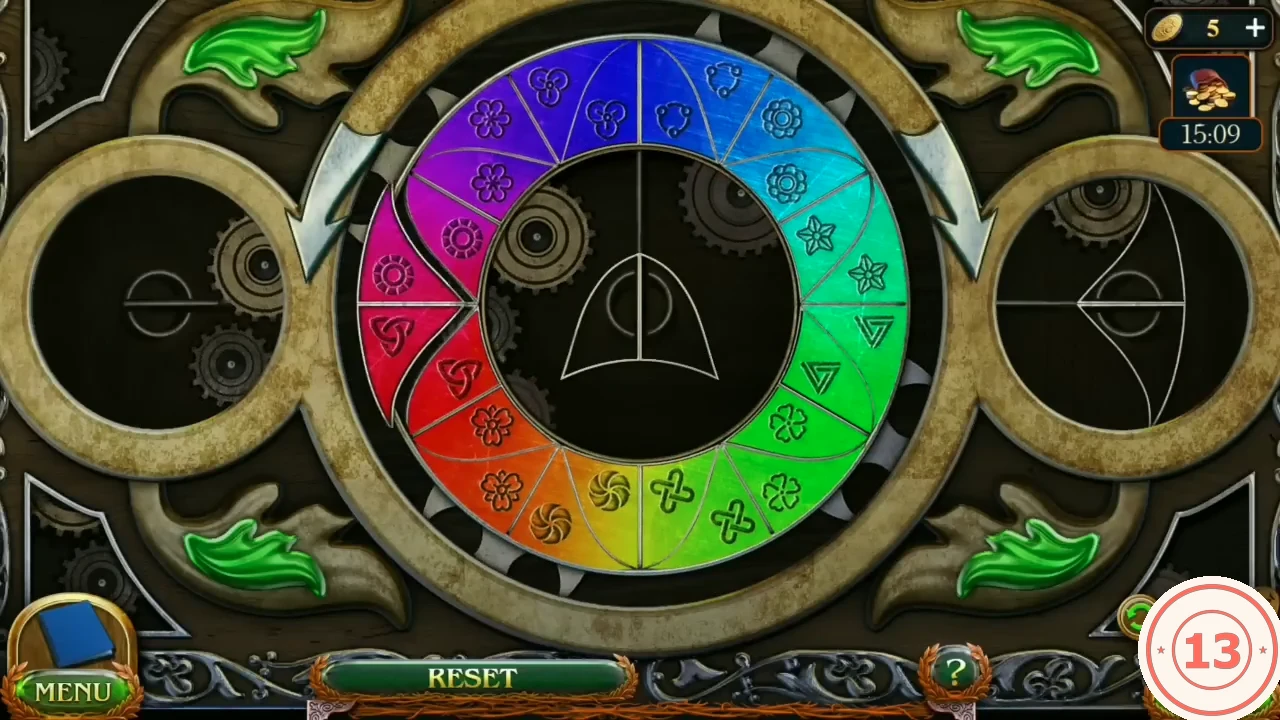
Completed ring: every pair of touching chip halves shows the same symbol. - Walk through to the rector's office and watch the conversation: the rector asks Maaron to help a wounded dwarf in the druid forest. Tasks Wounded dwarf and Portal to the druids start.
Rector's office: light filters and the storyboard
The lens stand in the office projects hidden numbers onto an animation tape. Collect five coloured light filters around the academy.
- Collect the dreamcatcher item hanging above the desk (set 2/7) and the Morphing object on the left windowsill (Morphing 18/45).
- Take the Yellow light filter from the press blotter on the desk.
- Spin the praxinoscope on the round table at the right; take the Red light filter from inside the drum and the Animation tape.
- Collect the remaining filters: Blue from the lion chest in the courtyard, Violet from the pigeon niche in the courtyard's upper-left arch, Green on the left wooden double door in the hall, right of the brass handle bracket.
- Place the five filters in the ring holders of the lens stand on the left pedestal and put the Animation tape under it. Hidden numbers appear on the tape.
- Zoom into the rector's desk and take the Inkwell, the small teal bottle at the right end of the writing set.
- Take the Owl's feather from the courtyard pigeon niche. Back at the desk, sharpen it with the Stationery blade into a quill.
- Zoom into the lens stand and set the Inkwell down beside it, then use the Quill: Maaron dips it and writes down the numbers each colour filter reveals on the tape. The result is the Storyboard.
Puzzle: mechanical eagle wing poses
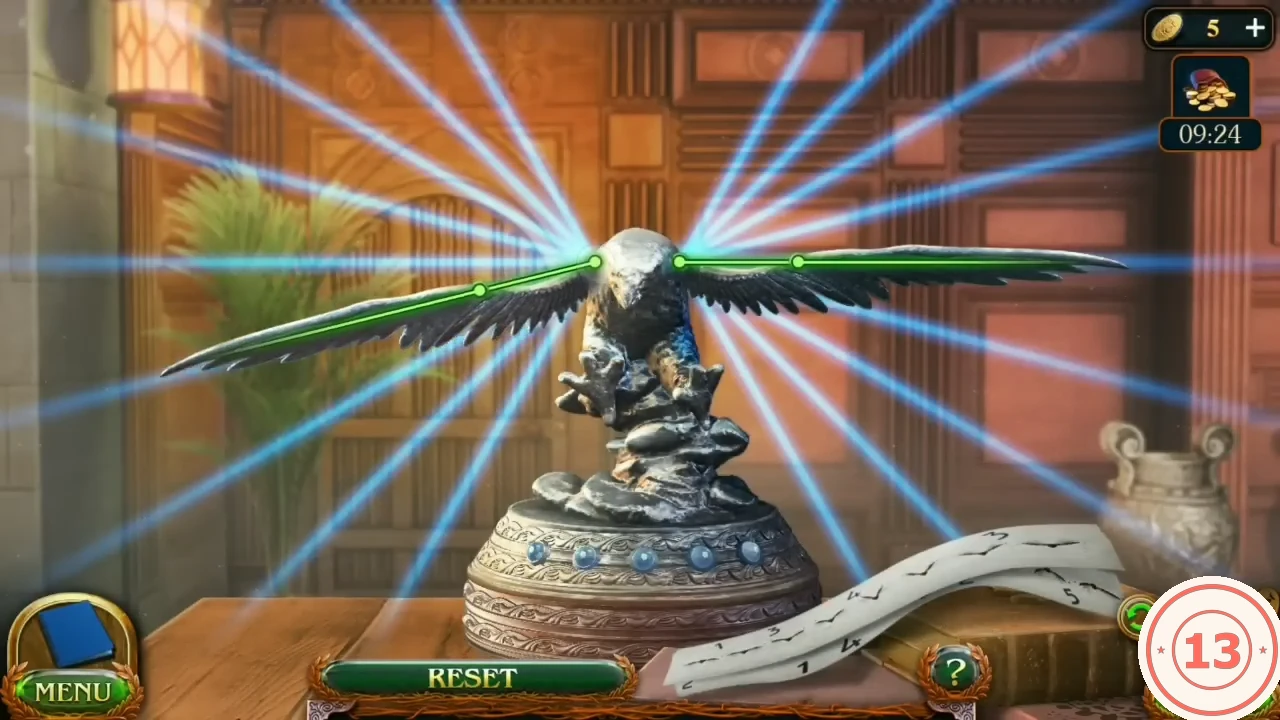
The mechanical eagle on the desk must repeat the five wing poses from the storyboard. One pedestal gem lights for each correct pose.
- Place the Storyboard beside the eagle. It shows 16 wing frames; each digit 1-5 is written twice, each next to one wing of a frame.
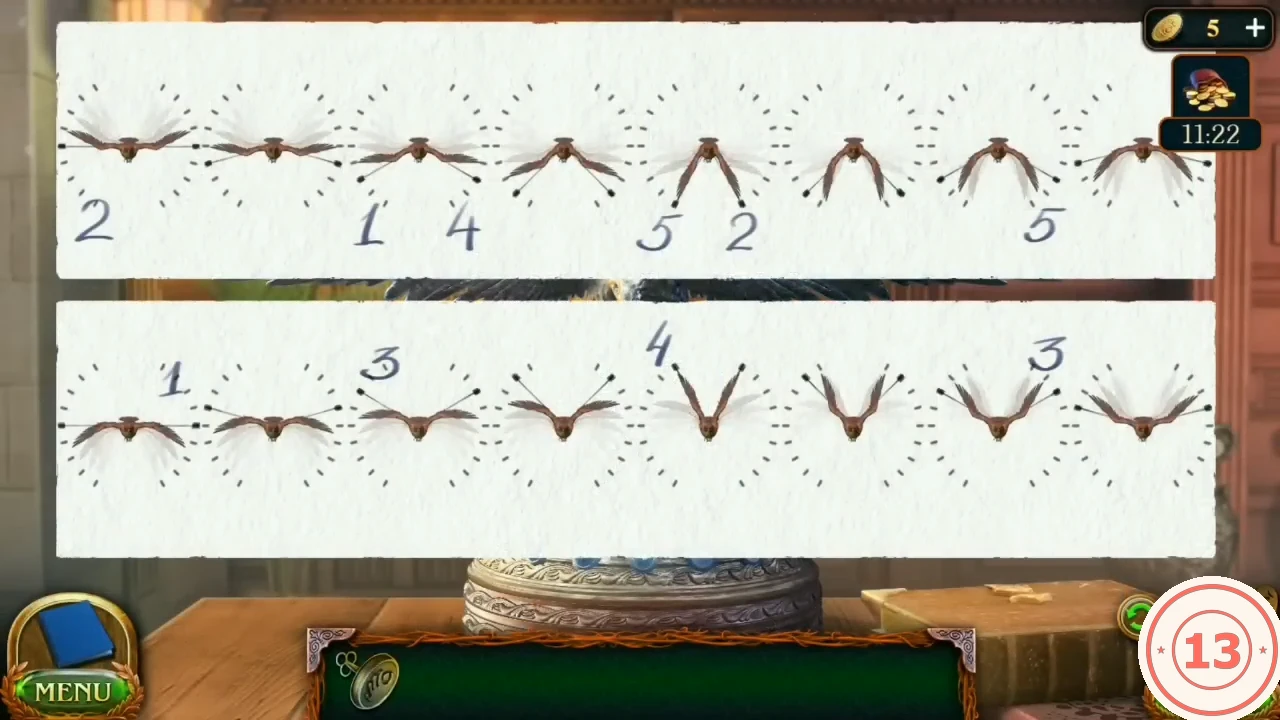
The Storyboard: each digit appears twice, once for the left wing and once for the right wing of a pose. - Each digit appears twice, once beside a left wing and once beside a right wing (left and right as you see them on screen). Pose N copies those two wings. Drag the two green joints of each wing along the light rays to match, and a pedestal gem lights for each correct pose. Counting frames from the left of each strip: pose 1 = left wing of top frame 3 (slightly down) + right wing of bottom frame 1 (slightly down). Pose 2 = left wing of top frame 1 (almost level) + right wing of top frame 5 (steeply down). Pose 3 = left wing of bottom frame 3 (raised a little) + right wing of bottom frame 7 (raised steeply). Pose 4 = left wing of bottom frame 5 (raised steeply) + right wing of top frame 3 (slightly down). Pose 5 = left wing of top frame 5 (steeply down) + right wing of top frame 7 (angled down).
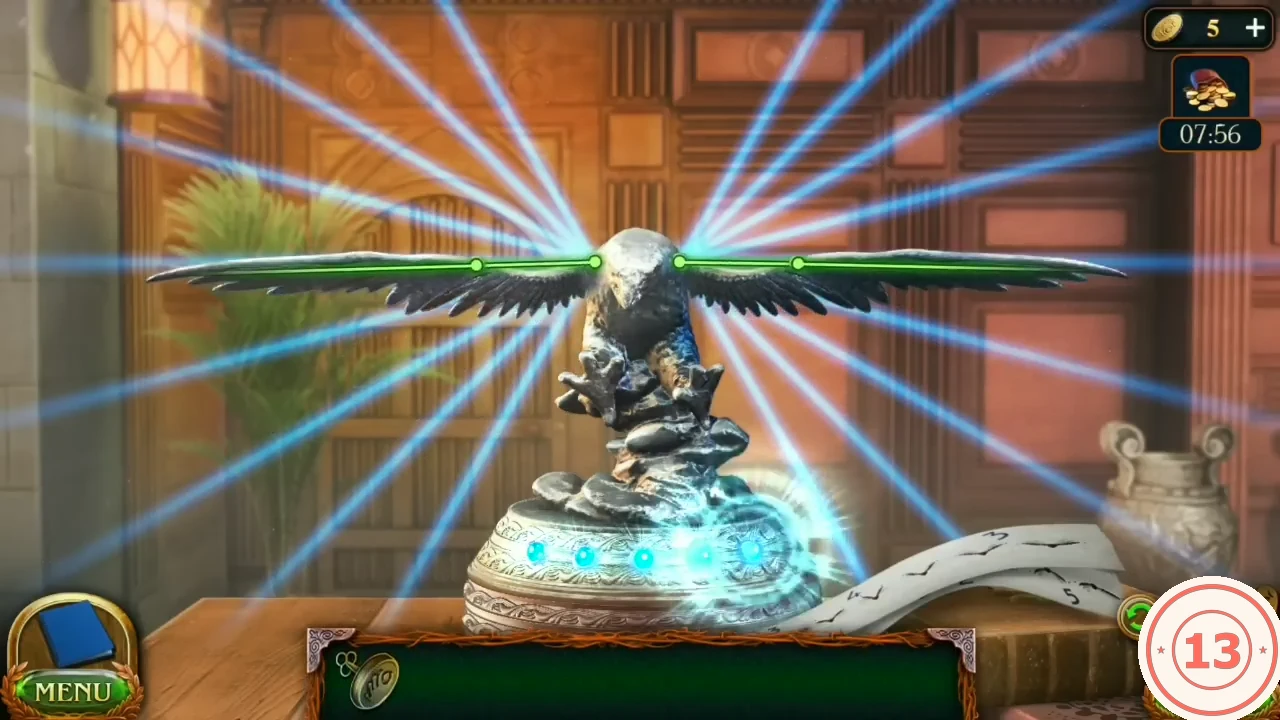
All poses accepted: every gem on the pedestal is lit and the wings return to level. - Open the drawer in the eagle's base and take the Tracing paper and the Library key.
- Lay the Tracing paper over the dolmen map on the office wall. The druids' hill is marked; a runestone with its symbol is needed.
Library and the restricted-section lock
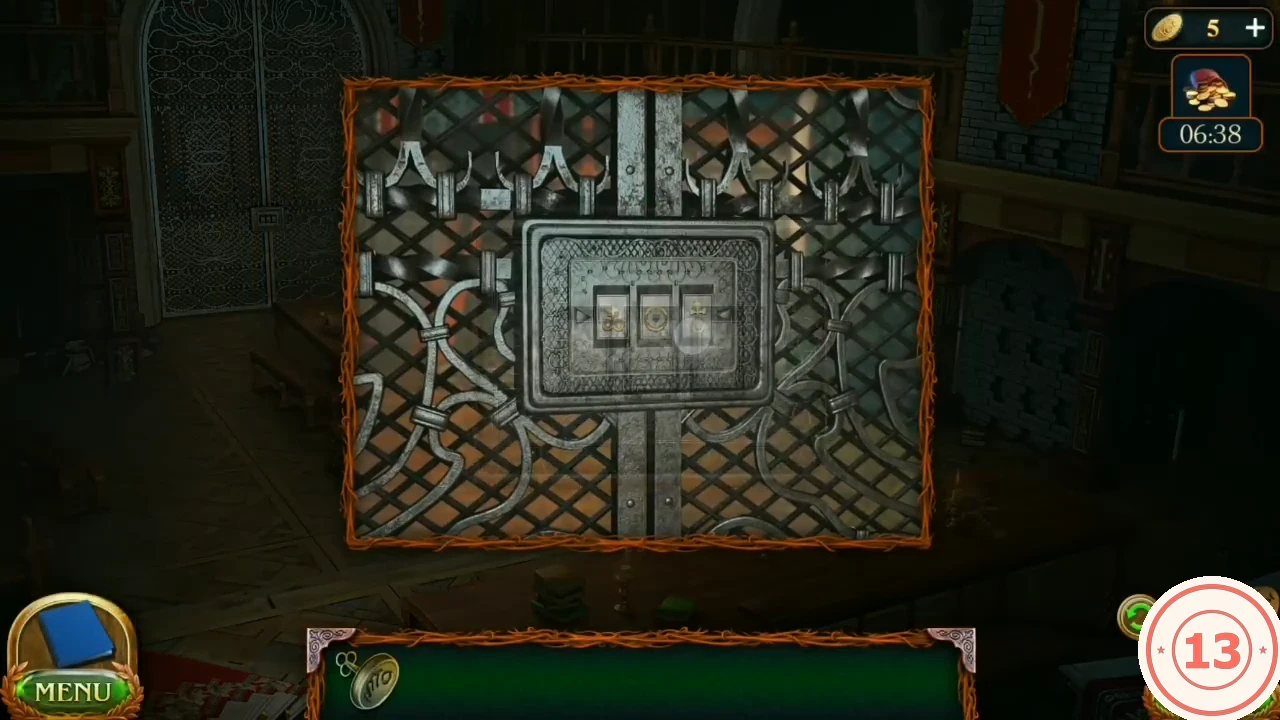
The library is behind the lion-knocker door in the hall.
- Open the library door in the hall with the Library key and go in.
- Collect Historical Manuscript 4/8 (poster on the wall by the arch), the dreamcatcher item on the upper gallery at the right (set 3/7) and the Morphing object: a small chair in the archway under the gallery at the back of the hall, beyond the far end of the long table and left of the green-glowing pillar (19/45).
- Read the register on the lectern: six library sections, each with its emblem (History, Alchemy, Spirits and deities, Military, Spells, Nature).
- Slide the books on the foreground table aside to reveal a scratched symbol: a V with three circles. This is the middle symbol of the archive gate lock.
- Zoom into the three-reel lock on the archive gate and set: left reel, a capital-I-shaped bar with two small round studs on each side (four studs in all; the similar staff through a circle with a crossbar is wrong, so tap the left reel once more if you see it); middle reel, the V with three circles; right reel, a radiant sun-ankh. The reels flash and the gate opens when all three are right.CODELeft: I-shaped bar with two studs on each side | Middle: V with three circles | Right: radiant sun-ankh
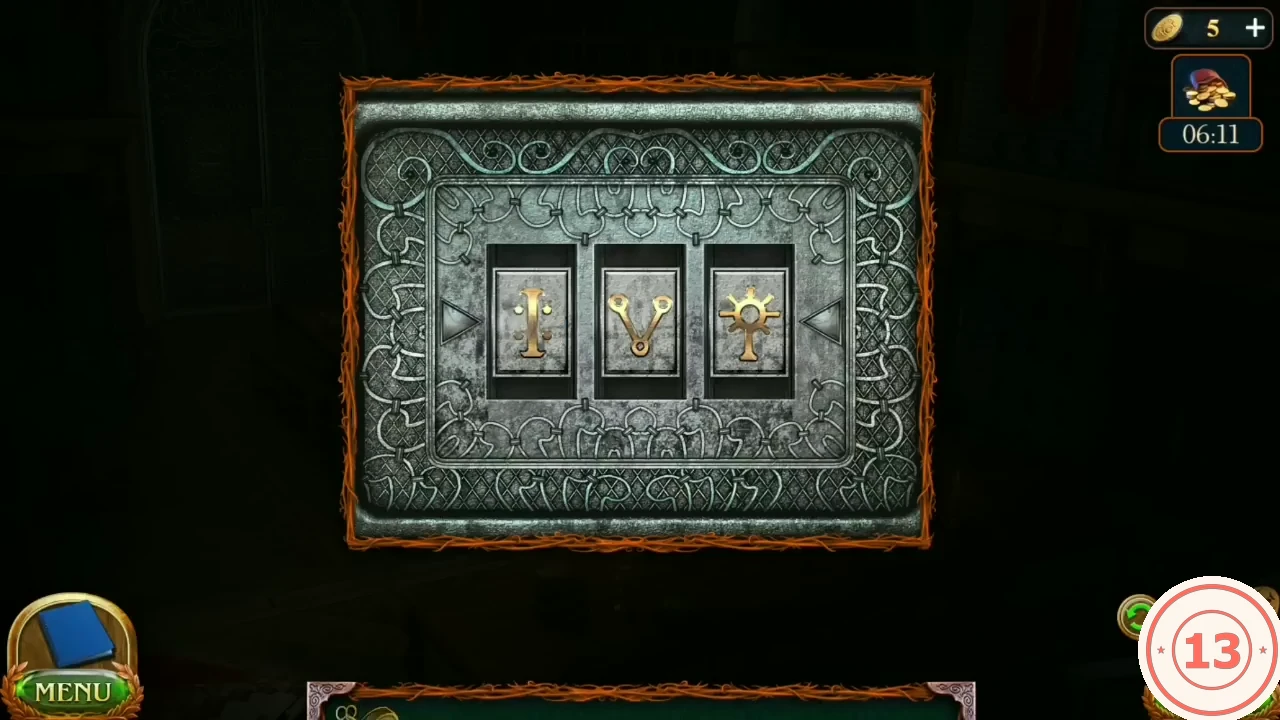
The correct reel setting.
Archive: finding the druids' runestone
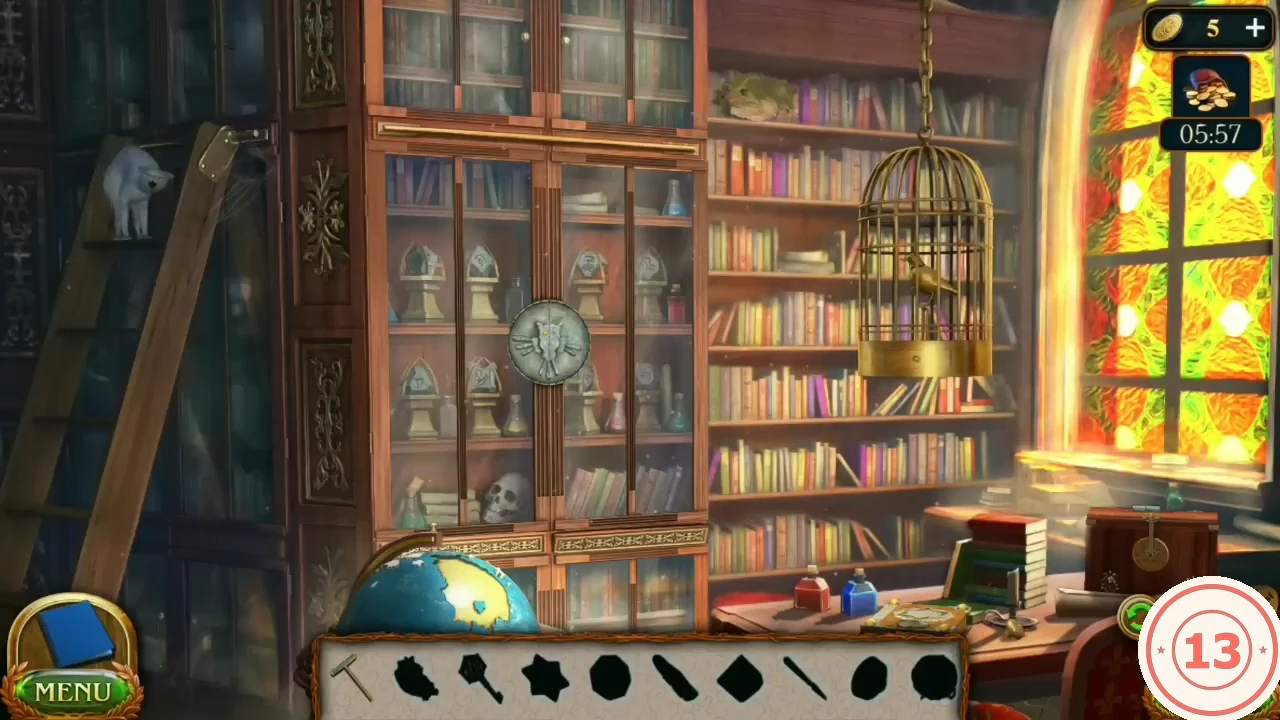
An interactive search: Maaron must find the stone that opens the dolmen to the druids. Each found object is used somewhere in the room.
- Find the Continent piece and put it in the globe recess. The globe opens; take the Ball of thread and give it to the cat on the ladder.
- Fit the Door handle on the lower cabinet and take the Element of the combination lock.
Puzzle: archive casket feather
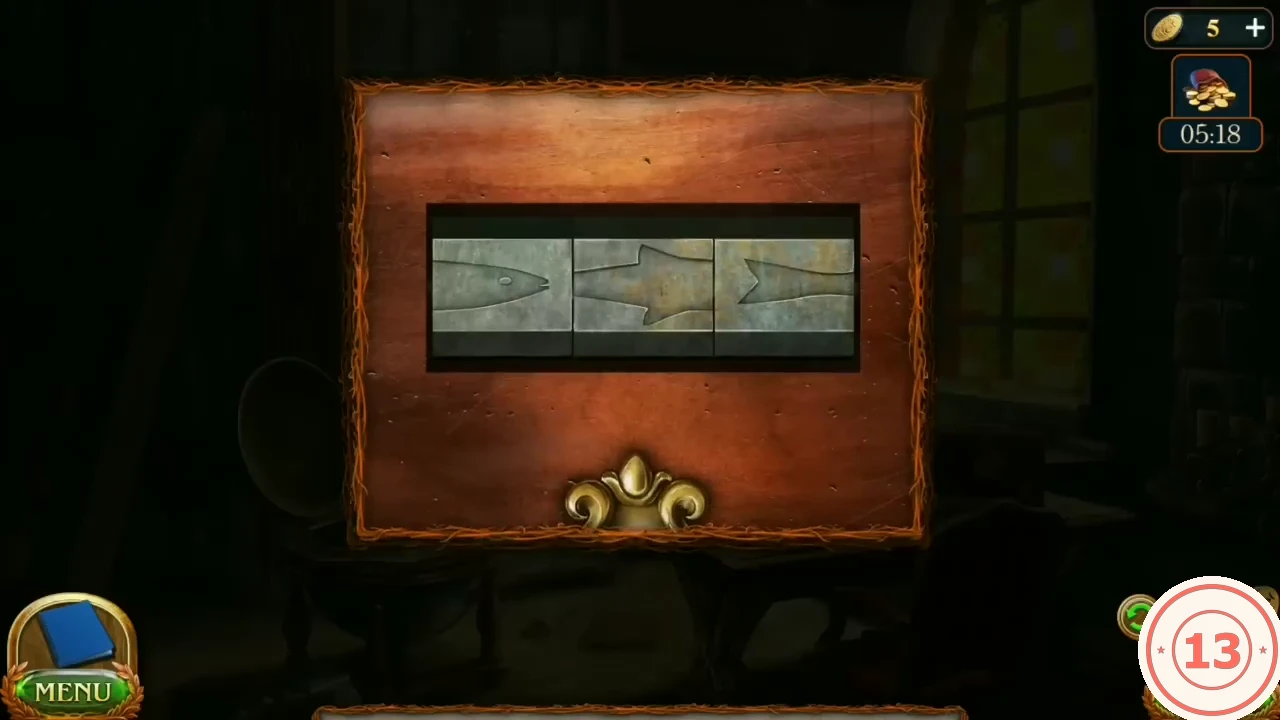
The casket in the archive has a sliding-tile lock. With the Element of the combination lock in place, three tiles have to form one picture of a feather.
- Put the element on the casket lock. Slide the three tiles until they form one feather (quill on the left, vanes in the middle, tip on the right). Take the Metal feather and place it on the owl medallion of the glass bookcase.
Puzzle: crystal star on the big book
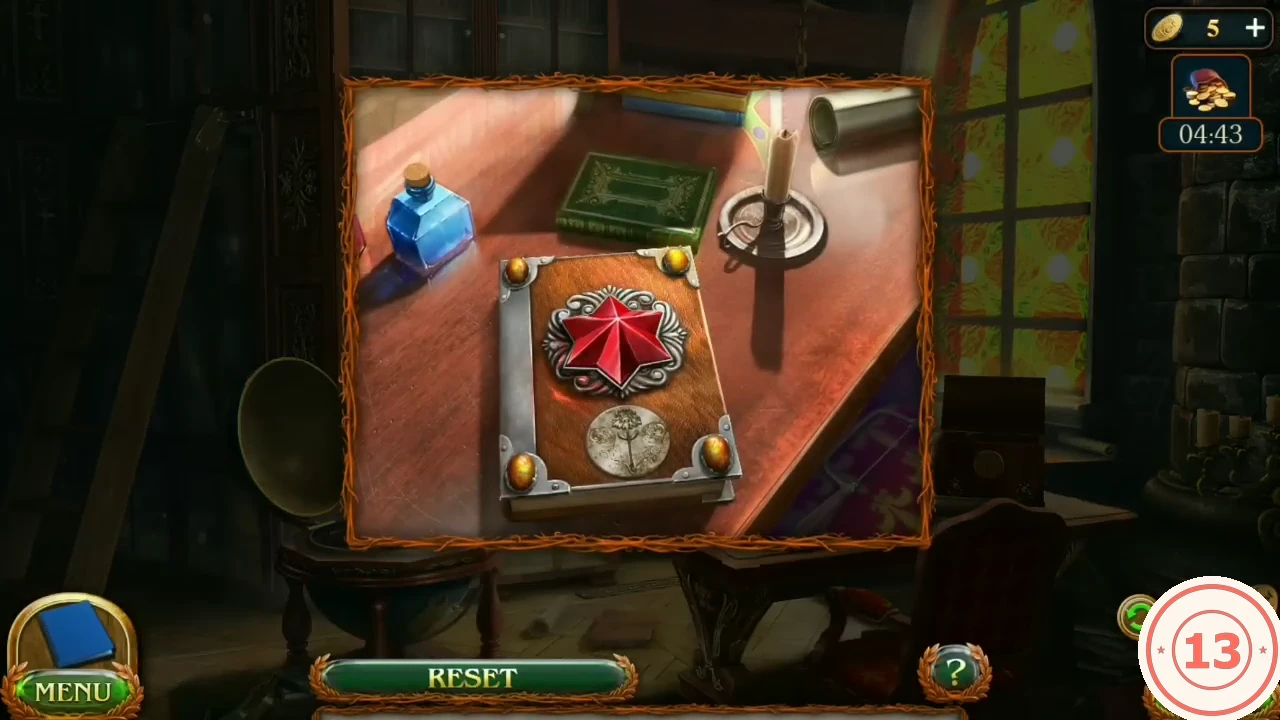
The last part of the archive search: free the Crystal star from the birdcage, set it on the big book and turn the red star upright with the amber corner gems.
- Use the Envelope knife from the desk on the book-rack latch to get a Key. Open the birdcage base with it and take the Crystal star.
- Put the Crystal star on the big book. Tap the amber corner gems to turn the red star until it stands upright. One working order is bottom-left, top-right, top-left; if your star starts at another angle, keep tapping corners until it is upright.
- Take the Golden medallion and the Glass eye. Put the Glass eye in the owl lock; the cabinet opens. Take the Runestone.
Puzzle: courtyard dolmen star
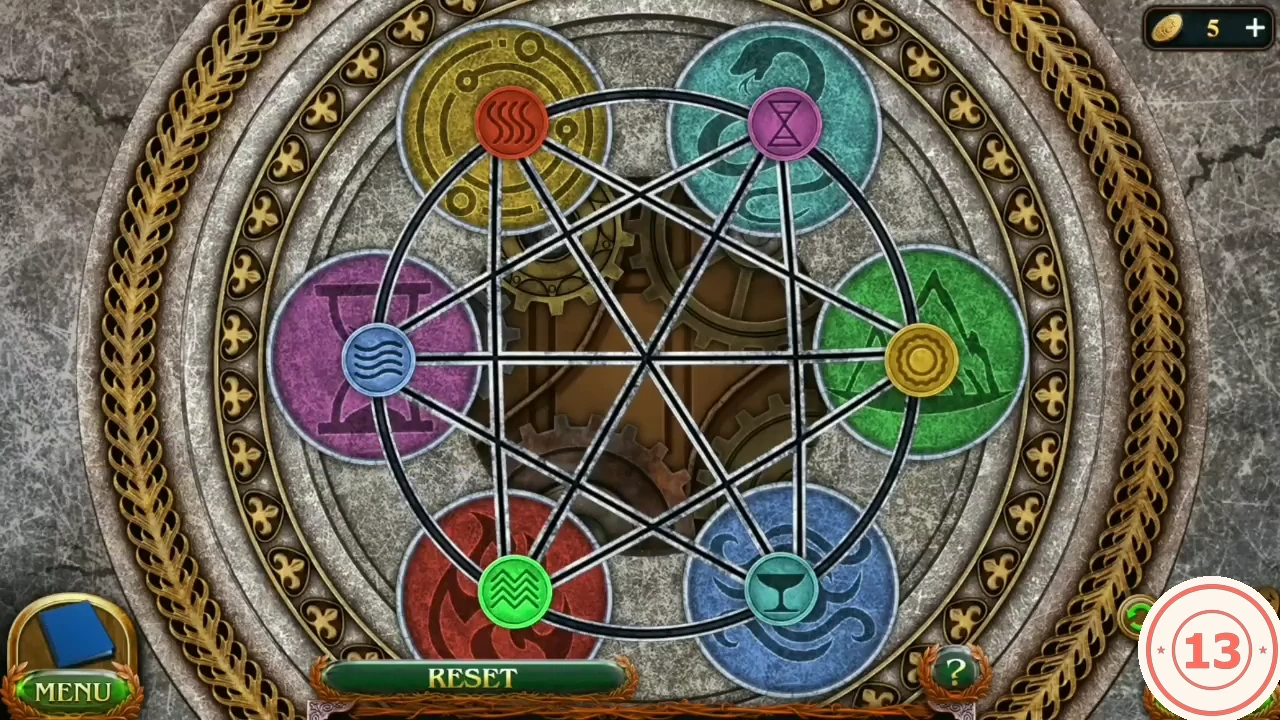
The courtyard dolmen holds six coloured symbol tokens on a six-pointed star with six coloured circles at its points. Each token belongs on a circle of a different colour, listed below.
- Put the Runestone into the slot of the courtyard dolmen pillar.
- Move the tokens along the star lines (tap a token, then its destination; one token at a time). Finish with yellow circle = purple hourglass, teal circle = red flame, green circle = teal cup, blue circle = green zigzag, red circle = blue waves, purple circle = yellow sun.CODEyellow-hourglass(purple) | teal-flame(red) | green-cup(teal) | blue-zigzag(green) | red-waves(blue) | purple-sun(yellow)
- Step through the portal to the Druid forest. Task Portal to the druids completes.
Druid forest and the castle road
From the waterfall glade a plank ramp leads up to the castle road.
- Collect the dreamcatcher item on the lower-right bank (set 4/7) and the Morphing object hanging under the overhanging branch at the very top left, above the large dark tree trunk at the left edge (20/45).
- Zoom into the herb patch on the left and take the Sickle.
- Take the Shaft by the pool and use it on the tipped plank at the rocks on the right to make a path. Go to the castle road.
- Collect the rune-stone collection item at the foot of the carved totem-pole tree on the right edge of the castle road (rune set 2/8), and the Morphing object on the masonry of the ruined round tower on the left (Morphing 21/45).
Puzzle: castle road portcullis bars
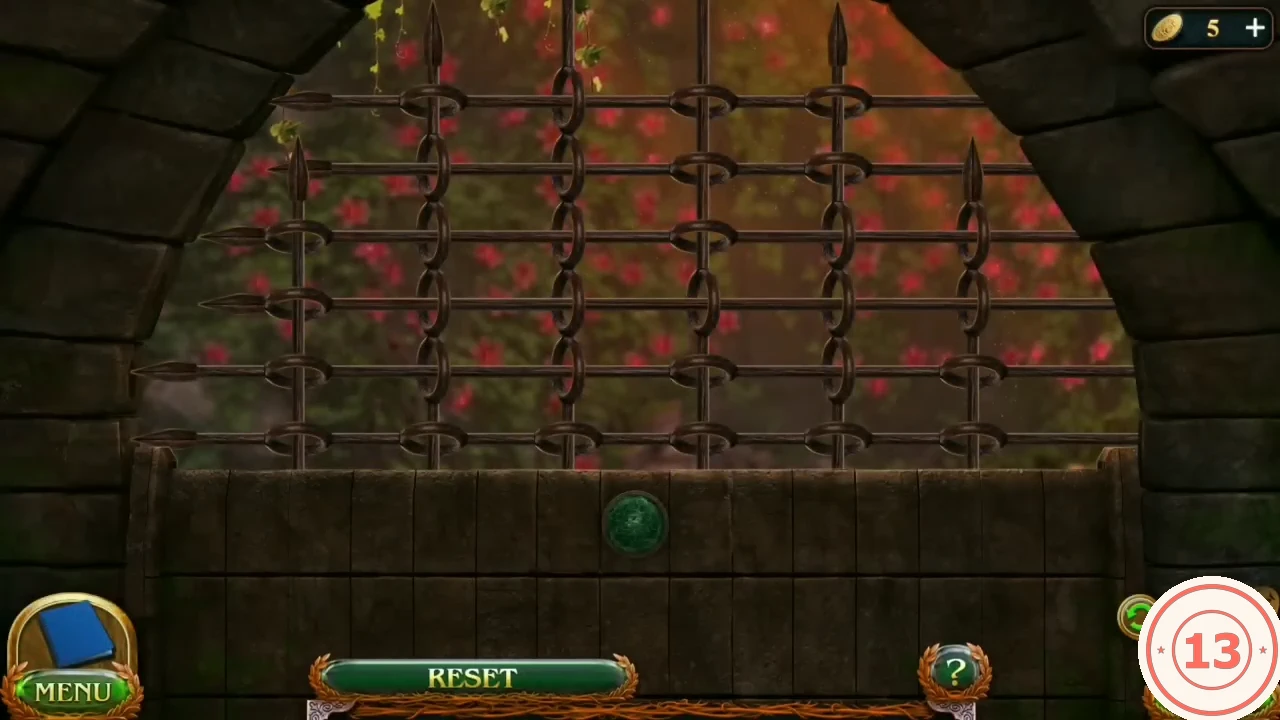
The portcullis in the castle arch is blocked by overlapping iron bars that must be pulled out one by one.
- Zoom into the portcullis in the castle arch. Remove the iron bars one at a time; a bar cannot be removed while another bar lies across it, so start with the bars on top.
- Go on to the druid settlement and enter Kraunyyr's tent. The druid explains the dwarf's treatment and gives the Spell formula; task Treatment starts.
Puzzle: infirmary barrier rune
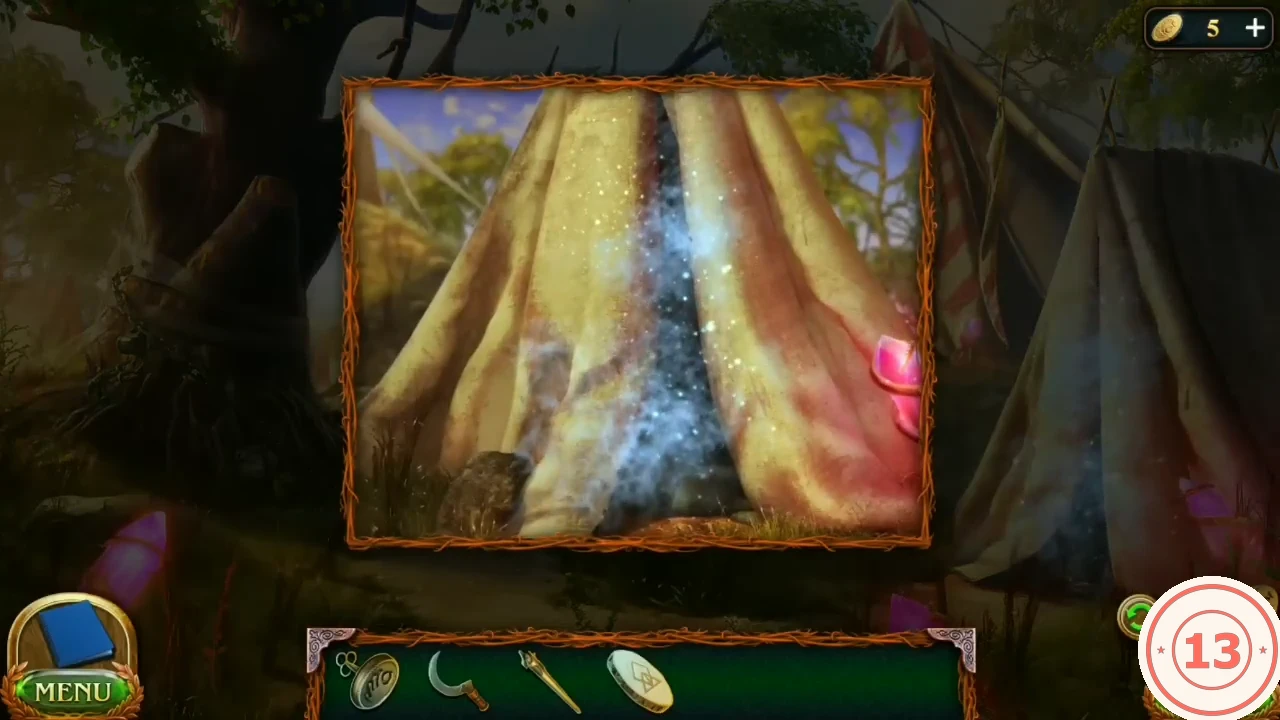
A magic barrier surrounds the infirmary tent at the right of the settlement.
- Use the Spell formula on the barrier. On the 3x3 dot grid trace the rune from the formula: bottom-left to bottom-centre to bottom-right; bottom-left to centre and centre to bottom-right; centre to bottom-centre; middle-left to bottom-centre; then the roof middle-left to top-centre to middle-right.
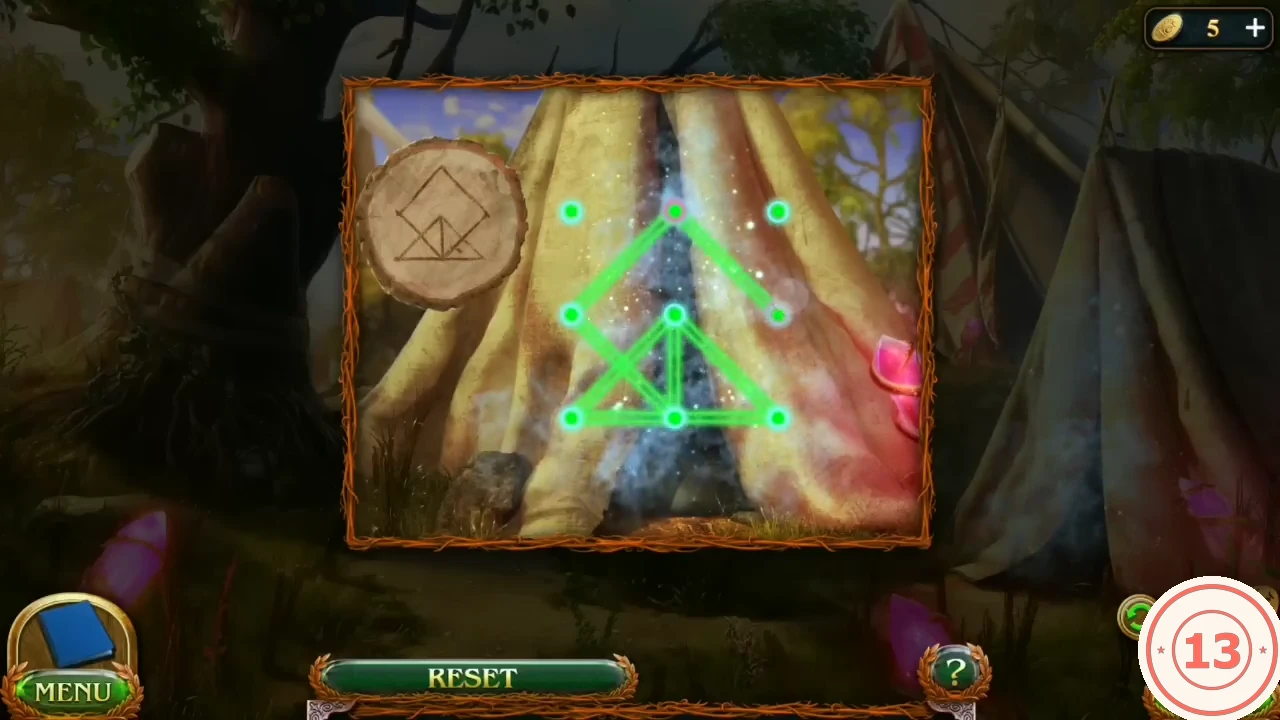
The traced rune on the grid, matching the Spell formula at the upper left. - In the settlement collect the rune-stone item among the roots at the foot of the big tree on the left (set 3/8) and the Morphing object on that tree trunk just left of the hanging cauldron (22/45), then enter the infirmary.