Tower top: dead birds and flies
The dolmen platform at the top of the tower is covered in dead crows and stinging flies.
- Climb to the tower top. Collect the set item at the foot of the cracked blue rock on the left (set 3/7) and the Morphing jug beside the right pillar base (36/45).
- Tap the scene: the flies sting too much to explore. Task Swarm of flies starts.
Net and chameleons
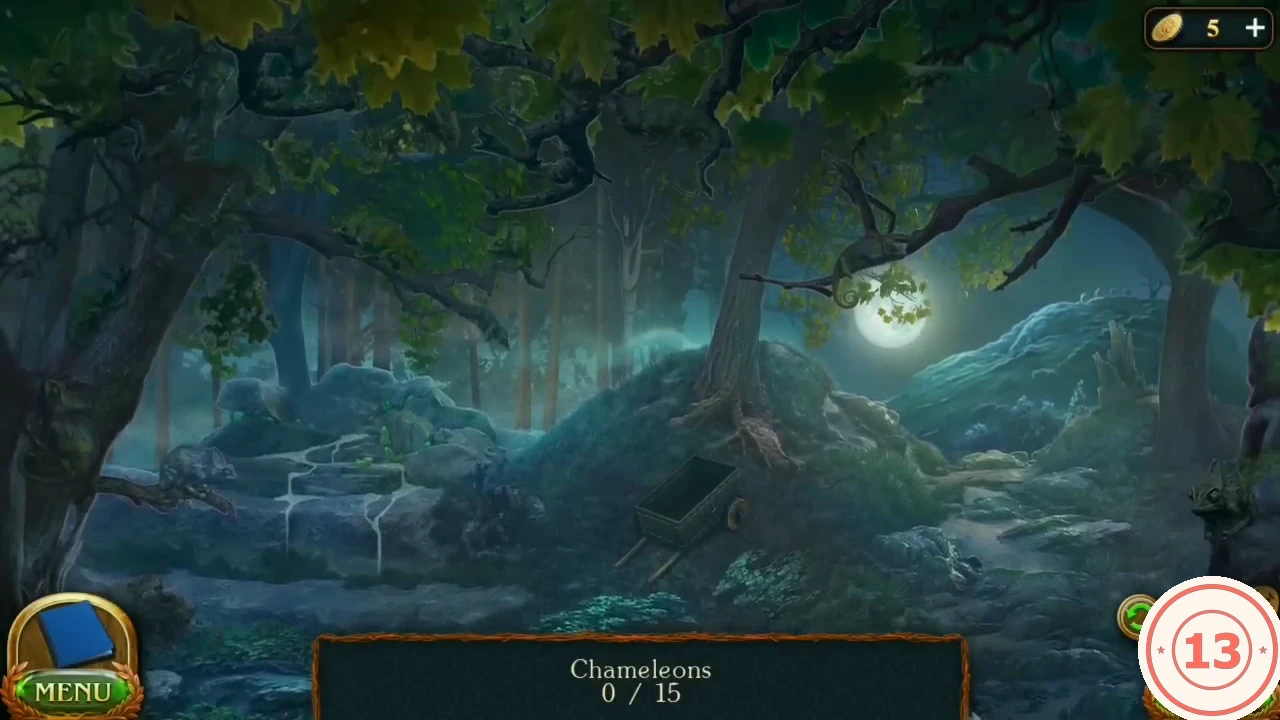
The Fauna of Bryn pass diary says chameleons eat flies. Build a net and catch some.
- In the courtyard zoom into the broken window with the lace curtain and take the teal Glass prism behind it.
- From the castle camp take the path right of the ramp to the chameleon glade. On the lowered sheep platform at the camp take the Cart on wheels.
- Open the Embroidery hoop in the inventory and remove the embroidery. Cut the Lace curtain in the courtyard window with the Sickle and put it in the hoop. The lace hangs loosely below the ring: use the Sickle on it again to trim off the hanging cloth, then attach the Shepherd's staff.
- In the glade place the Cart on wheels in the clearing at the centre left, then use the Net: sweep it over each camouflaged chameleon in the trees and foliage (Chameleons 0/15).
- Take the Box of chameleons.
Clearing the tower top
The dead crows must go before the chameleons can deal with the flies.
- Take the Rake from the lower left of the courtyard by the broken post.
- On the tower top sweep the dead birds away with the Rake, then put the Box of chameleons on the floor.
Puzzle: tower top prisms and hex pyramids
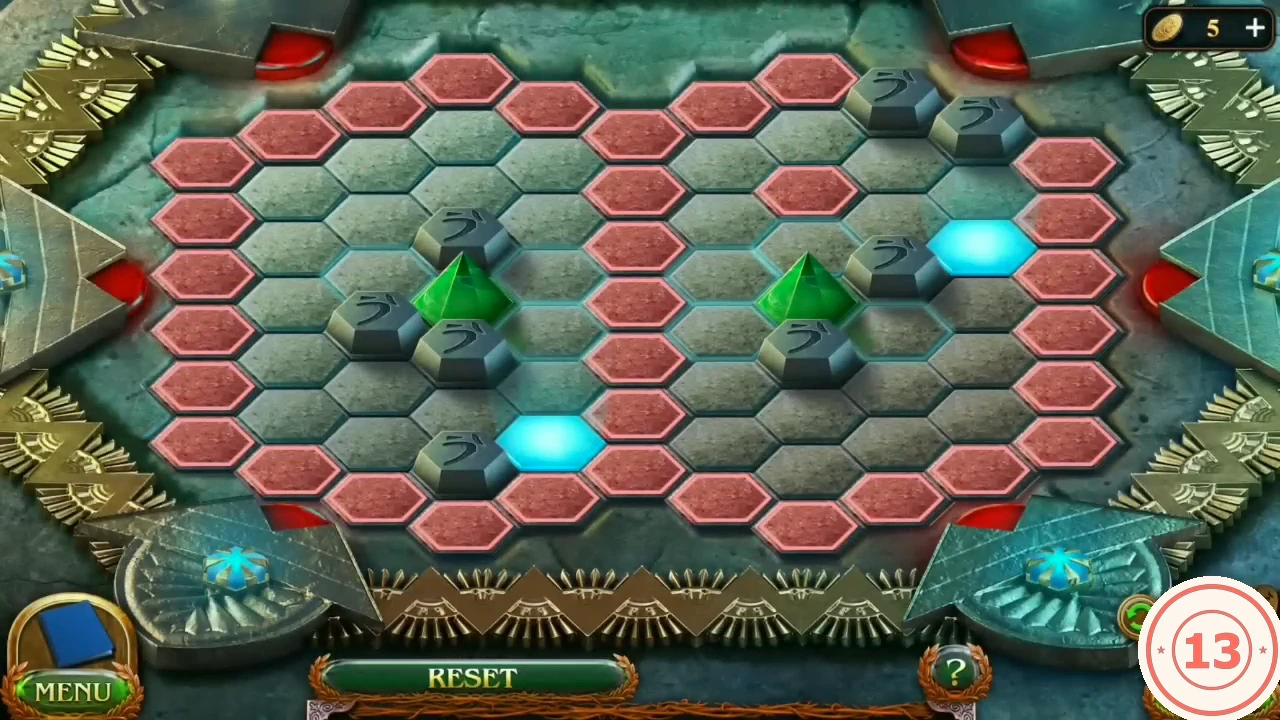
Rule: place the pyramids on the blue cells at the same time. Both pyramids move together in the same direction; they cannot move onto red cells. Green cells show the possible moves; a grey stone stops one pyramid while the other keeps moving.
- Lift the floor slab right of the altar box (where the birds lay) and take the green Glass prism.
- Stack the three prisms on the spike of the striped pyramid at the right: purple, teal, green. Take the Runestone from the opened side.
- Put the Runestone into the eye niche of the altar box.
- Use the grey stones as stoppers: hold one pyramid still against a stone while the other keeps moving, until the left pyramid sits on the lower-left blue cell and the right pyramid on the upper-right blue cell at the same time.
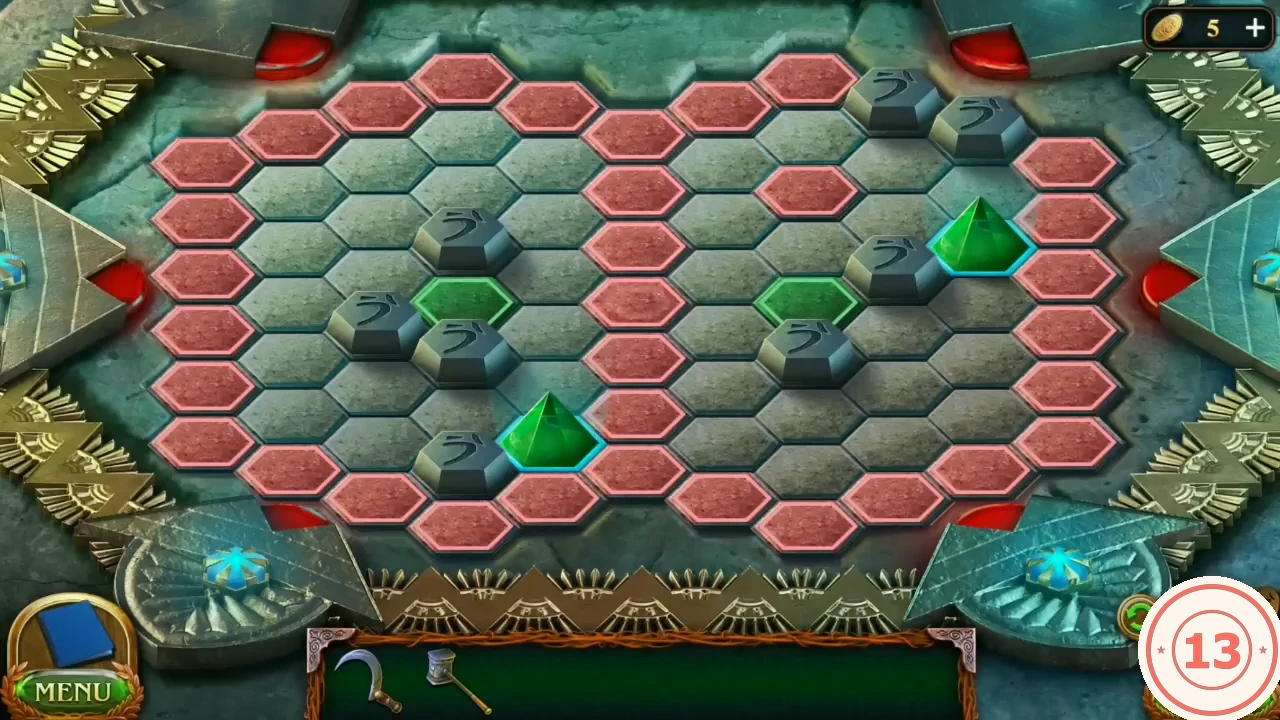
Solved: both pyramids stand on the blue cells at the same time. - Use the portal to travel to the academy backyard (night). Collect the knight item at the lower-left base of the statue's pedestal (knight set 4/8) and the Morphing relief high on the left tower wall (37/45). Task Information about the Entity starts.
Backyard: the warrior statue's spear
A secret passage to the library lies under the statue of a warrior fighting a serpent.
- Zoom into the statue and take the Chisel from the warrior's raised hand.
- Zoom into the ladder on the golden willow: one rung is broken. Put the Chisel into the broken rung's right joint, then hammer it in with Folnur's hammer to fix the rung. Climb to the wall alcove and take the Spear (left of the crossed pair).
- Give the Spear to the statue. Placed in the warrior's lower hand it points down at the serpent; Maaron says it won't fit and the spear drops across the statue base. Tap the fallen spear where it lies over the serpent's coil at the lower right: it rises into the warrior's raised fist.
Library sections and the Book of potions
Maaron and Folnur search the library for information on the Entity and a potion that finds hidden things. The six library arches carry section symbols.
- Go through the passage into the library hall and collect its two collectibles: a set item (4 of 7) on the floor under the long table, between the front and back benches on the left, and a Morphing object (38 of 45), the golden goblet on the table top just right of the blue vase.
- Read the register on the back-arch lectern, then the Spirits and deities section list (topic 6 is Formless creatures) and read shelf 6 on the left wall.
- Enter the archive through the green-lit door. Collect the two collectibles: a set item (5 of 7) on the ledge of the pillar right of the desk and a Morphing object (39 of 45) by the back of the red desk chair at the right end of the desk. Take the Spotting scope from the telescope; Maaron decides to brew a finding potion.
- Back in the library read the Alchemy section list (13 is Booster potions) and take the Book of potions from shelf 13: Cat's intuition and Elephant's memory recipes.
Puzzle: hideout bookcase
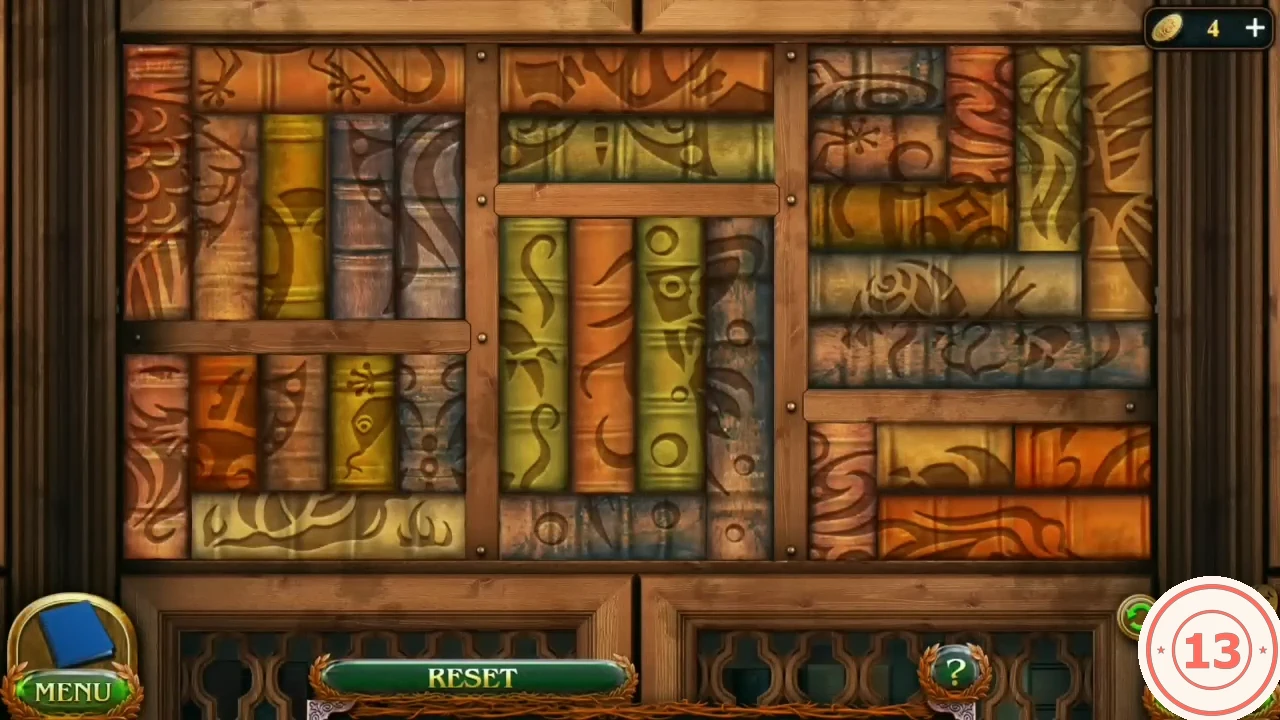
At the end of the corridor a bookcase hides the way to Maaron's hideout. Its books carry carving fragments that must be rearranged.
- At the end of the corridor rearrange the books in the bookcase until every compartment shows one whole carving. Tap a book to select it (it lights up), then tap a second book: the two swap places. In the finished bookcase the left column shows a lion's head (top) and a butterfly (bottom), the middle column a bird on water (top) and a bird with spread wings (centre), and the right column a curl-tailed creature (top, continuing onto the row of horizontal books below it) and a lizard (bottom). Work one carving at a time; Reset restores the start and the completed-state image shows the target.
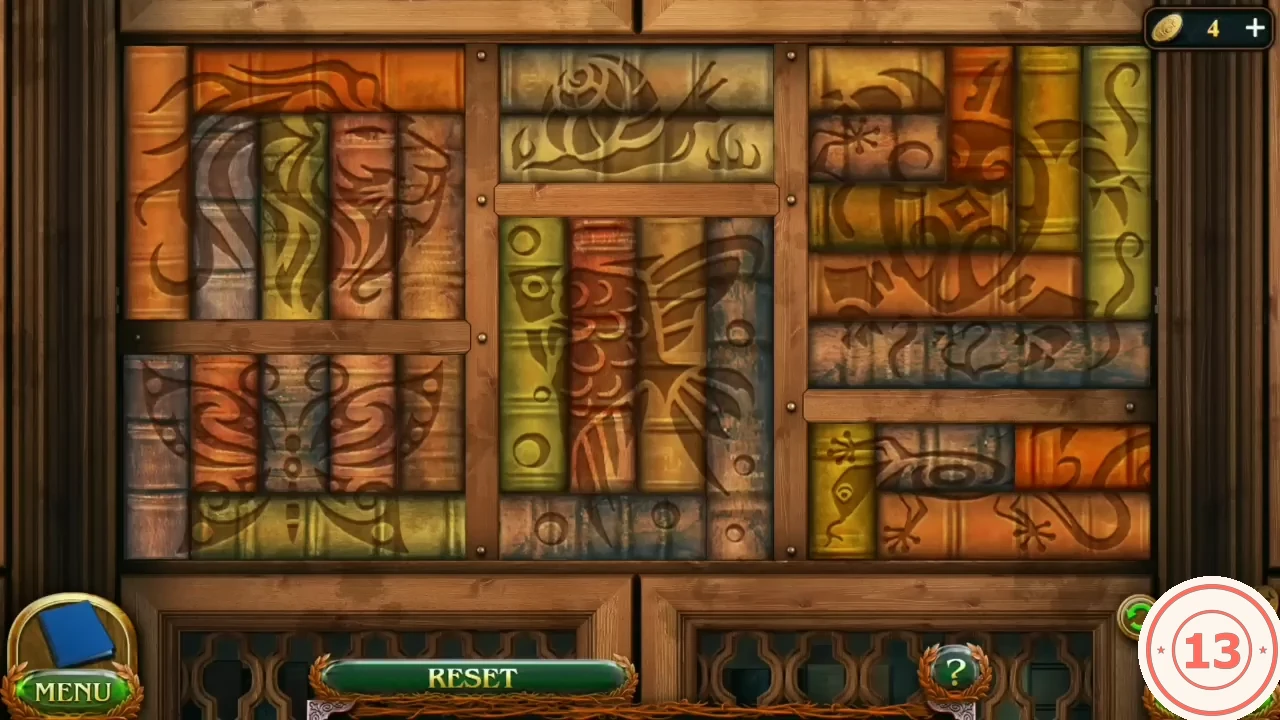
Completed: every compartment shows one whole carving.
Maaron's hideout and the potion ingredients
Cat's intuition: Spring water, Ice leopard's whiskers, Five-leaf clover, Veconium coal. Elephant's memory: Spring water, Fossilized mammoth's brain, Sunny willow leaves, Paleritic coal.
- Enter the hideout. Collect the two collectibles: a set item (6 of 7) on the upper-right wall shelf by the scrolls and a Morphing object (40 of 45) on the left-wall shelf beside the bottles. Take the Empty bottles at the round table.
- Open the toolbox on the barrel: Mini pickaxe and Cabinet key. Open the white cabinet and take the Fossilized mammoth's brain and, from the red drawer, the Ice leopard's whiskers. Put both in the Book of potions.
- Take Sunny willow leaves from the golden willow in the backyard.
- On the tower top break Paleritic crystals off the cracked blue rock with the Mini pickaxe.
- In the chameleon glade take the Five-leaf clover, break Veconium crystals from the rock with the Mini pickaxe and fill the Empty bottles at the stream.
- Add everything to the Book of potions.
Puzzle: crystal lines and brewing the potions
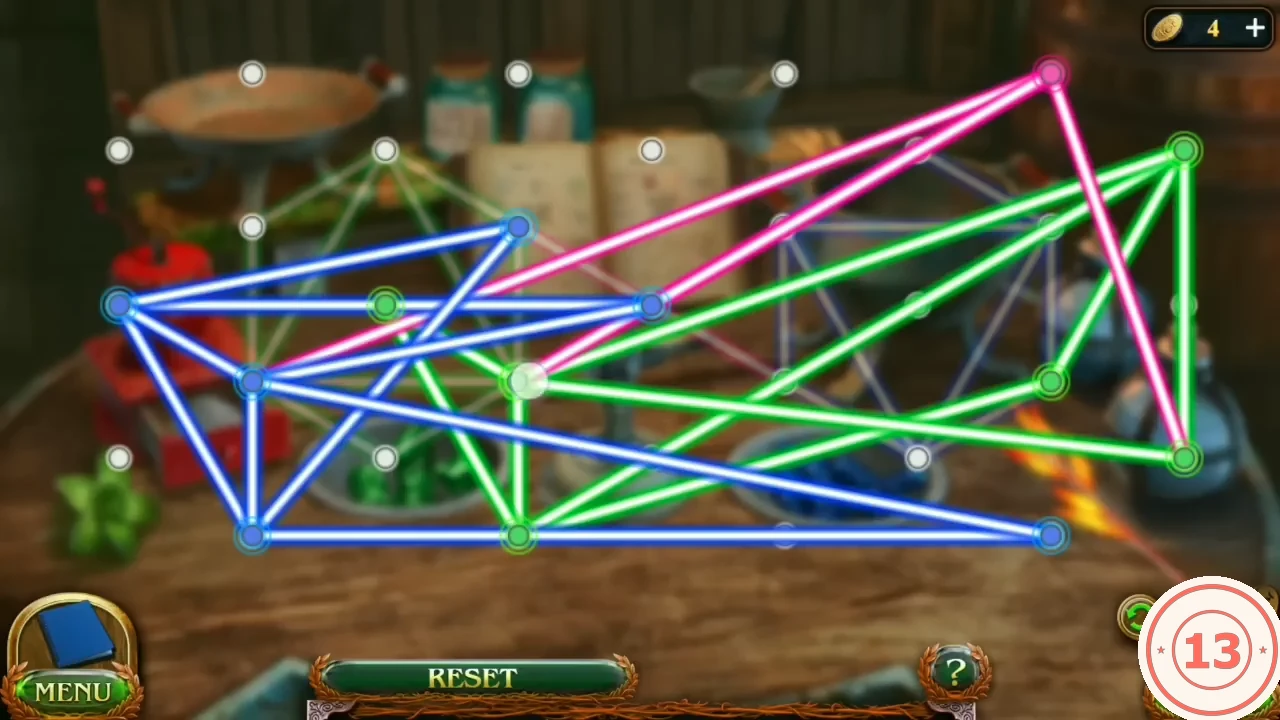
Maaron lights the crystals magically. Three coloured line networks (green, pink, blue) must be untangled by dragging their glowing nodes onto the white grid points. No rule text appears on screen; the puzzle finishes as soon as no two lines cross, and the completed-state image shows the finished layout.
- Put the Set of ingredients on the hideout round table.
- Drag the glowing nodes onto the white grid points until no line crosses another. Finished layout: on the left, the green nodes form a hexagon with a triangle inside pointing up (top corner to the two lower side corners); in the centre, a single pink node is joined to the two right corners of the green hexagon and the two left corners of the blue one, forming an X; on the right, the blue nodes form a hexagon with a triangle inside pointing down (two upper side corners to the bottom corner). The puzzle completes the moment the last crossing disappears.
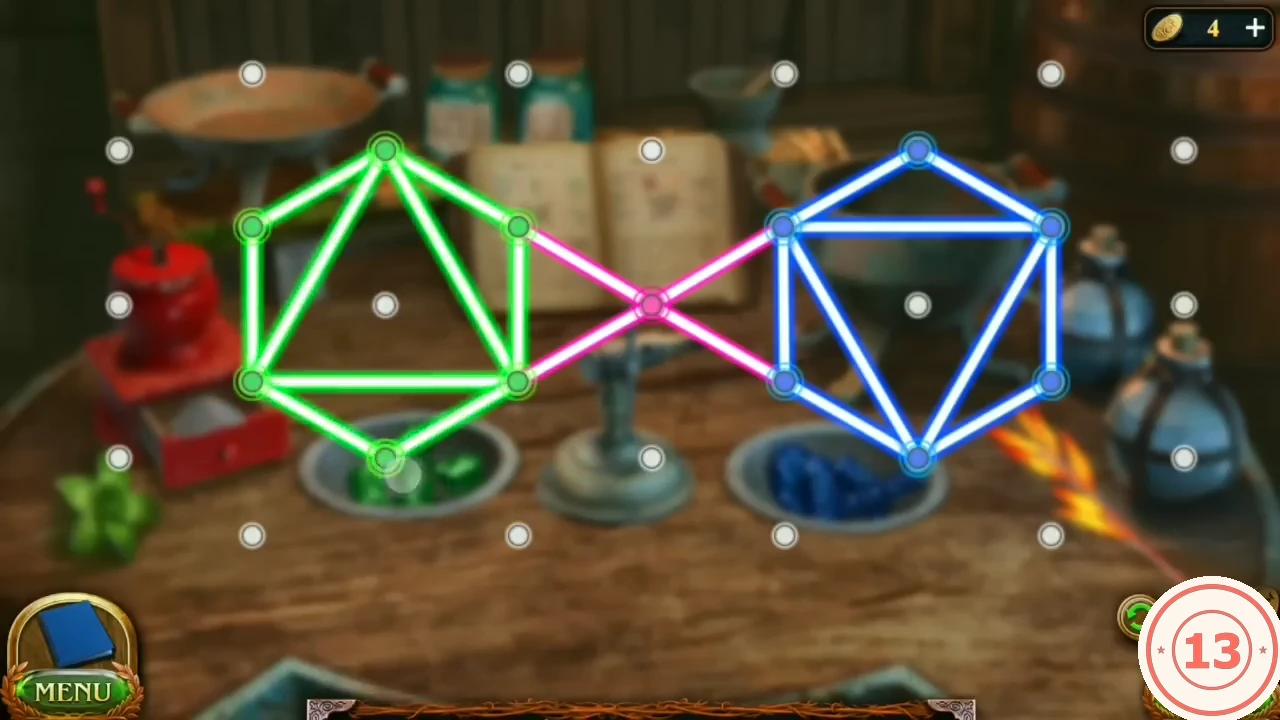
Solved: no line crosses another. The pale dot on the bottom green node is a tap marker, not part of the puzzle. - Elephant's memory (blue fire): set the cauldron on the blue bowl, add Spring water, grind the mammoth's brain in the red grinder and add the powder, heat the willow leaves on the pan over the green fire and add them, then fill a flask.
- Cat's intuition (green fire): set the cauldron on the green bowl, add Spring water and the Five-leaf clover, pour the Ice leopard's whiskers from their jar into the shallow pan on the back shelf, move the blowtorch from the middle of the table to that pan to scorch them, then let the pan tip the treated whiskers into the cauldron. Fill a flask.