Greylmar Harbour Square
The arena demands an entry fee of 20 gold kyolls. New task: Large entry fee.
- Lute 3/8 is under the awning at the upper left; Morph 20/47 is on the cobblestones in the right foreground, below and right of the fountain. Take the RIDDLE notice from the notice board ("...looks at the sun is truly seeing").
- Zoom into the drain grate in the centre of the square to collect Manuscript 5/12, Greylmar.
- Talk to the woman at the exchange window (right) to receive a LUNCH BUNDLE. Give the LUNCH BUNDLE to the gate guards to get IRON KYOLLS and a FLOWER. Give the FLOWER to the exchange woman to get a CHARCOAL STICK.
- In the inventory rub the CHARCOAL STICK over the RIDDLE NOTICE. Numbers appear over the animals: owl 1, boar 2, bear 3, eagle 4, lion 5. Take the PASSWORD NOTICE.
Hunters' Guild Door Knockers
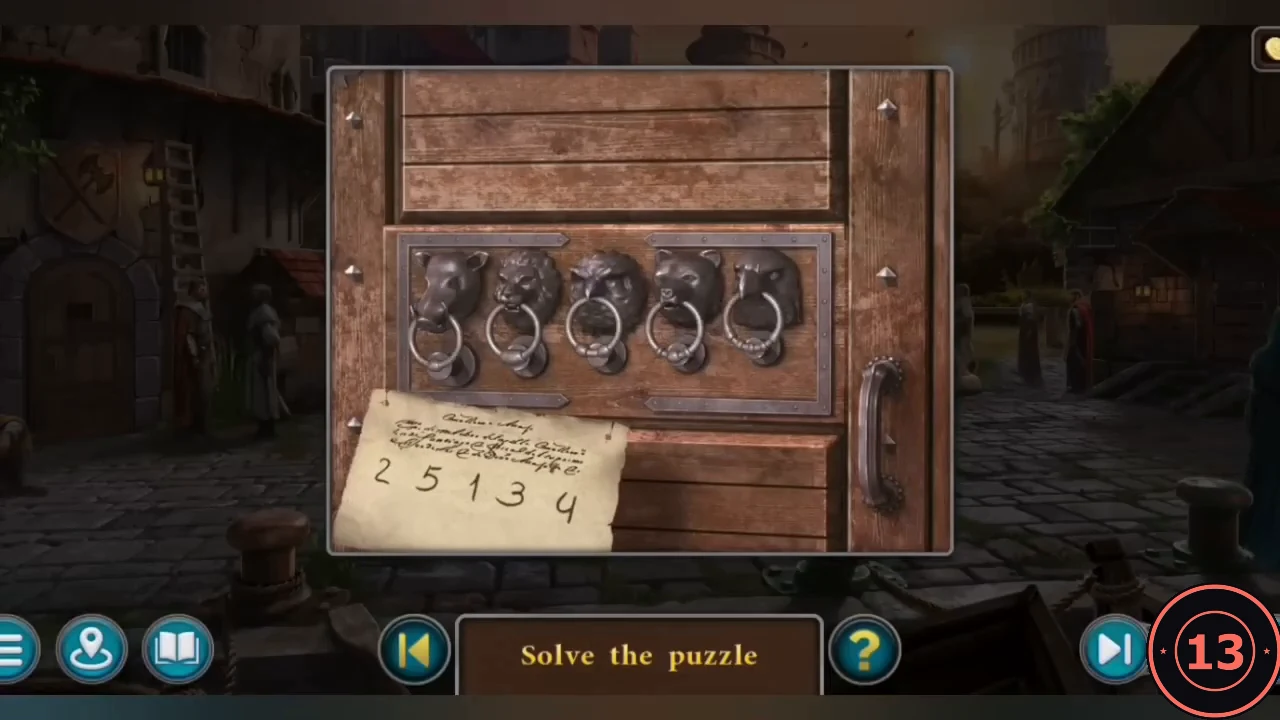
Place the PASSWORD NOTICE on the Hunters' Guild door on the left of the square. Five animal knockers hang on the door: boar, lion, owl, bear and eagle.
- The password notice shows a number over each animal: boar 2, lion 5, owl 1, bear 3, eagle 4. Pull each knocker once, in number order: owl, boar, bear, eagle, lion. The door opens.CODEOwl – Boar – Bear – Eagle – Lion
Grilur's Paid Job
Grilur, the head of the Hunters' Guild, offers work. New task: Paid job.
- Talk to Grilur and take GRILUR'S INSTRUCTIONS, which open the chest holding his box. Lute 4/8 is on the guild hall wall on the left; Morph 21/47 is a book on the upper shelf.
- Return to the camp cave and use the ROPE on the sleeping ranger to take him as a tied SLEEPING RANGER.
- Place GRILUR'S INSTRUCTIONS on the hexagon lock of the cave chest to start the puzzle in the next section.
Cave Chest: Hex Token Wheels
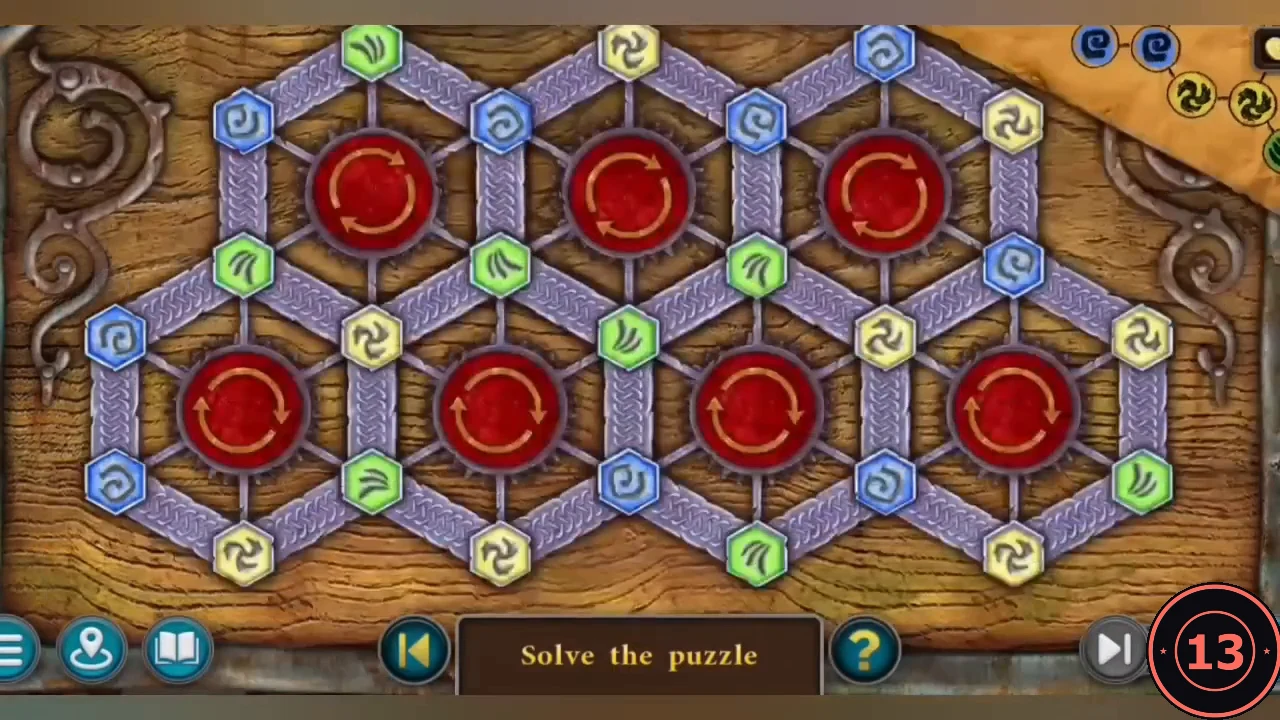
Seven red wheels each rotate the six tokens around them.
- Rotate the wheels until the coloured tokens match the instruction sheet: green on the left, blue in the centre-left, yellow in the centre-right and right, and a green column on the far right. Use the solved image as reference.
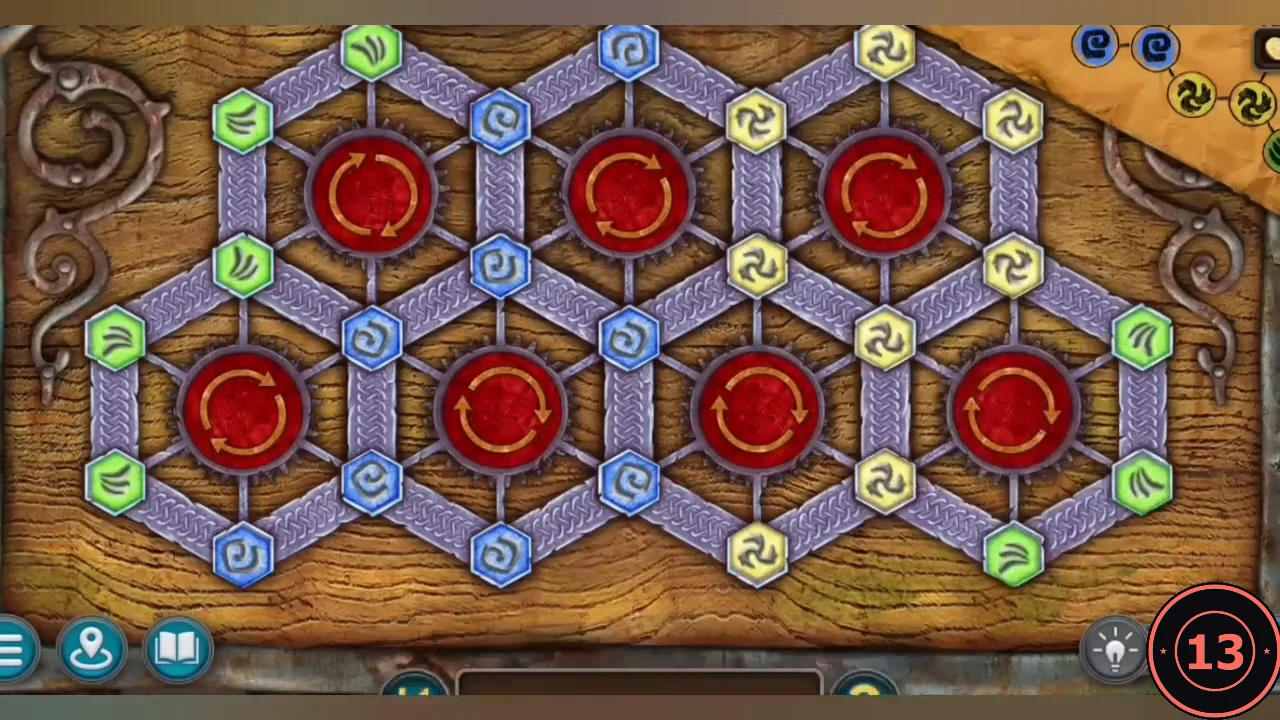
The solved token layout.
Grilur's Box and the First Gold
The chest holds Grilur's box, a pouch and a screwdriver.
- Take GRILUR'S BOX, the POUCH and the SCREWDRIVER. Cut the pouch cord with the DAGGERS to get 10 GOLD KYOLLS (half the entry fee) and a HERALDIC SEAL.
- Grilur's box has a sliding combination lock. Do not open it; take the box as it is.
- Guild hall: hand over the SLEEPING RANGER (he goes into the cage) to complete the Paid job and receive gold. Hand over the unopened box; Grilur rewards your honesty with one extra premium kyoll.
Fountain: 15 Iron Kyolls
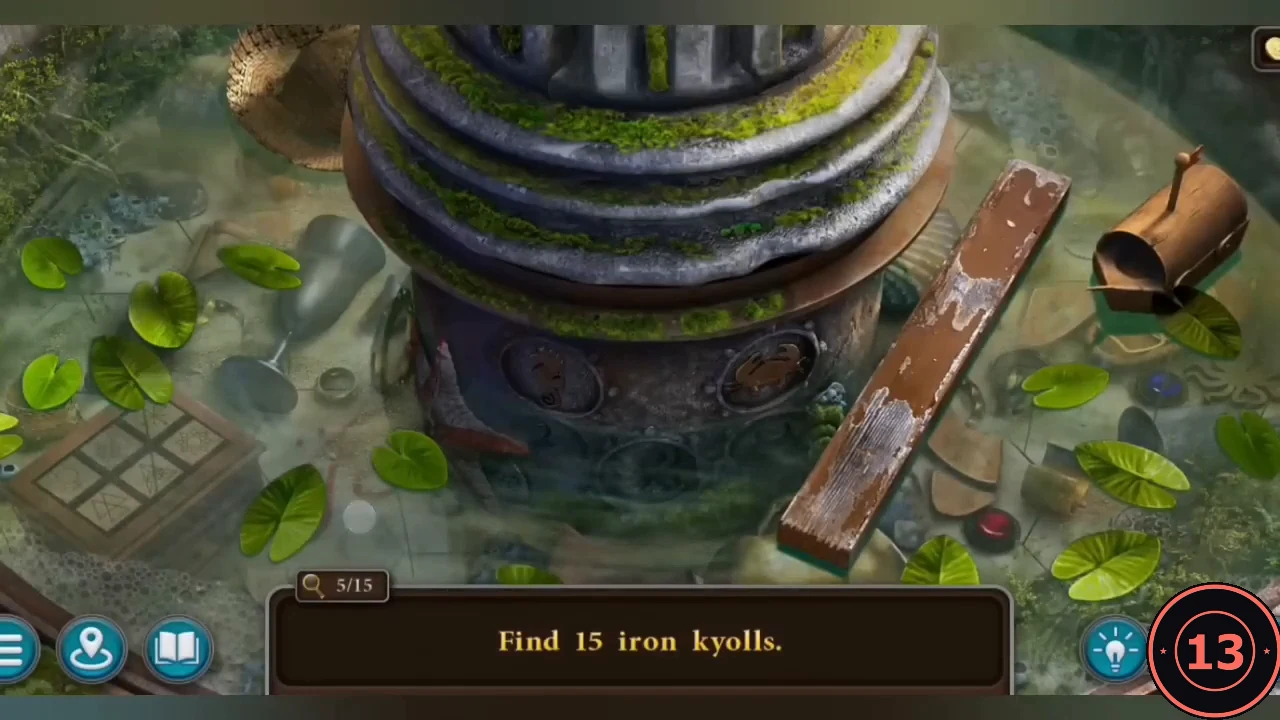
People throw coins into the fountain in the centre of the square.
- Use the SCREWDRIVER to remove the grate over the basin. Find 15 iron kyolls.
- Pick up the loose coins across the basin and lift the straw hat to reveal more. Zoom into the shell close-up: take the FORK lying there and use it to pry the clam open for coin 10. Coin 11 lies loose on the stone above the clam; move that stone aside to find coin 12.
- Scratched symbols on the basin wall give the order for the six-tile box. Press triple triangle, female symbol, eye in a triangle, asterisk, sun, interlocked rings. The box opens with two more coins. The last coin is behind the round grille at the lower left of the central fountain base: tap the grille to take it and complete 15 IRON KYOLLS.CODETriple triangle – Female symbol – Eye in triangle – Asterisk – Sun – Rings
Arena Entry Fee and Grilur's Desk
Exchange the iron coins for gold and pay the arena.
- Give the IRON KYOLLS to the exchange window for gold. Knock on the arena door: Task complete Large entry fee.
- Arena: talk to the owner, Zair. New task: Fight at the arena. Flute 3/9 is on the rug at the left of the arena floor.
- Guild hall: the caged ranger wakes and claims Grilur hid incriminating evidence in his desk. Zoom into Grilur's desk (left): open the small right-hand drawer of the upper shelf and take the KEY, then use it on the keyhole at the lower left of the sloped writing lid. The lid lifts; take the PRECIOUS BOX from inside. Its key is hidden in the forest camp. New task: Compromising evidence.
- Take the MECHANISM LEVER from the weapon rack right of the door. Insert it in the slot of the desk and pull it; a hidden armoury opens.
Armoury Mannequins
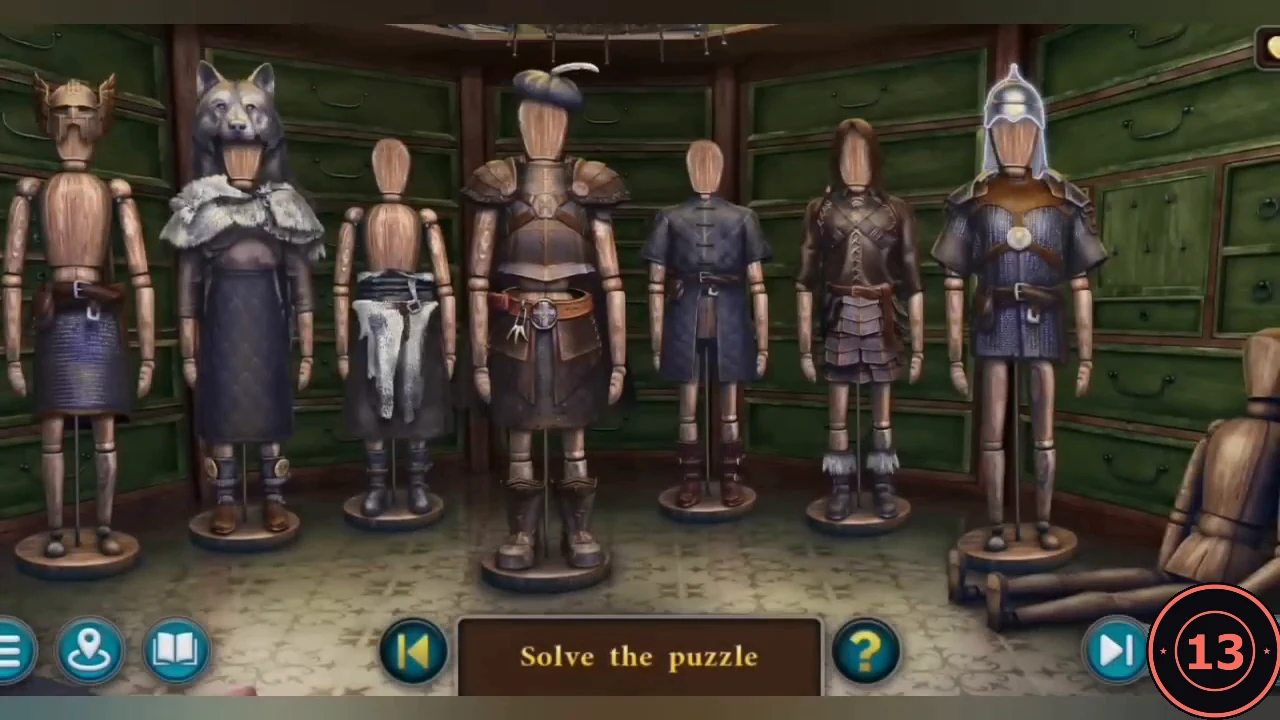
Parts of Dwarven armour are scattered among seven mannequins.
- Drag helmets, tops, skirts and boots between the mannequins until each wears a complete matching set. Left to right: empty, chain-mail scout with iron helmet, quilted coat with feathered cap, Dwarven plate with winged helmet (centre), leather with long hair, wolf pelt with wolf-head hood, empty. Take the KEY that drops.
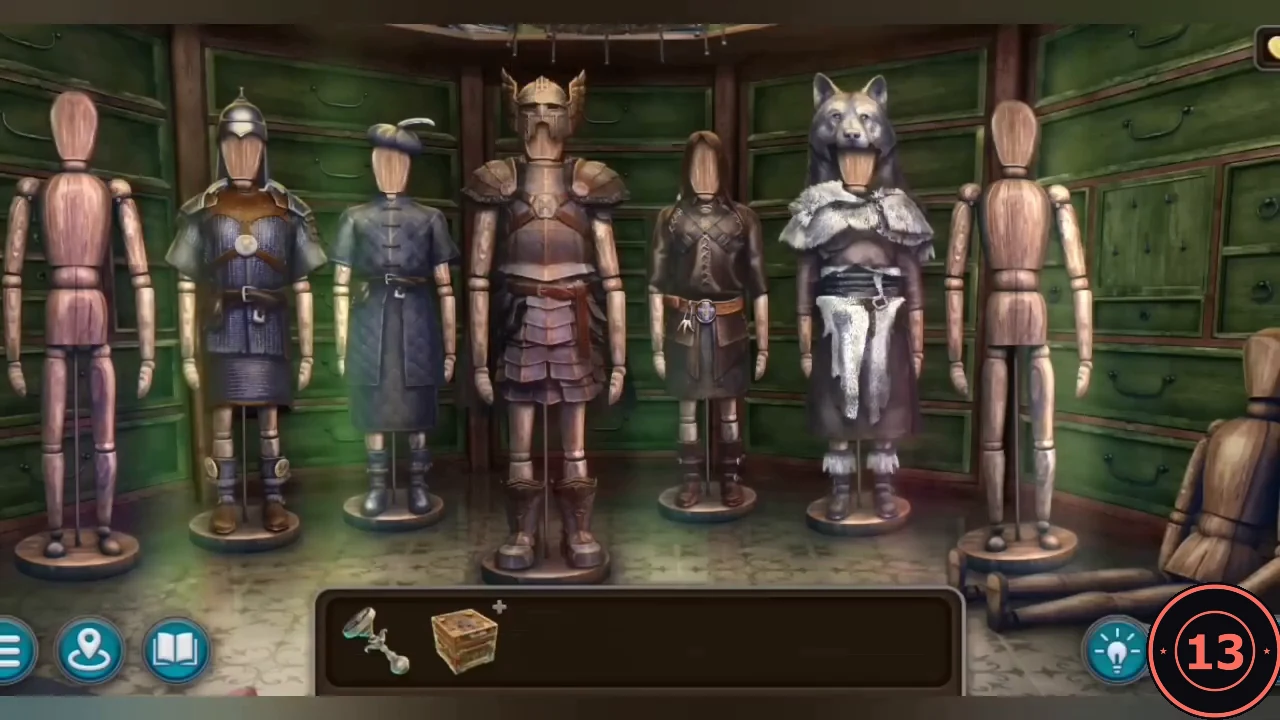
Solved: each mannequin wears one complete set.
Precious Box
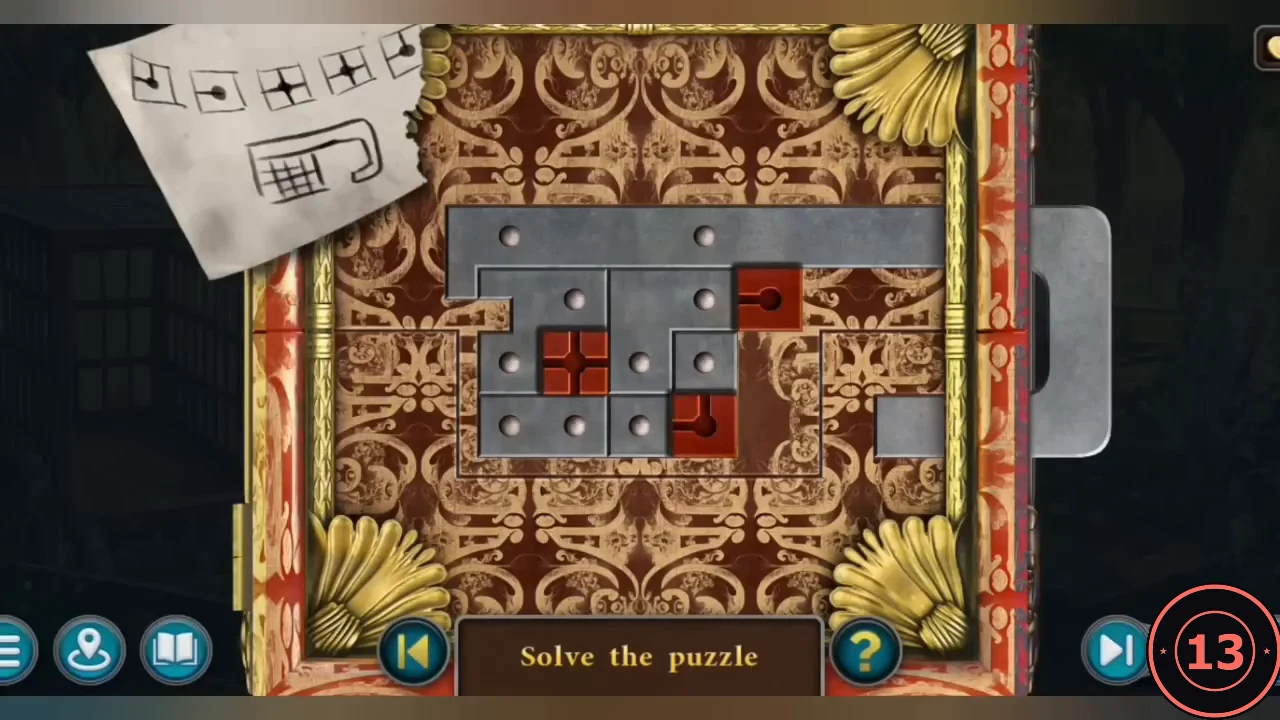
The ranger leads you to the box's password at the forest camp.
- Guild hall: use the armoury KEY on the chain padlock that secures the ranger's cage. The cage is unchained and taken to the forest camp, with the ranger still locked inside. The key stays in your inventory.
- Camp: a dirt patch near the little white tree was dug up recently. Take the SHOVEL sticking out of the riverbank sand, dig at the patch and take the NOTE WITH A CODE from the green bottle.
- Open the PRECIOUS BOX and place the NOTE WITH A CODE. Press the three red buttons in the order shown on the note: bottom, top, centre, centre, bottom, top. The blocks become movable.CODEBottom – Top – Centre – Centre – Bottom – Top
- "Move the blocks to clear the way and slide out the hook-shaped block." The hook-shaped block is the long bar along the top; its short hook hangs down at the far left. Below it are three rows of grey blocks. At the start: an L-BLOCK at top left (the two left cells of the top row plus the cell under its left end), a Γ-BLOCK next to it (two top-row cells plus the cell under its left end), a SMALL SQUARE in the middle row under the Γ-block's right end, a TWO-CELL BAR at the bottom left and a second SMALL SQUARE beside it in the bottom row. Every block slides as far as it can in the direction you move it. 1. Slide the middle-row small square down. 2. Slide the Γ-block right. 3. Slide the bottom-row small square up; it rises to the top row. 4. Slide the two-cell bar right. 5. Slide the L-block down. 6. Slide the small square in the top row down; it stops one space lower. The top row is now clear under the hook from the left edge up to the Γ-block: slide the hook-shaped block right, out through the handle opening.
- Place the HERALDIC SEAL on the lid. Read the CONTRACT between Grilur and ranger captain Klogan: Task complete Compromising evidence. Take the blue chained pouch from the box.
- At the camp, use the armoury KEY on the cage lock to free the ranger. He asks whether you noticed the strange symbols on the contract. New task: The special book.
The Special Book
Grilur's office has a bookshelf with glass doors.
- Guild hall: open the glass doors of the arched bookshelf at the back right. The open book shows a bear-bait recipe and a perforated card; take the TEMPLATE.
- In the inventory place the TEMPLATE over the symbols on the CONTRACT to get the SECRET CODE: a line diagram through seven runes, starting at the circled one. Task complete: The special book.
Weapon Rack Runes
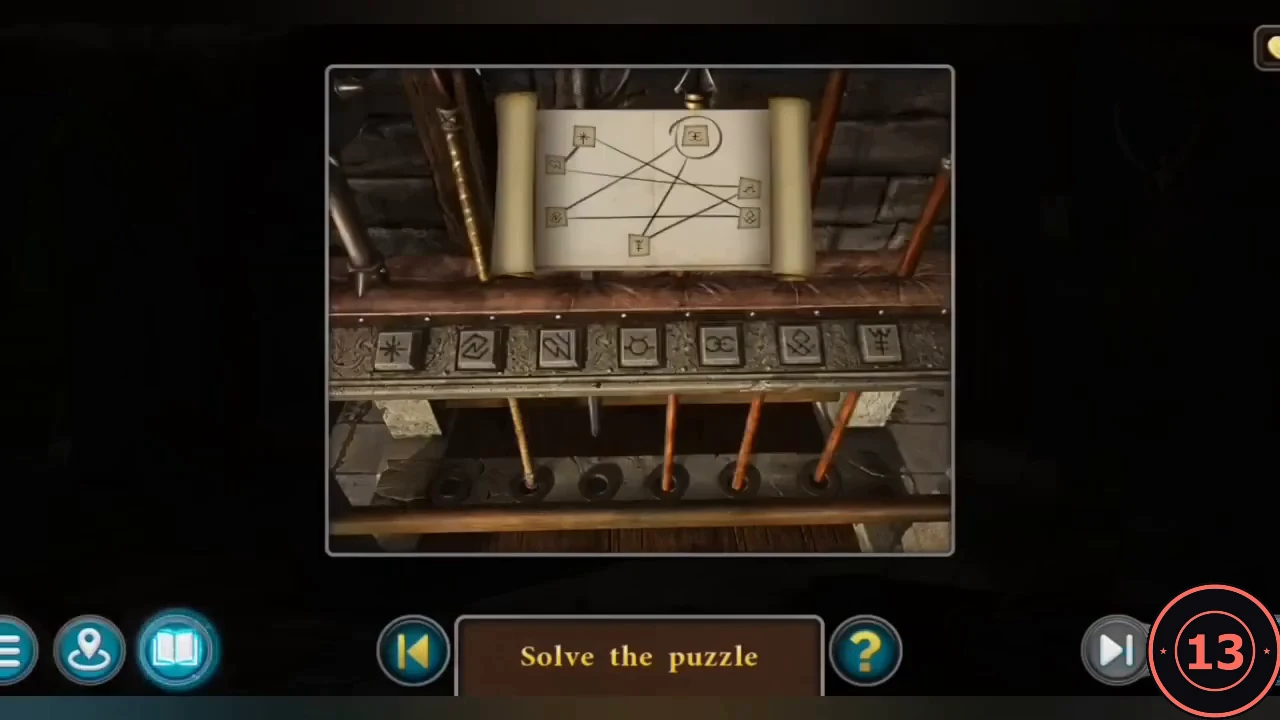
Use the SECRET CODE on the weapon rack right of the door. Seven rune tiles, left to right: star, N-rune, Z-rune, horned circle, AE ligature, diamond, tree rune.
- Follow the diagram from the circled rune: AE, N, diamond, star, Z, horned circle, tree. All tiles glow and the rack opens; take the MACE.CODEAE – N – Diamond – Star – Z – Horned circle – Tree
Arena Labyrinth: First Trial
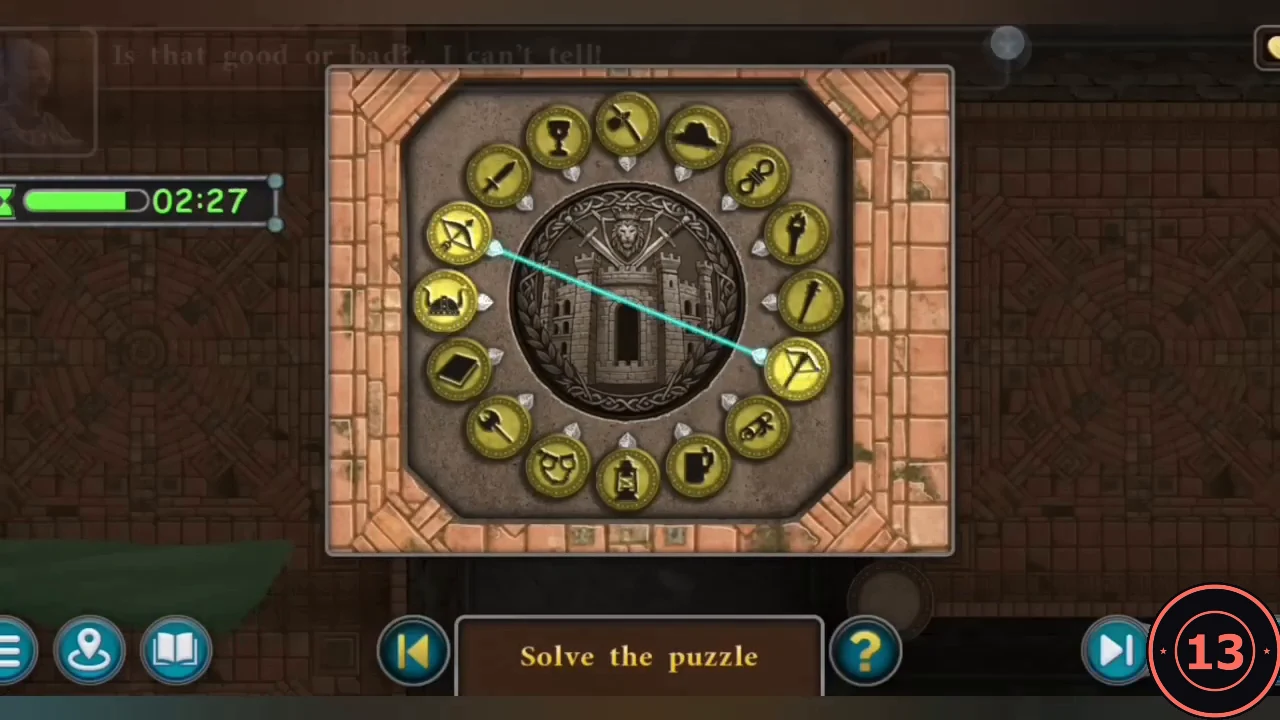
Bring the MACE to the arena. The young warrior must find the chest with the goblet inside the labyrinth while the Minotaur hunts him. Each section has a 3:00 timer. Tap the floor in the direction you want the warrior to walk; each tap moves him one corridor cell, and the camera then re-centres on him. The directions below are screen directions (up = towards the top of the screen), counted in cells (one tap = one cell). They follow the corridors the reference playthrough actually walked, without its dead-end detours.
- From the start (a dead end open only upwards) go up 3, left 2, down 1, then left 6 along the long corridor, up 2, left 1, up 1 to reach the first trial plate.
- Connect related pairs around the ring of 16 icons: bow–crossbow, viking helmet–hat, goblet–mug, book–scroll, mask–shackles, torch–lantern, sword–spiked club, double axe–war hammer. A wall seals the section behind you.
- Go up 1, right 1, up 3, right 1, up 4, right 3, down 2, right 2. The second trial plate is just ahead of you on the right. In the reference playthrough, turning left after the first up 3 and carrying on up after the right 3 both ended in dead ends.
Arena Labyrinth: Knight Relief
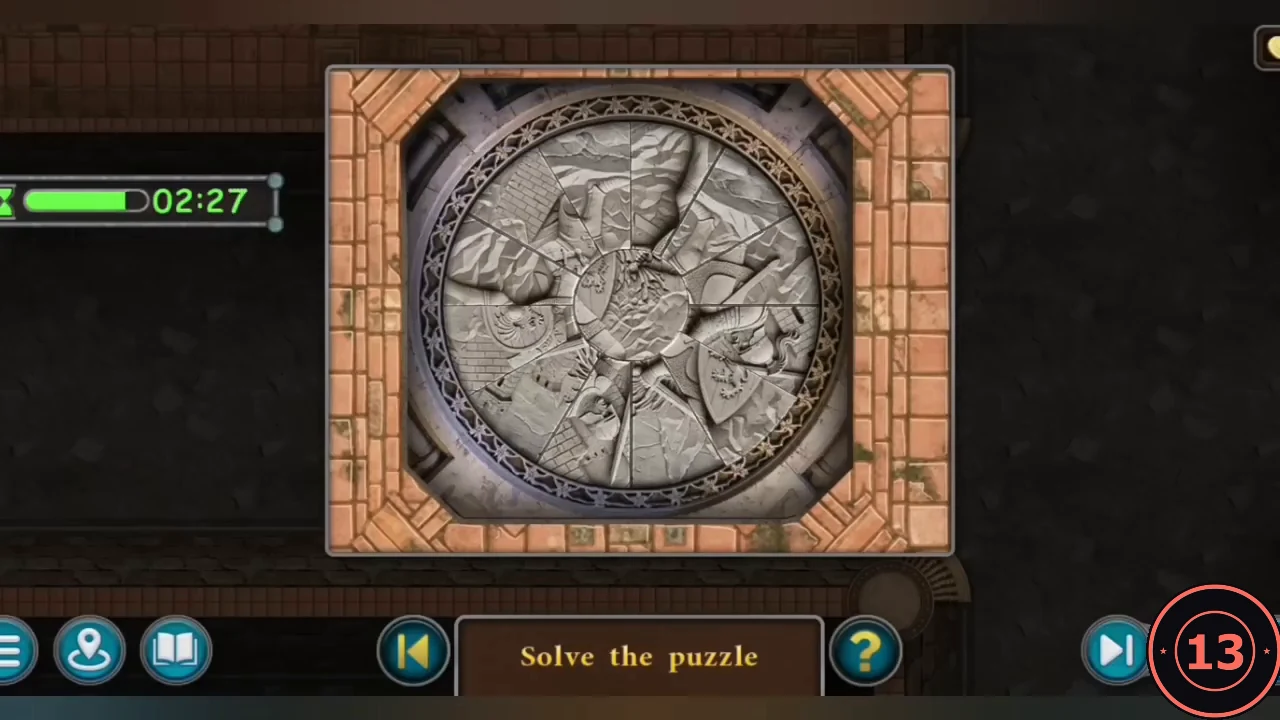
A round stone relief is cut into eight outer wedges around a centre medallion.
- Tap one wedge and then another to swap them. Rebuild the picture of two knights duelling: the left knight with a sword by a castle wall, the right knight with a lion shield. Correct wedges darken and lock. A door shuts on the Minotaur.
- From where the warrior stands beside the second trial plate, go right 6 to the end of the corridor (walls ahead and above), then down 1, right 1, down 4, left 2, up 1, left 1, up 1, left 3. The cracked floor plate is beside you: smash it with the MACE to reach the third trial.